


Discover why a tripod is one of the smartest investments you can make for your photography, and see how my test of a beautifully-built model proves the difference it can make

Introduction - What is a Tripod in Photography?
If you’ve recently started your photography journey and are becoming increasingly enthused about it, beginning to take it more seriously, and looking to improve your craft, you’ve likely considered investing in a tripod, particularly for outdoor photography.
For those photographers still unsure about a tripod (and what exactly it is), it is a three-legged device that supports your camera. Using a tripod means you don’t have to hold the camera while taking photographs, which allows you to use slower shutter speeds. This opens the door to long-exposure photography and other genres and can elevate your photographic practice in ways you may not have thought possible (this was my experience).

Like cameras, there is a vast tripod market, featuring various brands, manufacturers, and price ranges. Choosing the right tripod is an important decision that can significantly impact your photography practice and learning journey. In this guide, I will explain why investing in a high-quality tripod that will last you for years and help you capture stunning images is the best way forward.
What photography subjects typically need a tripod?
- Astrophotography (star trails, aurora borealis photography, night scenes)
- Long exposure landscape photography (waterfalls with silky water, seascapes)
- Low-light cityscapes & architecture (shooting cities after dark, blue hour, or inside dimly lit interiors)
- Macro photography (flowers, insects, food)
- Panoramas (to ensure level, consistent frames when stitching multiple shots together)
- ICM or time-lapse photography (to keep the camera in the same place and have control of its position)
- Self-portraits and group shots (when you want to be in the frame and still control composition
- Wildlife and macro photography (to reduce camera shake)
- Videography (stable footage, smooth pans, and locked-off shots)
Why You Should Invest in a Good Quality Tripod
A decent-quality tripod can last you years, potentially throughout your photographic career. Buying cheaply made tripods is a false economy; I’ve made that mistake more times than I can count. I cannot tell you how often I’ve experienced issues like tripods snapping, breaking, or having screws loosen after only a few uses. Legs can bend; sometimes, the tripod becomes so stuck that I can’t open it or extend the legs (thus severely limiting what I can do with the tripod). It’s surprising how many problems can arise from using poor-quality kit.
Throughout my long photographic career, I’ve realised that investing in a good tripod is genuinely worthwhile. Although it might feel like a significant expense upfront, you will undoubtedly reap the rewards over time.
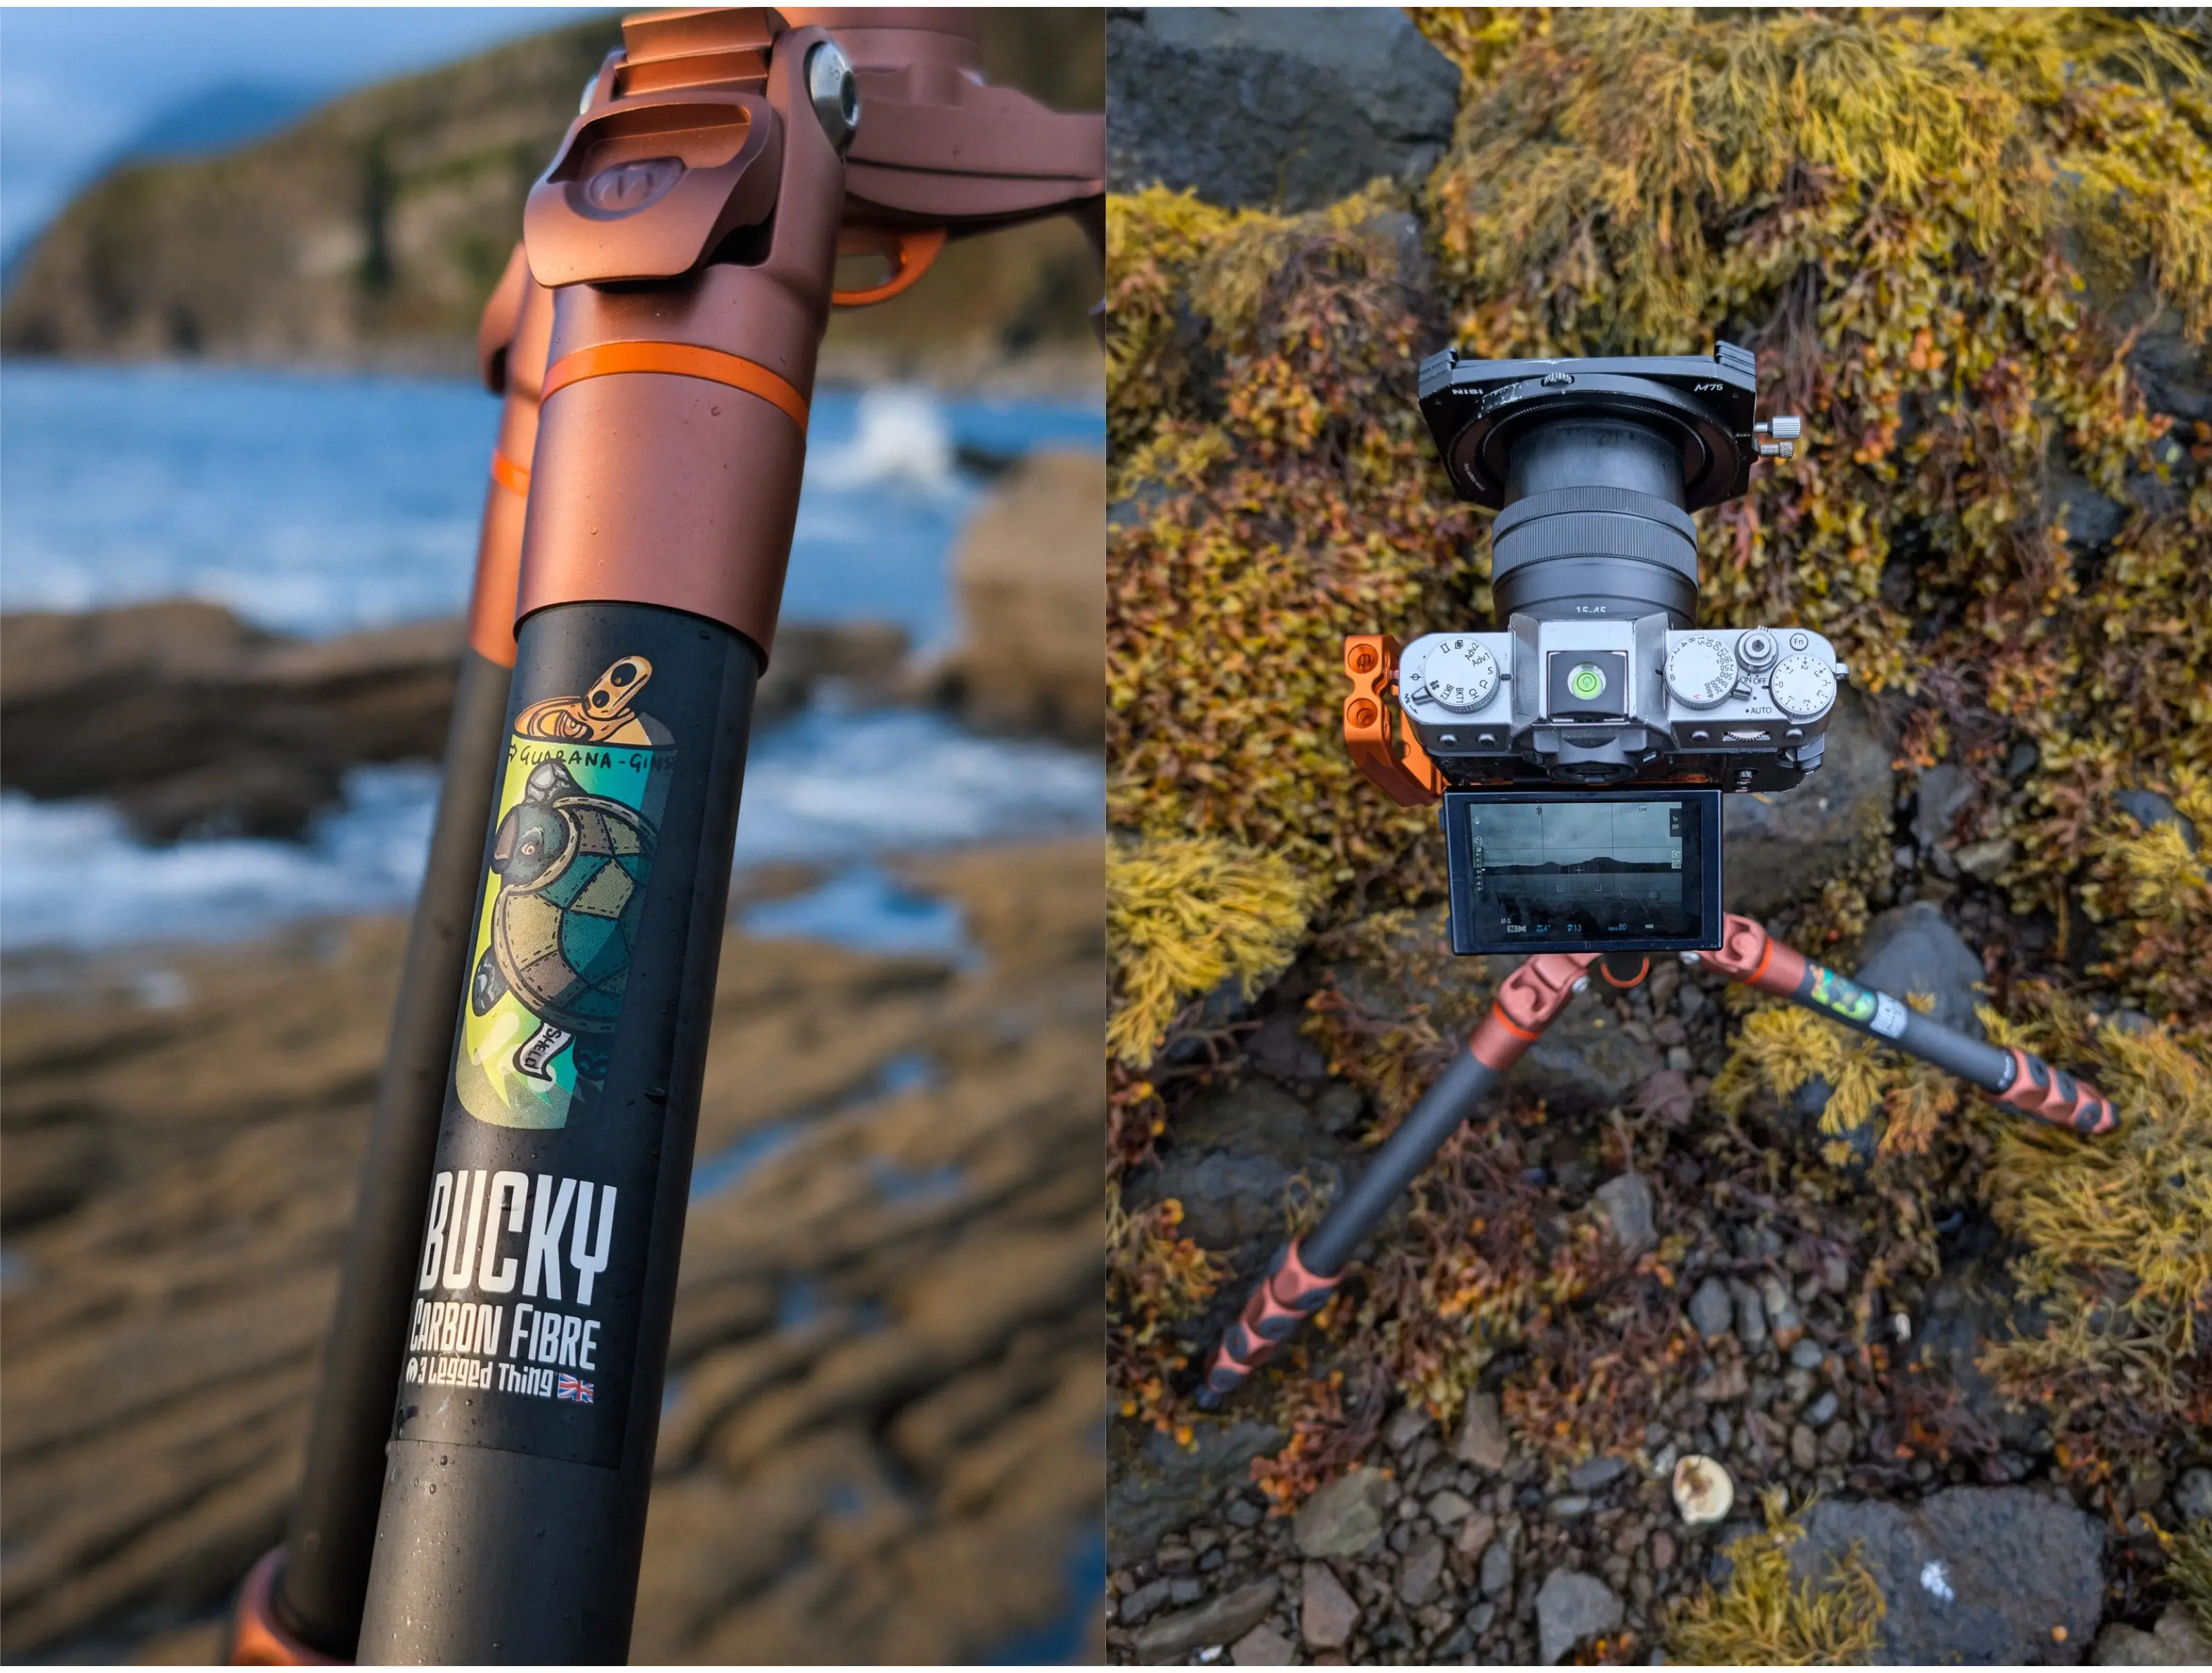
To illustrate why investing in a good quality tripod is essential, I tested another popular product from the British photography kit manufacturer 3 Legged Thing: the Legends Bucky Carbon Fibre Travel Tripod. An incredibly robust piece of kit.
As I mentioned, I’ve owned many tripods throughout my years of practising photography, but this one stands out.
I also took it to the beautiful Isle of Skye to try it out for some ambitious landscape photography. I had wanted to go there for a long-exposure photography trip for some time, and it seemed like a fantastic place to test out the tripod.
So, let's dive in:
3 Legged Thing Legends Bucky Carbon Fibre Tripod: What’s in the Box?
1x 3 Legged Thing Legends Bucky Carbon Fibre Travel Tripod System (RRP £469.99)
1x Toolz - Multi-Tool, (hex keys, coin key, keyring carabiner)
1x Tripod Bag
1x Microbibre pouch
Optional Extra for my kit: LEXIE Arca-Swiss Universal Multi-function L-bracket for my Fujifilm Camera
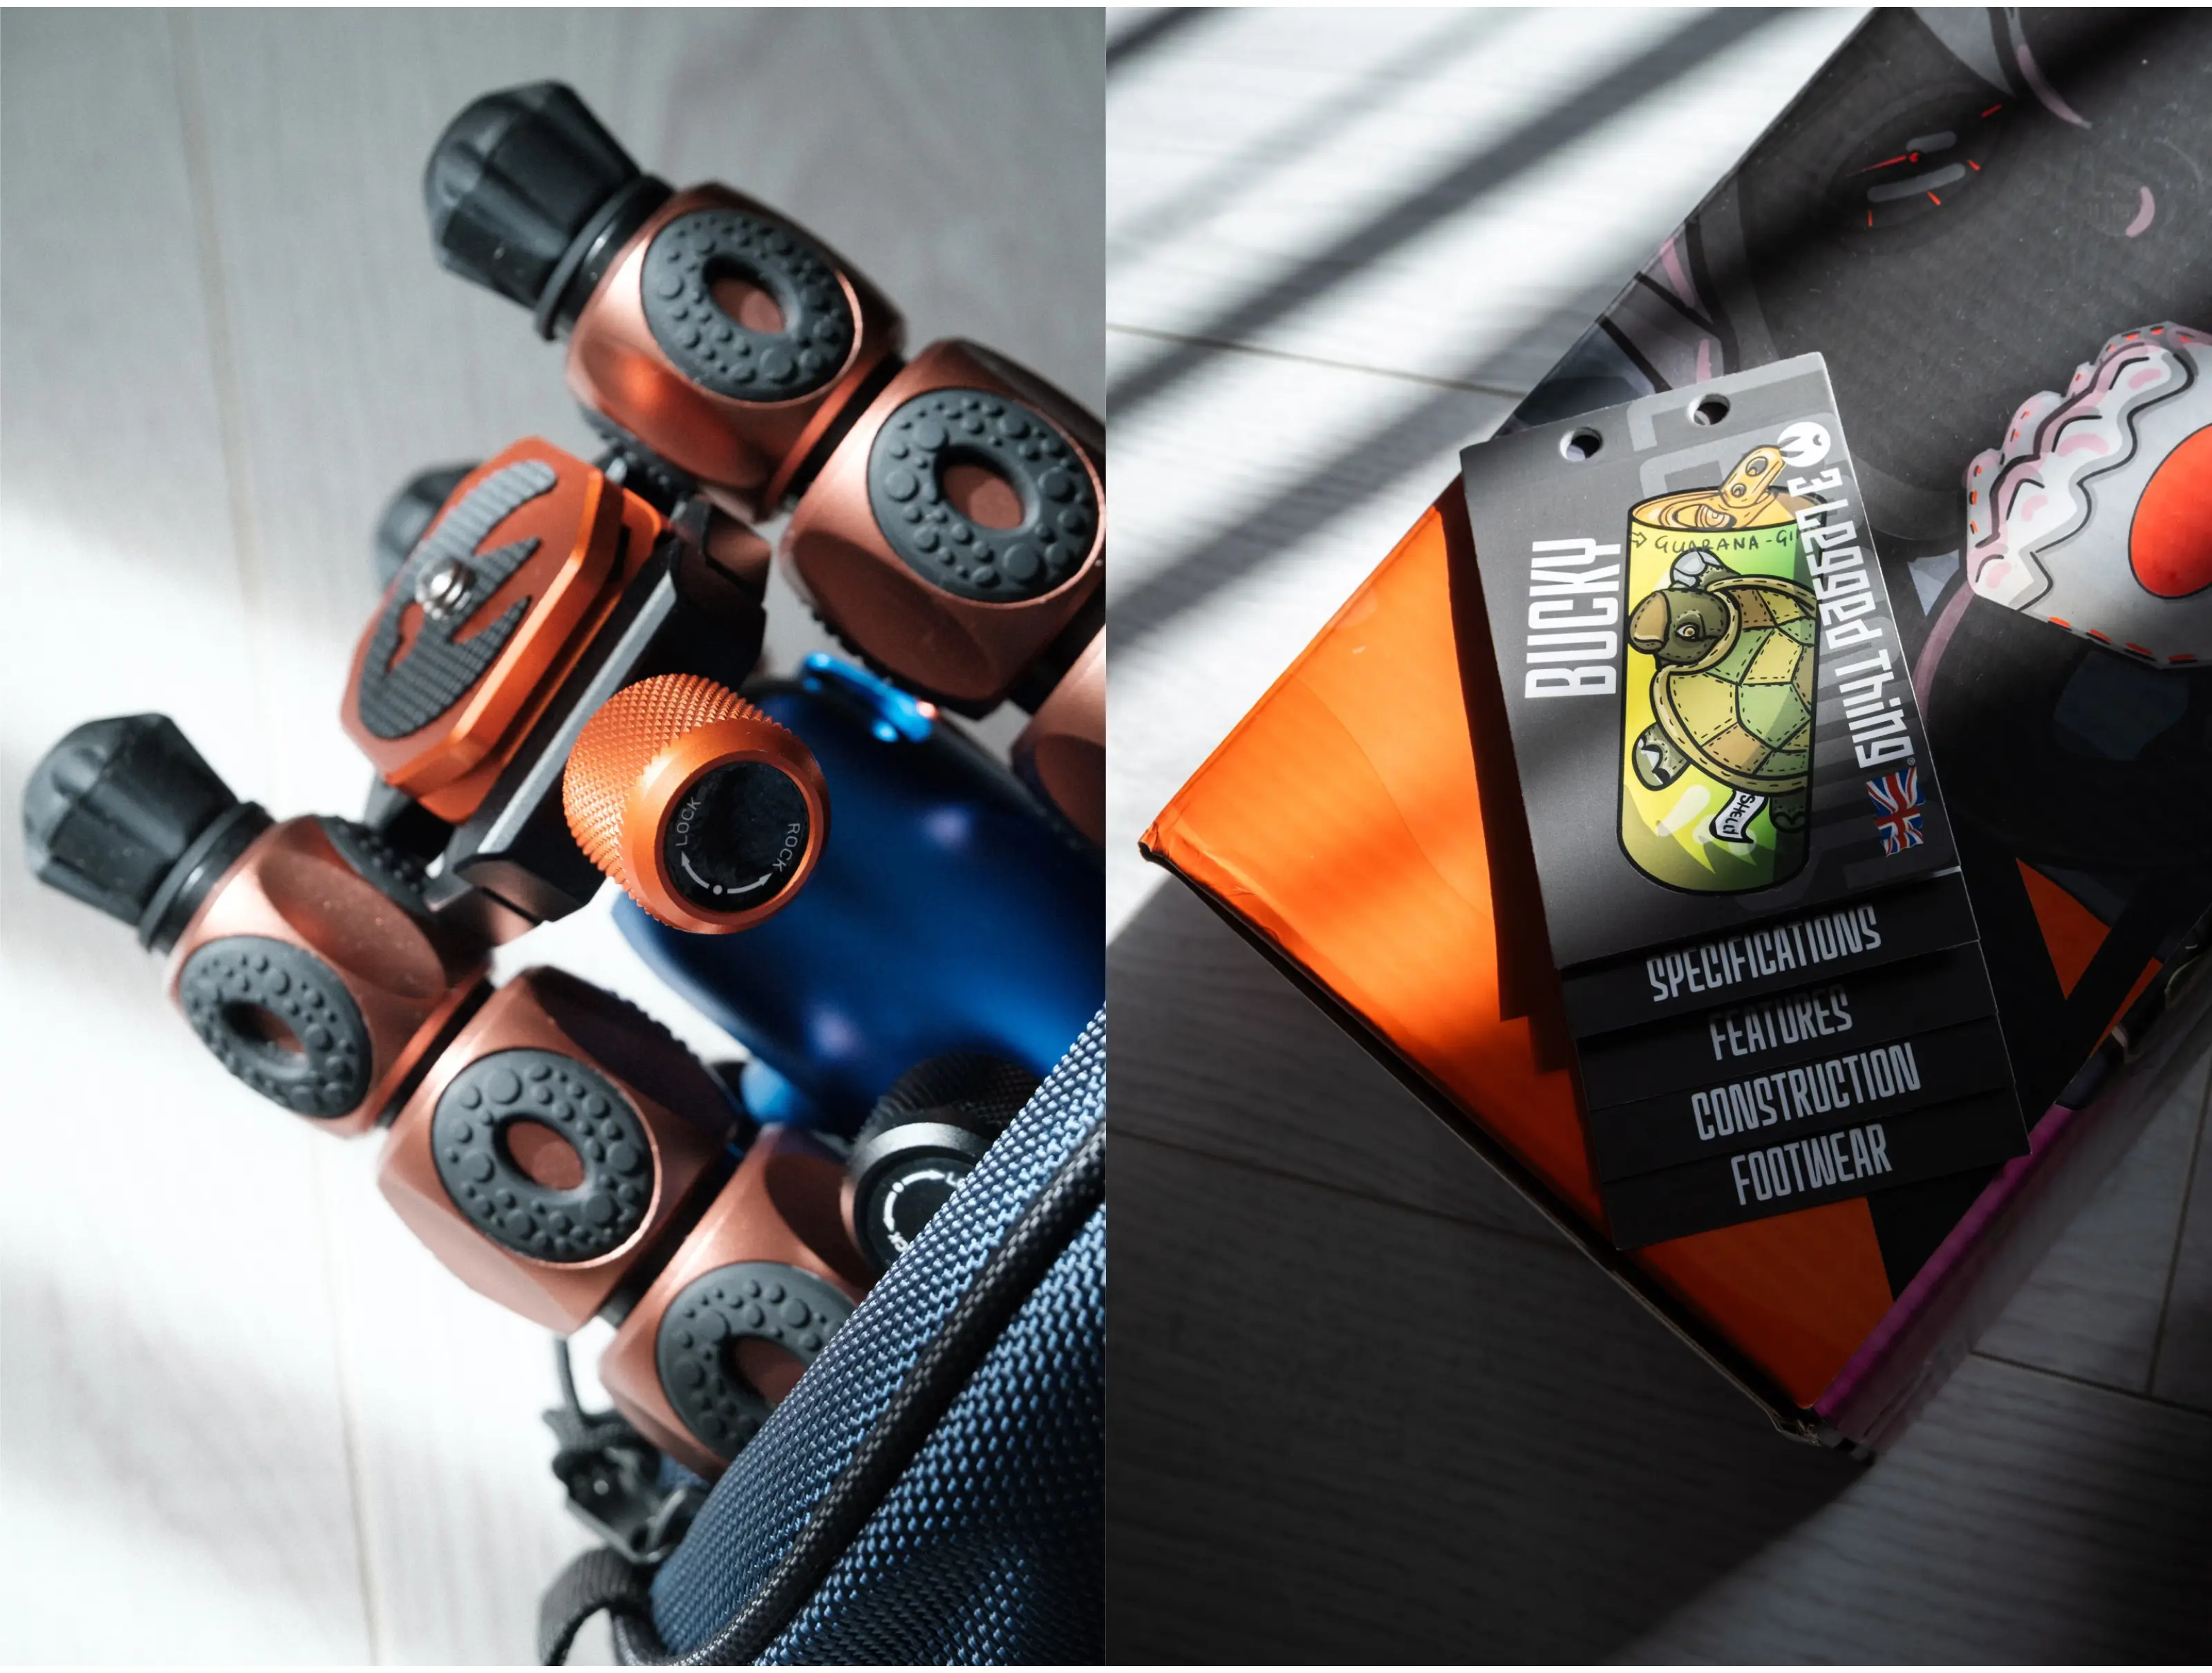
The tripod arrived beautifully packaged, I love the illustrations that 3 Legged Thing has commissioned for their products.
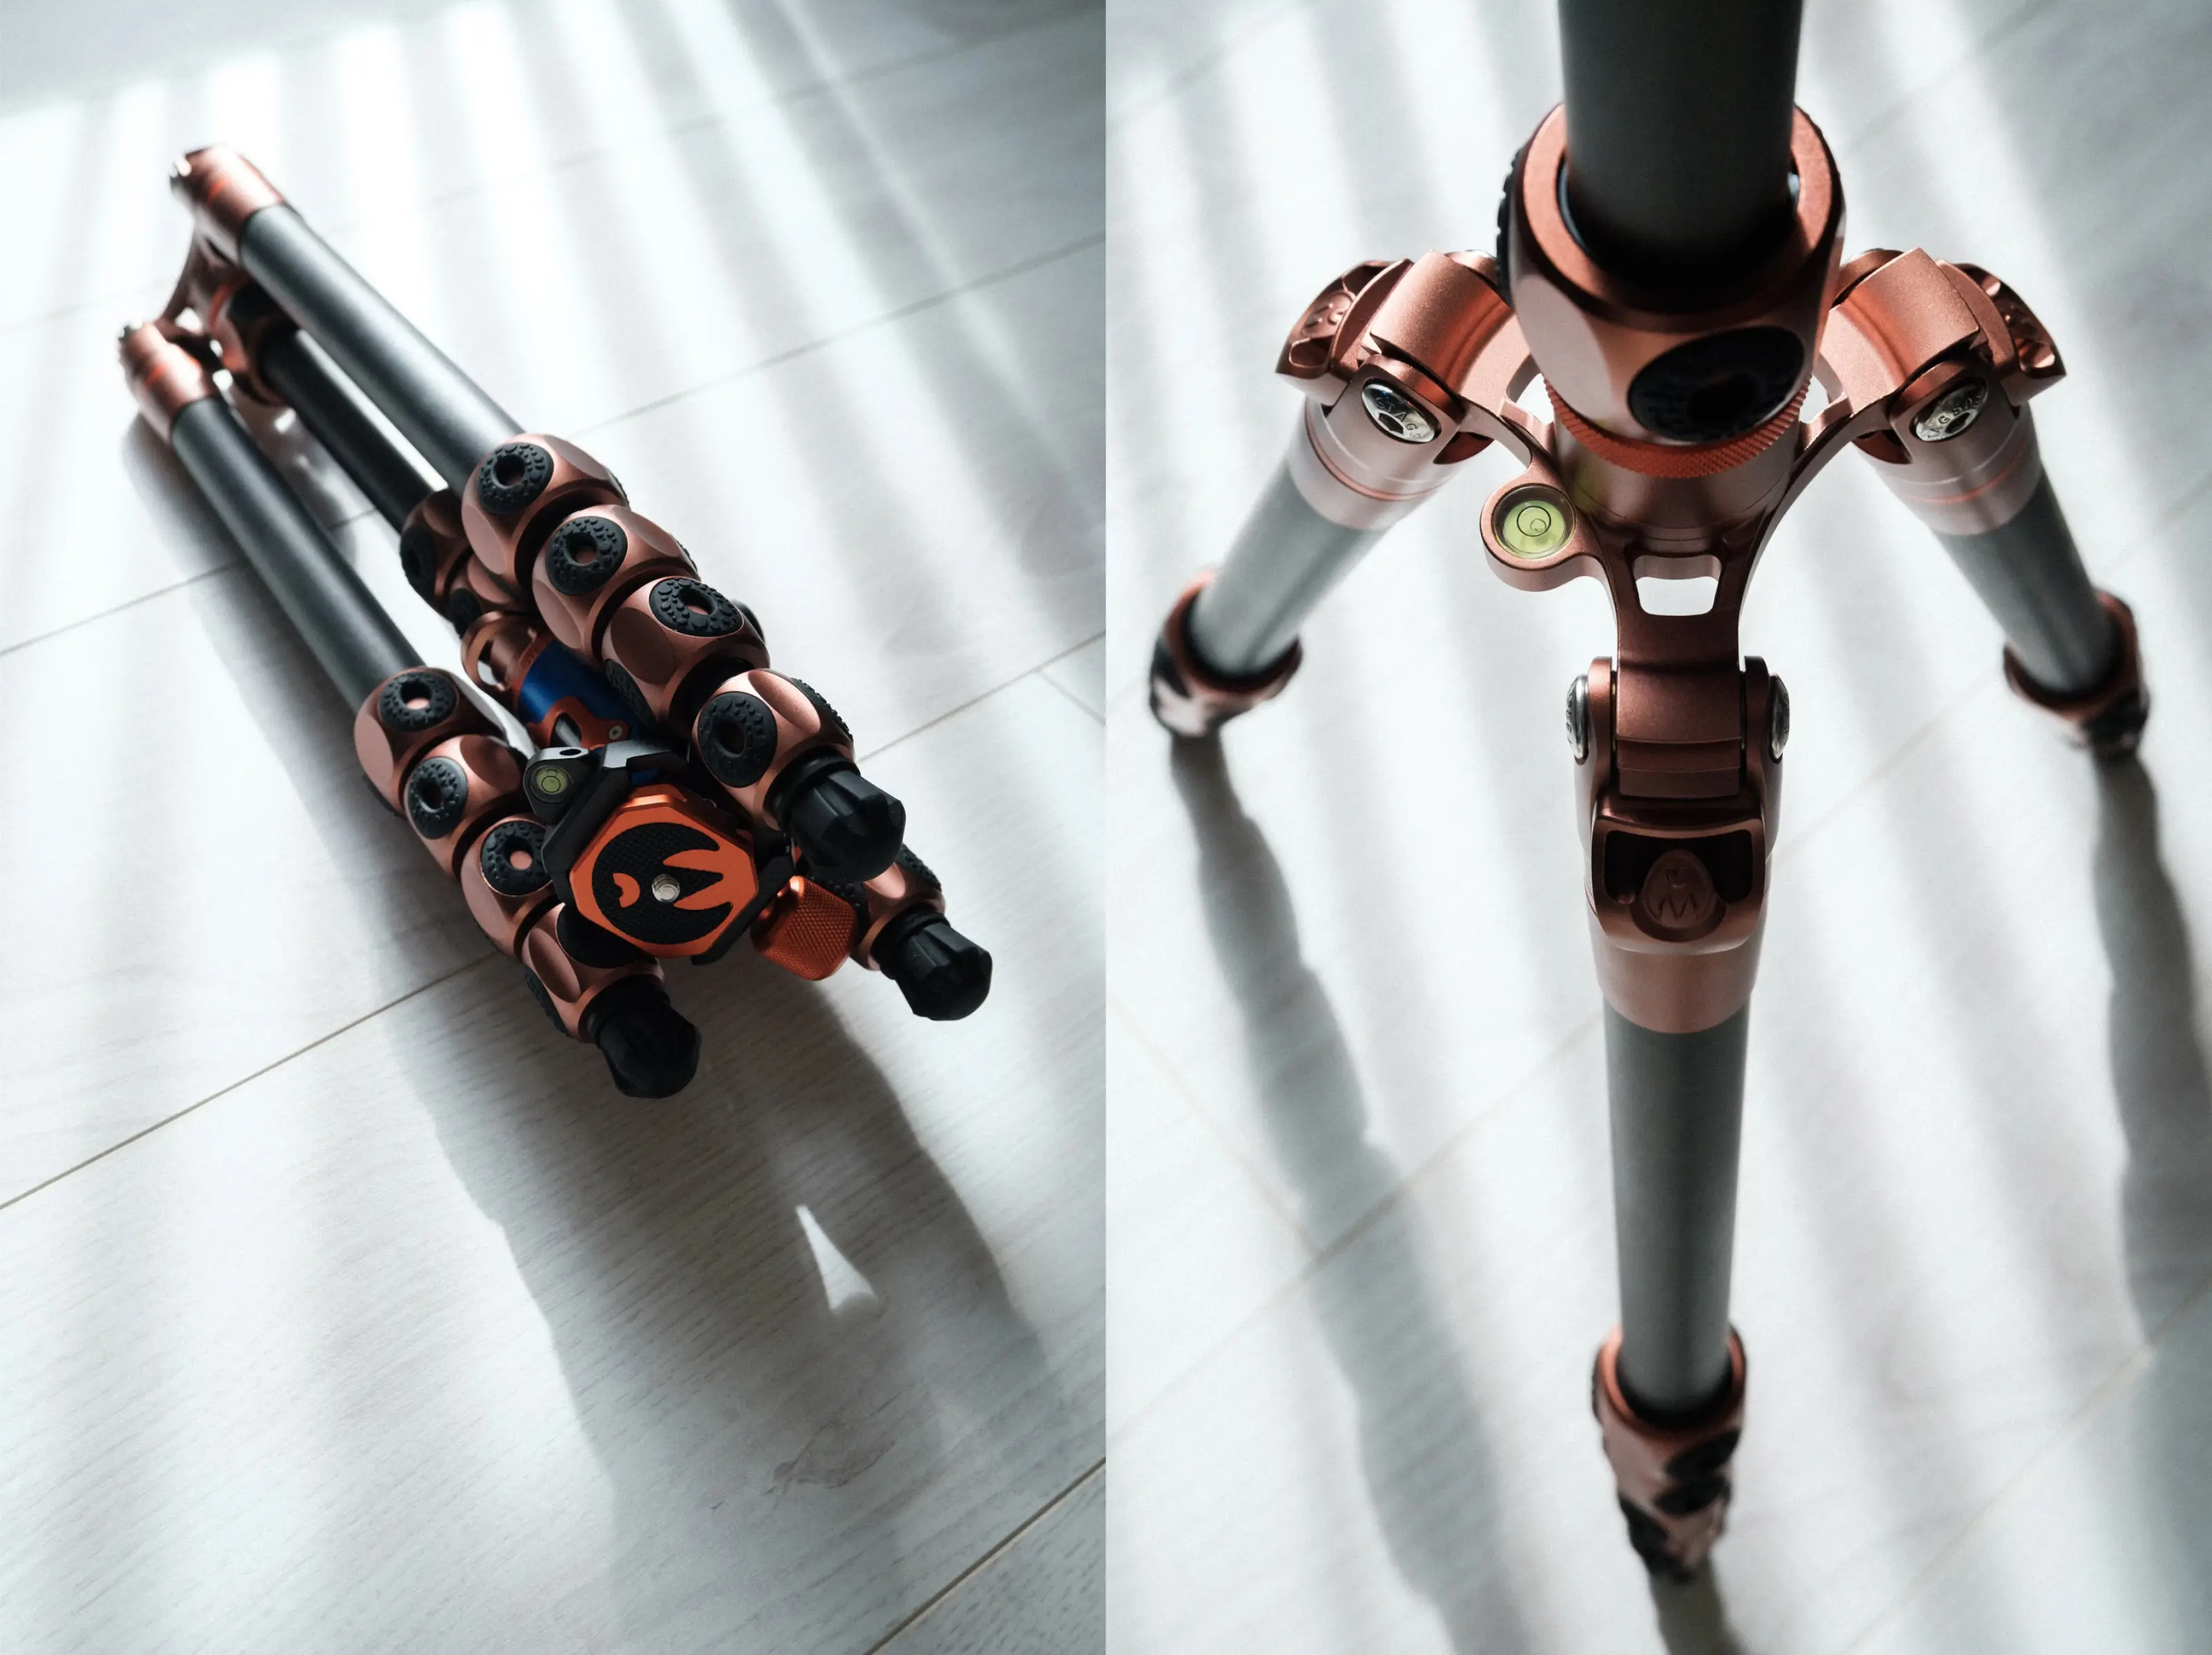
One of the first things that impressed me about the Legends Bucky Tripod is its exceptional construction. It feels incredibly sturdy and looks fantastic. It is also surprisingly lightweight, a significant advantage given that it is made of carbon fibre. Weight is crucial with tripods, especially if you need to carry one for long periods or over long distances.
You can read the technical specifics of the Legends Bucky Tripod and more details on the features on the 3 Legged Thing website.
The colours are stunning too, a striking combination of blue and bronze. If you will be using a tripod frequently, it is essential to have one that functions well and looks appealing. You might even attract compliments from other photographers.
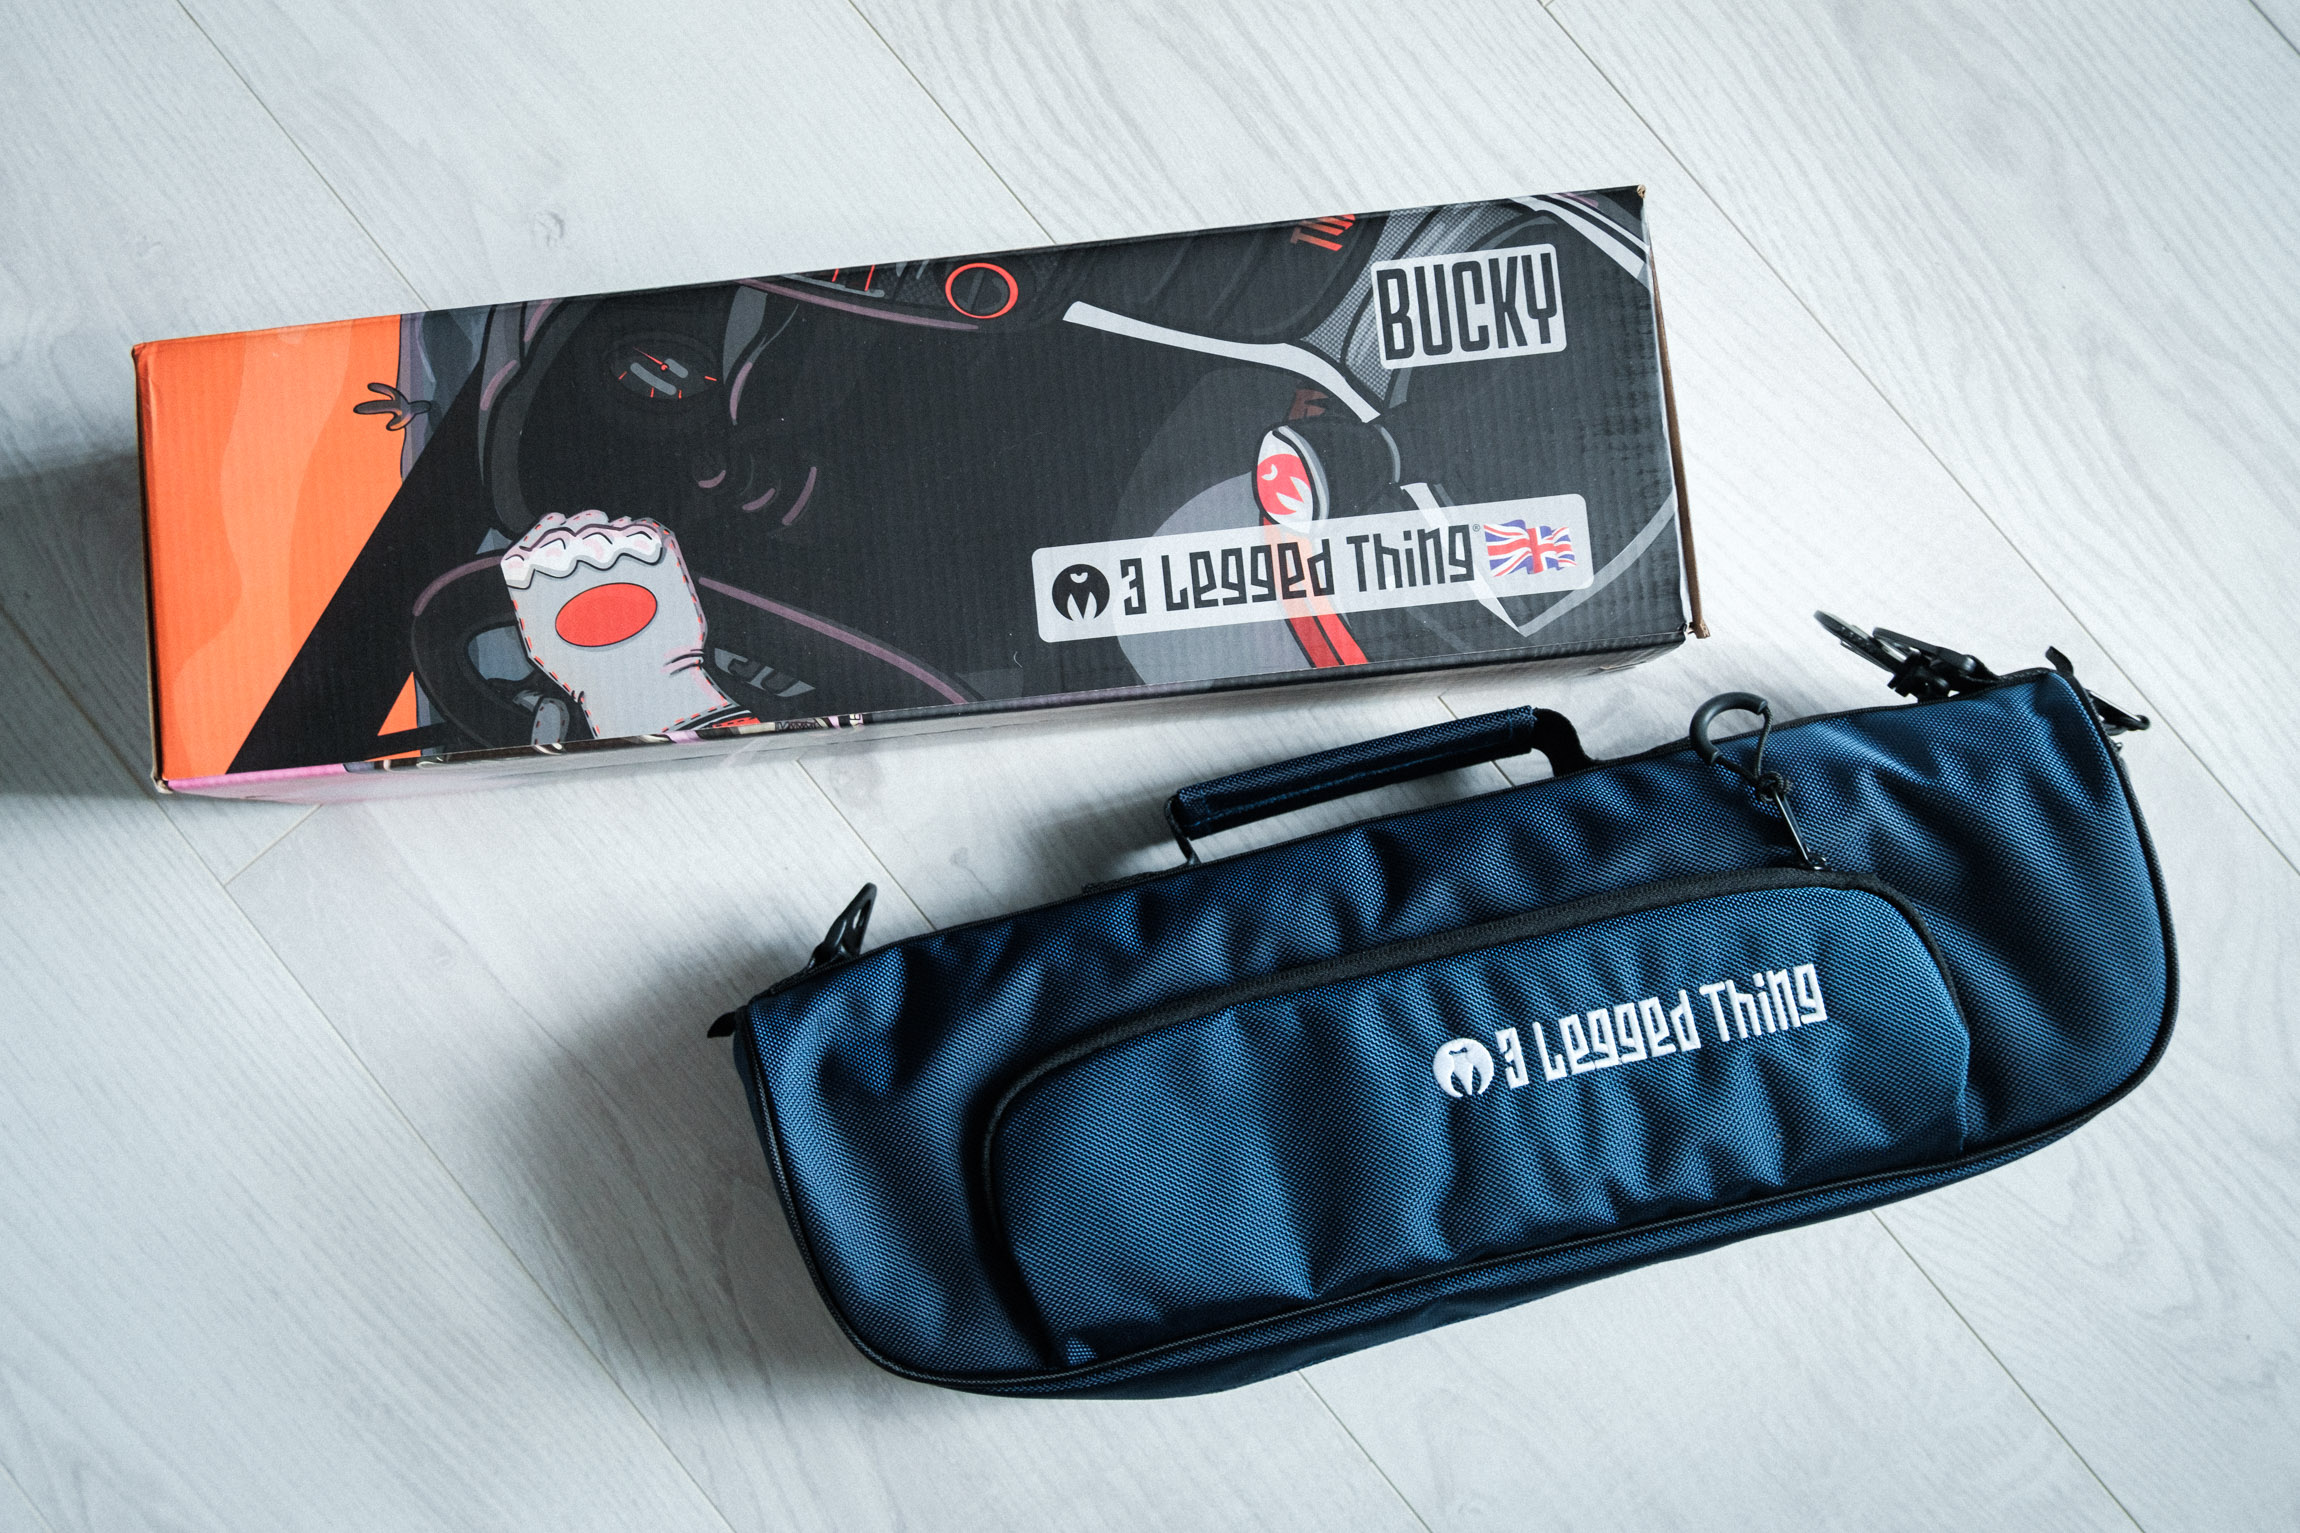
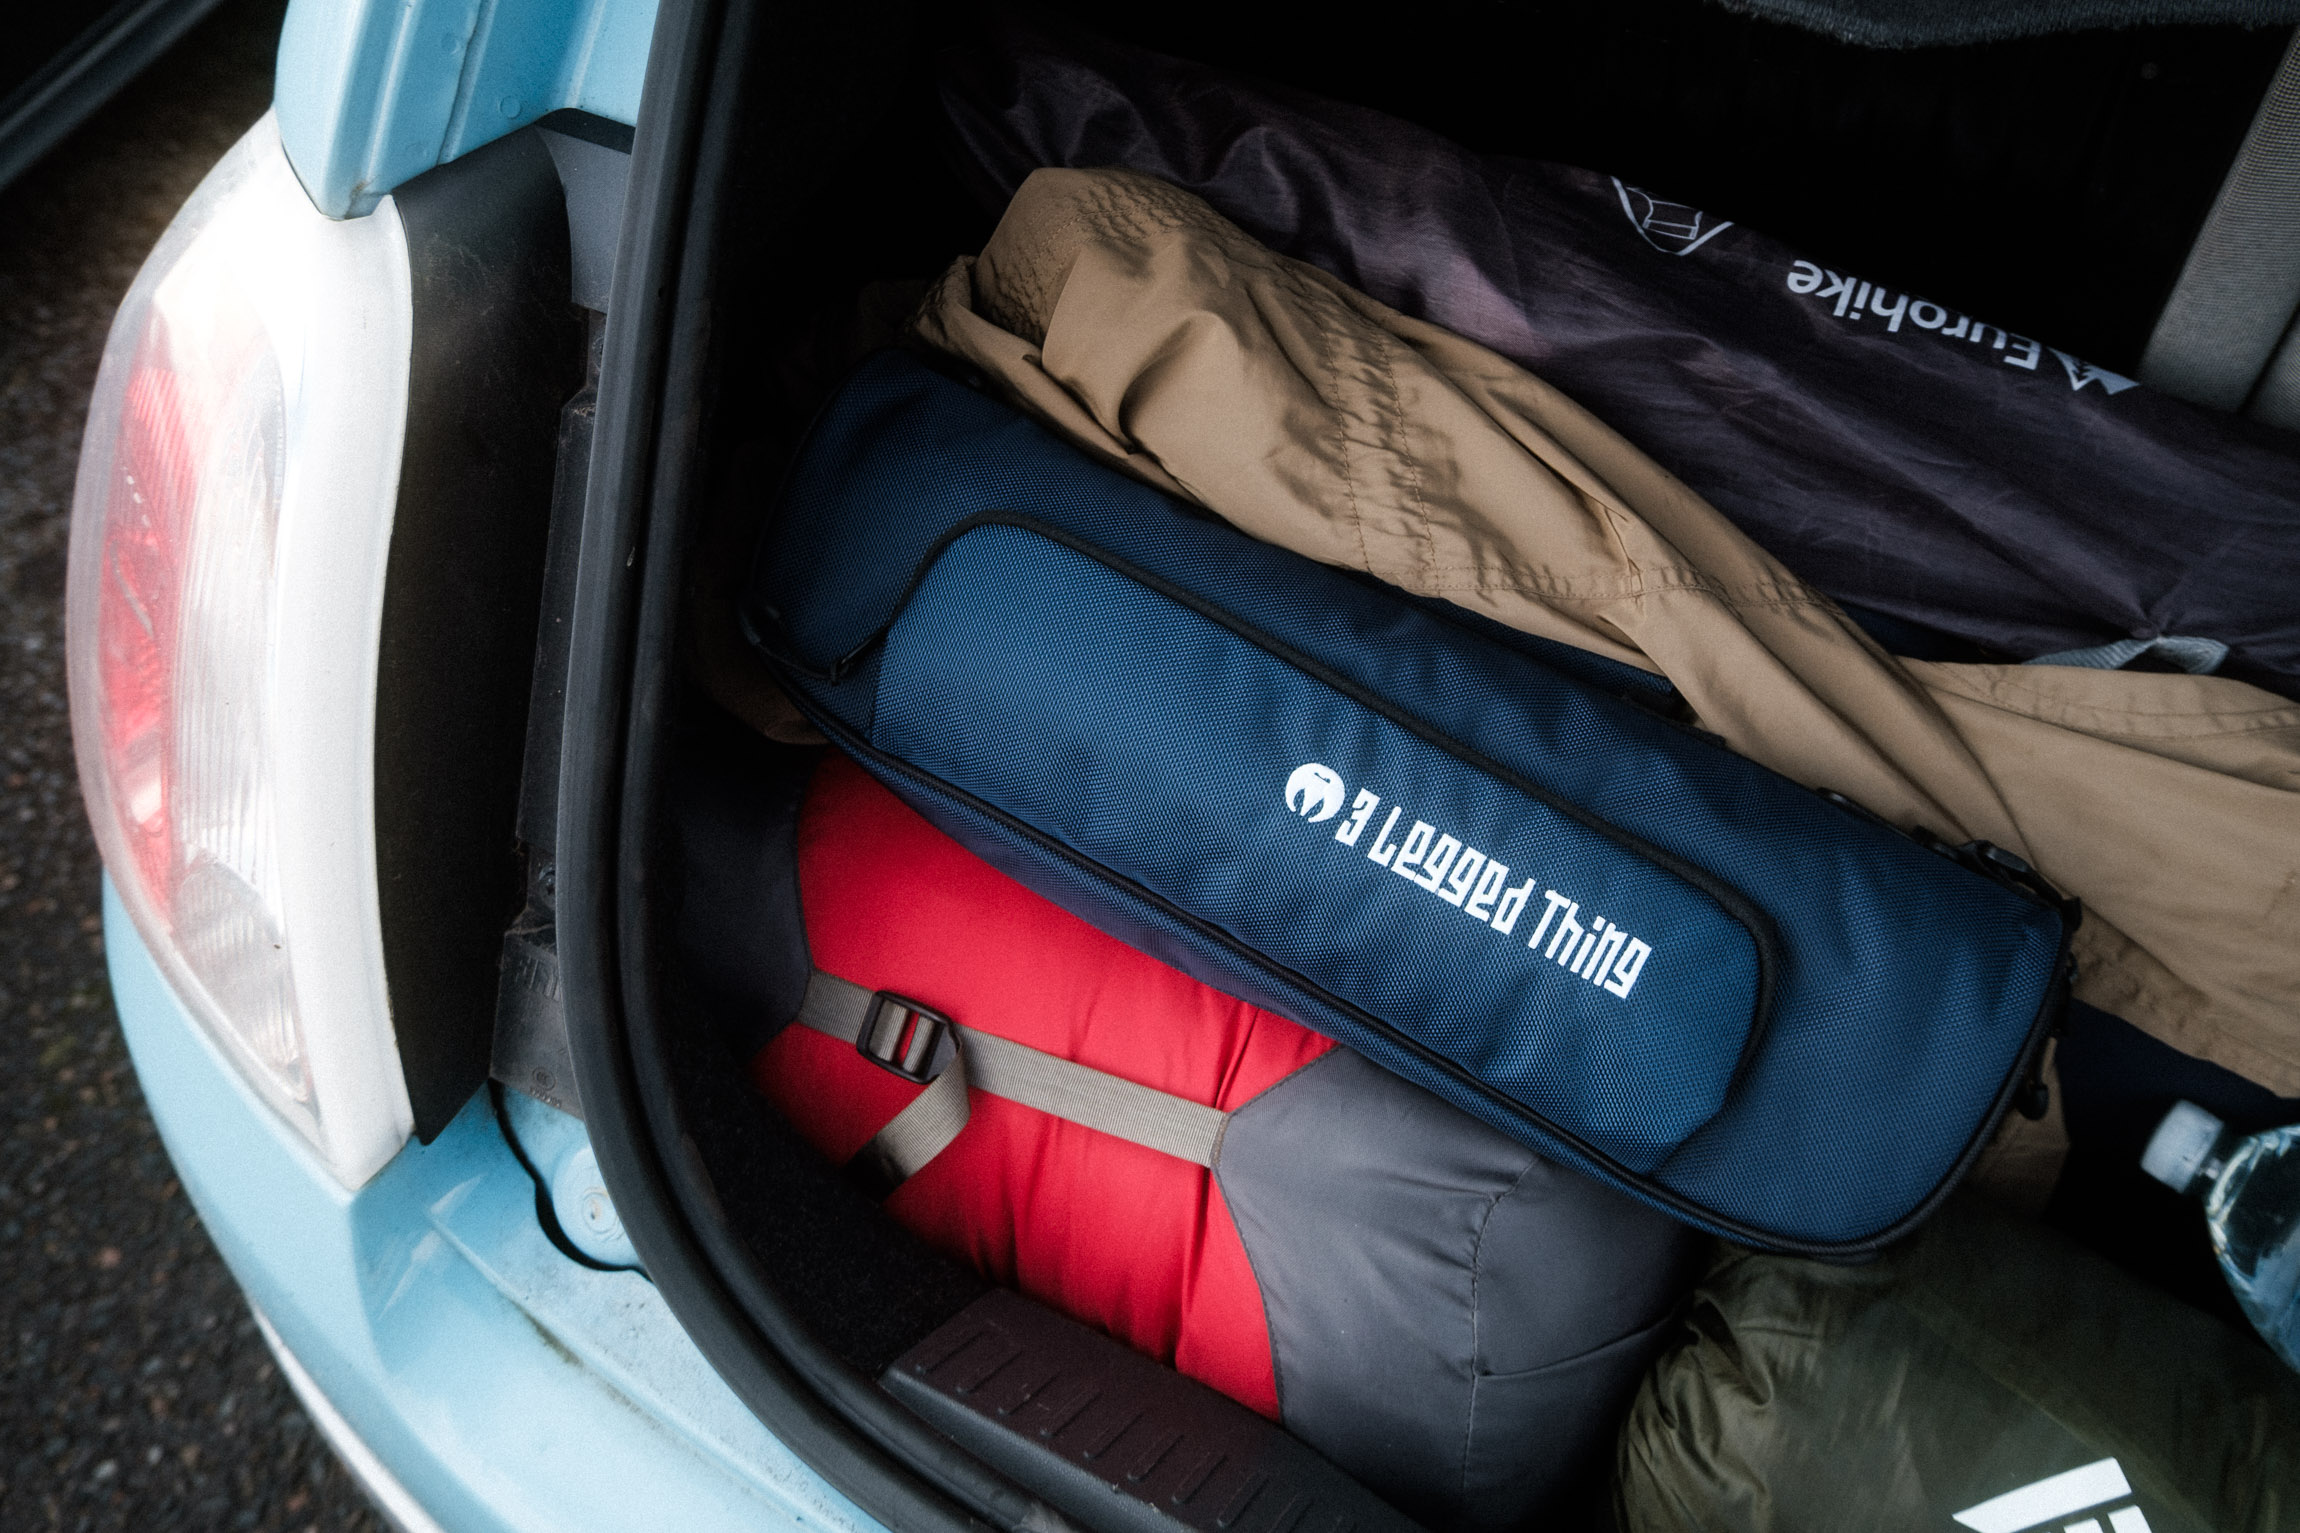
The tripod came with a well-designed bag, which also included a shoulder strap. I found that very useful, especially when carrying a backpack full of camera equipment. Having a shoulder strap for the tripod bag is a fantastic feature. The bag is incredibly well-made and has several pockets, allowing for easy storage of items like memory cards and the included Allen key set, which is used to attach the L-Bracket to your camera and the L-Bracket itself.
The L-Bracket is an optional accessory for the tripod that you attach to your camera. It allows you to quickly switch between vertical and horizontal positioning. If you are unsure what this means, do not worry; I will discuss it later in this guide.
Using The Bucky Tripod Out In The Field
In a nutshell, using the Bucky Tripod in the field, particularly on location, was an absolute joy.
I believe the tripod significantly enhanced my photography quality and enjoyment of being outdoors. As mentioned, I took the tripod to the Isle of Skye in Scotland to thoroughly test it. If you're unfamiliar with the Isle of Skye, it's a stunning island in northwest Scotland, popular with travellers and photographers, especially those focused on landscape photography. Taking photos isn’t easy there, however. It can involve some long hikes and arduous conditions, so I was very pleased to find that the tripod, weighing in at 1.87 kg, wasn’t cumbersome to carry around. In fact, given its capabilities, it’s incredibly light considering how sturdy it is.
One important aspect of photography on the Isle of Skye is that the weather conditions can be quite challenging. While the island abounds with photographic opportunities, hosting many famous spots, the weather can change rapidly. It can be sunny one moment and then rainy and windy the next. This unpredictabily can make taking photos difficult. In this context, having a good quality tripod made all the difference. I encountered terrible weather, and the tripod handled these conditions exceptionally well.
Packing and unpacking the tripod was generally quick and easy. When I found a spot I wanted to photograph, I could swiftly unlock the tripod, position it using the knobs at the top, and lock it into place. Mounting the camera was also straightforward, and I appreciated the little level indicator that helped ensure the tripod head was perfectly horizontal at 0 degrees.
"I encountered terrible weather, and the tripod handled these conditions exceptionally well."
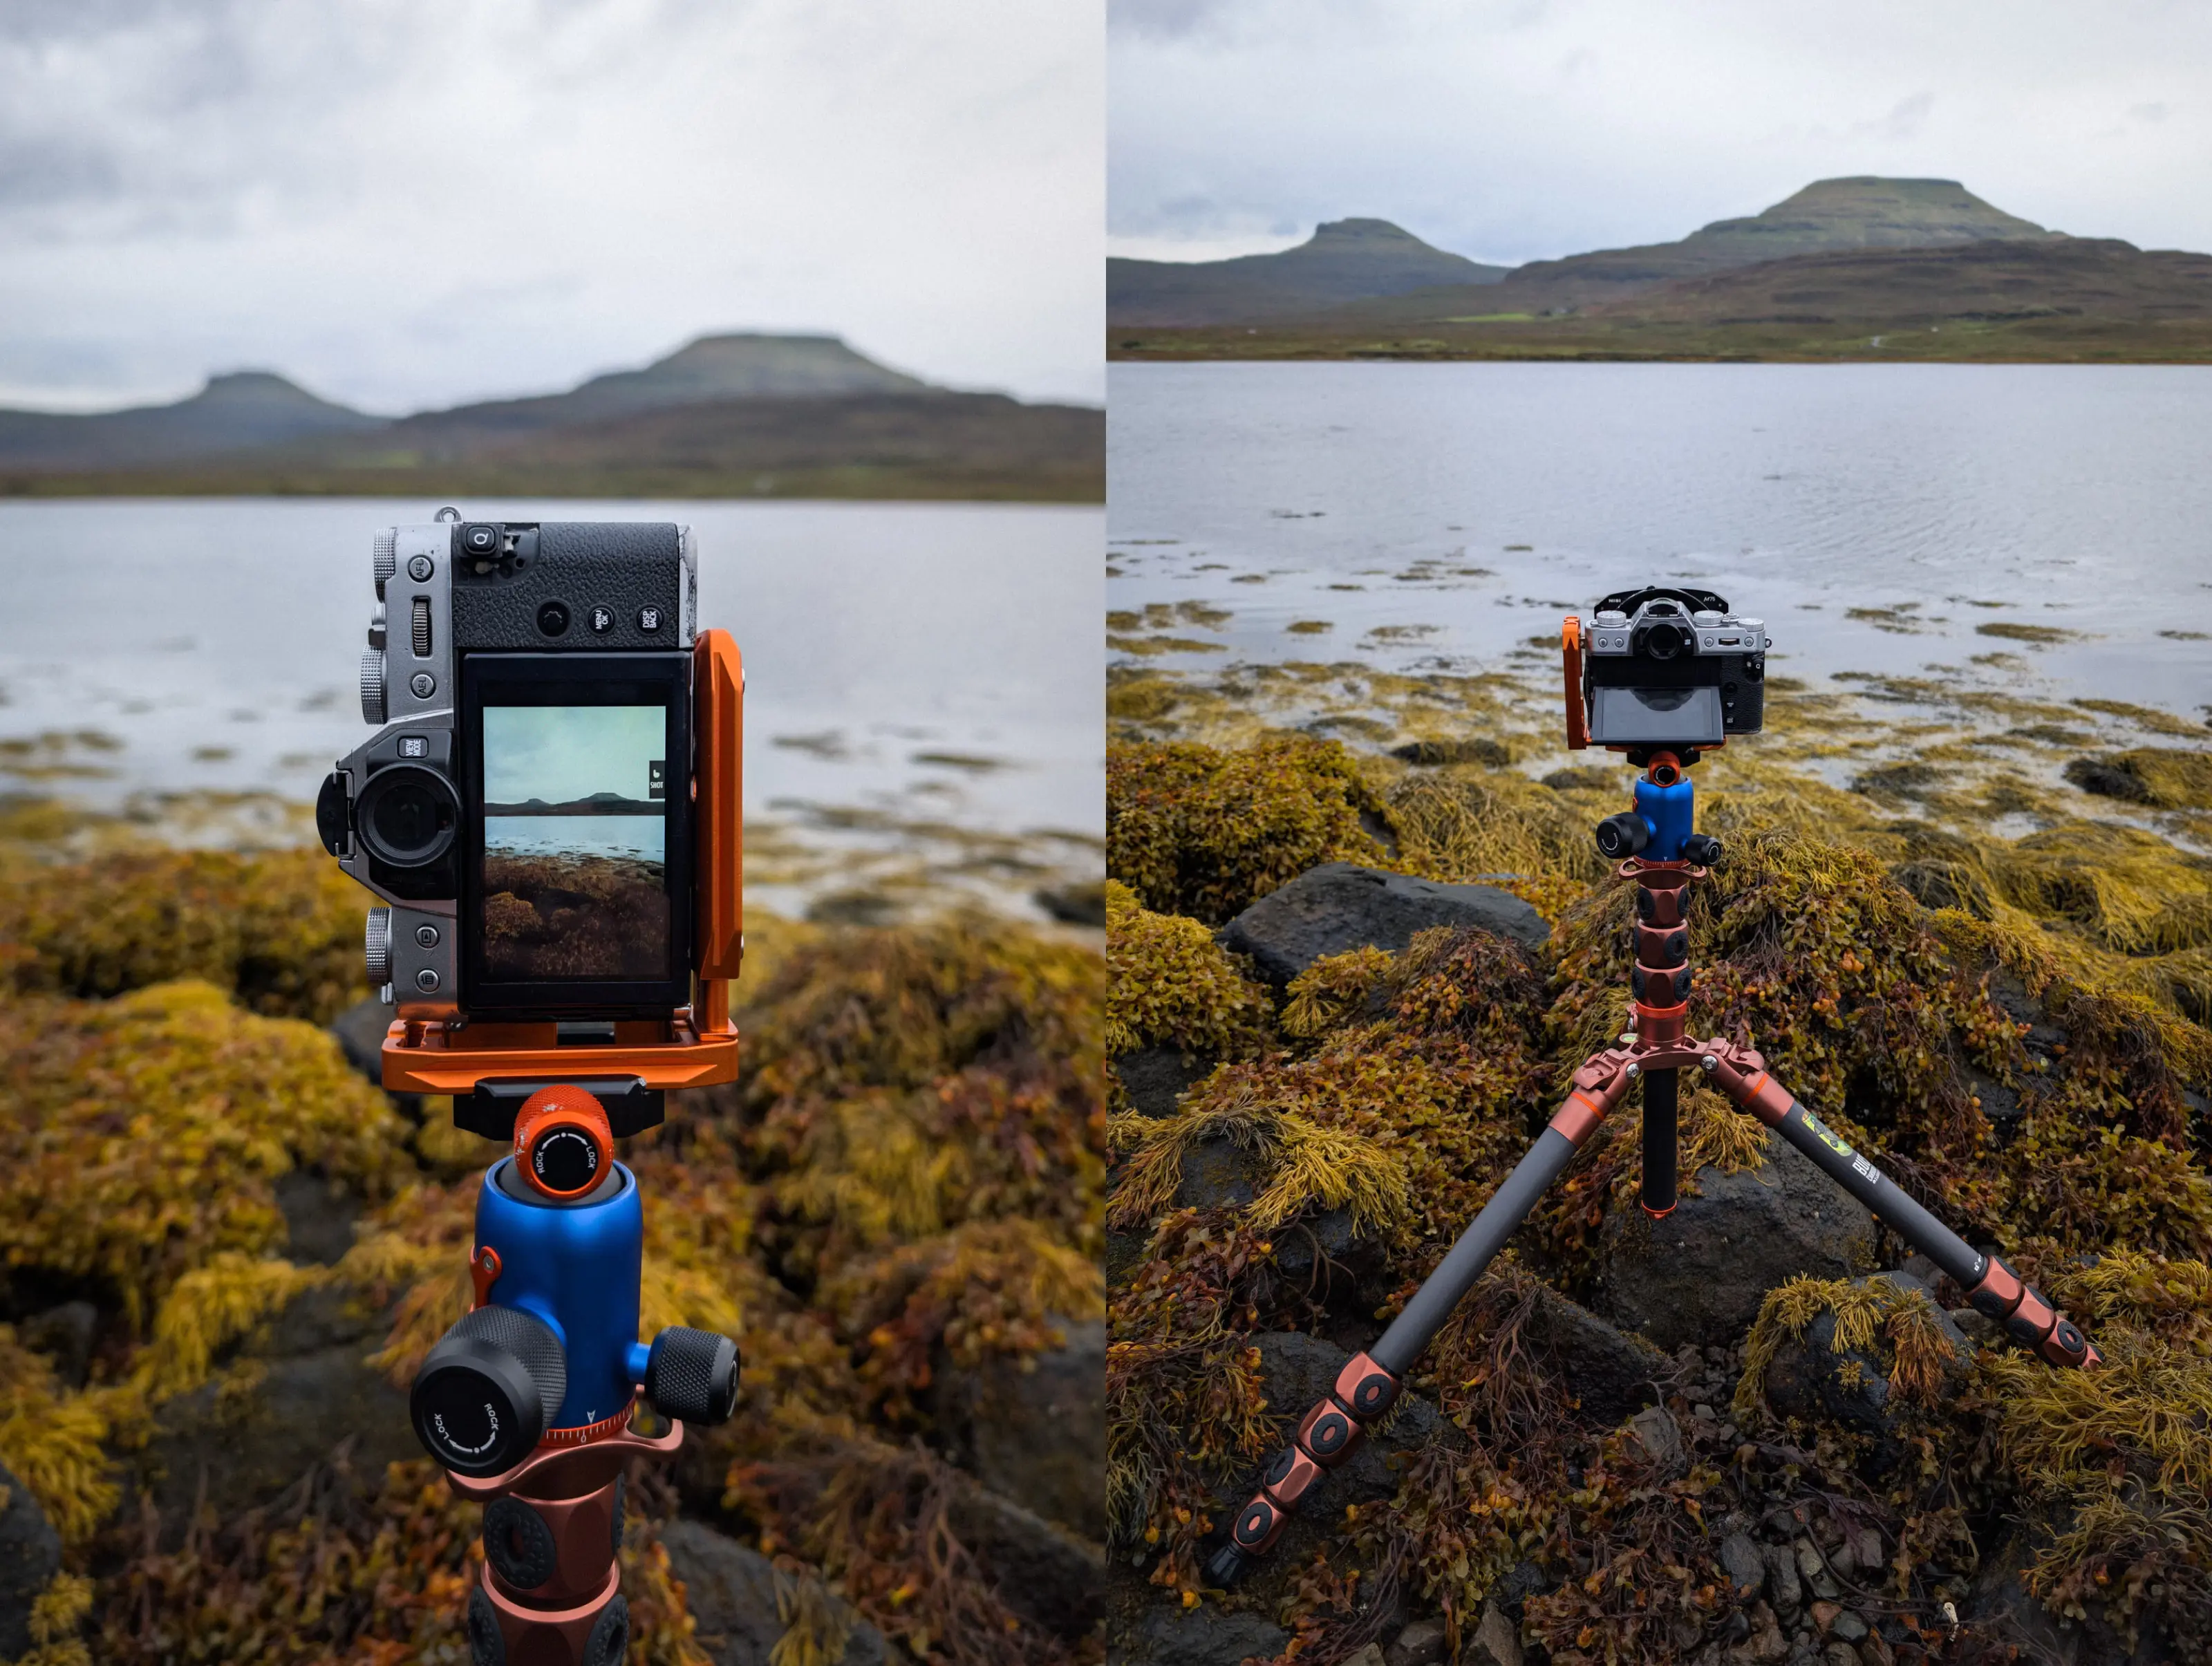
I was impressed by how high the tripod could extend. At a maximum height of 1.90 m, I was able to get my camera at eye level and even higher. Once fully extended, the tripod felt incredibly sturdy; unlike some others I've used, which can be flimsy or shaky when fully extended. With this tripod, I felt confident taking pictures without the worry of camera shake. Additionally, the tripod can be adjusted to a very low position, with legs that stretch out significantly. This flexibility to go both very high and very low, while maintaining stability, is extremely useful for capturing the best landscape shots possible.

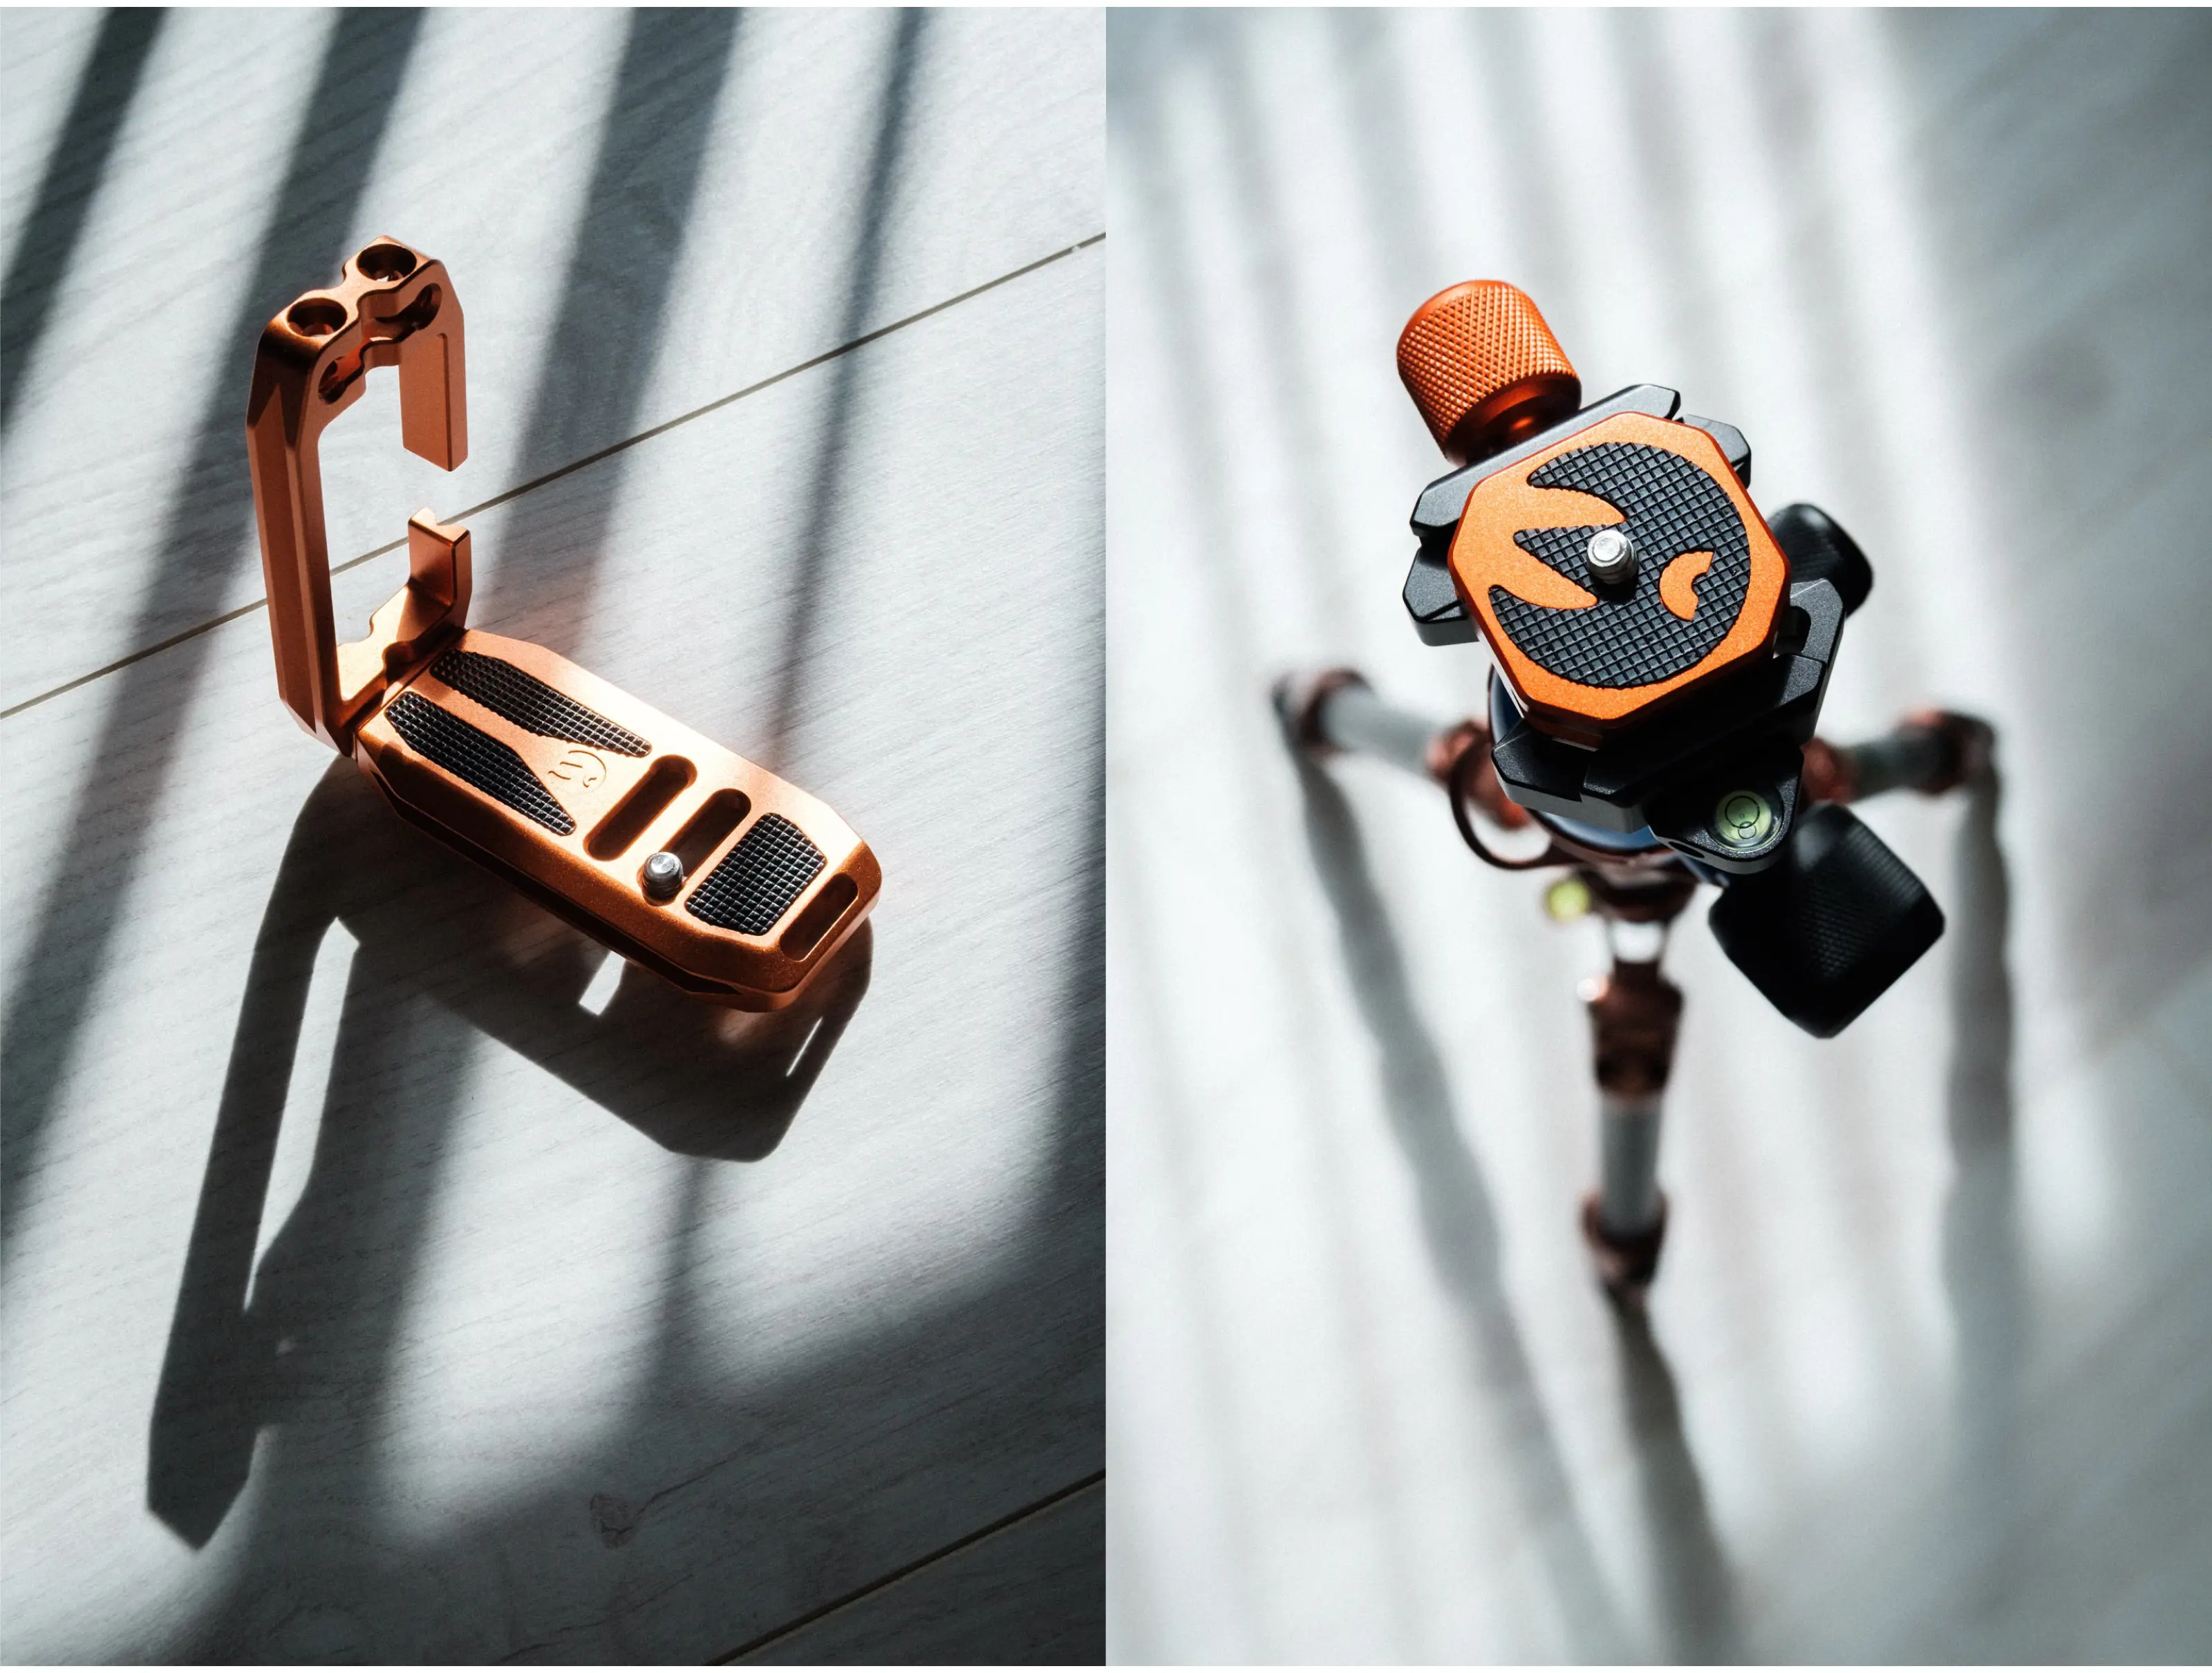
The tripod head and control knobs were smooth and fantastic for easily adjusting my camera to the best position. They can be loosened and tightened simply by turning, and the clips on the top of the tripod legs provide extra security, reducing the chances of slips. The L-Bracket, which I describe in more detail below, complements this functionality.

Overall, I spent just short of five days on the Isle of Skye, using the tripod every single day. It was a fantastic experience, and not only did the tripod perform exceptionally well, but it also looked great, as you can see from the pictures!
Using The Lexie Universal L-bracket
Using an L-bracket for the first time was a relatively new experience for me in landscape photography. However, it has truly transformed how I approach my future shoots, and I will definitely incorporate it into my work.
So, what exactly is an L-bracket? It’s a plate that attaches to your camera and mounts to your tripod. It's called an L-bracket because it features an L shape and sits on the bottom and at the side of your camera, securely attached by screws, with both sides of the "L" mountable to your tripod. This design allows you to switch between landscape and portrait orientations without moving the tripod or making any other adjustments, which is a significant advantage for landscape photography.
For the Bucky Tripod and others, 3 Legged Thing offers the Lexie Universal L-bracket system, which is compatible with all popular camera brands, and is what I used.
When I first started using the L-Bracket, I wasn’t entirely sure how to attach it to my camera. It took me a little while to figure out how to screw it in, and effectively use it with my tripod. However, I got the hang of it soon enough. Then, quickly changing the camera's orientation without touching the tripod became second nature.
If you’re in the market for a tripod and you expect to be using it mainly outdoors, I strongly recommend considering an L-Bracket-compatible model. Alternatively, look for companies that offer an L-Bracket with their tripods.
Remember, in landscape and outdoor photography, you might find yourself in rainy or windy conditions, or in situations where you don’t want to stay in one spot for too long. Having the flexibility to switch from landscape to portrait orientation quickly is incredibly useful in these scenarios. Simply put, it’ll make your life so, so much easier!
I was thoroughly impressed with my experience overall using the tripod and L-Bracket out in the field. It functions exceptionally well and has a great aesthetic. Although this tripod comes with a hefty price tag, it's absolutely justified. For every aspect of tripod functionality, this one excelled.
There was just one minor thing where the tripod could be improved; potentially, folding it back up to fit into the bag was occasionally fiddly. However, I have encountered similar issues with other tripods, so this is not unique.
Overall, it's an excellent tripod that will definitely take pride of place in my photography kit bag.
Want to see more of the Bucky Tripod in action?
Take a look at our guide on getting multiple sellable photos from a single location.
Cheap Tripods vs Quality Tripods: A Quick Comparison
Build Material: Plastic or thin aluminium vs carbon fibre or high-grade aluminium
Durability: Prone to snapping, loose screws, and wobbly legs vs built to last for years, even in tough conditions
Stability: Struggles in wind or uneven terrain vs rock-solid, even in challenging weather
Weight: Often light but flimsy vs lightweight and strong, easy to carry without compromise
Ease of Use: Sticky joints, awkward adjustments vs smooth locks and quick setup
Vibration Control: Poor, results in camera shake vs excellent, nd ideal for long exposures and sharp detail
Aesthetics & Finish: Basic, utilitarian look vs precision-engineered, often beautifully designed
Long-Term Value: Needs replacing often, false economy vs one investment that lasts your photographic journey
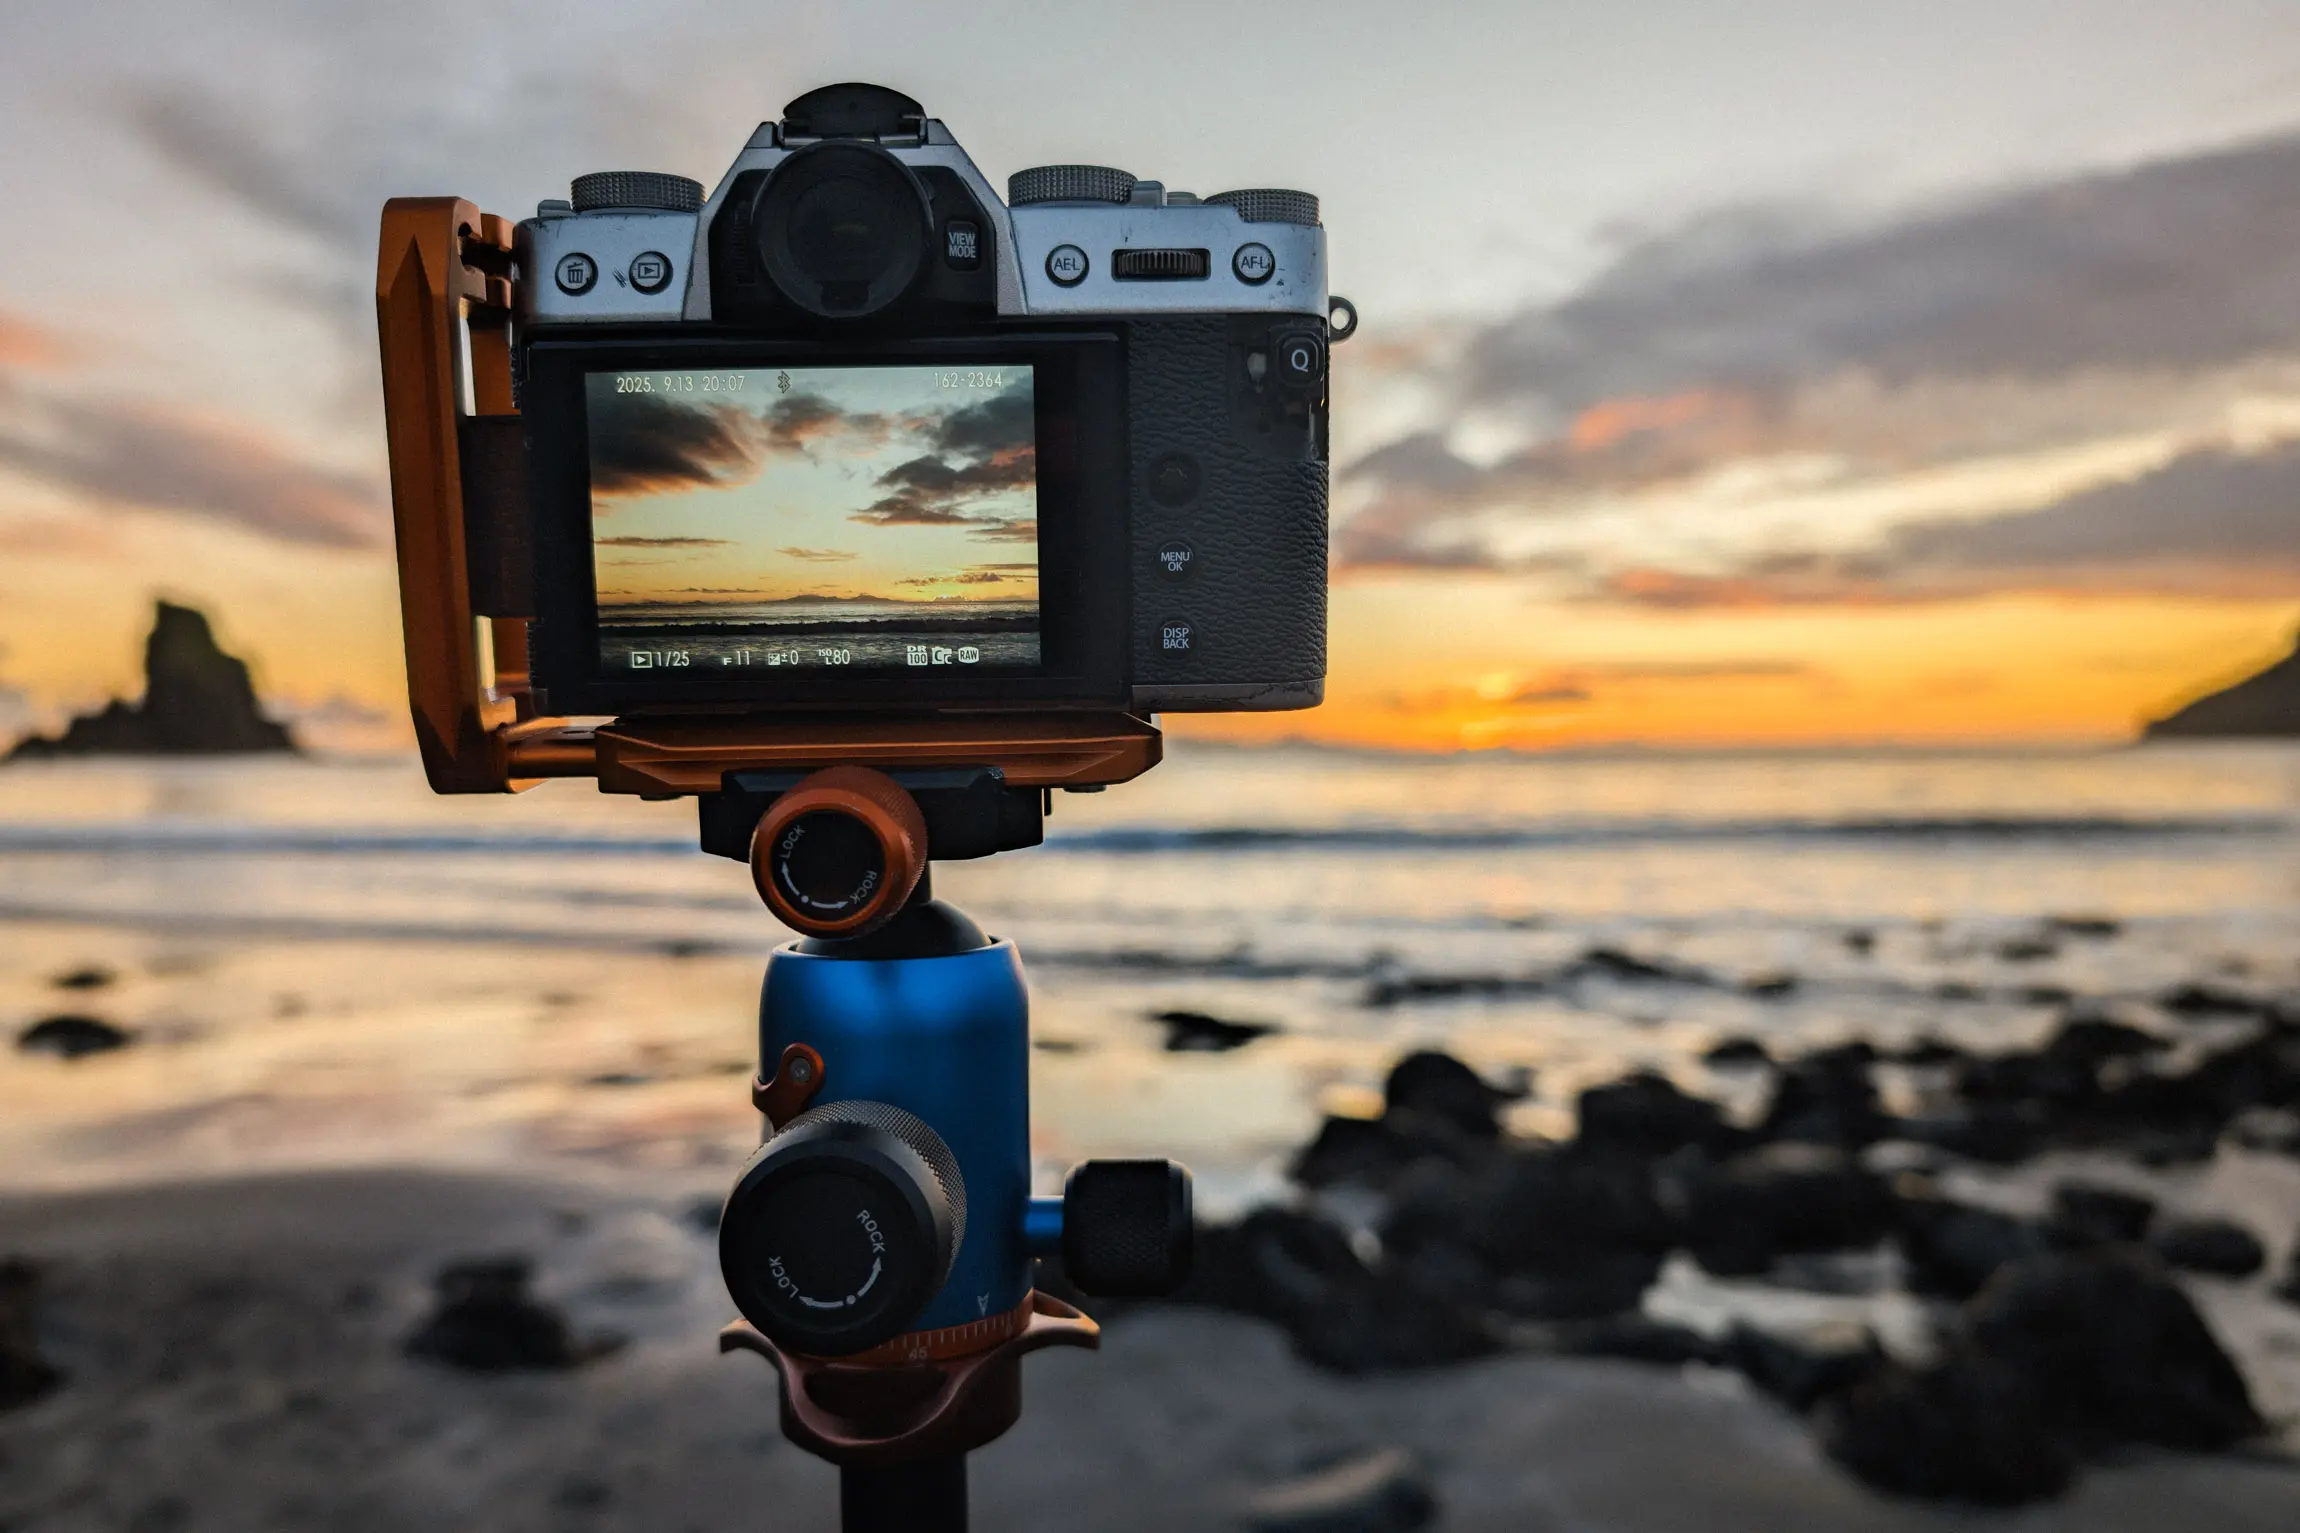
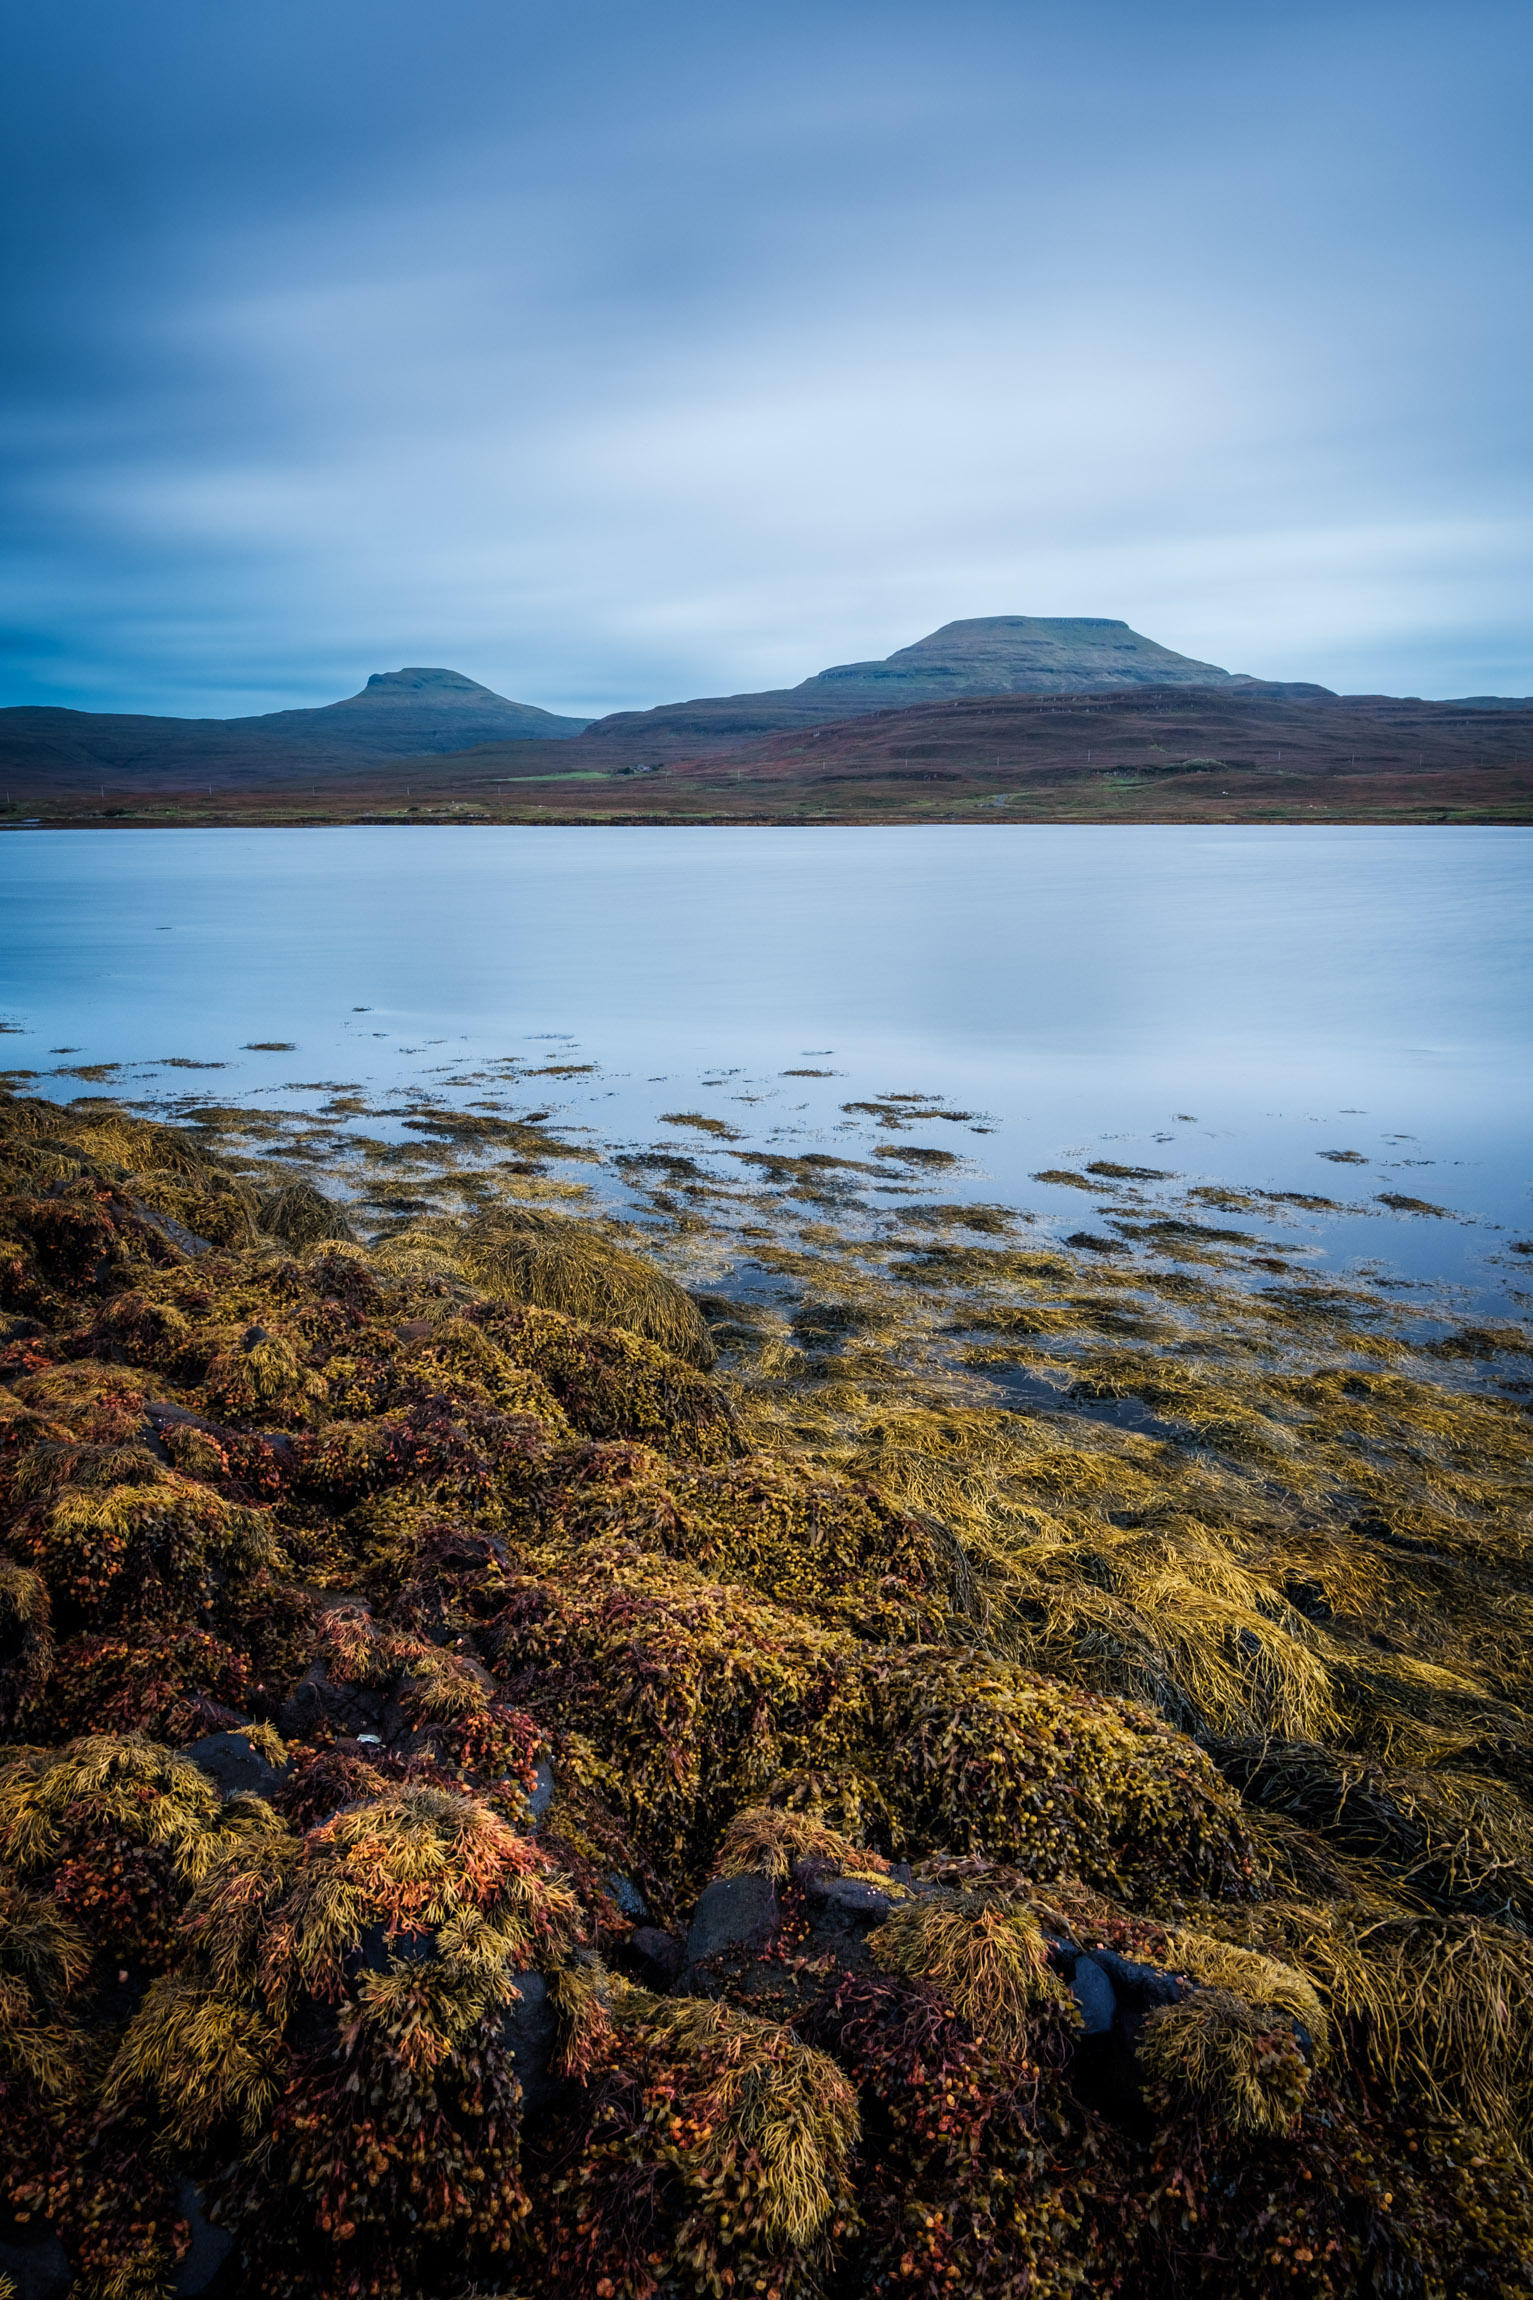
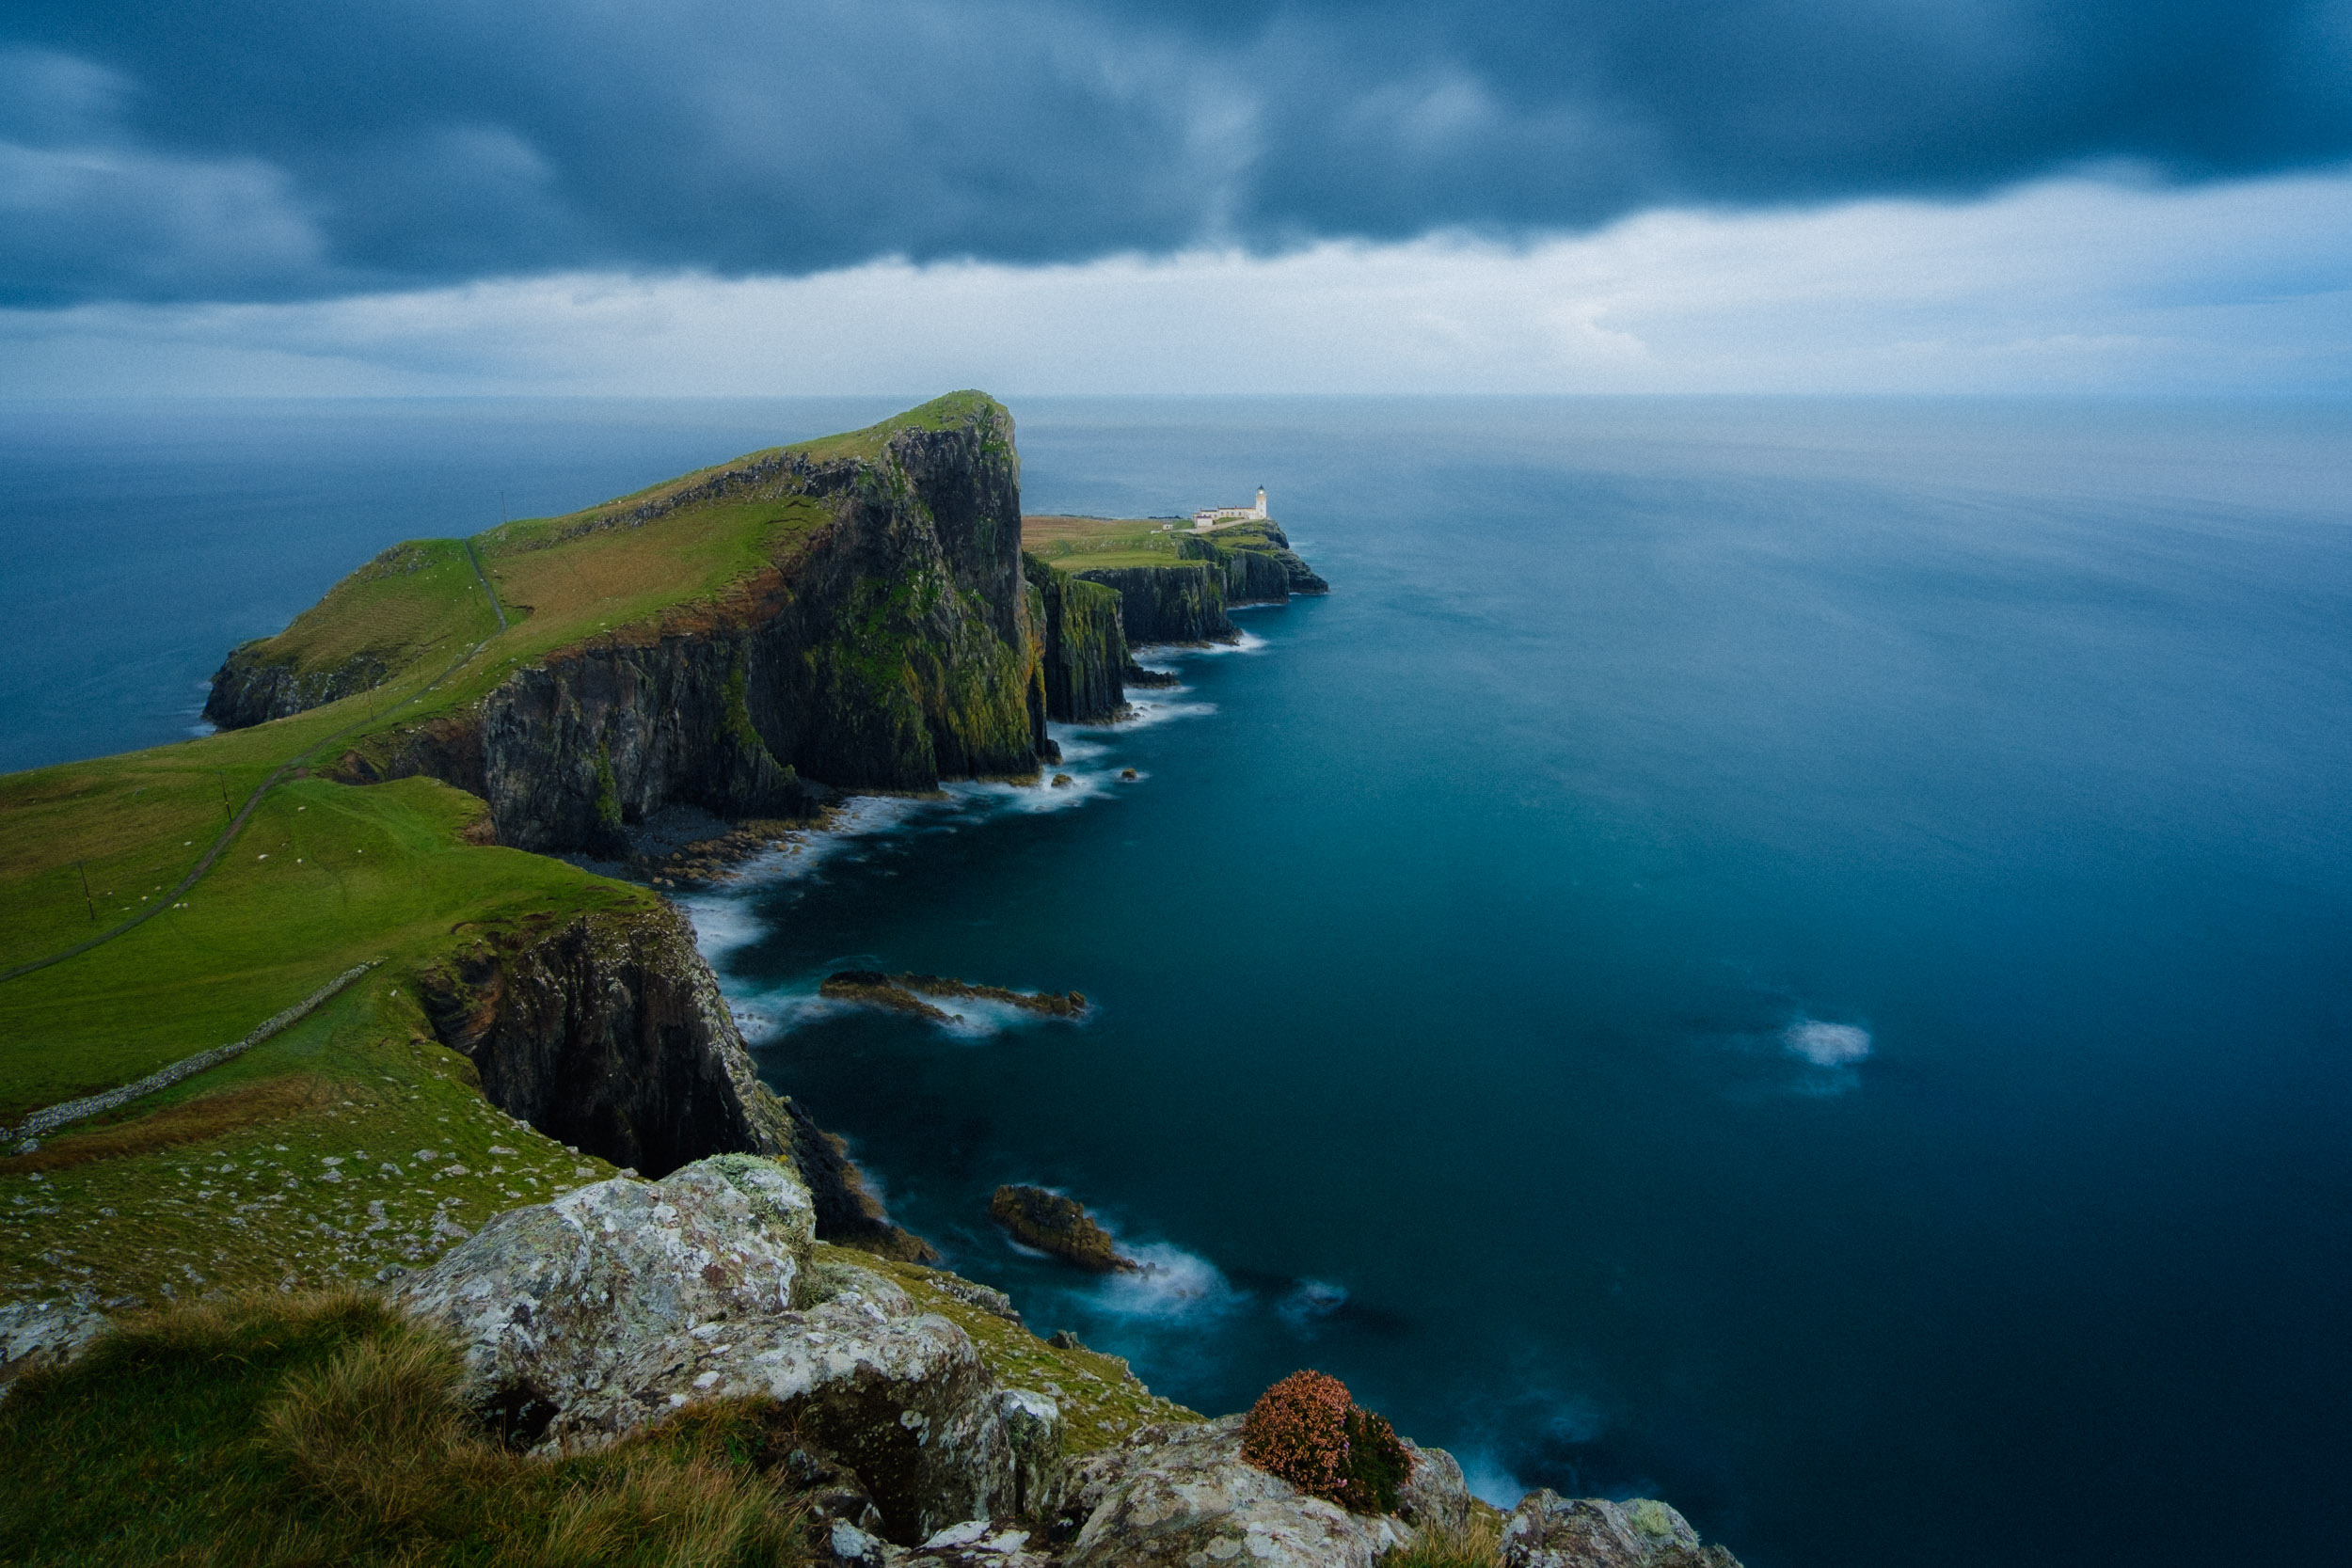
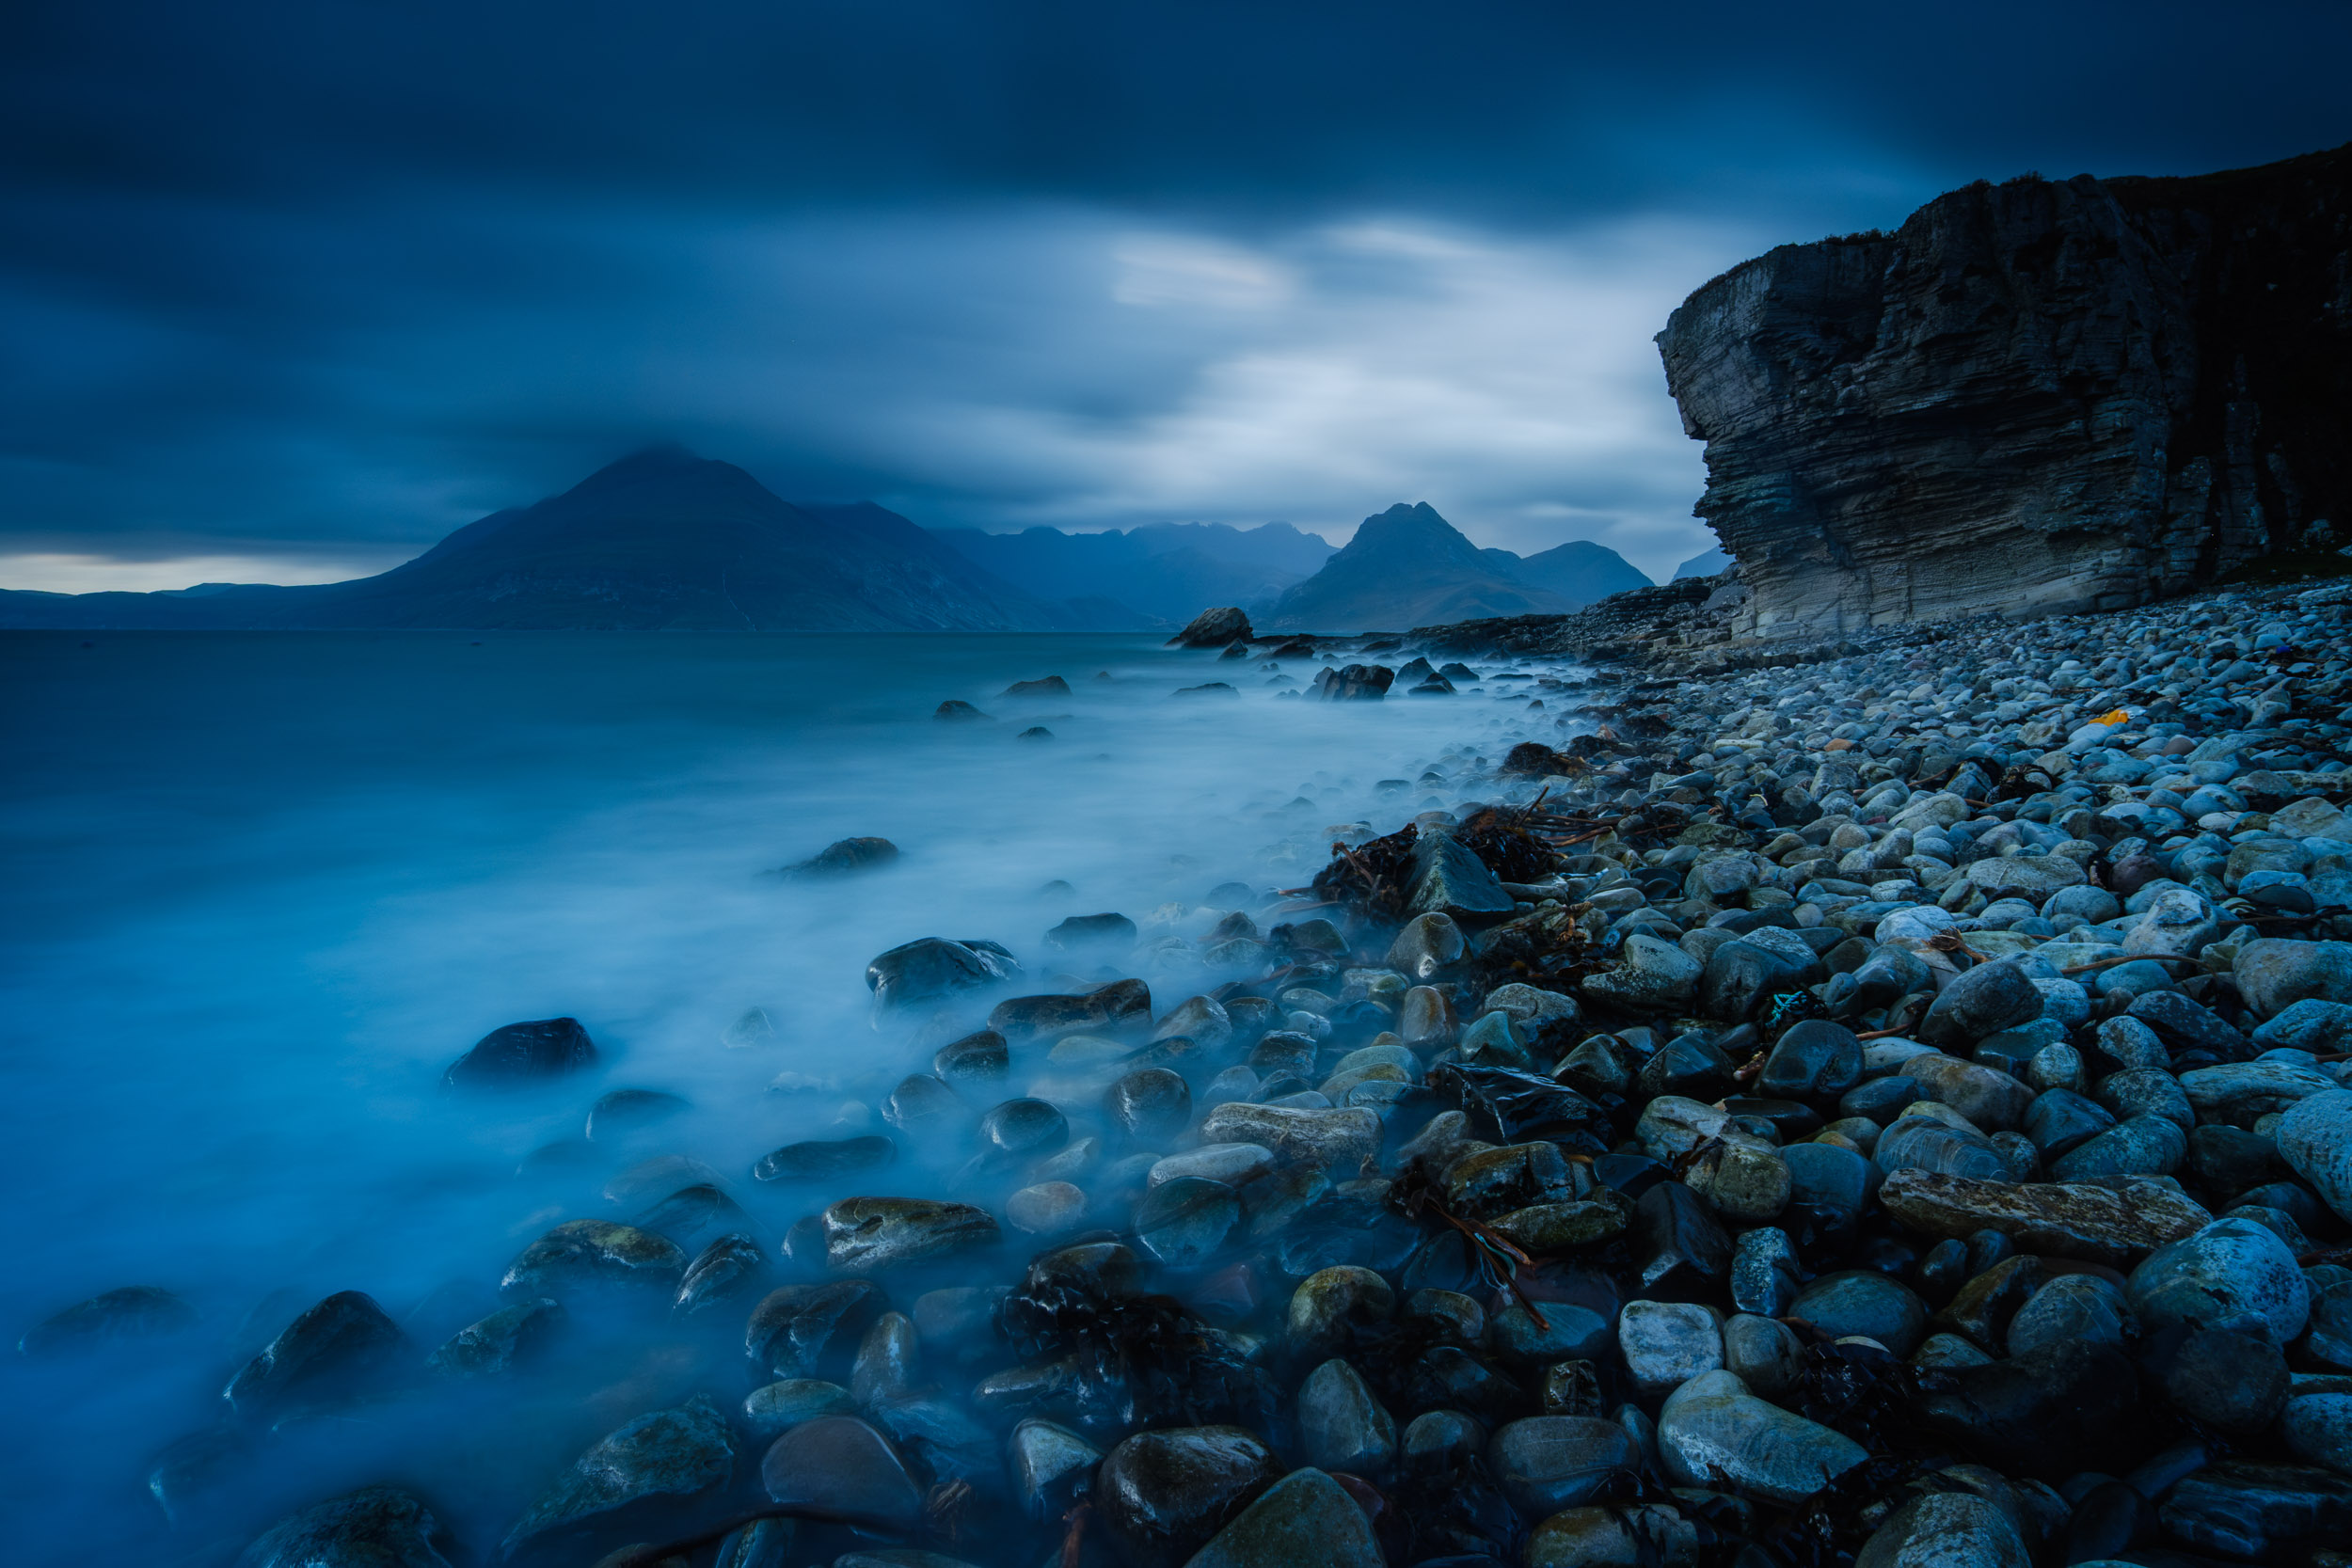
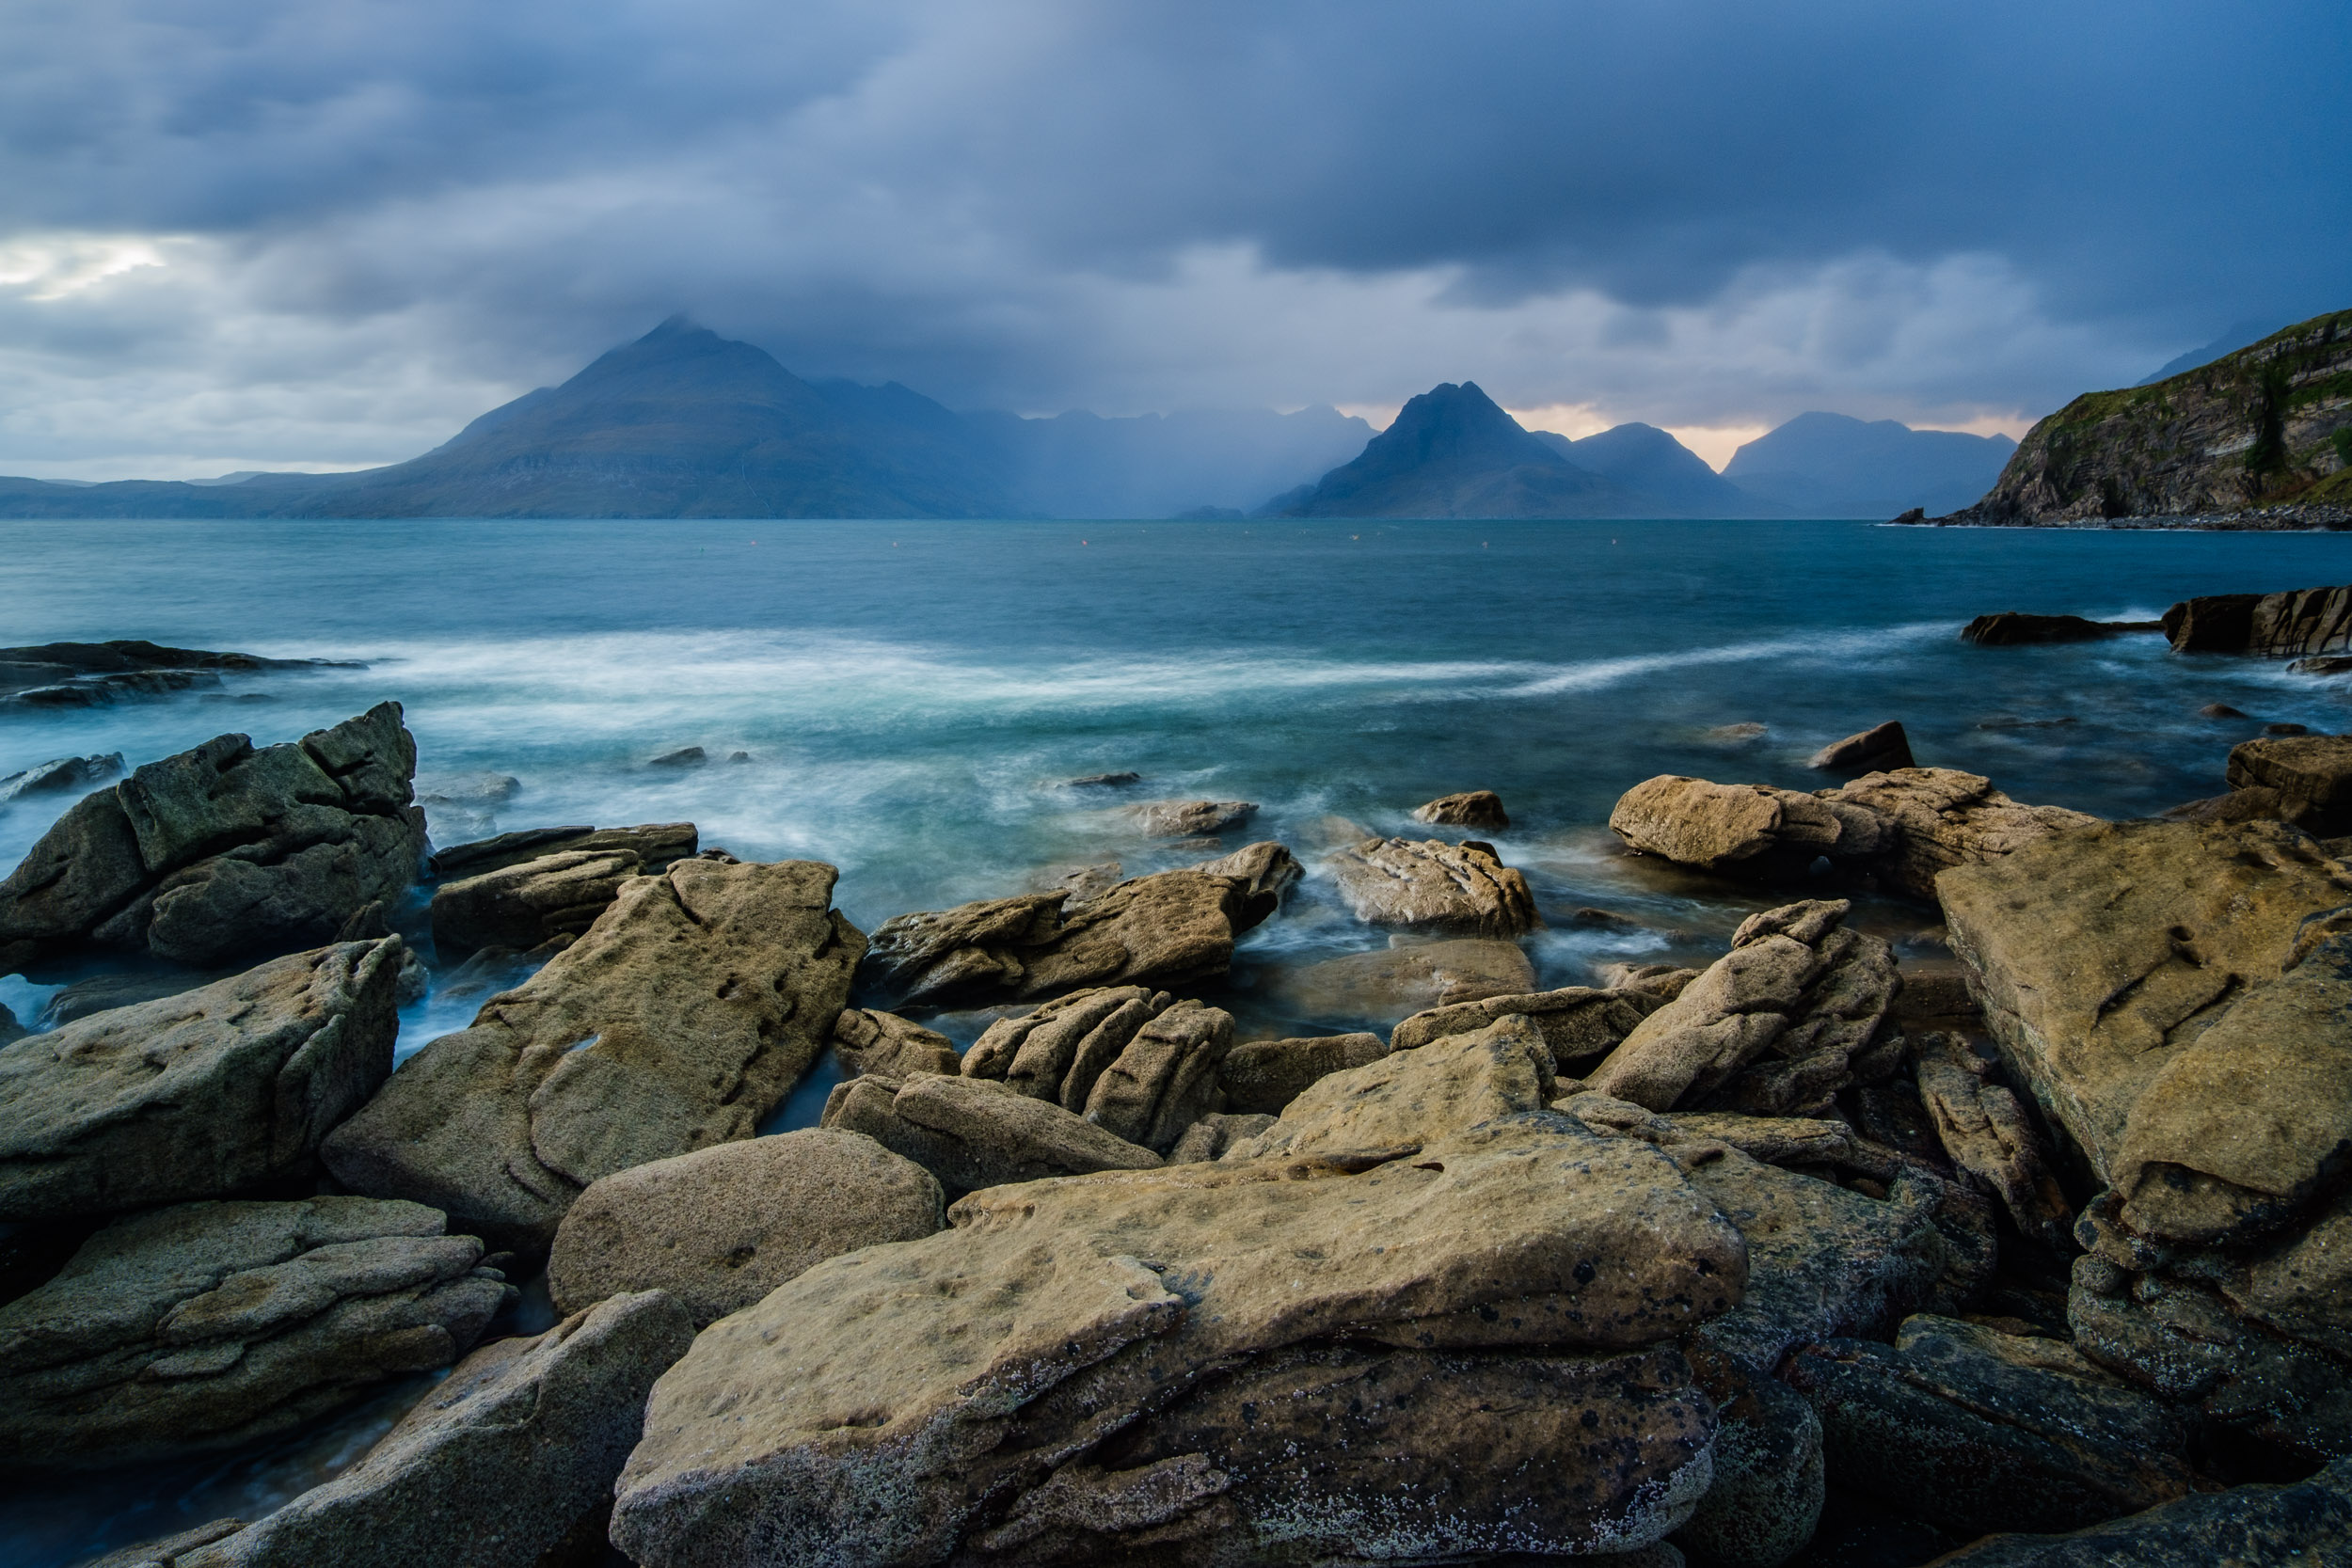
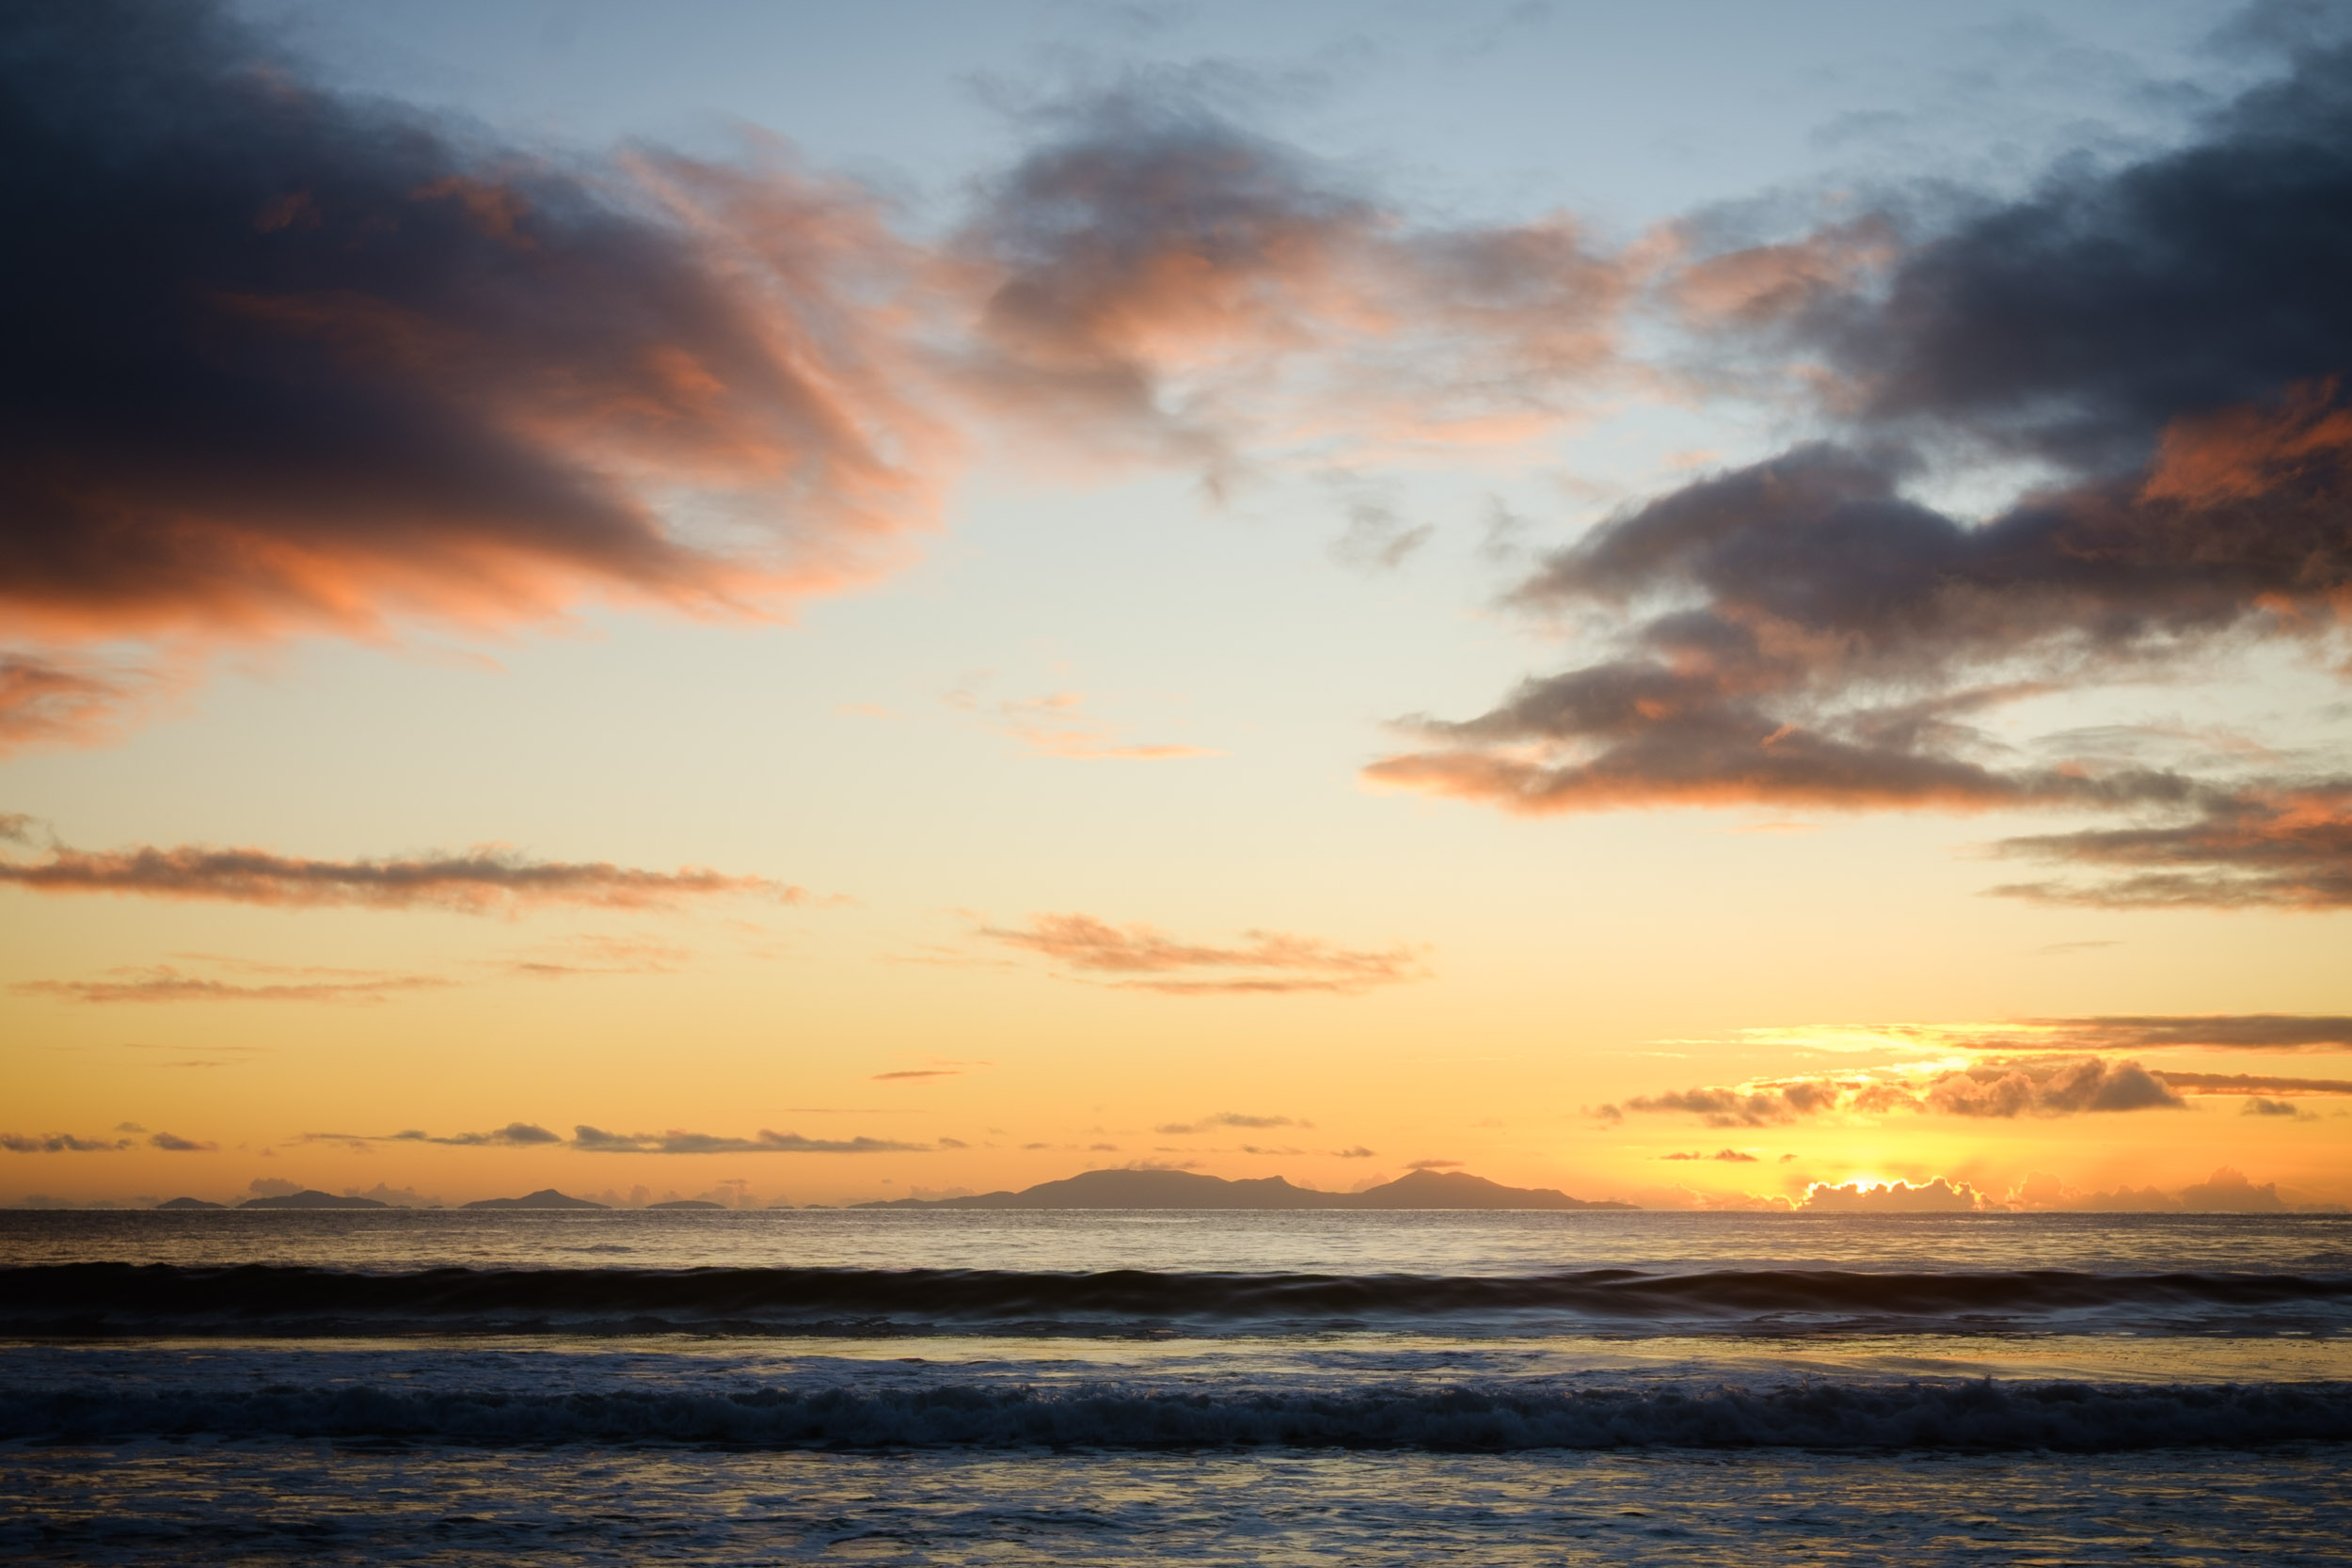
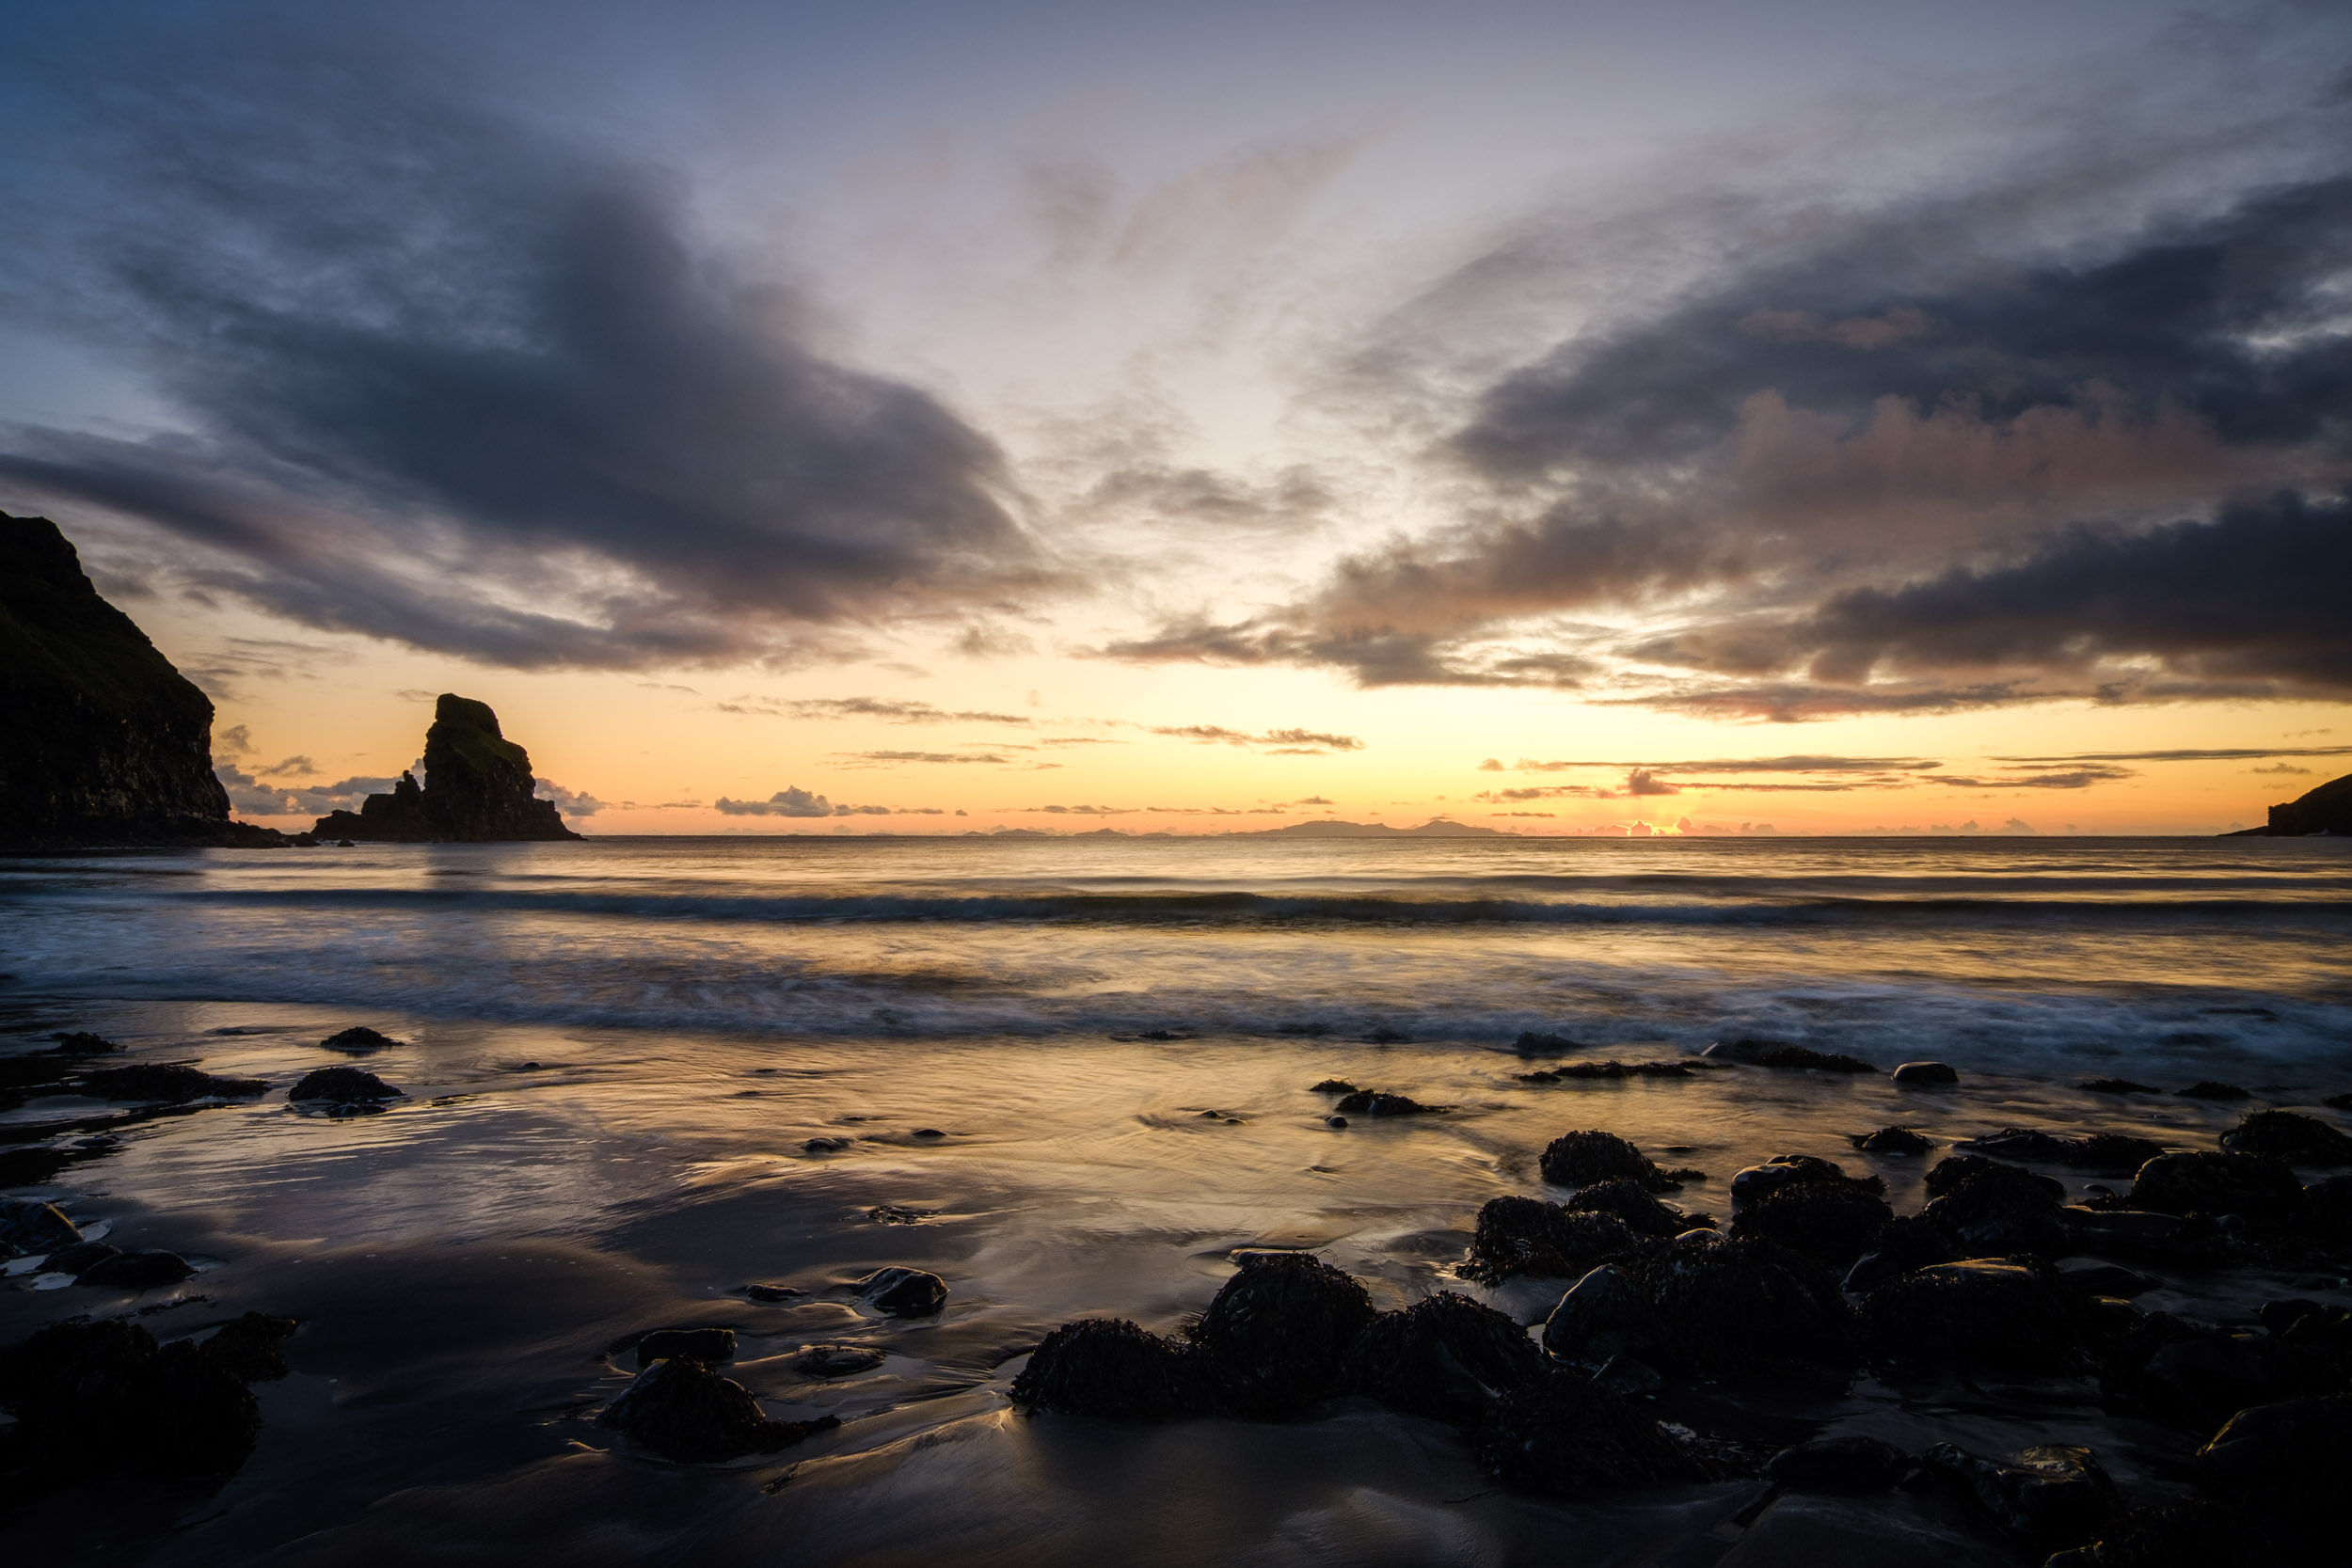
The images below are some of my favourites that I captured using the Legends Bucky Carbon Fibre Travel Tripod.
The exposure settings are in the caption for each, so you’ll notice that all of these have much longer exposures that warranted the use of a tripod. I.e. you won't be able to take these pictures just holding the camera.
As discussed before, using a tripod opens the door to learning all about long exposure photography, which is a personal favourite of mine. To be honest, once you start with the genre, you may soon find yourself hooked; believe me the effect is just fantastic. It will transform how you think about photography.
I hope these images inspire you and make you consider what you can achieve using a good-quality tripod.
Author Tip:
Extend the thicker legs (the top ones) first on your tripod for maximum stability.


Tips For Choosing The Right Tripod
Every photographer's needs are different, so it's essential to choose a tripod that suits your style and preferred genres of photography.
Here are some of my top tips for selecting the right tripod:
1 Think About Your Photography Environment
Consider where you will primarily be taking photos. For instance, if you're mostly photographing landscapes or doing astrophotography in challenging weather conditions, you need a tripod that can withstand various elements like water, cold, and heat.
2 Think About Portability
Consider how you'll transport the tripod. If you're doing static photography, such as landscapes, and you’ll be driving to your location, the tripod's weight may not be as critical. However, if hiking or travelling, you'll want a lightweight, compact tripod that folds easily. A heavy tripod can become uncomfortable to carry over long distances, so finding one that suits your travel plans is crucial.
3 Assess Your Photography Needs
While I often focus on outdoor photography, you may have other uses for a tripod, such as studio work, macro photography, or still life. Finding a tripod that can adapt to various settings is a great idea. A tripod that can get low to the ground (like the Bucky Tripod) is essential for macro photography. There are also mini tripods available, sometimes called 'mini pods' and also tripods that can grip onto railings, often called gorilla pods, which are great options too.
4 Consider Mobile Photography
Don't forget about using a tripod for mobile photography. While this guide primarily discusses using a camera, smartphone photography with a tripod opens up new possibilities. When choosing a tripod, look for one that offers adaptability for mobile devices. This includes features such as interchangeable mounts that allow you to use both a camera and a smartphone.
7 Common Tripod Mistakes Photographers Make
When heading out with your tripod, take note of these common mistakes photographers often make (and try avoid them if you can!):
1 Forgetting to Weigh It Down in Windy Conditions
Tripods can still fall over in the wind (happened to me plenty of times). To reduce shake, you can hang your camera or filter bag on the tripod, if it has a hook (they usually do).
2 Not Checking the Ground
Placing the tripod legs on uneven, soft, or slippery surfaces can cause the tripod to fall and slip. Take a moment to ensure the ground is secure.
3 Over-Tightening the Locks
Cranking the knobs or levers too tightly can wear them out or you could even break something. Tighten them until they are firm, but avoid using excessive force.
4 Leaving the Centre Column Fully Extended
Extending the centre column raises the camera but sacrifices stability (i.e. it shakes more rather than using the legs). Extend the legs first and only use the centre column when you need extra height.
5 Forgetting to level the tripod
Not bothering to use the bubble level (or eyeballing it) can lead to tilted horizons.
6 Not washing the tripod after wet, sandy or muddy conditions
If you’ve been taking pictures outside, always wipe down or wash your tripod if it gets soiled or muddy afterwards. Otherwise, you may find it more difficult to extend the legs or position your tripod on your next shoot. I’ve noticed this, especially when working at the coast, as sand and saltwater residue can make your tripod legs stiff to move. If you're struggling to move the legs, try washing your tripod with a little bit of dish soap to help loosen it up.
Final Thoughts
If you are becoming more serious about photography, or you find you have a keen interest in outdoor photography and want to advance it, then investing in a sturdy tripod should be one of your first priorities.
As this guide explains, while cheap models may save you money upfront, a well-made tripod will provide reliability and stability and last a very long time in the long run.
My experience with the 3 Legged Thing Bucky Tripod proves this; it’s beautifully constructed, highly functional, and a pleasure to use out in the field. I'm sure it'll last me many, many years. You can learn more about the Bucky Carbon Fibre Tripod and explore their full product range directly on the 3 Legged Thing website.
Whatever tripod you choose, ensure it’s one you can trust for many years. And as always, don’t forget to upload your wonderful new images taken with your tripod to your Picfair Store and share them with the world! We can't wait to see the results!


