


Rattray Head Lighthouse sits out to sea and you can't get close to it. Here's how researching the location and working the full zoom range of the XF16-55mm F2.8 R LM WR II got the shot
Kit Used:
Camera - Fujifilm X-T50
Lens - Fujifilm XF16-55mmF2.8 R LM WR II
Tripod - 3 Legged Thing Bucky Tripod
Film Simulation - Classic Negative Film Simulation
The Challenge of a Tricky Landscape Photography Subject
The best landscape photographers know when to break their own rules. Working within a genre builds good habits, but sometimes a subject comes along that those habits simply won't work, and that's when the real skill kicks in.
That's a good thing, though. Sticking to the same rules for every shoot is fine most of the time, but it's so much more interesting when a subject challenges you to break them and find a new way in.
For me, one of my favourite things to photograph is seascapes, and particularly lighthouses. I recently visited a brilliant, bucket-list-worthy one, but it was so unique that my usual set-up just wouldn't work. I had to research the location thoroughly before I arrived and work with a different range of focal lengths to get the best out of it.
I'm also a huge advocate for photographing unique places and subjects. Not only does it strengthen your skills as a photographer, but you're going out of your way to create something genuinely different, something that means something to you, your series, and your viewers. And I don't mean to be disparaging, but a lot of photographers will only go as far as they can park their car. Making the effort to seek out difficult locations and unusual subjects makes it all so much more rewarding when you get it right.
Read on to find out how I approached it, and how you can apply the same thinking when you come up against a tricky subject of your own.
Why Rattray Head Lighthouse Is One of Scotland's Trickiest Photography Locations
Rattray Head Lighthouse sits on the far north-east coast of Scotland, and it's hard to photograph for one simple reason: it lies out to sea, and you just cannot get close to it.
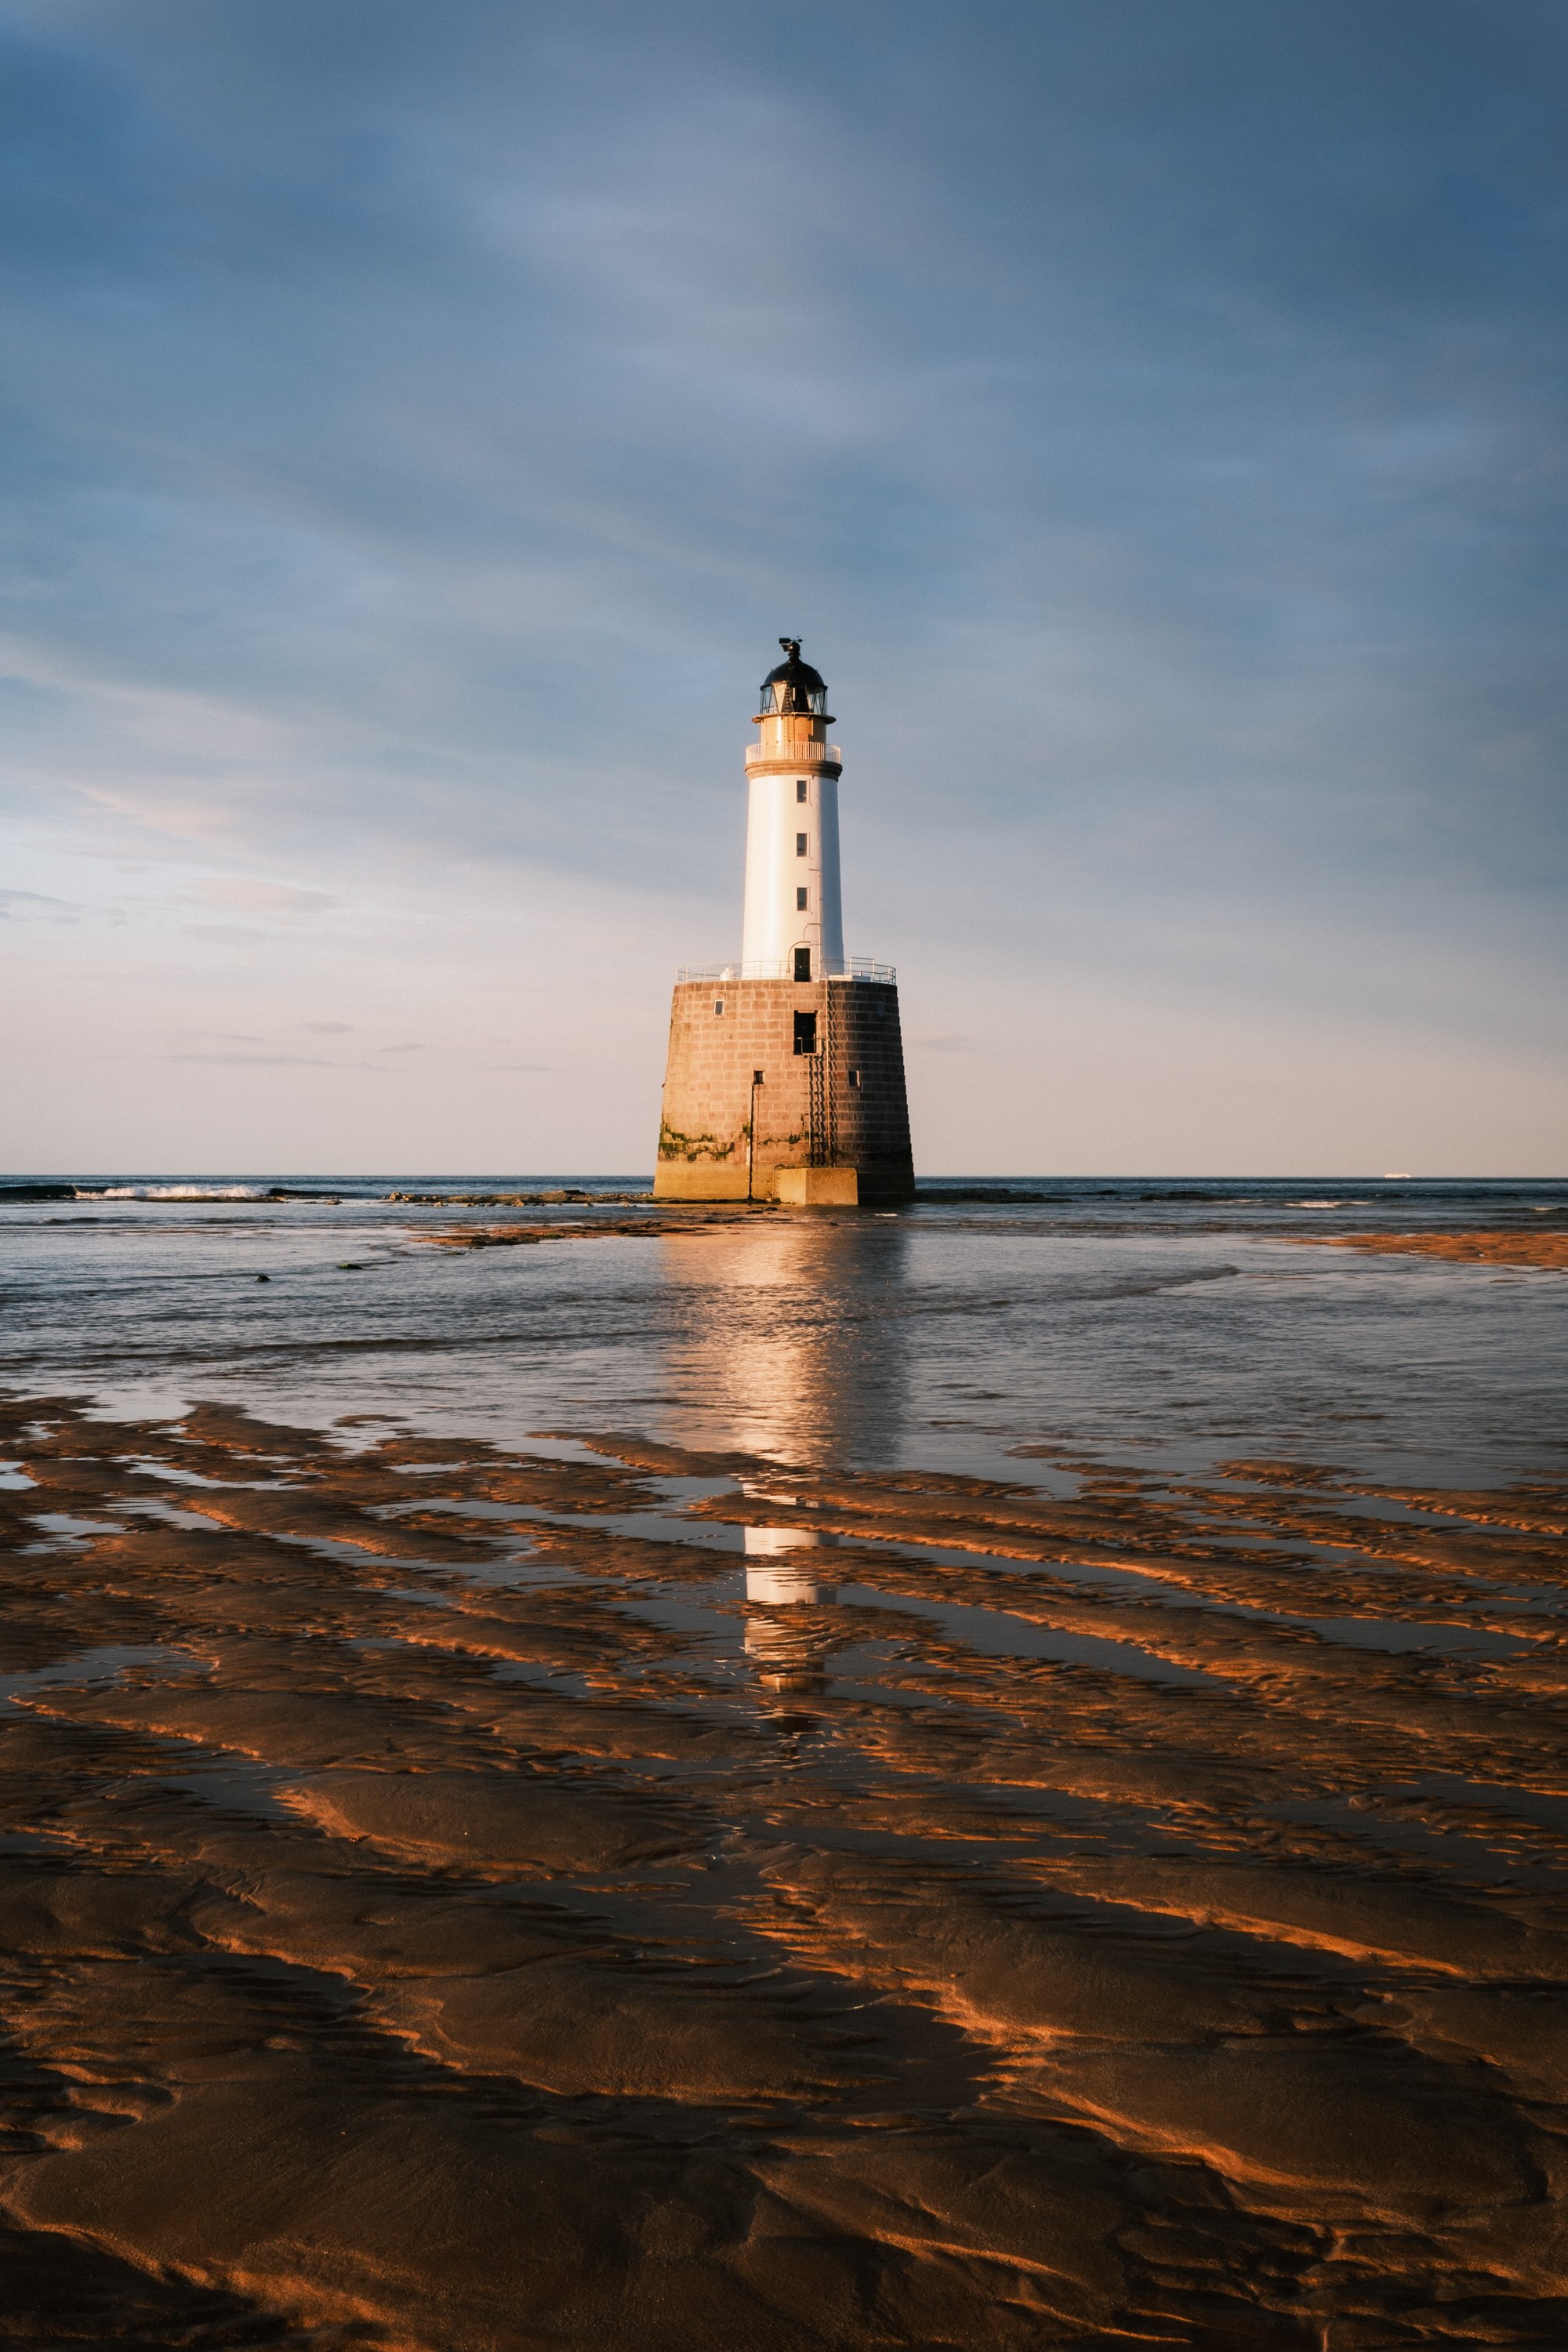
It's a spectacular structure. Like so many of Scotland's lighthouses, it was designed by the Stevenson family, the engineering dynasty responsible for so many of the country's iconic coastal lights. Built in 1895 from locally sourced granite, with that signature white-painted tower synonymous with Stevenson designs, it's stood for over 130 years. It even survived a WWII attack, when a German bomber circled the tower, dropped three bombs, and still failed to put it out of action.
What makes it truly unique is its position, though. It doesn't sit on a rocky cliff or at the tip of a peninsula like so many others. It stands on a sandbank out at sea, surrounded by water for most of the day, with only a very low tide revealing the narrow causeway that gives foot access to the structure.
That's what makes it such a brilliant and genuinely challenging subject for photography.
"Working within a genre builds good habits, but sometimes a subject comes along that those habits simply won't work, and that's when the real skill kicks in..."
Why Wide Angle Isn't Always the Right Choice for Landscape Photography
Simply put, when your main subject is far away, shooting wide can backfire. The subject becomes too small in the frame, losing the visual impact it deserves.
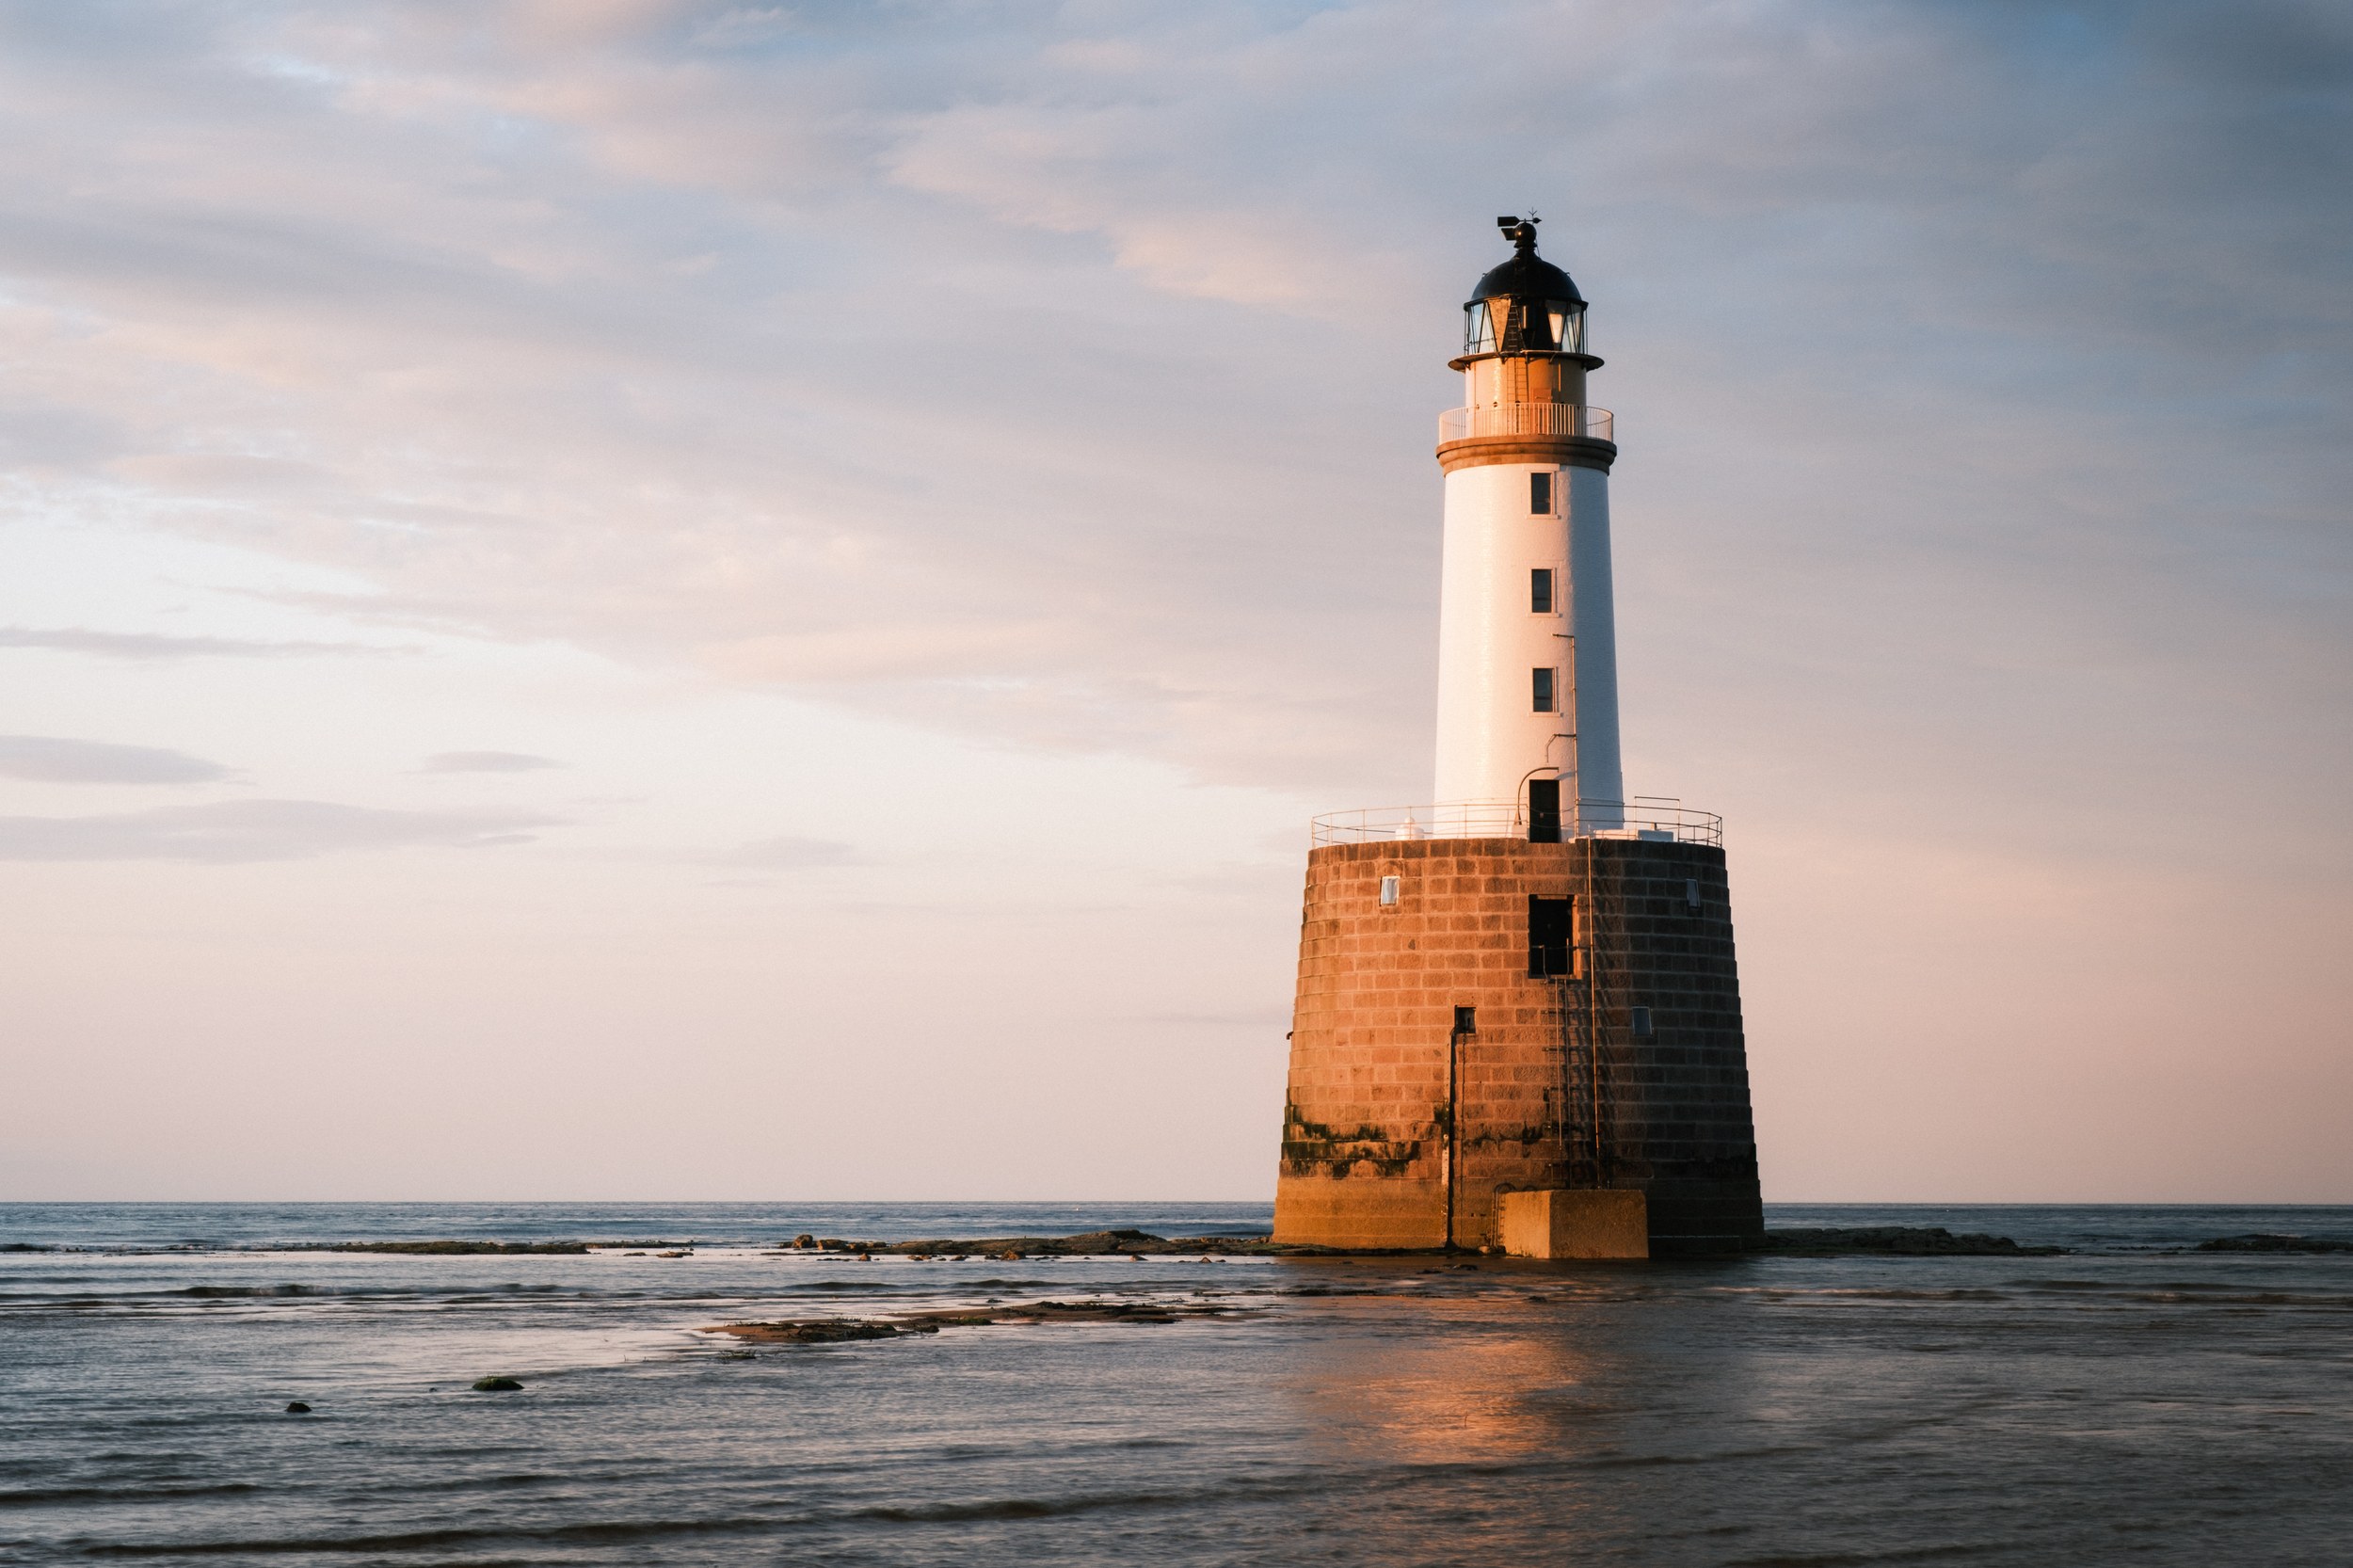
That's exactly what I found with Rattray Head. Normally, with landscape and seascape photography, I want to capture as much of the scene as possible to reflect that sense of scale and openness. But the lighthouse is such a striking subject that shooting too wide diminishes its visual impact, so I had to take a different approach: using my zoom capabilities, which I would normally use far less with landscape photography.
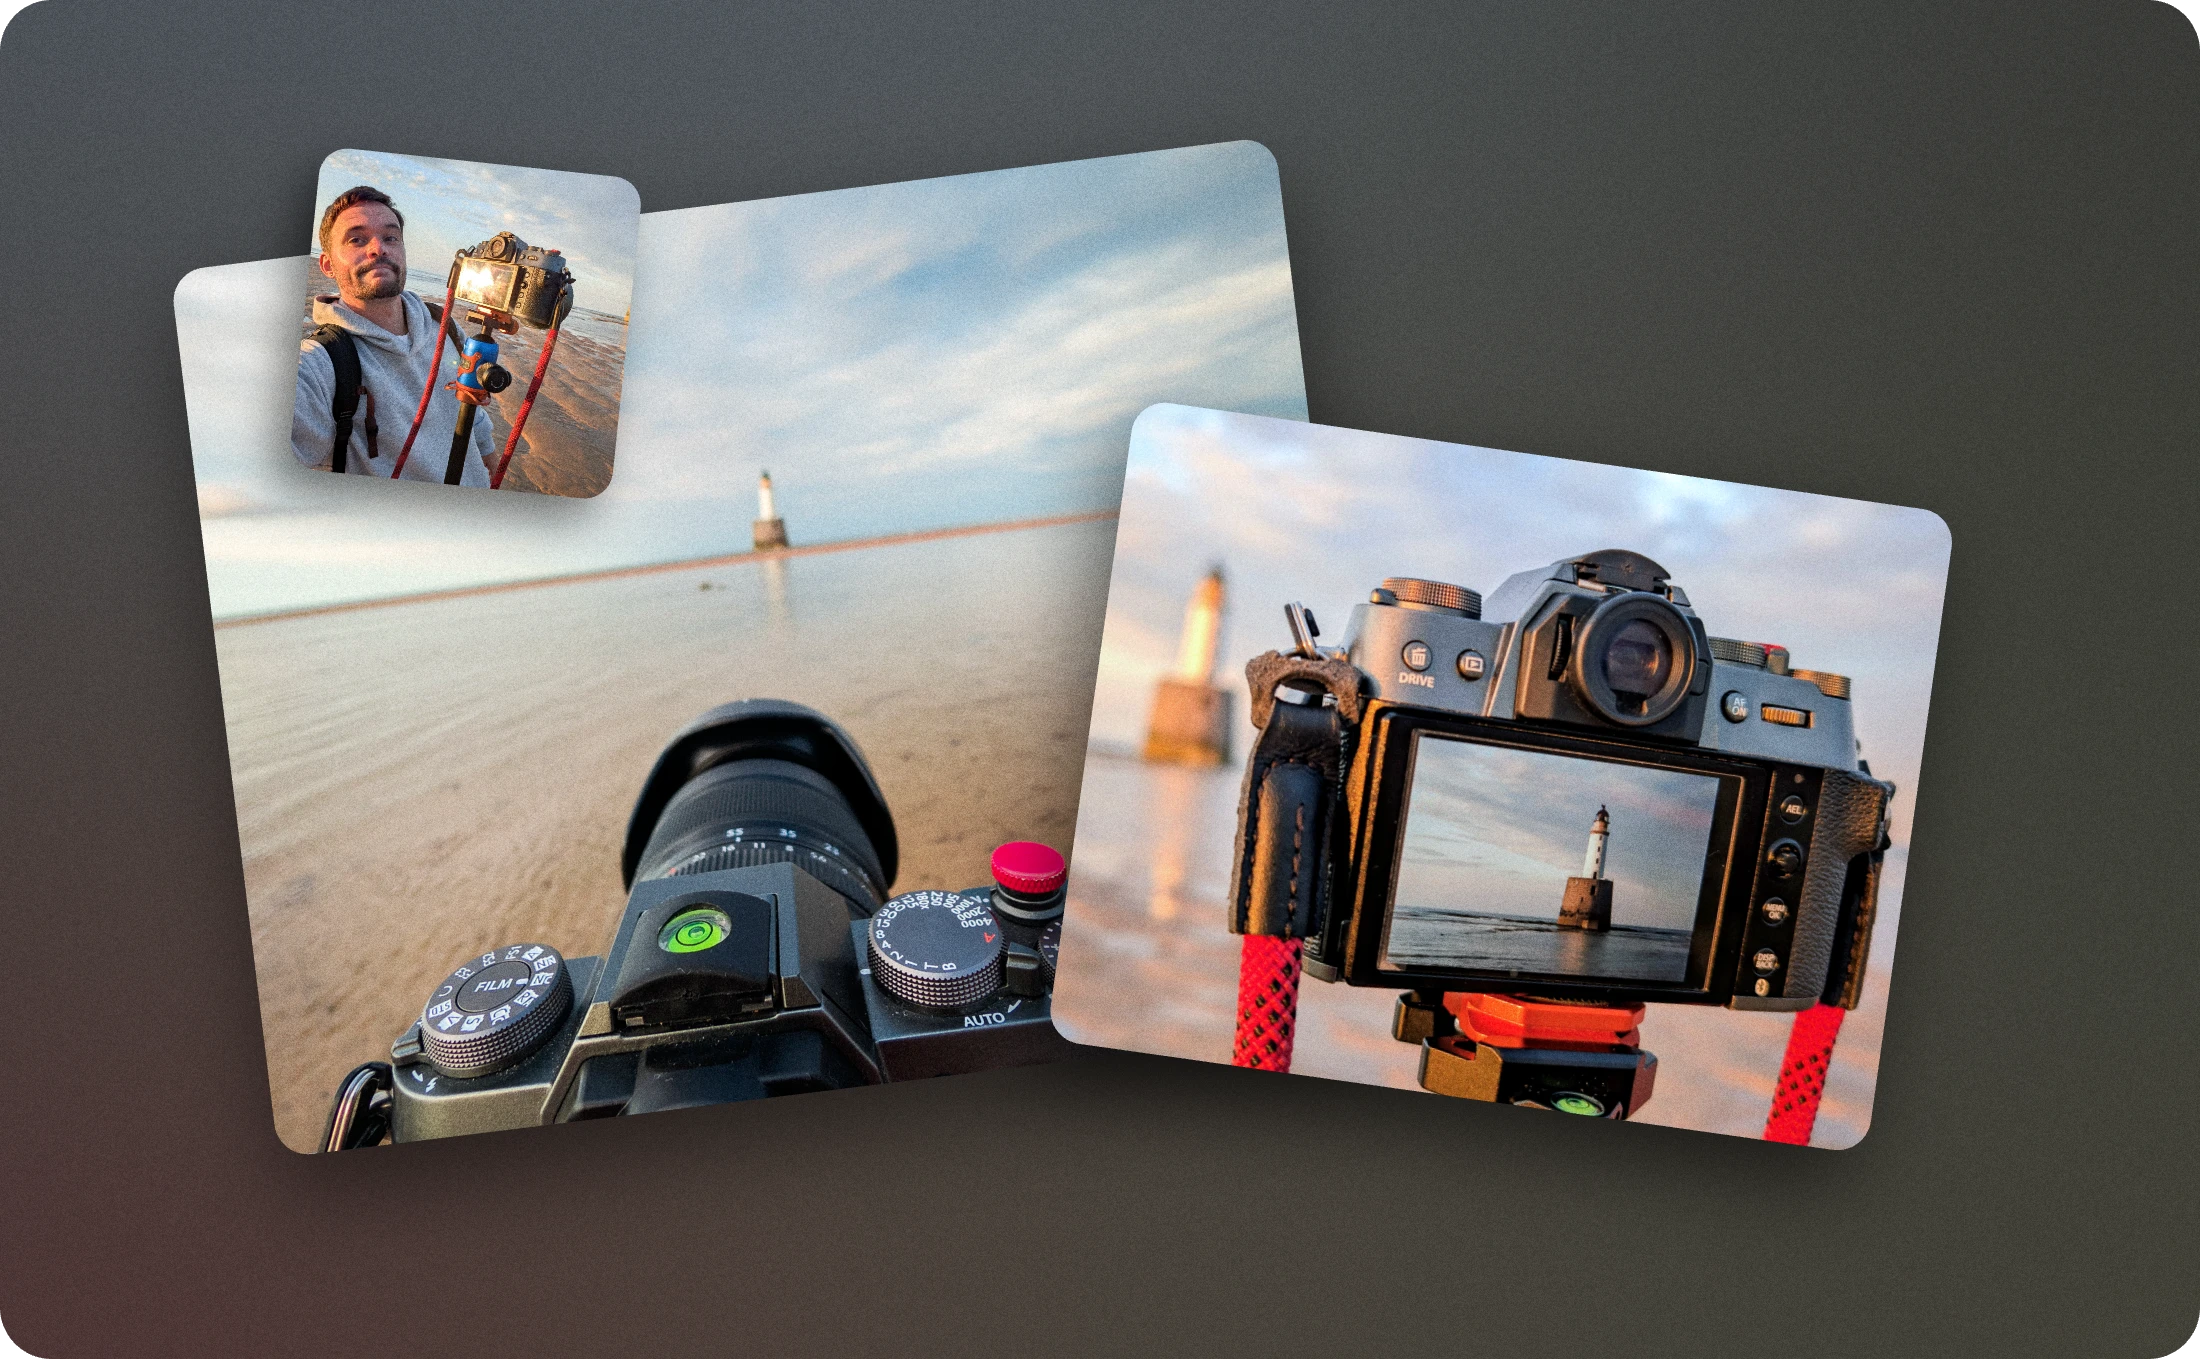
For this shoot, I was using my trusty Fujifilm X-T50 and the Fujifilm XF16-55mm F2.8 R LM WR II lens, and I found that going to the very long end of the zoom (55mm) worked beautifully for this subject. More on that later, but I did, however, come away with one wide-angle image I'm pleased with, see below:
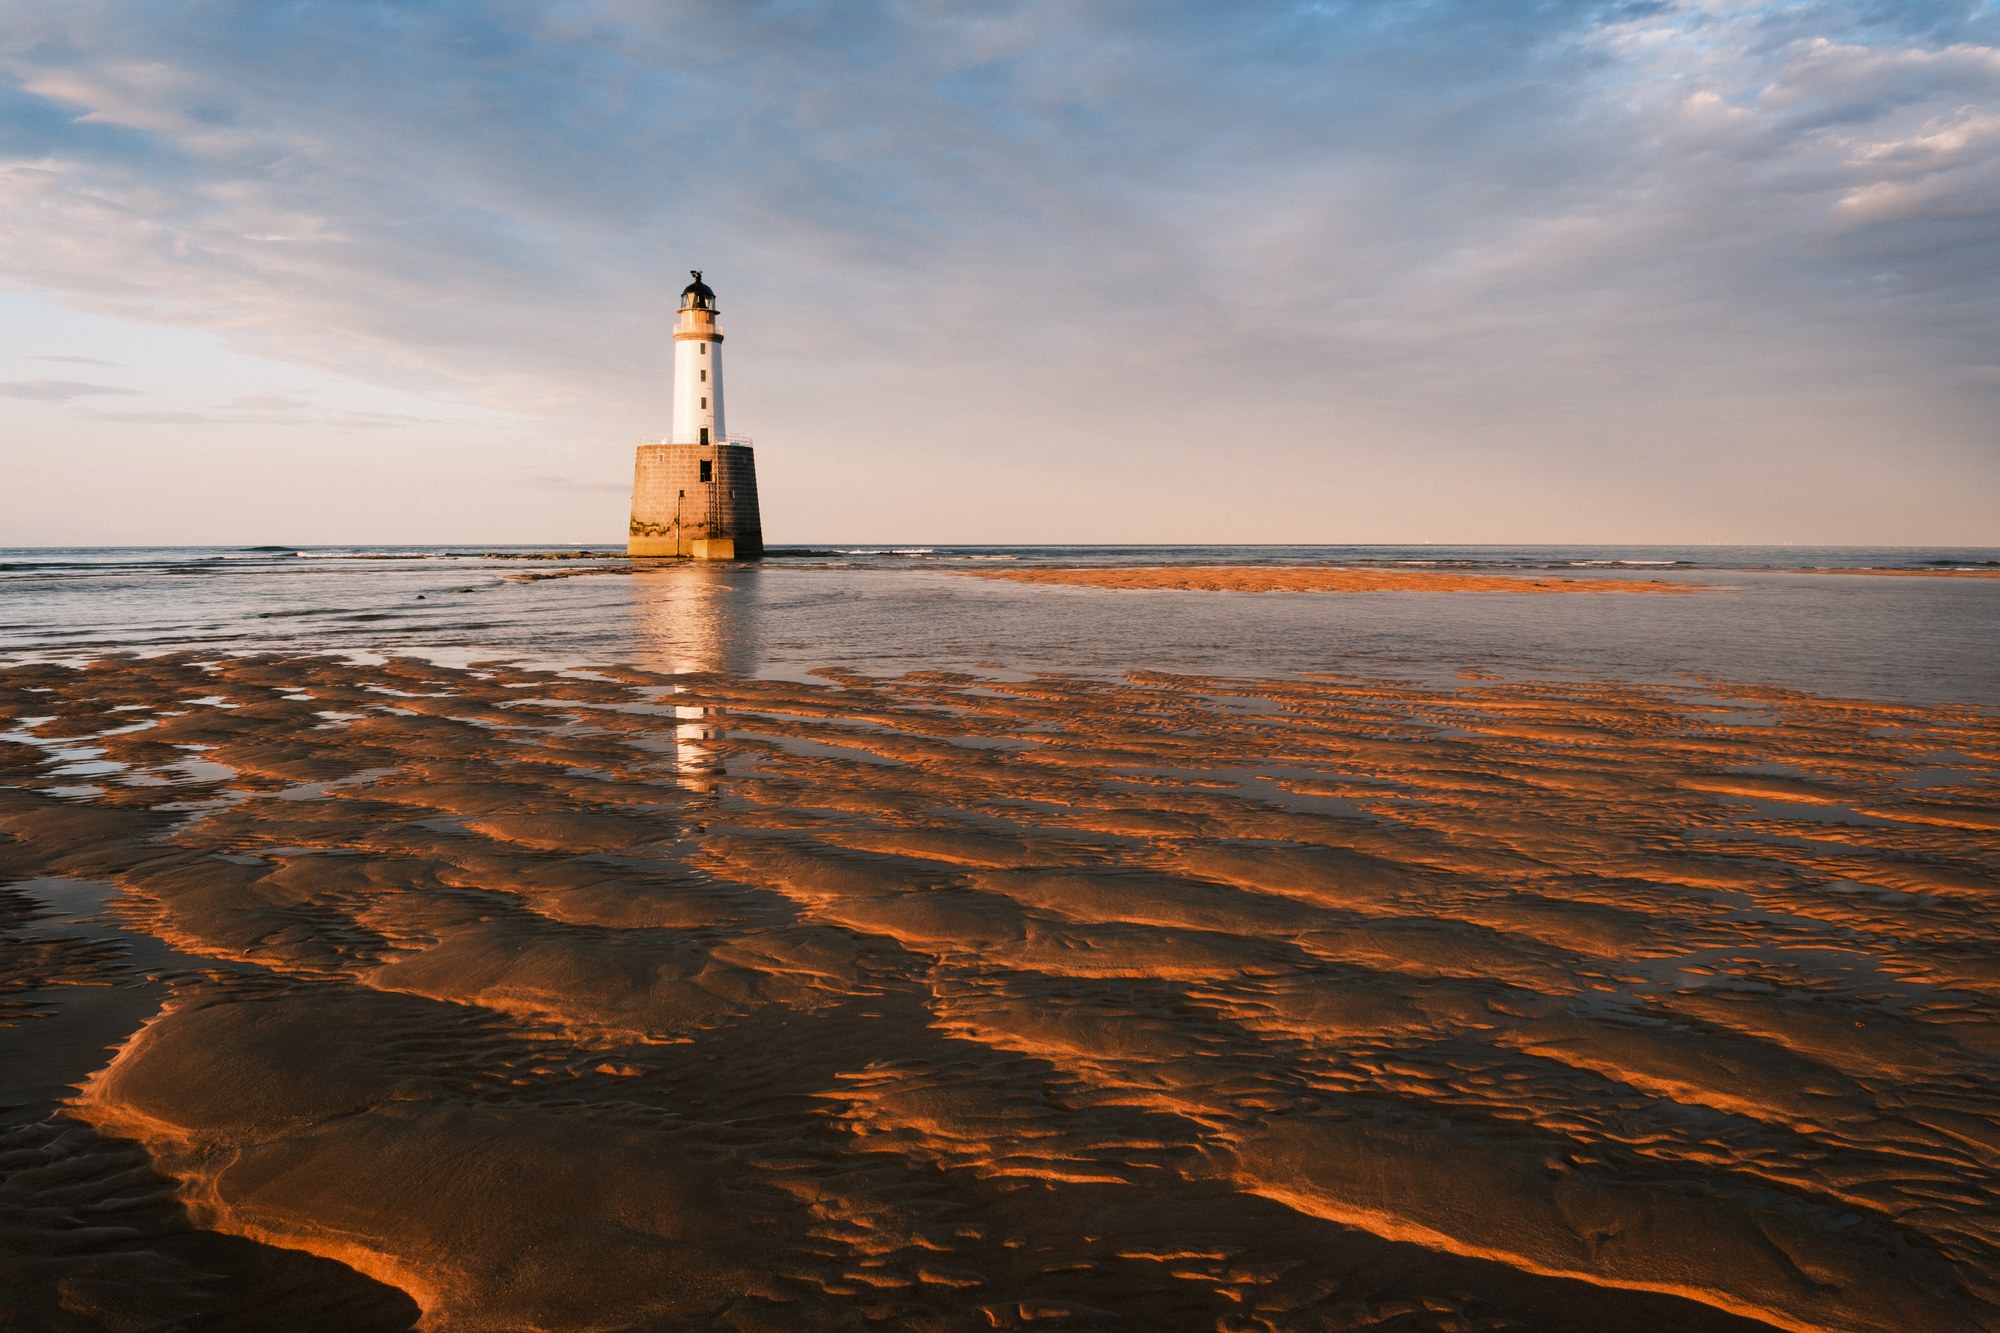
The wide end isn't without its merits here. The lighthouse is small in the frame, but the golden light catching the sand ripples and the leading lines sweeping toward it make it work as a landscape image. It's just telling a different story about the environment the lighthouse sits in, rather than the lighthouse itself. Knowing the difference between those two things and choosing your focal length accordingly is the whole point.
Why the Long End of a Zoom Lens Can Transform a Landscape Shot
Going right to 55mm on this lens, or a similar focal length, lets you compress the scene and pull the subject toward you, creating a striking, visually impactful image.
For this lighthouse, some of my favourite shots are at the 55mm mark or close to it, precisely because I couldn't get any closer. The subject is super prominent, and you get all the detail: the texture of the granite base, the ironwork on the lantern room, and the wear and character built up over 130 years. The optics on the XF16-55mm F2.8 R LM WR II are excellent, and the images came out sharp and detailed even at that distance.
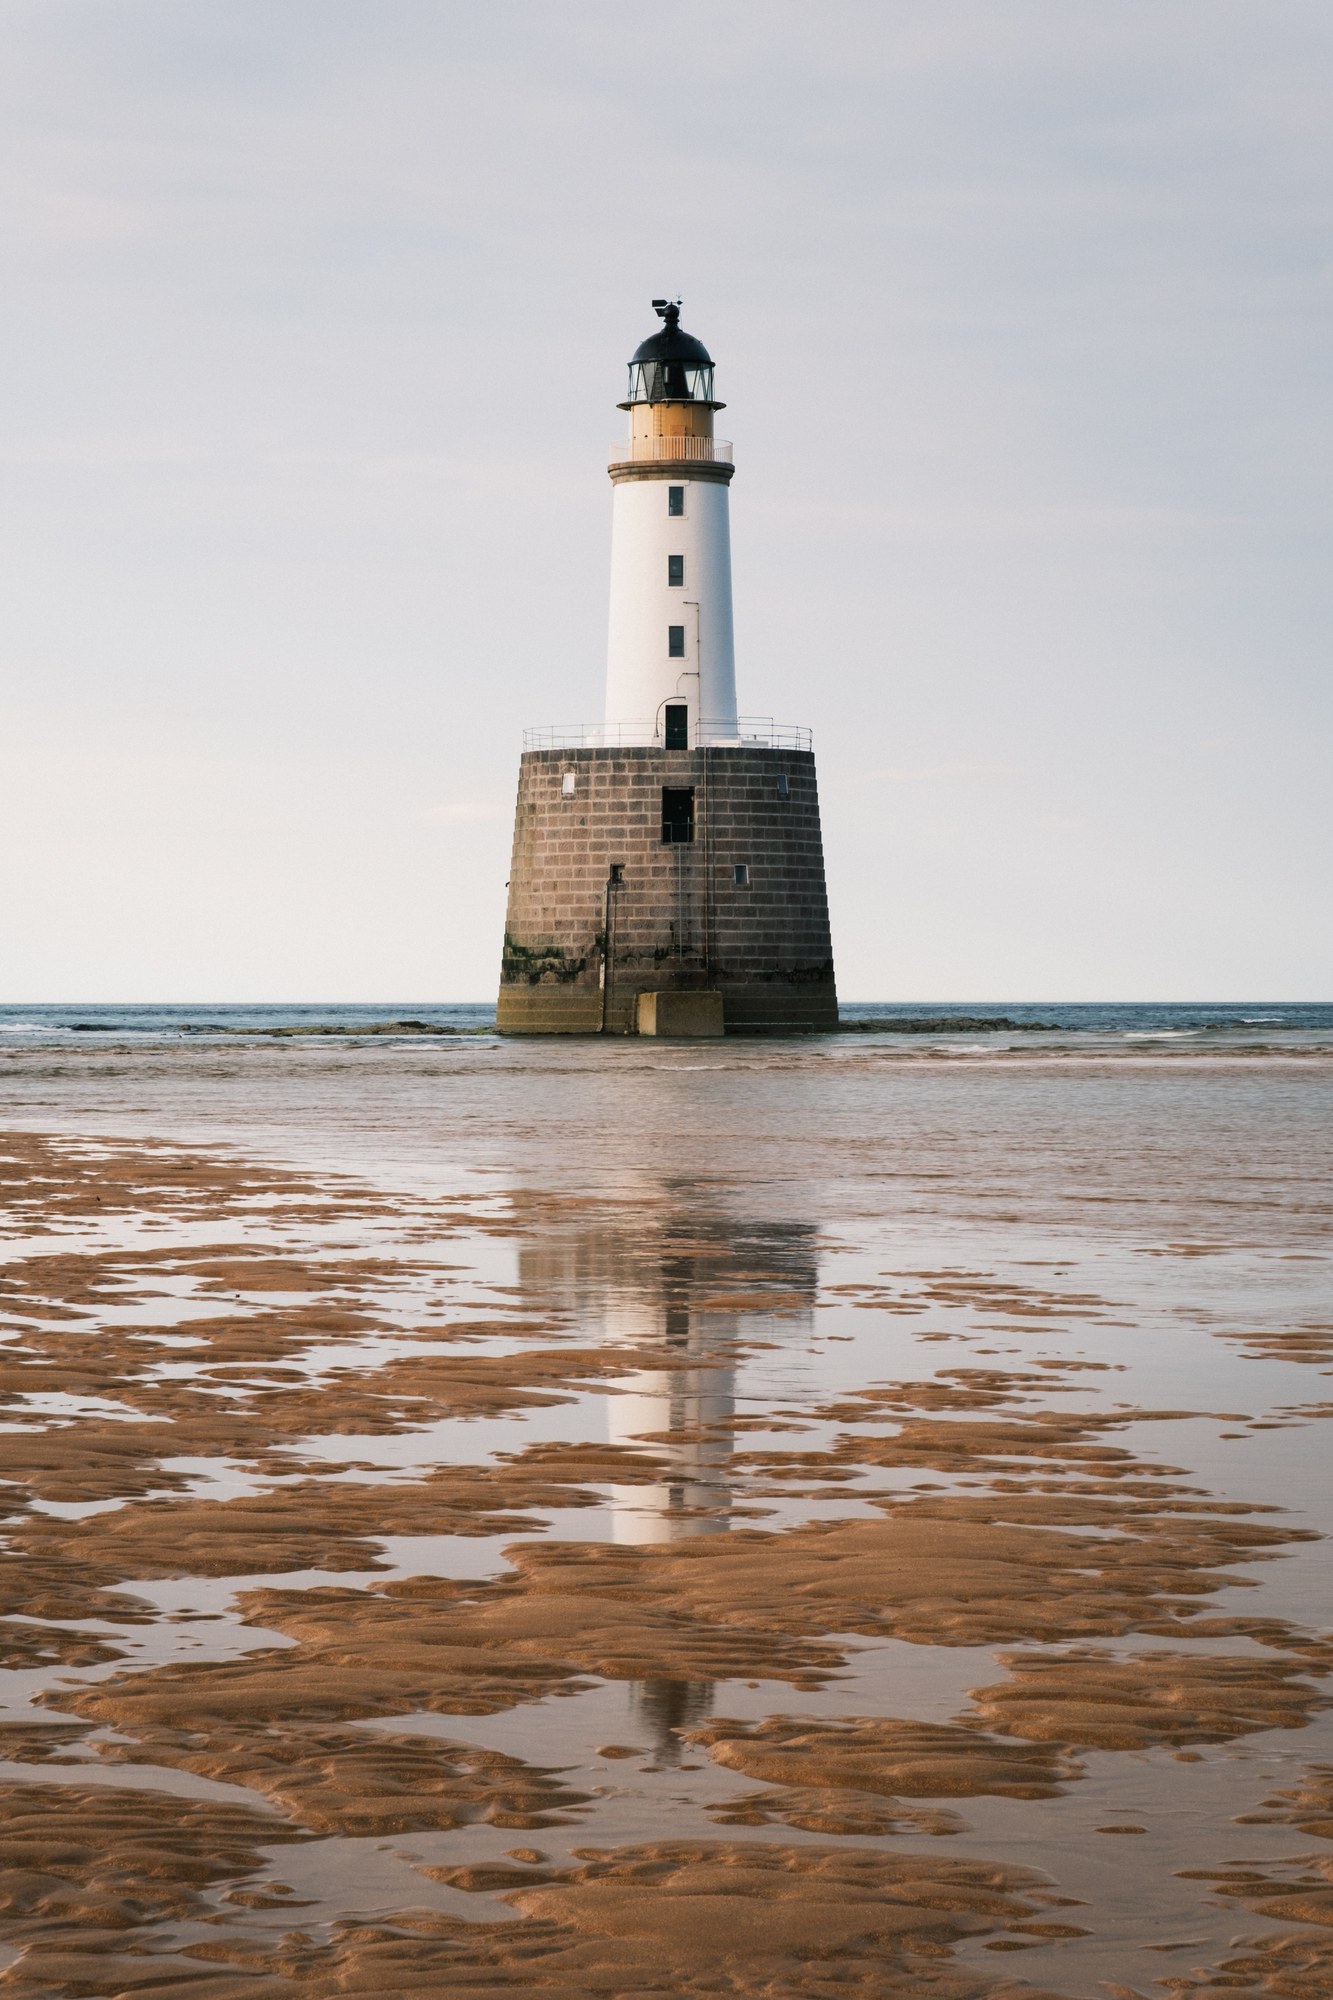
Plus, the lens is weather-sealed, which helped a lot since it did rain a bit, and it was so much easier not to have to swap glass when my mind and hands were busy with everything else involved in getting the best shots I could.
Post Processing: How I completed my shots
- Classic Negative Film Simulation (applied in post, shooting in RAW)
- Exposure, colour, contrast, highlight and shadow adjustments
- Clarity and dehaze adjustments
- Sharpening
- Grain (light)
- Vignette (light)
Don't Forget the Basics of Landscape Photography
The fundamentals of landscape photography still apply, even when your subject and focal length are anything but conventional. Light, exposure, leading lines, framing: these matter just as much at a tricky location as anywhere else, and getting them right is what separates a good shot from a great one.
Juggling all of this while dealing with an unusual subject and an out-of-the-ordinary focal length can prove challenging. Still, if you get all of those elements right, you can come away with a series of images that are not only visually striking but something you can be really proud of.
"Light, exposure, leading lines, framing: these matter just as much at a tricky location as anywhere else, and getting them right is what separates a good shot from a great one"
Research matters just as much, and I'd say it's equally as important. If you don't already research your locations before you go, start. There's a lot to be said for prepping in advance to get the most out of a location.
For this one, I researched the best day for weather, the best time of evening for golden hour light, where to park, and what to bring. A headlamp and wellies both turned out to be a very good call. Knowing what you're walking into before you arrive lets you focus on taking photographs once you're there, rather than problem-solving on the spot. And with a tidal location like Rattray Head, checking the tide times isn't just good photography practice, it's a safety consideration too.
The Lesson: Research Your Subject, Then Choose Your Focal Length
Researching your location before you arrive, and choosing your focal length based on what you find, is one of the most effective things you can do to improve your landscape photography. Knowing what to expect means you can plan for it, and planning for it means you can focus on the photography once you're actually there.
While Rattray Head is a unique location, it's definitely not the only one that rewards a bespoke shooting style. There are thousands of landscape photography locations to discover wherever you are in the world, and each one will benefit from how you approach it.
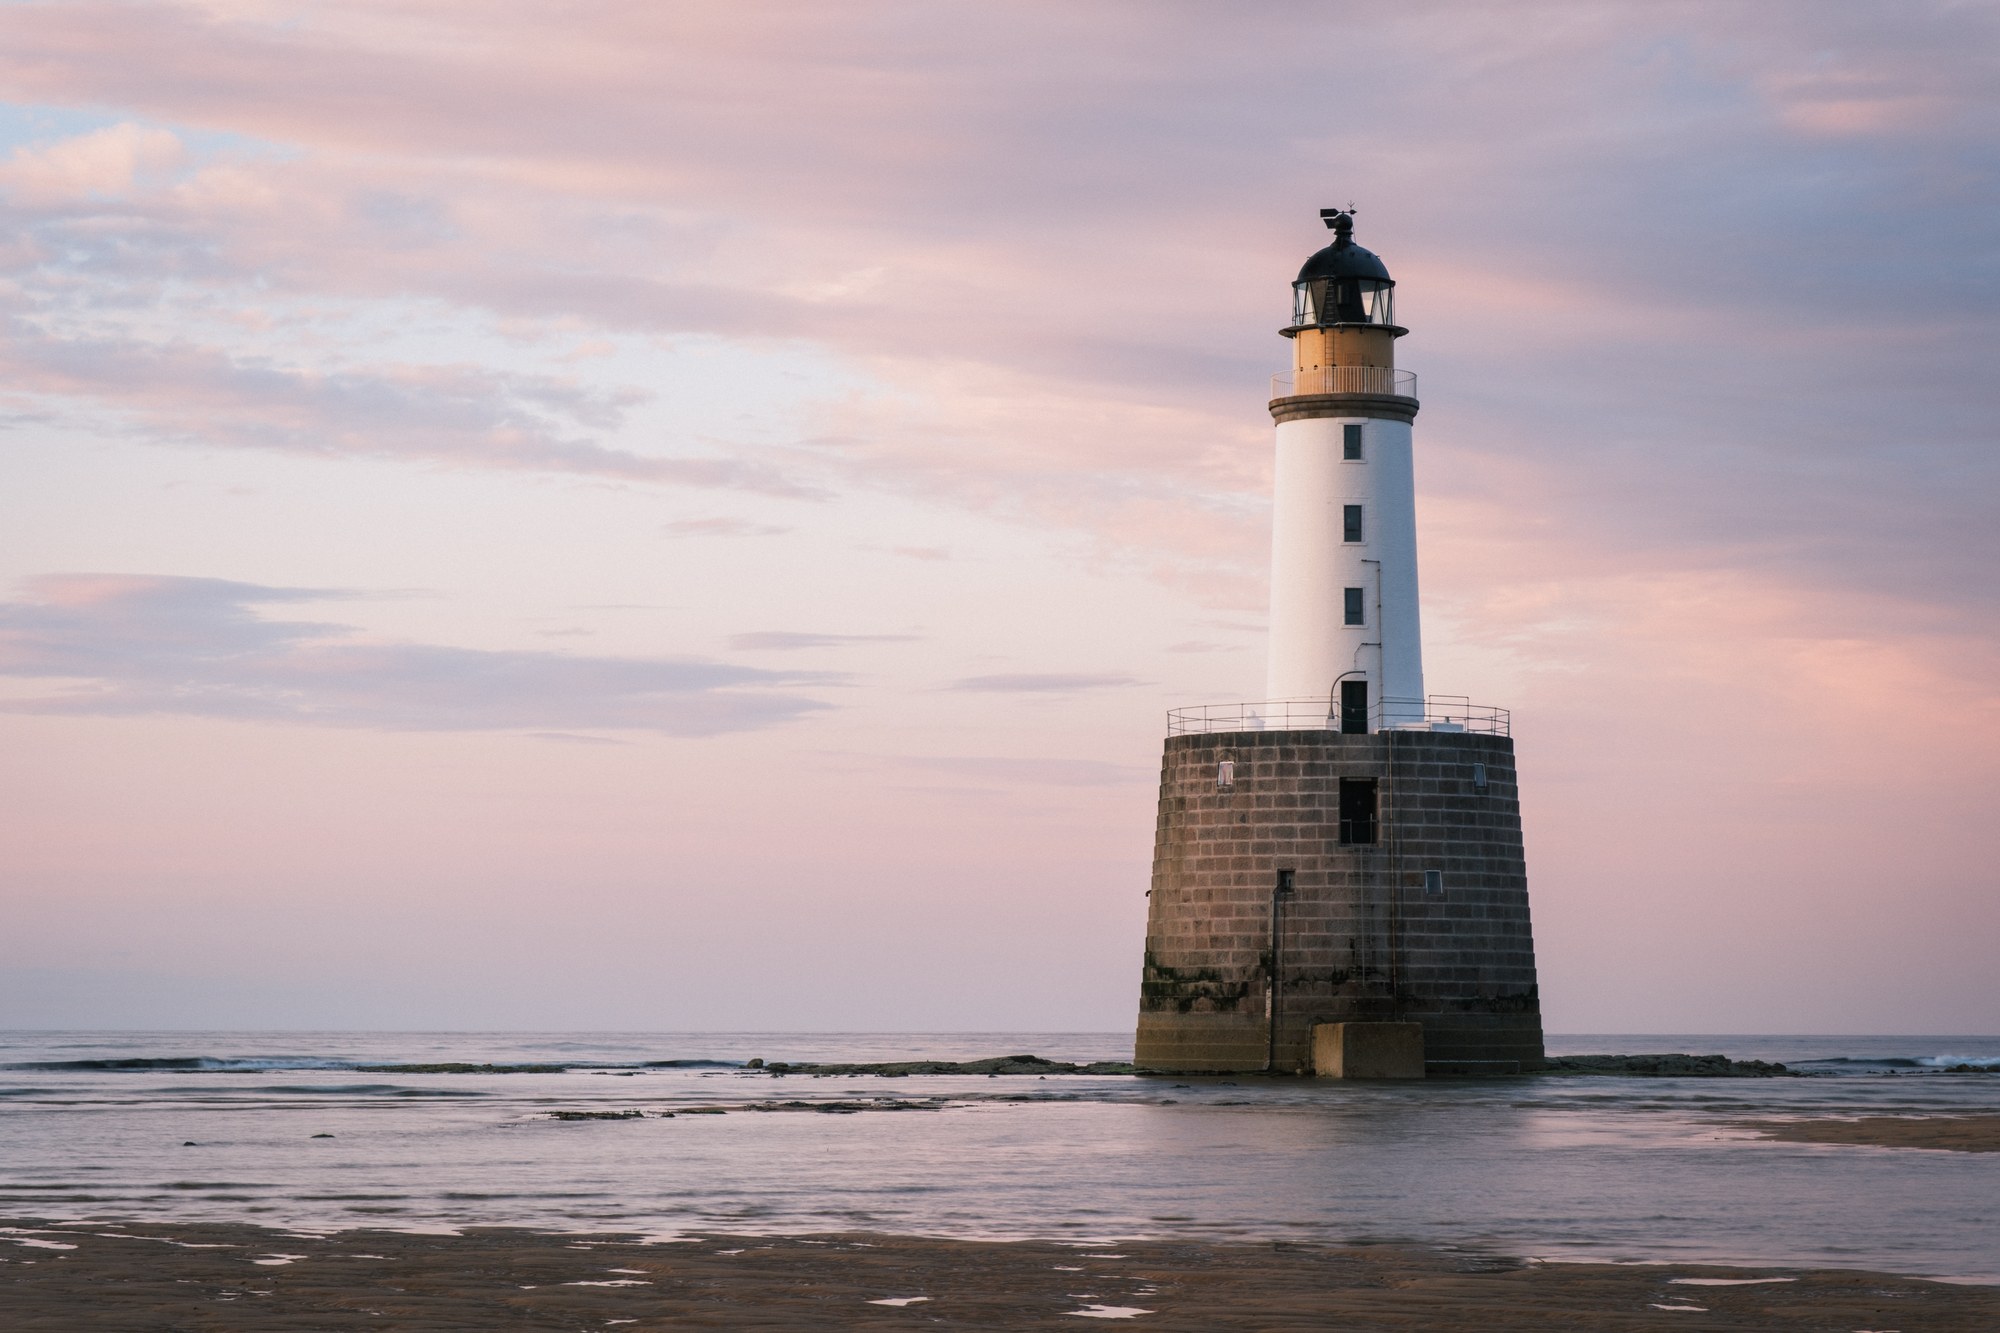
Last but not least, I hope this inspires you to get out and give a new location a try, or if you've got somewhere on your bucket list you're yet to tackle, go and do it!
And as always, once you've got those brilliant shots, upload them to your Picfair Store and share them with the world.


