


We're all guilty of them at some point or another, but you can steer clear of the worst crimes against image-editing with these top tips

When Photoshop, Affinity Photo and the like offer so many enticing tricks, there’s always a temptation to push image-editing too far.
At times like this we could all do with a mantra. So keep it simple. Don’t overdo it. Stop cloning now. Curb the Clarity. Ease-off the Saturation. Step away from the spot colour. And above all, keep it natural. Here are 10 of the worst editing pitfalls, and how to avoid them…
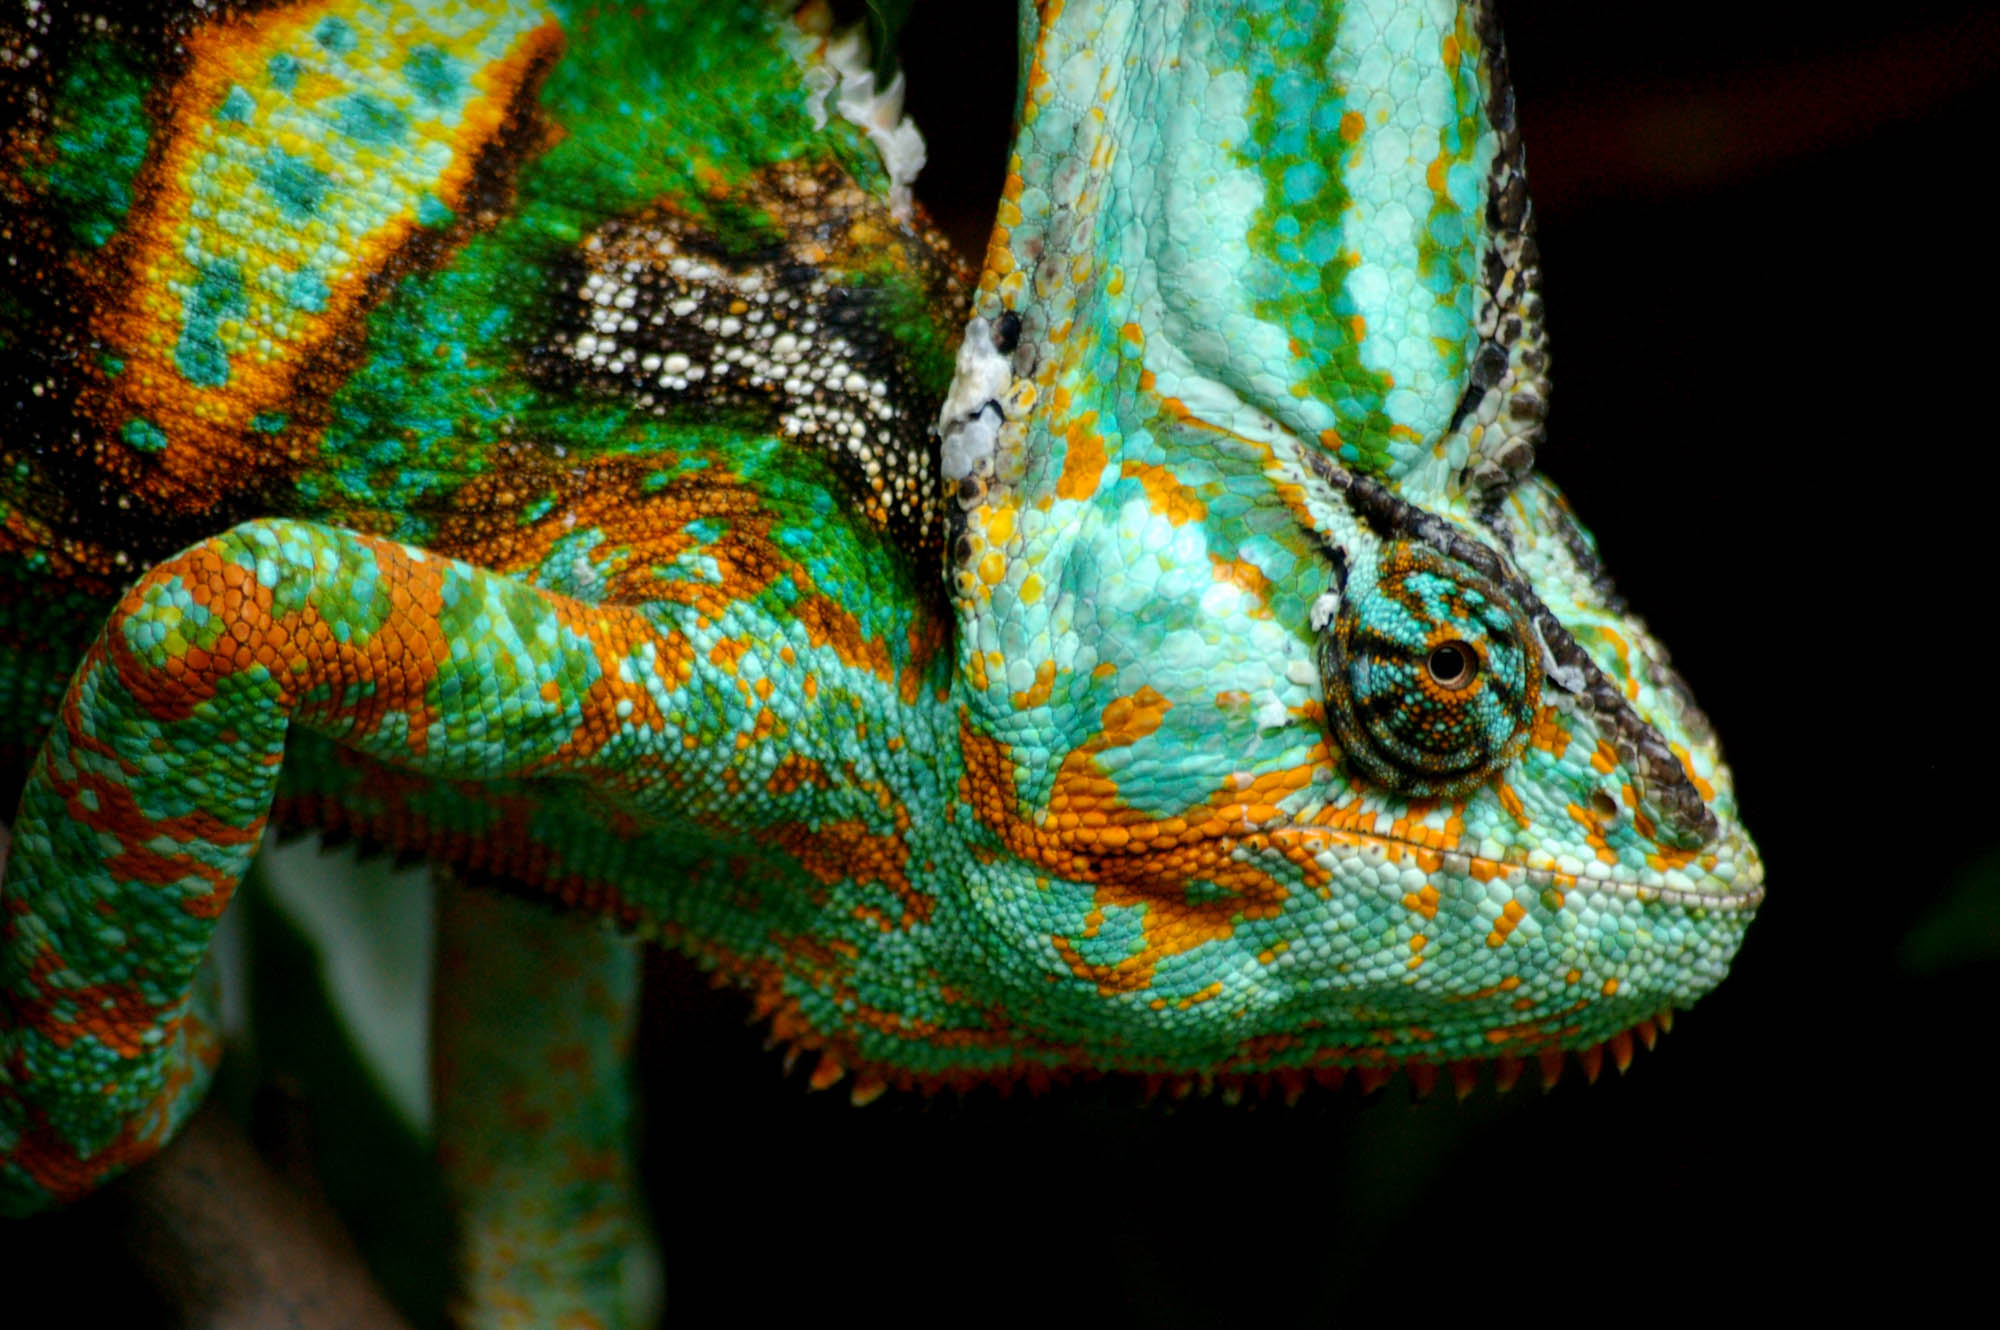
1 Over-saturated colours
When you first open an image the colours may initially look a little flat - this is especially true of raw images, where you’re expected to make your own edits rather than relying on in-camera jpeg processing. However, this doesn’t necessarily mean you should crank up the saturation and vibrance to eye-popping amounts.
Instead, keep things subtle, regularly refer back to the original by holding \ and keep in mind that, as with most photo edits, less is more. If you want to boost a specific colour then instead of a blanket approach consider using the Color Mixer panel to target the saturation of a single colour range.

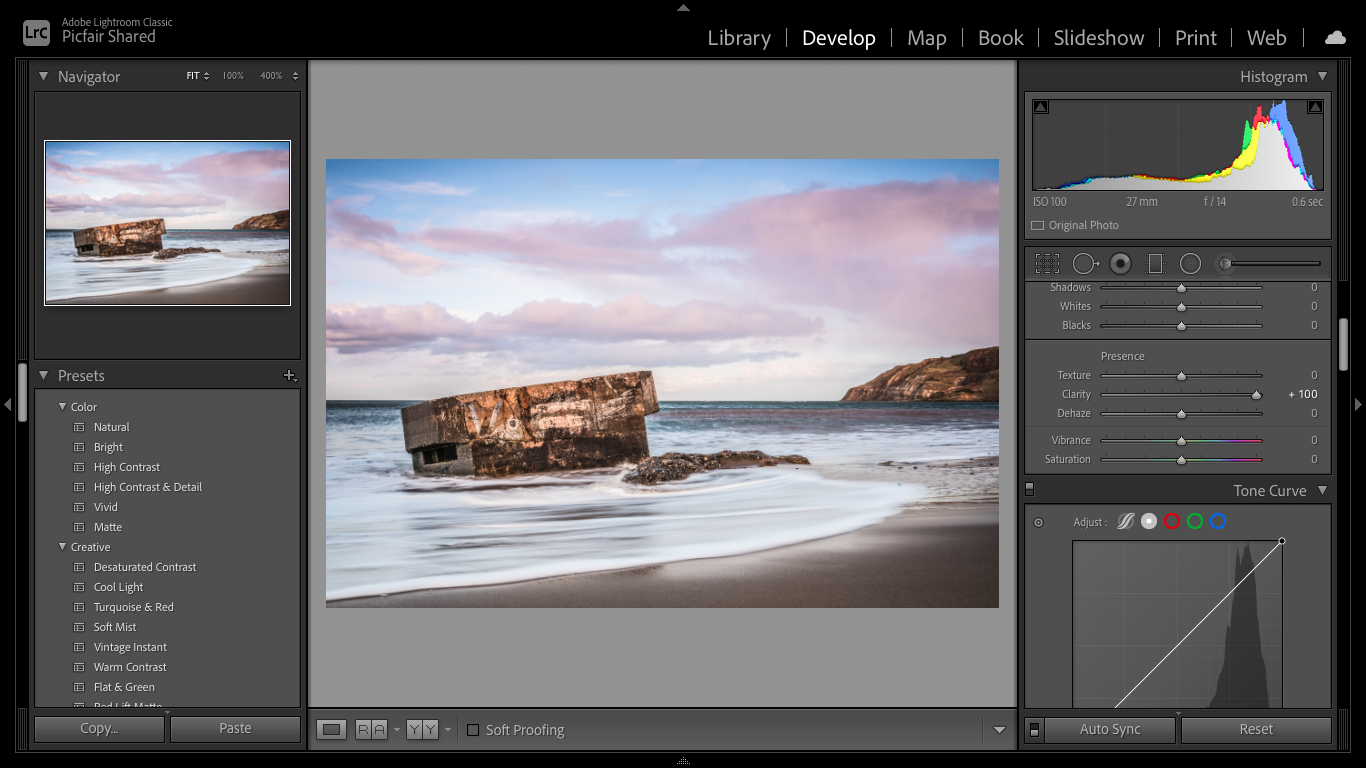
2 Heavy-handed Clarity
The Clarity slider in Camera Raw / Lightroom is a wonderful tool for pulling texture and detail out of surfaces. But because it’s so effective and easy to apply, it tends to be over-used.
An overdose of Clarity can result in crunchy images with unsightly haloes (see the example below). Instead, try applying Clarity selectively with the Adjustment Brush. This lets you paint in the effect over the areas that need it, while leaving the rest of the image untouched.

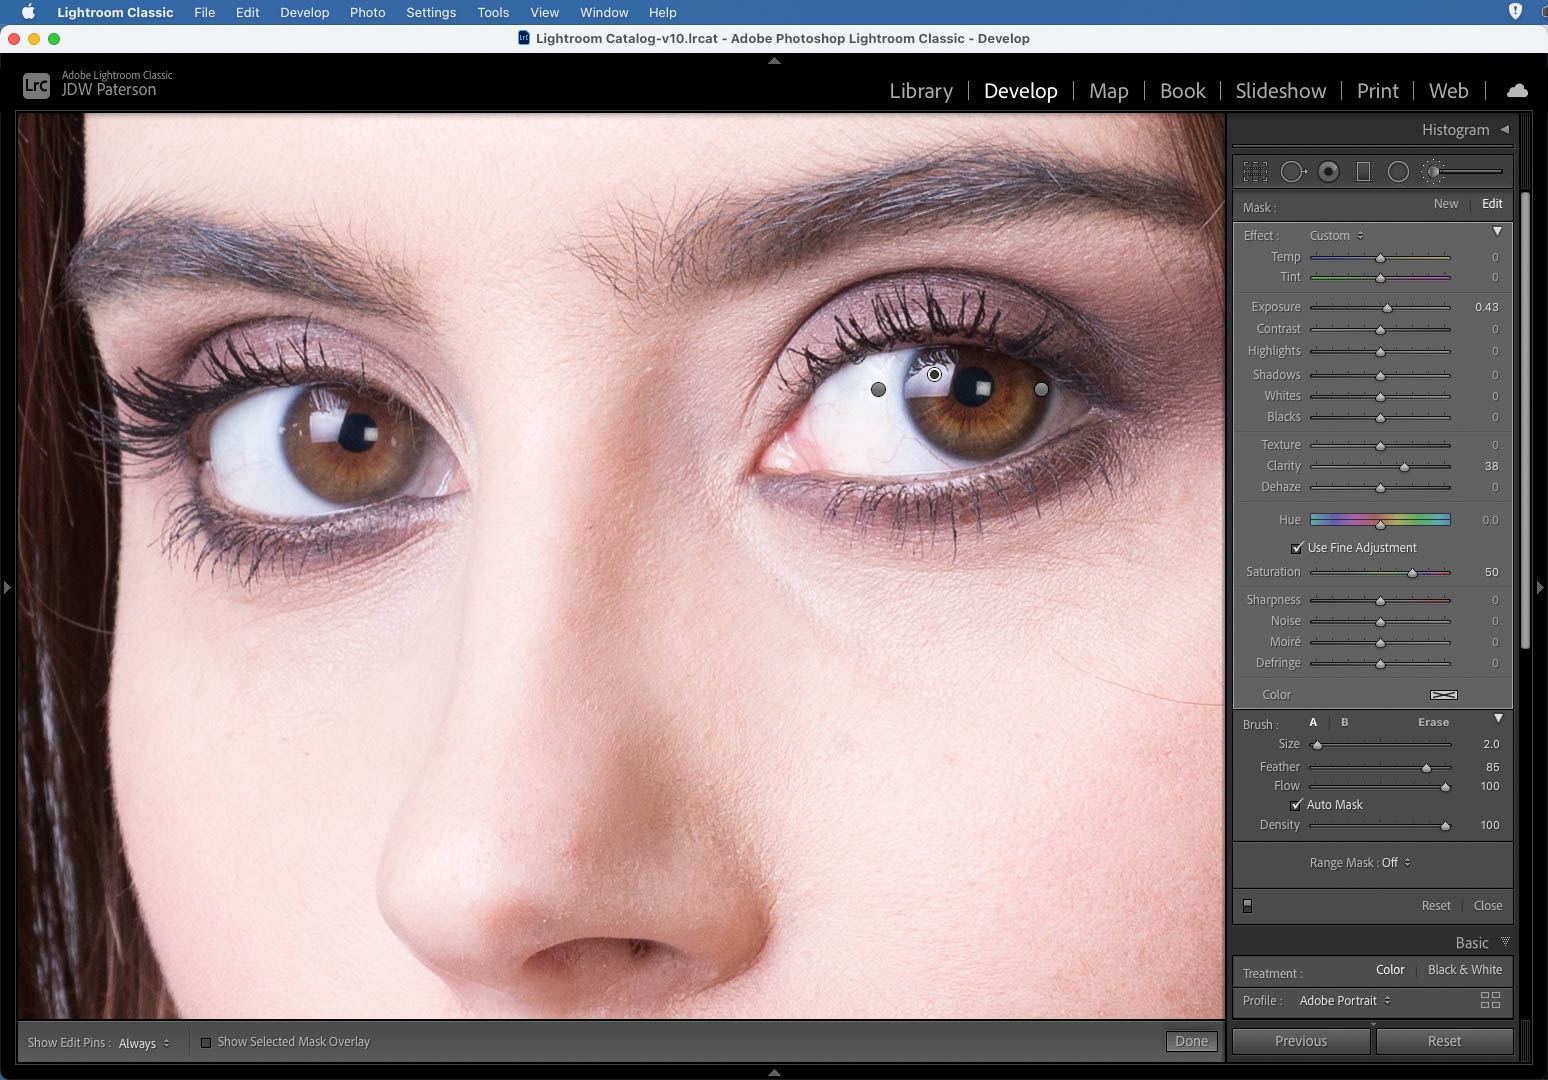
3 Excessive eye lightening
One of the biggest crimes against retouching, overly bright eyes have plagued portrait image-editing since the dawn of digital. Eyes will often benefit from a little subtle lightening, but that doesn’t mean we should turn the so-called ‘gateway to the soul’ into a cyborg stare. Rather than dodging the entire thing to oblivion instead break the eye down into specific areas and tailor your edits to each.
"Keep in mind that, as with most photo edits, less is more..."
In Lightroom, try painting over the whites of the eyes first with the Adjustment Brush (hit A to turn on Auto-Mask for extra precision) and increase Exposure slightly. Then make a new adjustment, paint over the iris and increase Saturation, Clarity and Exposure. Finally, paint around the edges of the iris and decrease Exposure to darken the rim slightly.

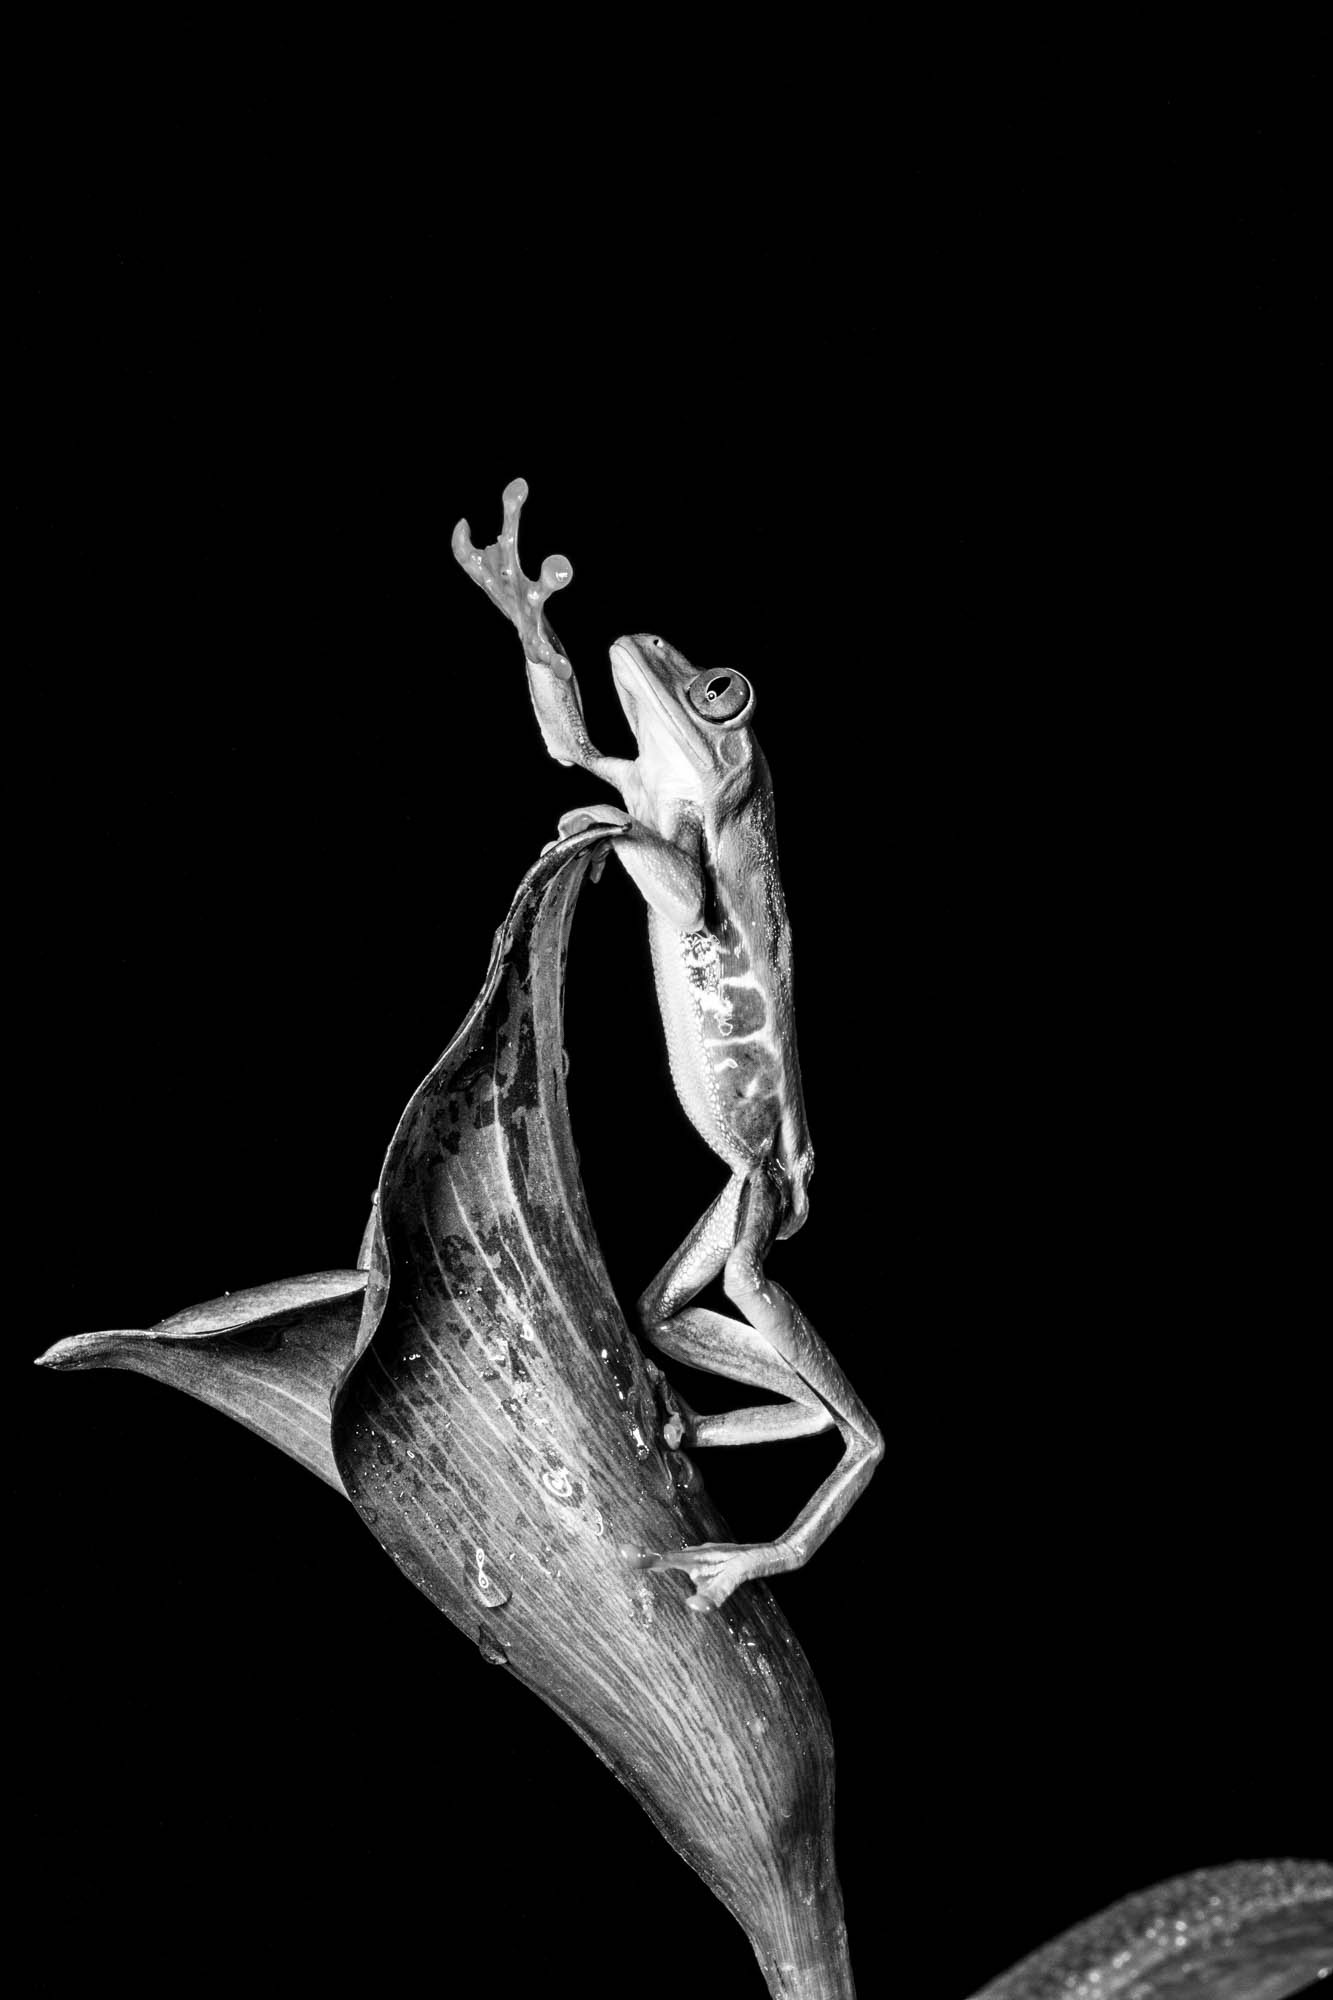
4 Flat black and whites
When we convert an image to black and white it may initially look a little flat. Some images simply weren’t meant to be in black and white, and the lack of contrast may be uncorrectable. But for other images, a simple boost with Curves can bring the black and white to life. Plot an S-shaped curve by dragging one point upwards near the top of the diagonal curve line to lift the highlights, and a second point downwards near the bottom to deepen the shadows. Add a third point in the middle to control the brightness of the midtones. The more pronounced the S-shape, the greater the contrast.

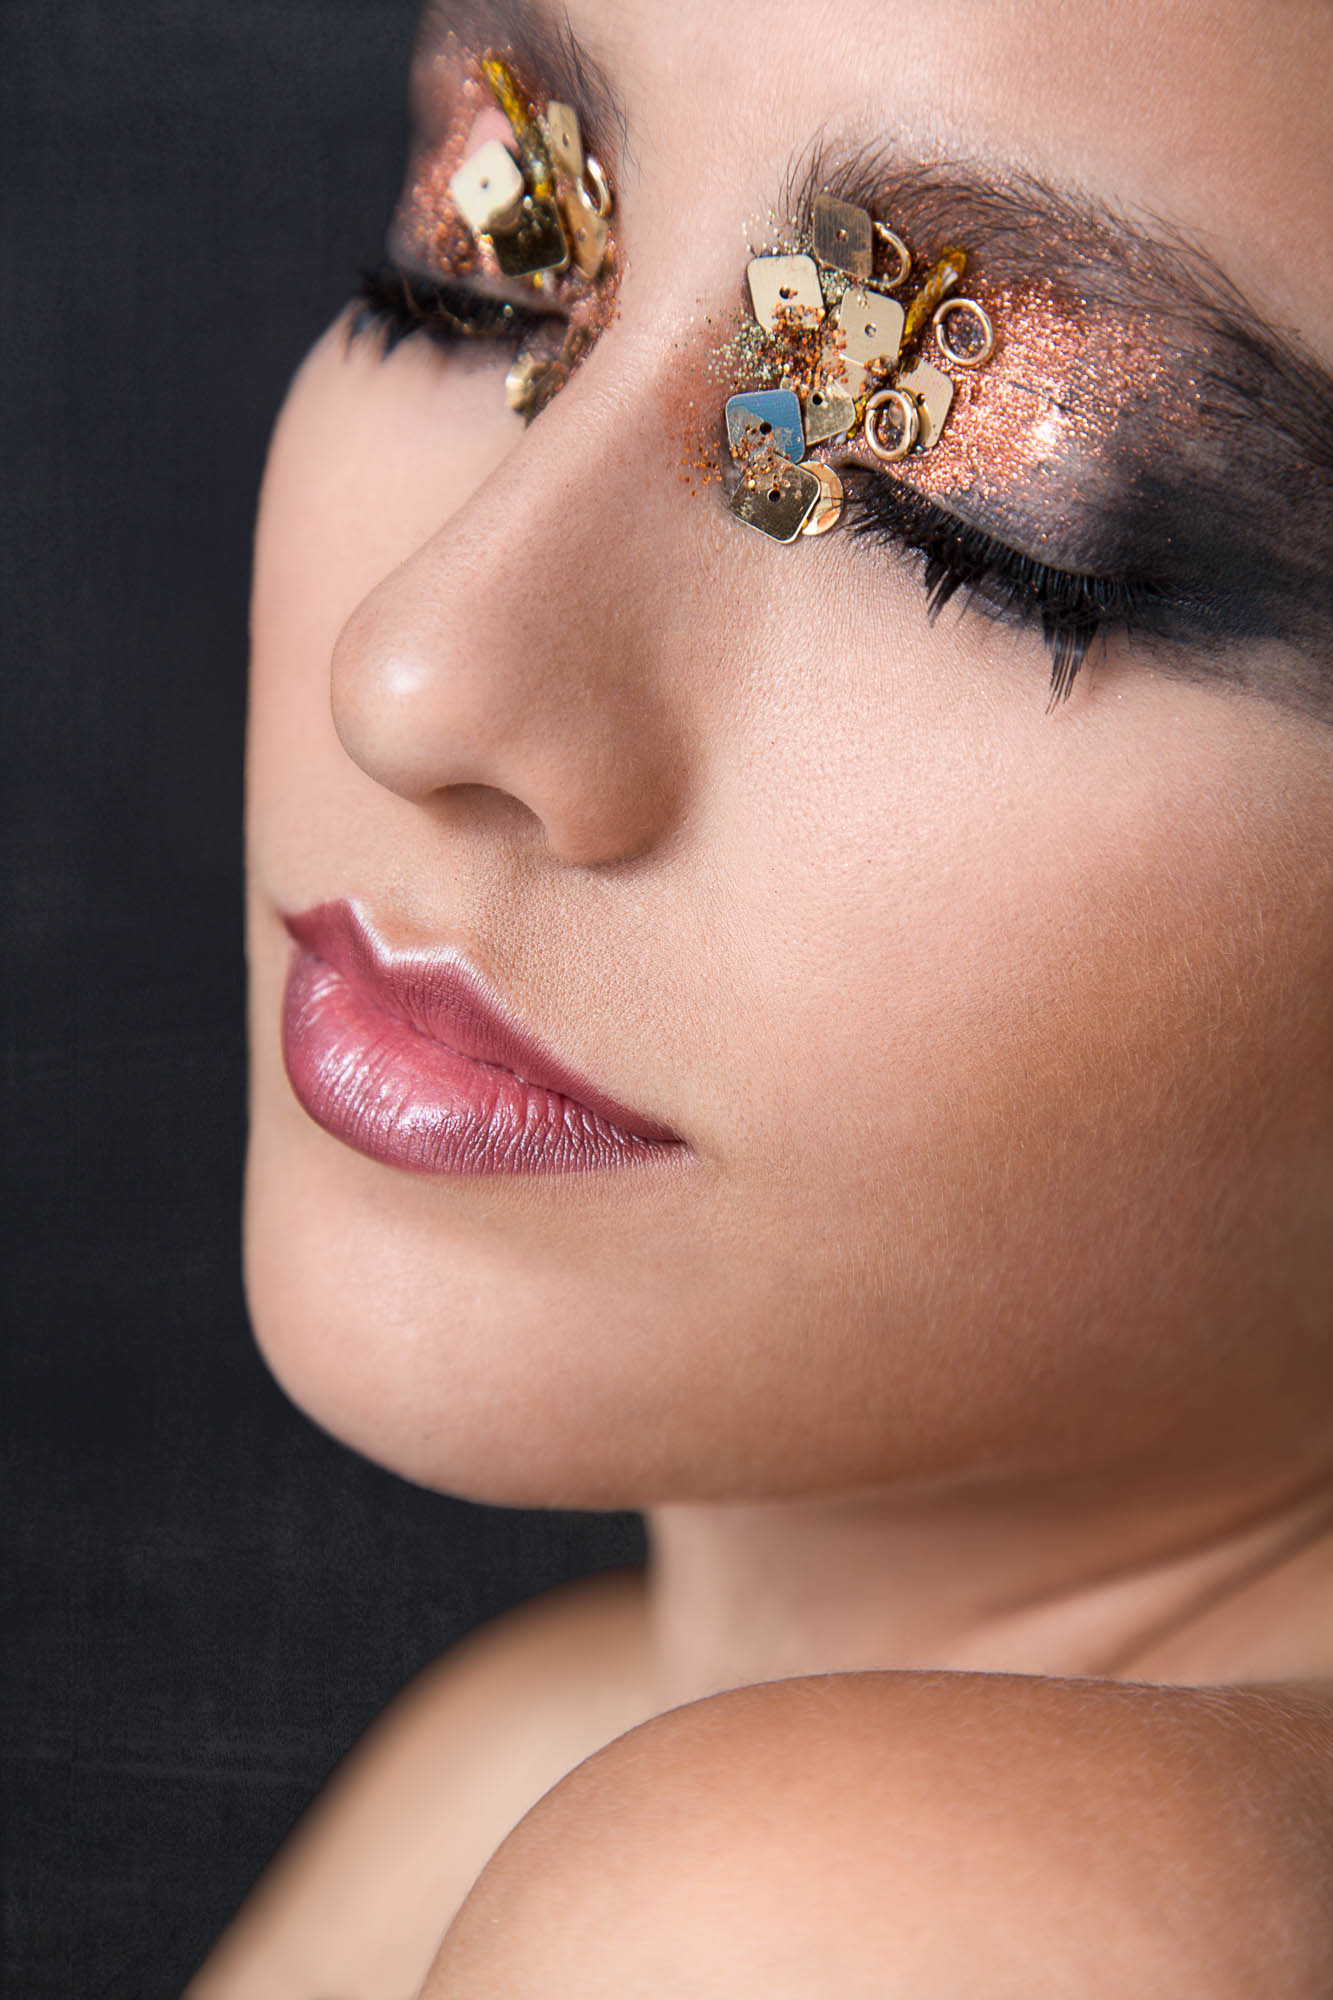
5 Plastic skin
Skin retouching should be all about making the subject look their natural best, but unfortunately plastic skin is still one of the most common crimes against image-editing.
The best method for subtle skin retouching is the frequency separation technique, which allows you to edit colours and tones while preserving the texture. But this can be too involved and time-consuming for some images. If you want a quick, reliable and - most importantly - natural-looking skin softening effect then try painting over the area with Lightroom’s Adjustment Brush set to about -30 Texture. This will soften rough tones and blotchy areas while preserving delicate details and skin pores.
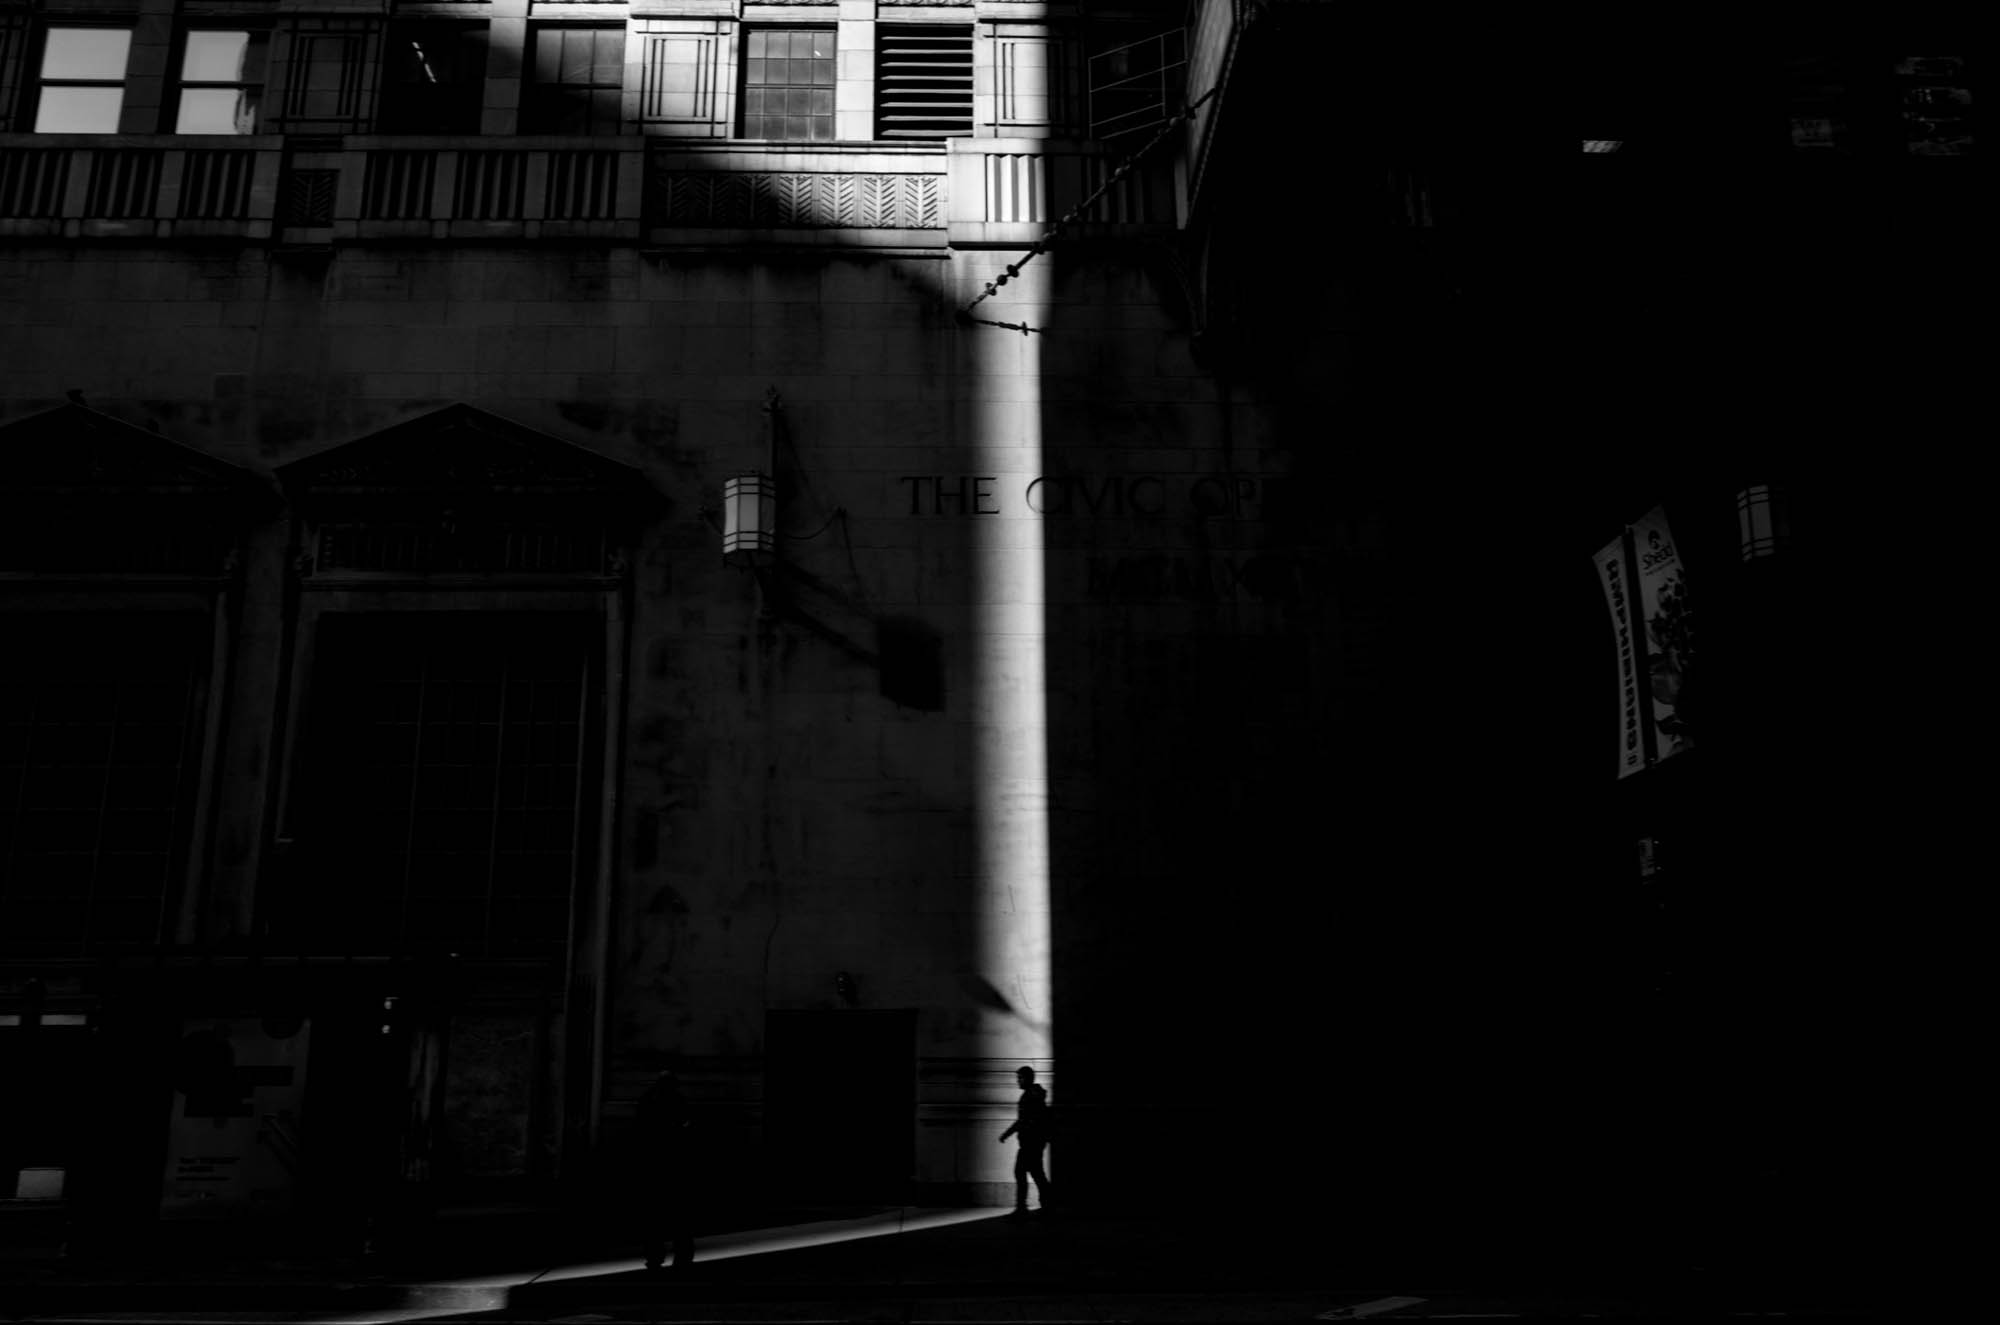
6 Overindulgent shadows
In the past few years camera makers have made huge advancements in dynamic range and low light performance. Images can hold vast amounts of detail that may not at first be visible. But just because you can tease detail out of bright highlights and deep shadows, it doesn’t mean that you always should.
"Just because you can tease detail out of bright highlights and deep shadows, it doesn’t mean that you always should."
Heavy-handed hoisting of shadows tends to give images an over-processed HDR-like look. Instead, try gently opening up the shadows, or paint in positive exposure with the Adjustment Brush, or accept that the subject will look more natural as a silhouette.

7 Sharpening overkill
Most images will benefit from sharpening, either when you first start editing to correct for inherent softness, or when outputting for a specific print or screen size. However, sharpening is always something of a balancing act. Push it too far and we risk introducing artifacts and haloes. Try sharpening selectively over the subject, and leave out-of-focus areas of the image alone. Alternatively, for a no-fuss approach try using the sharpening setting in Lightroom’s Export dialog. It might look simple, but the three options here - low, standard and high - are tailored to the specific resolution of the image.

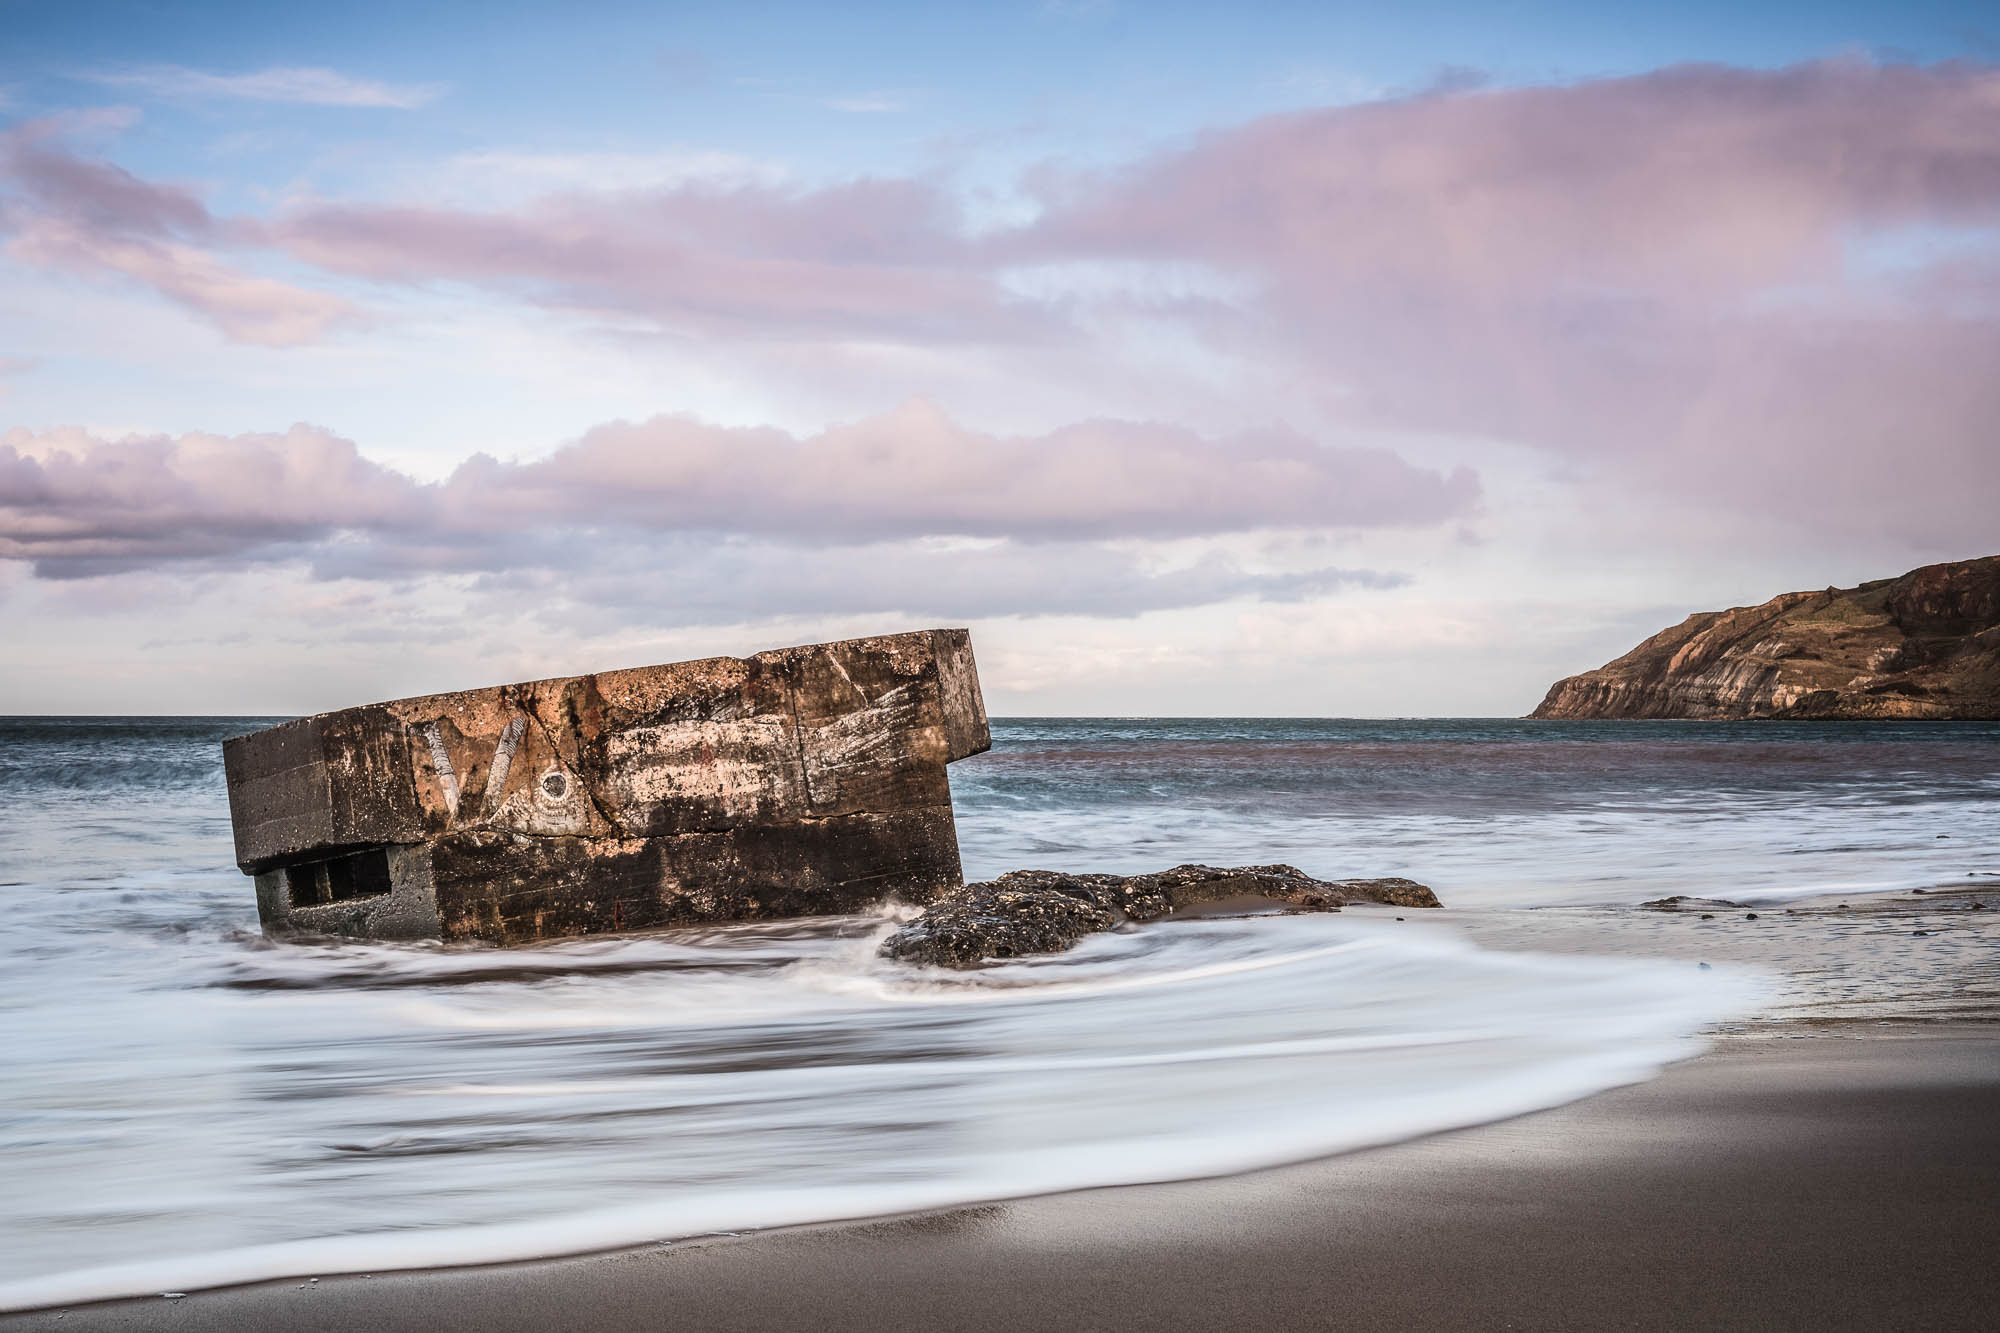
8 Dark skies
The challenge with landscape and outdoor photography is often in balancing the sky and land. Skies tend to be brighter, so they may initially look blown out. As such, they will often benefit from darkening with tools like Lightroom’s Graduated Filter. However, it’s an effect that is easy to overdo. There’s also a temptation to crank up the contrast and clarity when skies are dull or overcast, but this will almost always leave them looking unnatural.


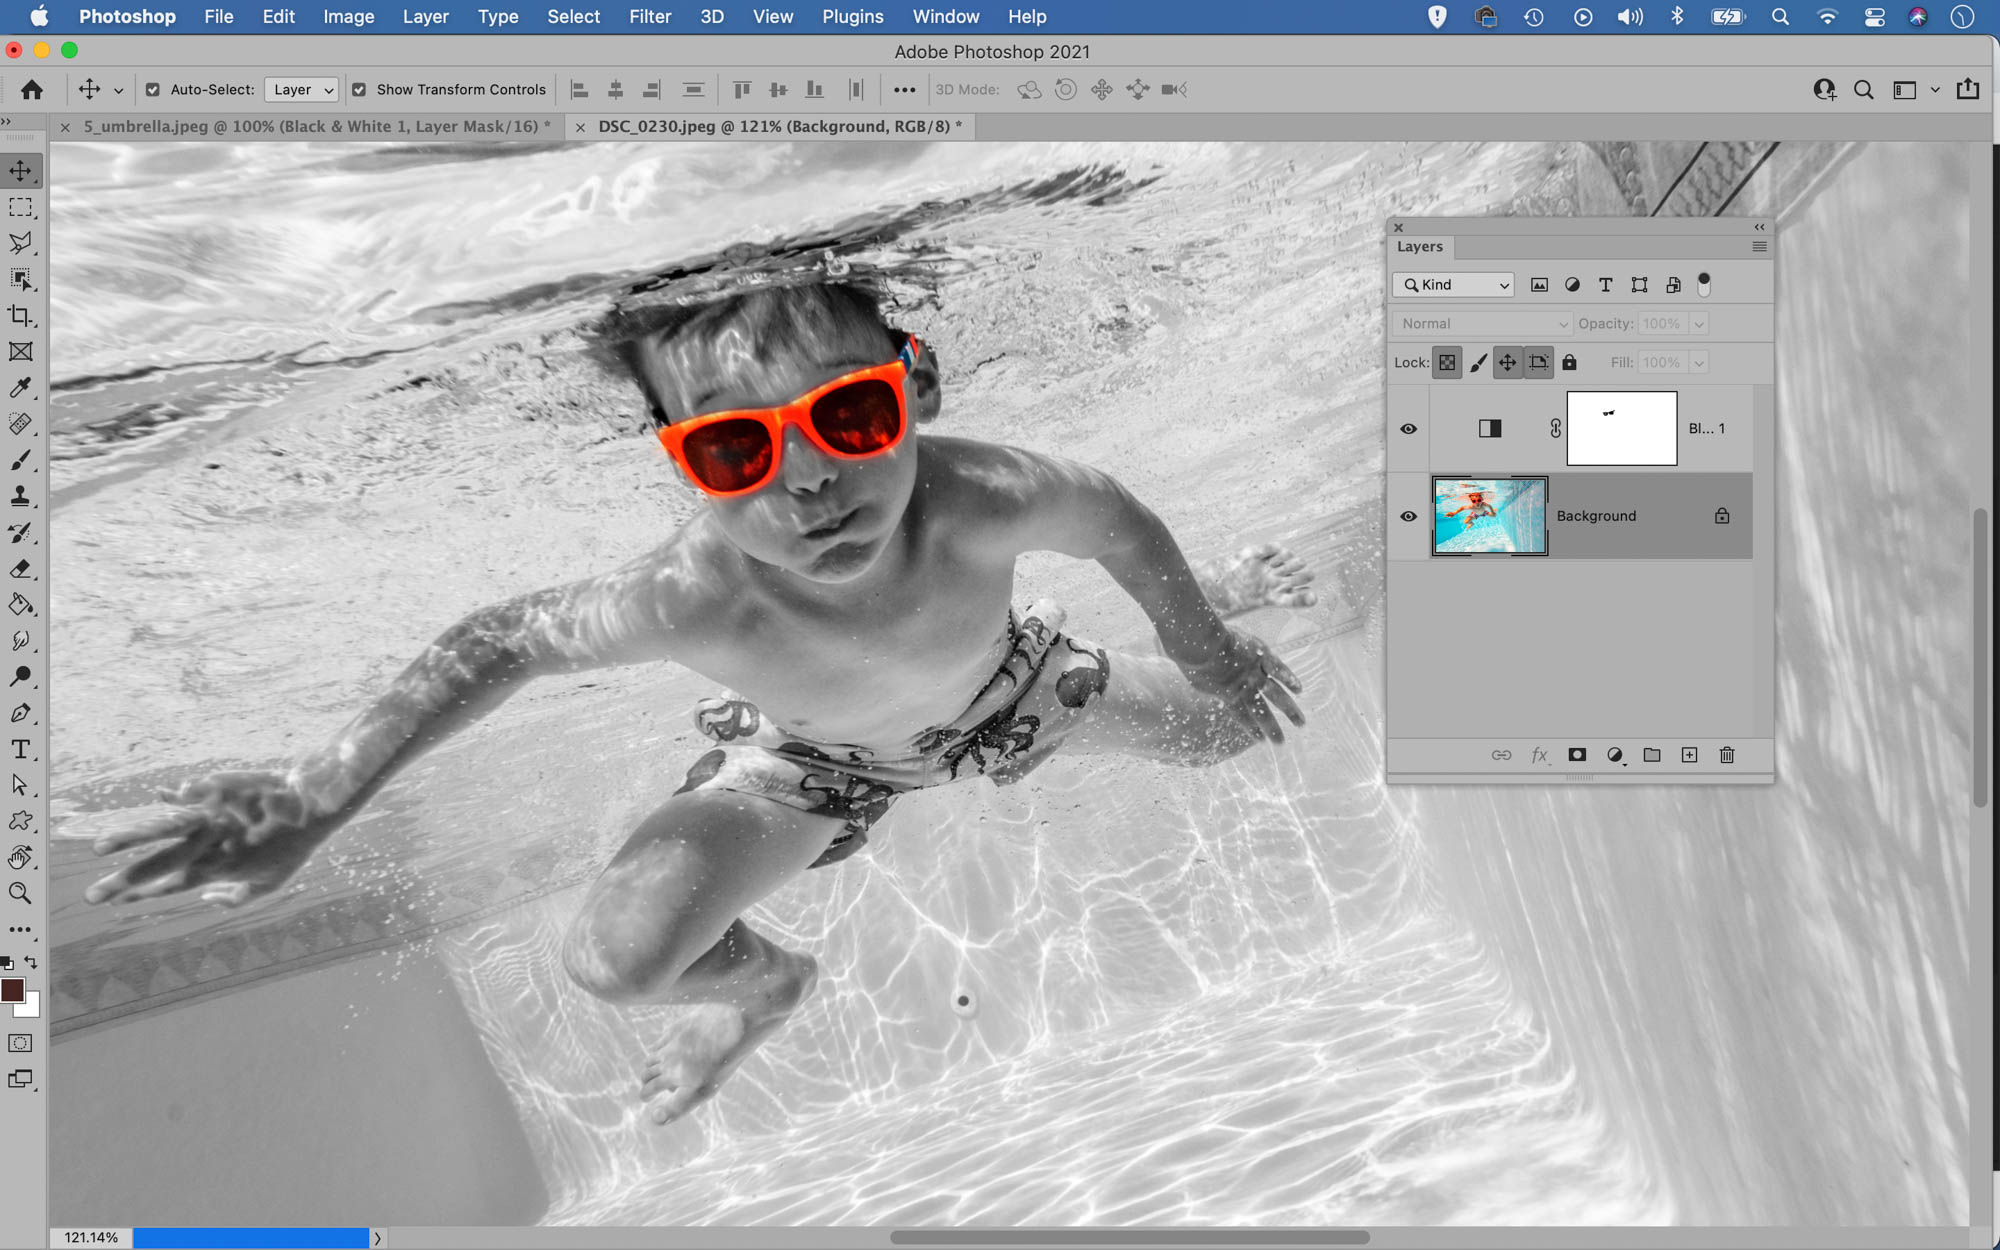
9 Effects for the sake of it
Successful image-editing merely enhances the merits of an image. A bad photograph can’t be turned into a good one with an effect. Similarly, a good photo doesn’t need an effect to make it better.
"A good photo doesn’t need an effect to make it better"
In fact, effects like ‘art’ filters and crunchy HDR can do more harm than good. Some, like spot colouring, have had their day and should now be left well alone.

James has been a professional photographer and award-winning journalist for the past 15 years. He is editor of Practical Photoshop magazine and contributes to leading photography publications worldwide.
View all articles

