


As you develop your photography skills and take more images, you’ll want to have a system in place where you can easily store and access your shots while also keeping them safe. Here are our top tips

Keeping your photos organized is a crucial part of any photographer’s workflow, but it doesn’t need to be overly complex. The simpler you keep it, the better.
1 Store all your photos in one place
Whether you shoot with just one camera or use a range of different models and devices, you should store all of your photos in one place.
This should be in the form of a specific location, such as a folder on your computer or phone, or a separate hard drive. Make sure you keep this up to date and get into the habit of regularly updating. This way when you need to find an image, you’ll know exactly where it is.
Top tip:
You can also apply this to physical photo storage. Put all your printed photos in one place in labelled folders. And keep external storage devices, such as memory cards, with the rest of your camera equipment. They will always be on hand!
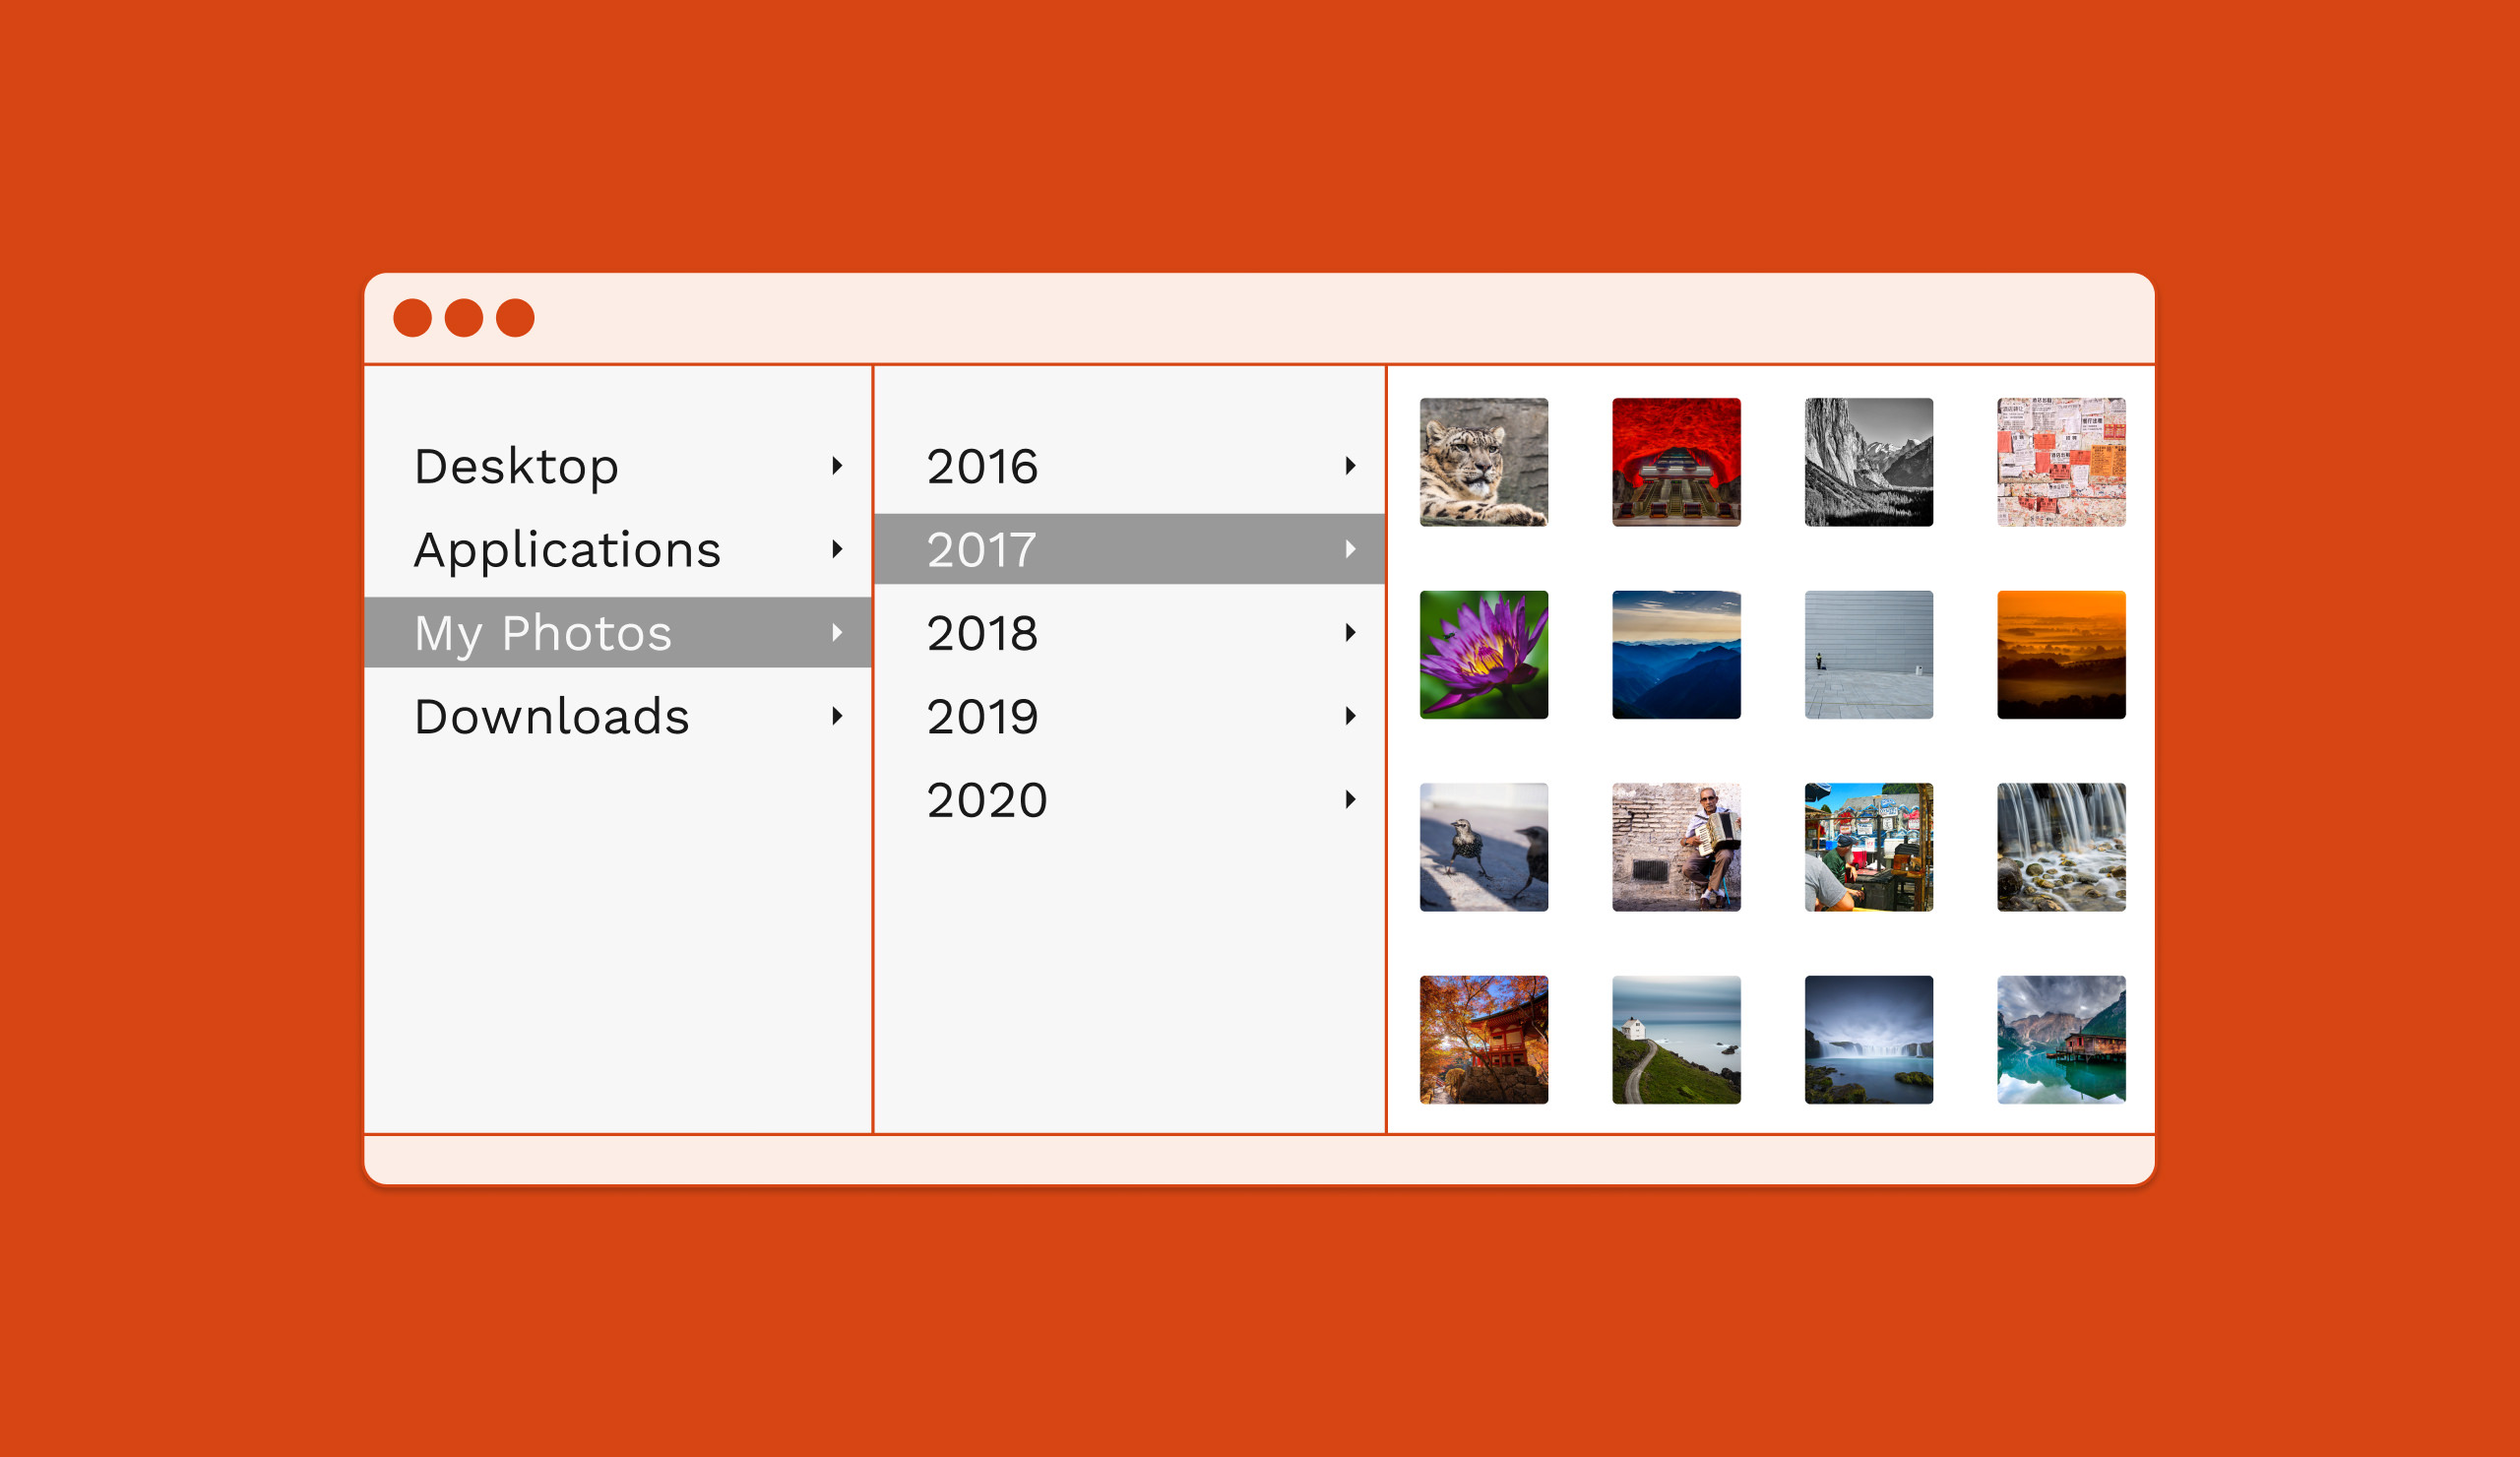
2 Keep an easy-to-follow filing system
Once you’ve decided on where to store all of your images, create a filing system of subfolders within this so you can access specific photos quickly and easily.
We recommend keeping it as simple as possible. So, for example, you could file your photos in folders based on date, camera type, or for a specific event. For example, June 2020, iPhone Shots, Japan Trip 2019, and so on.
There’s no right or wrong way to do this - find what works best for you and keep this consistent throughout. We would, however, recommend trying to keep a filing system that reflects the original shoot as much as possible.
Whilst you may want to file images based on a theme, such as landscapes, animals, and travel, this shouldn’t be used as a primary filing system. You’ll end up splitting up the original shoot among different folders. Sorting your images like this is more appropriate for a secondary organisation, such as displaying your photos in a public environment, like Picfair Albums (see Tip 5).
Top tip:
Keep the original versions of your images together. If making post-production adjustments to individual images, always keep the original and make any edits on a copy, which you can place in a separate subfolder. You always want to keep a version of the image in its original, unedited form.
3 Use photo management tools to enhance your workflow
Photo management tools, such as Adobe Lightroom and Photo Mechanic are a fantastic way to enhance your organisational workflow when dealing with images in bulk.
The possibilities of what you can do with your images when using photo management tools are nearly endless. But to keep it simple in regards to organising your photos - you can apply ratings to your images, which is an excellent way of singling out the images that are your favourites from the shoot. And you can also apply actions such as bulk edits, and export them to dedicated folders and locations in a uniform format.
Lightroom allows nondestructive editing of your images. Which means you can apply post-productions edits without modifying the original image.
For a deeper dive, take a look at our 10 Top Lightroom Tips.

4 Backup, backup, backup!
Always make a backup of your photos.
Computer hard drive and device failures happen regularly and can be devastating for photographers. Keep a backup of all your images in an external hard drive, memory card, or on cloud storage such as Google Drive.
Remember to backup on a regular basis. Ideally, every time you add new photos to your filing system, make a backup.

Top tip:
Make a backup of a backup!
Having an additional layer of security, by making a backup of your backup on another external hard drive or cloud storage will give you more security and peace of mind. Also store any physical drives in a secure location.
5 Organise your photos into albums on Picfair
Once you’ve got your photos organised, you’ll be able to easily identify those shots you want to upload to Picfair - and this is where you can get creative!
With the albums feature on Picfair, you can organise your shots into themed sets of up to 100 images in each album. Visitors love browsing images in orderly themed collections. And if you work in lots of different photographic areas, or have images based on specific locations, subjects, or events - you can guide the visitor directly to them.
Also, this way, if someone is looking for a specific type of image, you’re guiding them to an album with more similarly-themed images to browse and choose from!
All albums are publicly viewable on your marketplace profile, and if you’re a Picfair Plus member, you also have the option of displaying albums on your Picfair Store! More on this here.


