Five easy ways to make your Lightroom workflow the orderly, organised environment it deserves to be
If you’re like me and prefer shooting more to editing (or at least spend less time doing the latter), it can be easy for your post-production workflow to get out of control. Whether that’s having a glut of images to process, running into RAM and hard drive space issues, or just not knowing where to start tackling the backlog of shots, there are ways to make your workflow slightly less problematic.
For my post-production work, I use Lightroom Classic almost exclusively (but dip into Photoshop now and again if particular images need specialist enhancements). I find that, for the most part, it suits all of my editing needs. And if used in its most efficient form can significantly help you keep your photography organised.
Below are five quick and simple tips for Lightroom Classic to help you keep on top of your workflow. Follow these, and hopefully, no matter how much or how little you shoot, it will help you feel less overwhelmed with the post-production process.
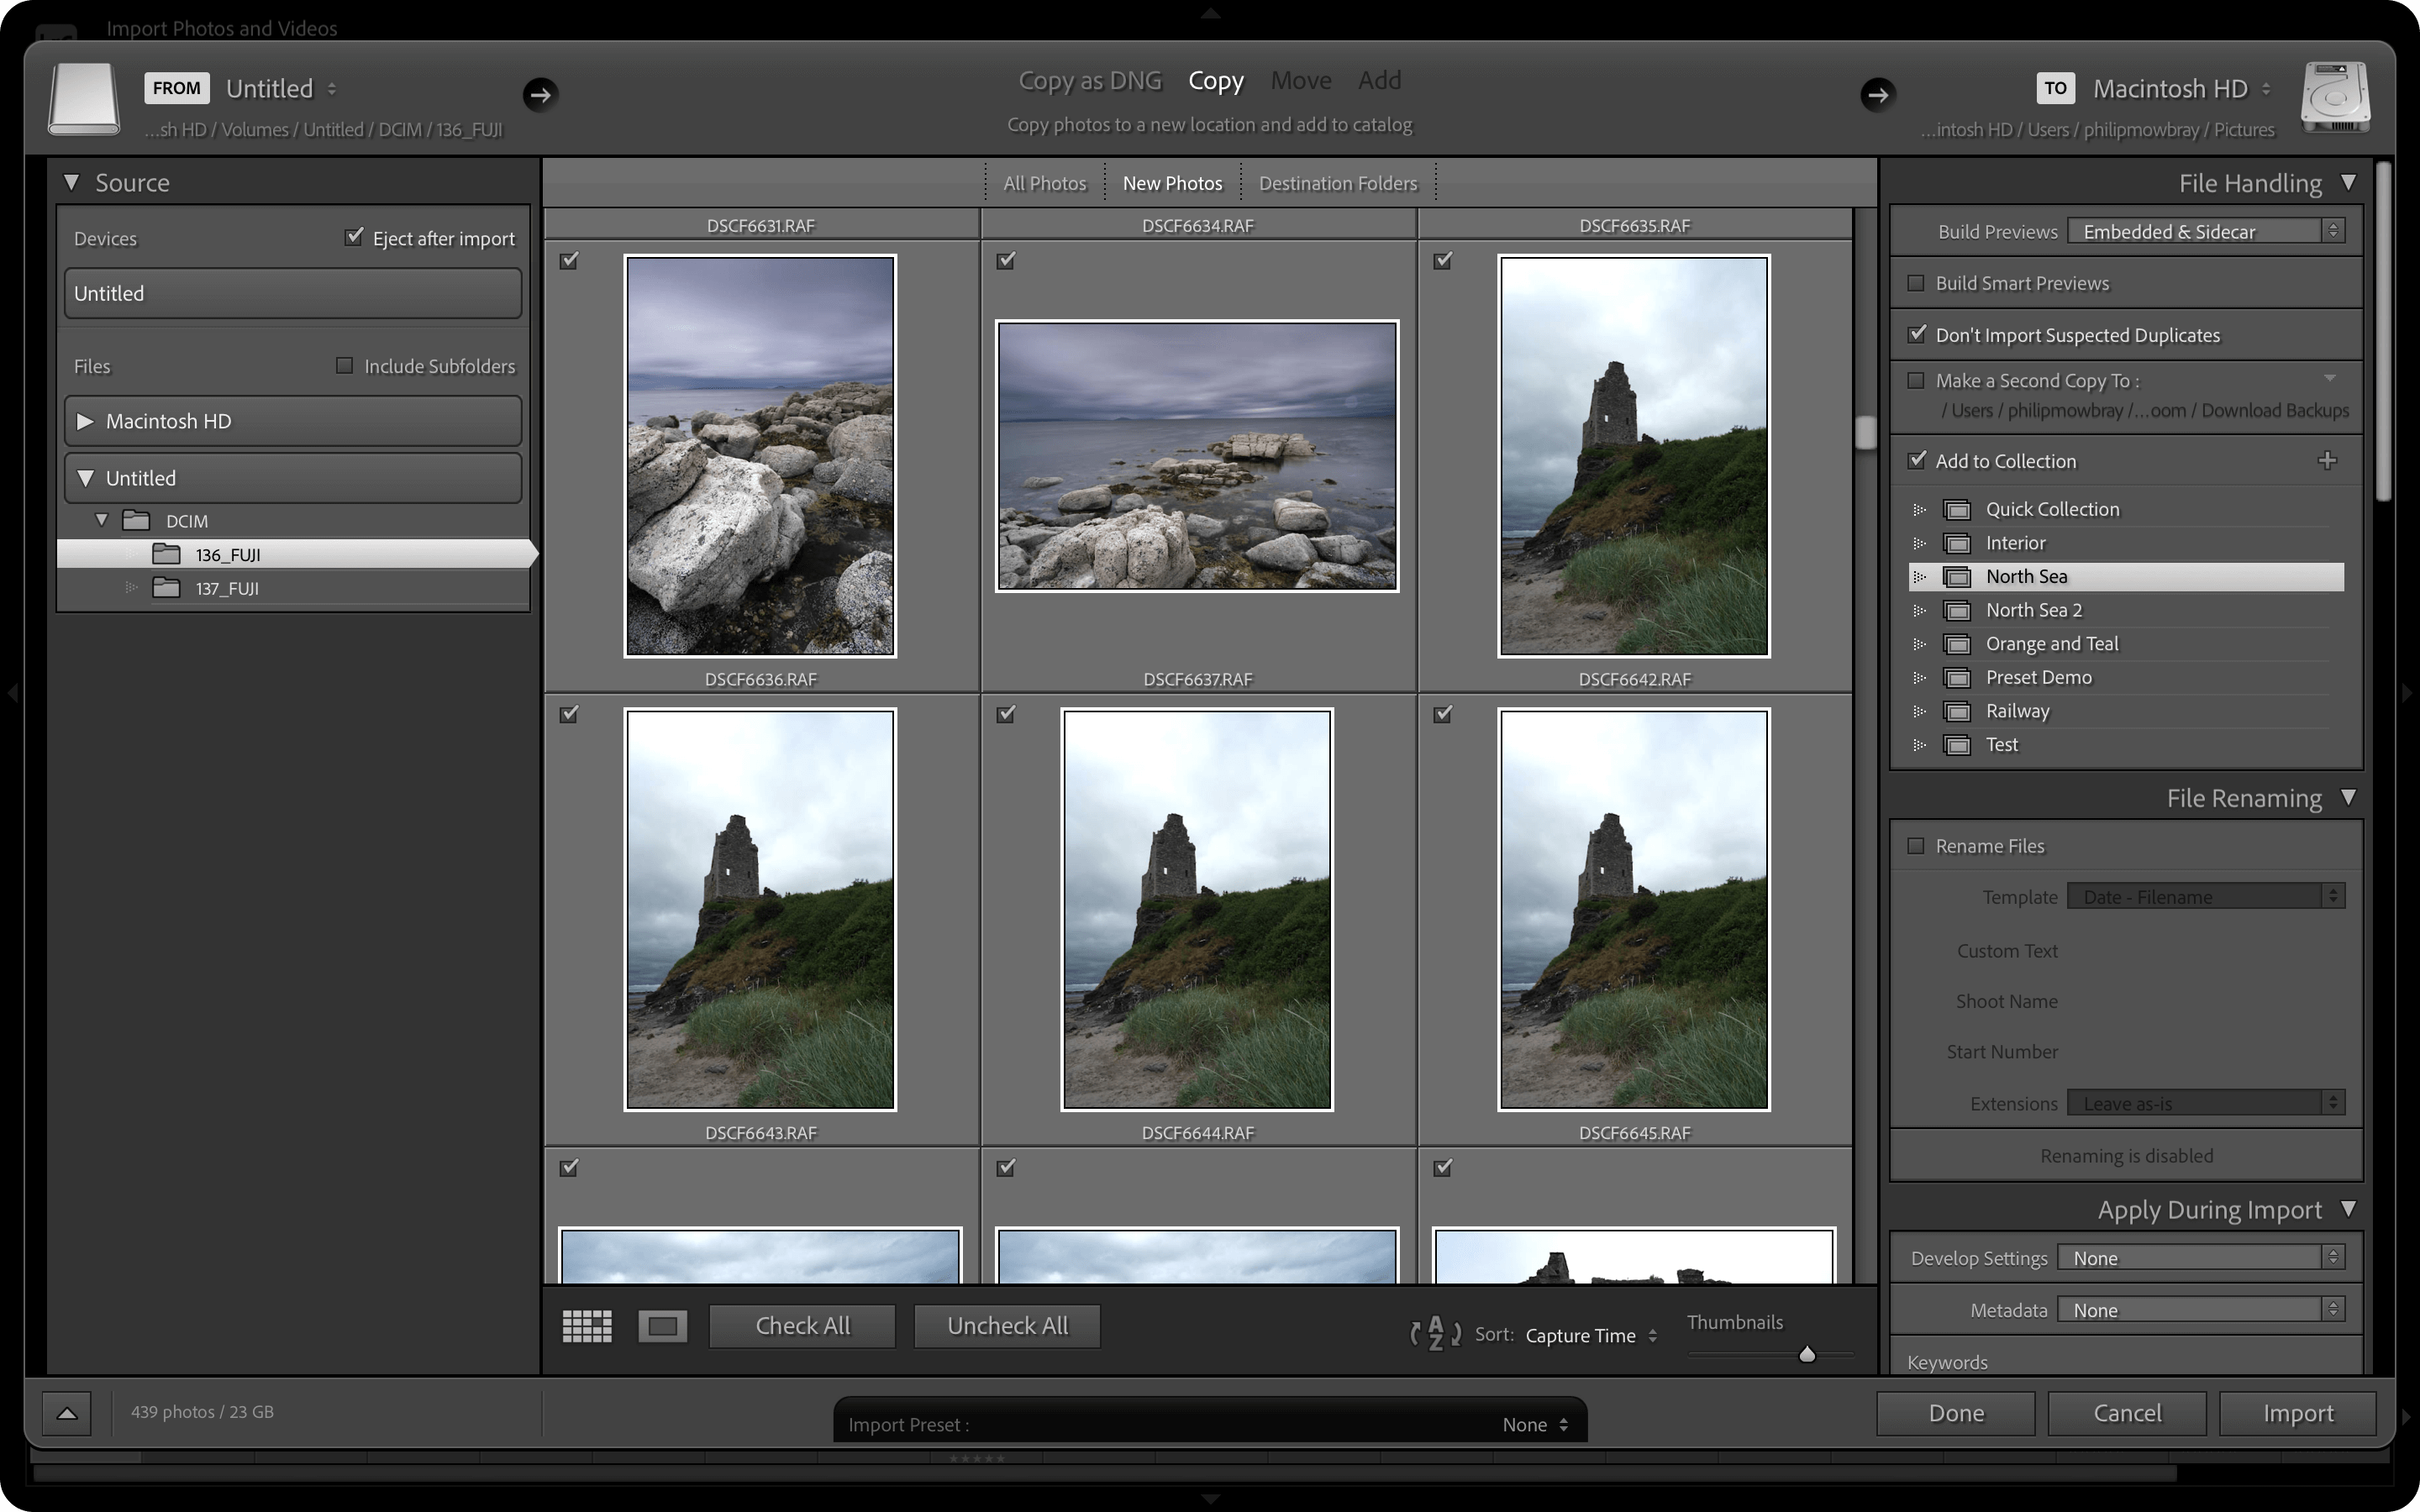
1 Apply some settings on import
During the import process, you can apply some handy settings to help you get ahead and keep up with your workflow before you’ve even started working on your images. For example, if you want to apply a preset of edits to all of your photos or incorporate them into a collection (see tip 5), you can save time by actioning this while importing your shots, taking a step out of your processing later.
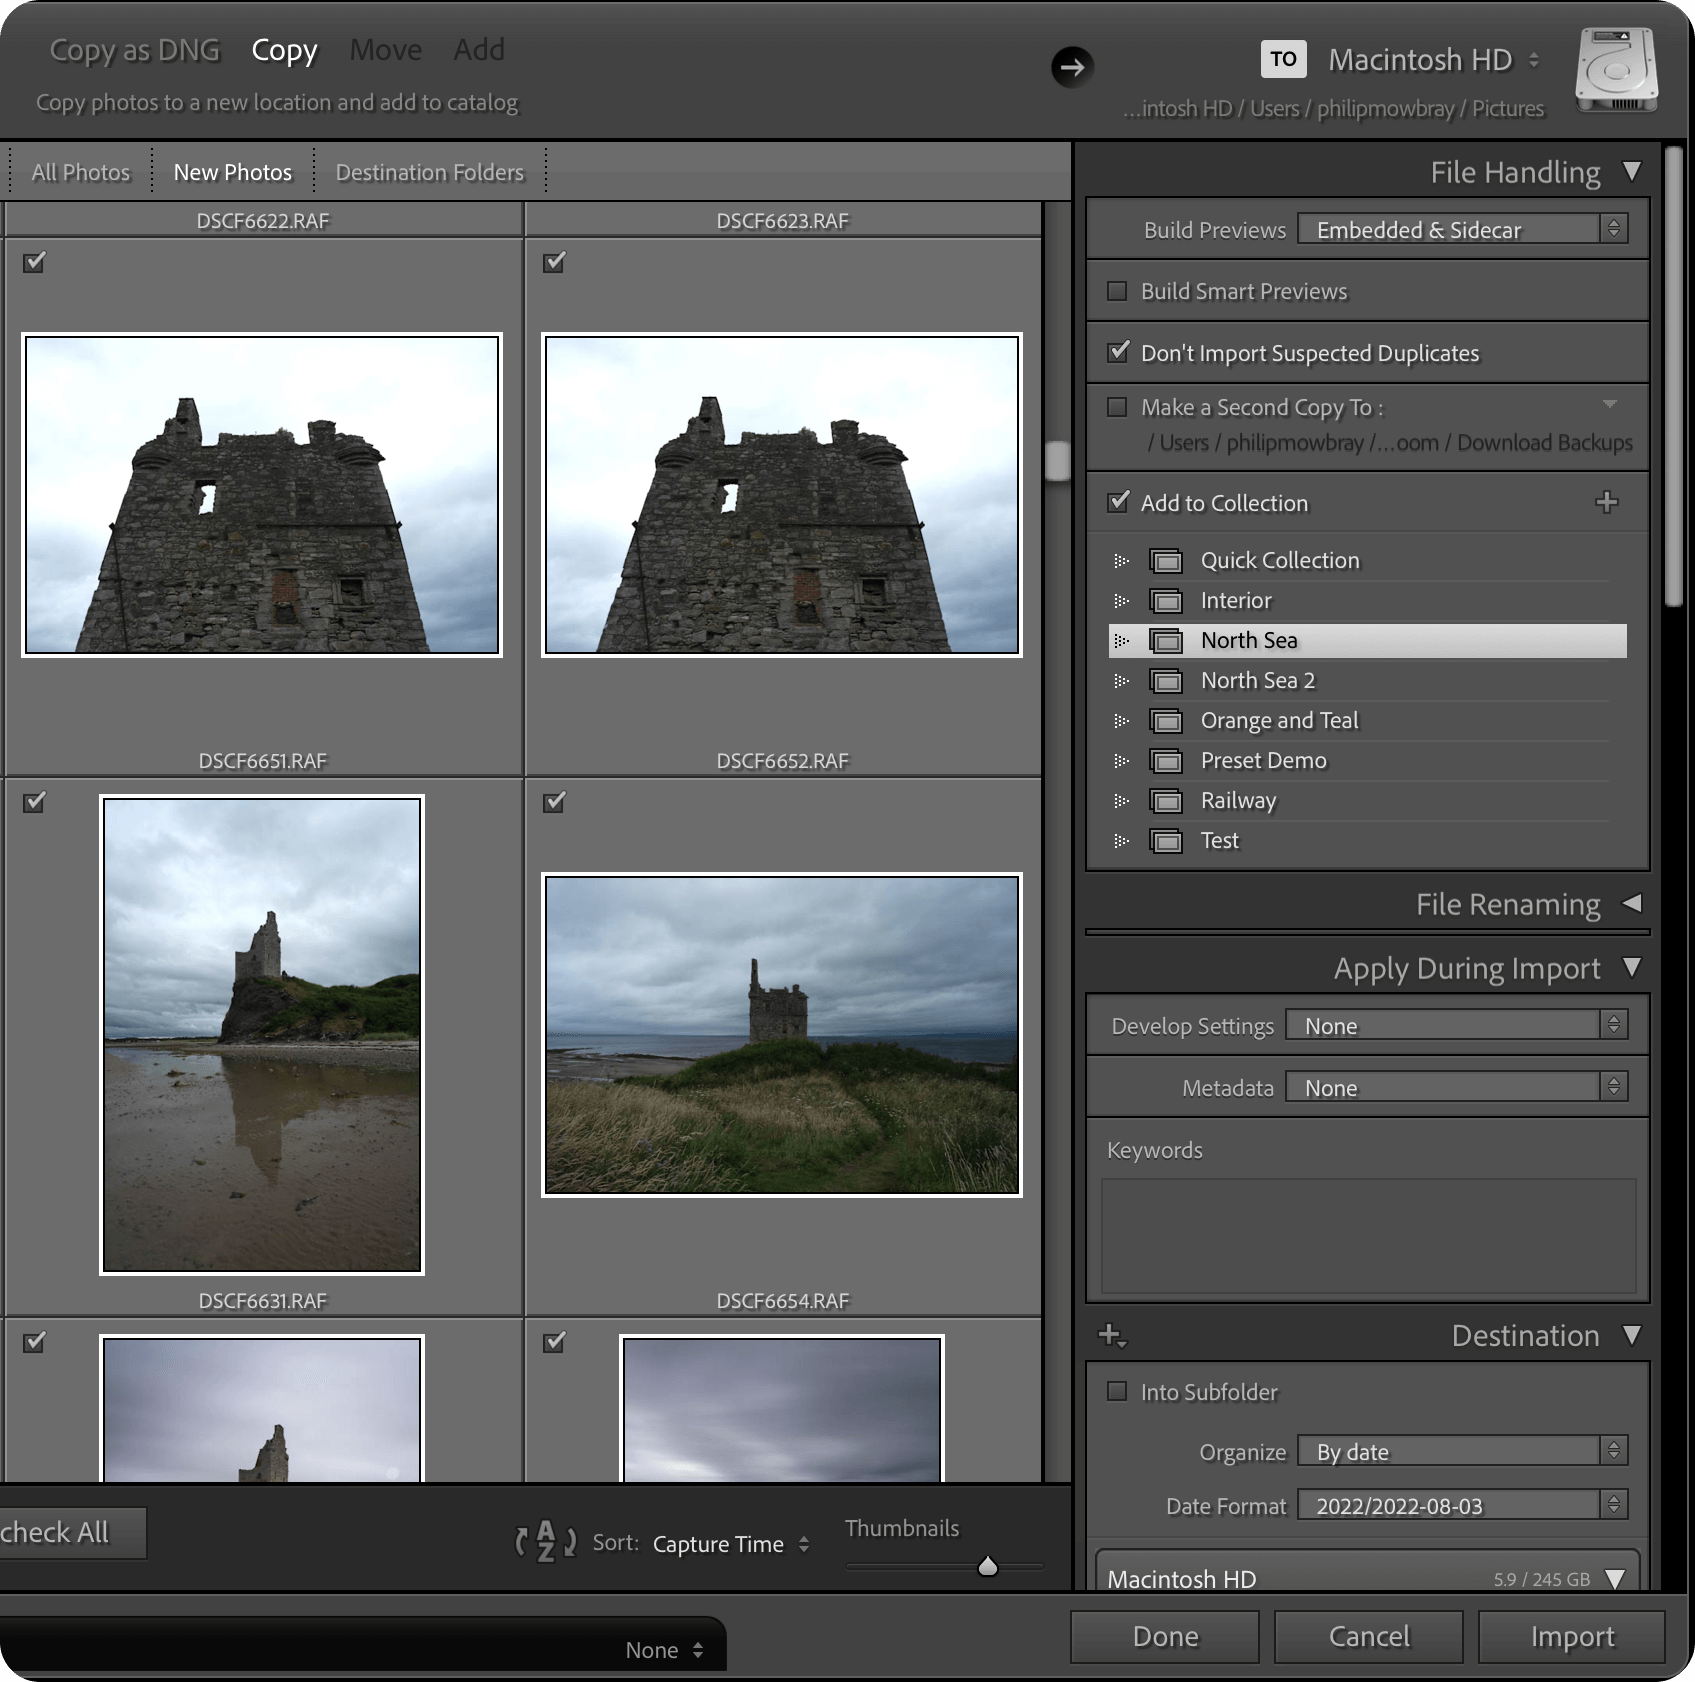

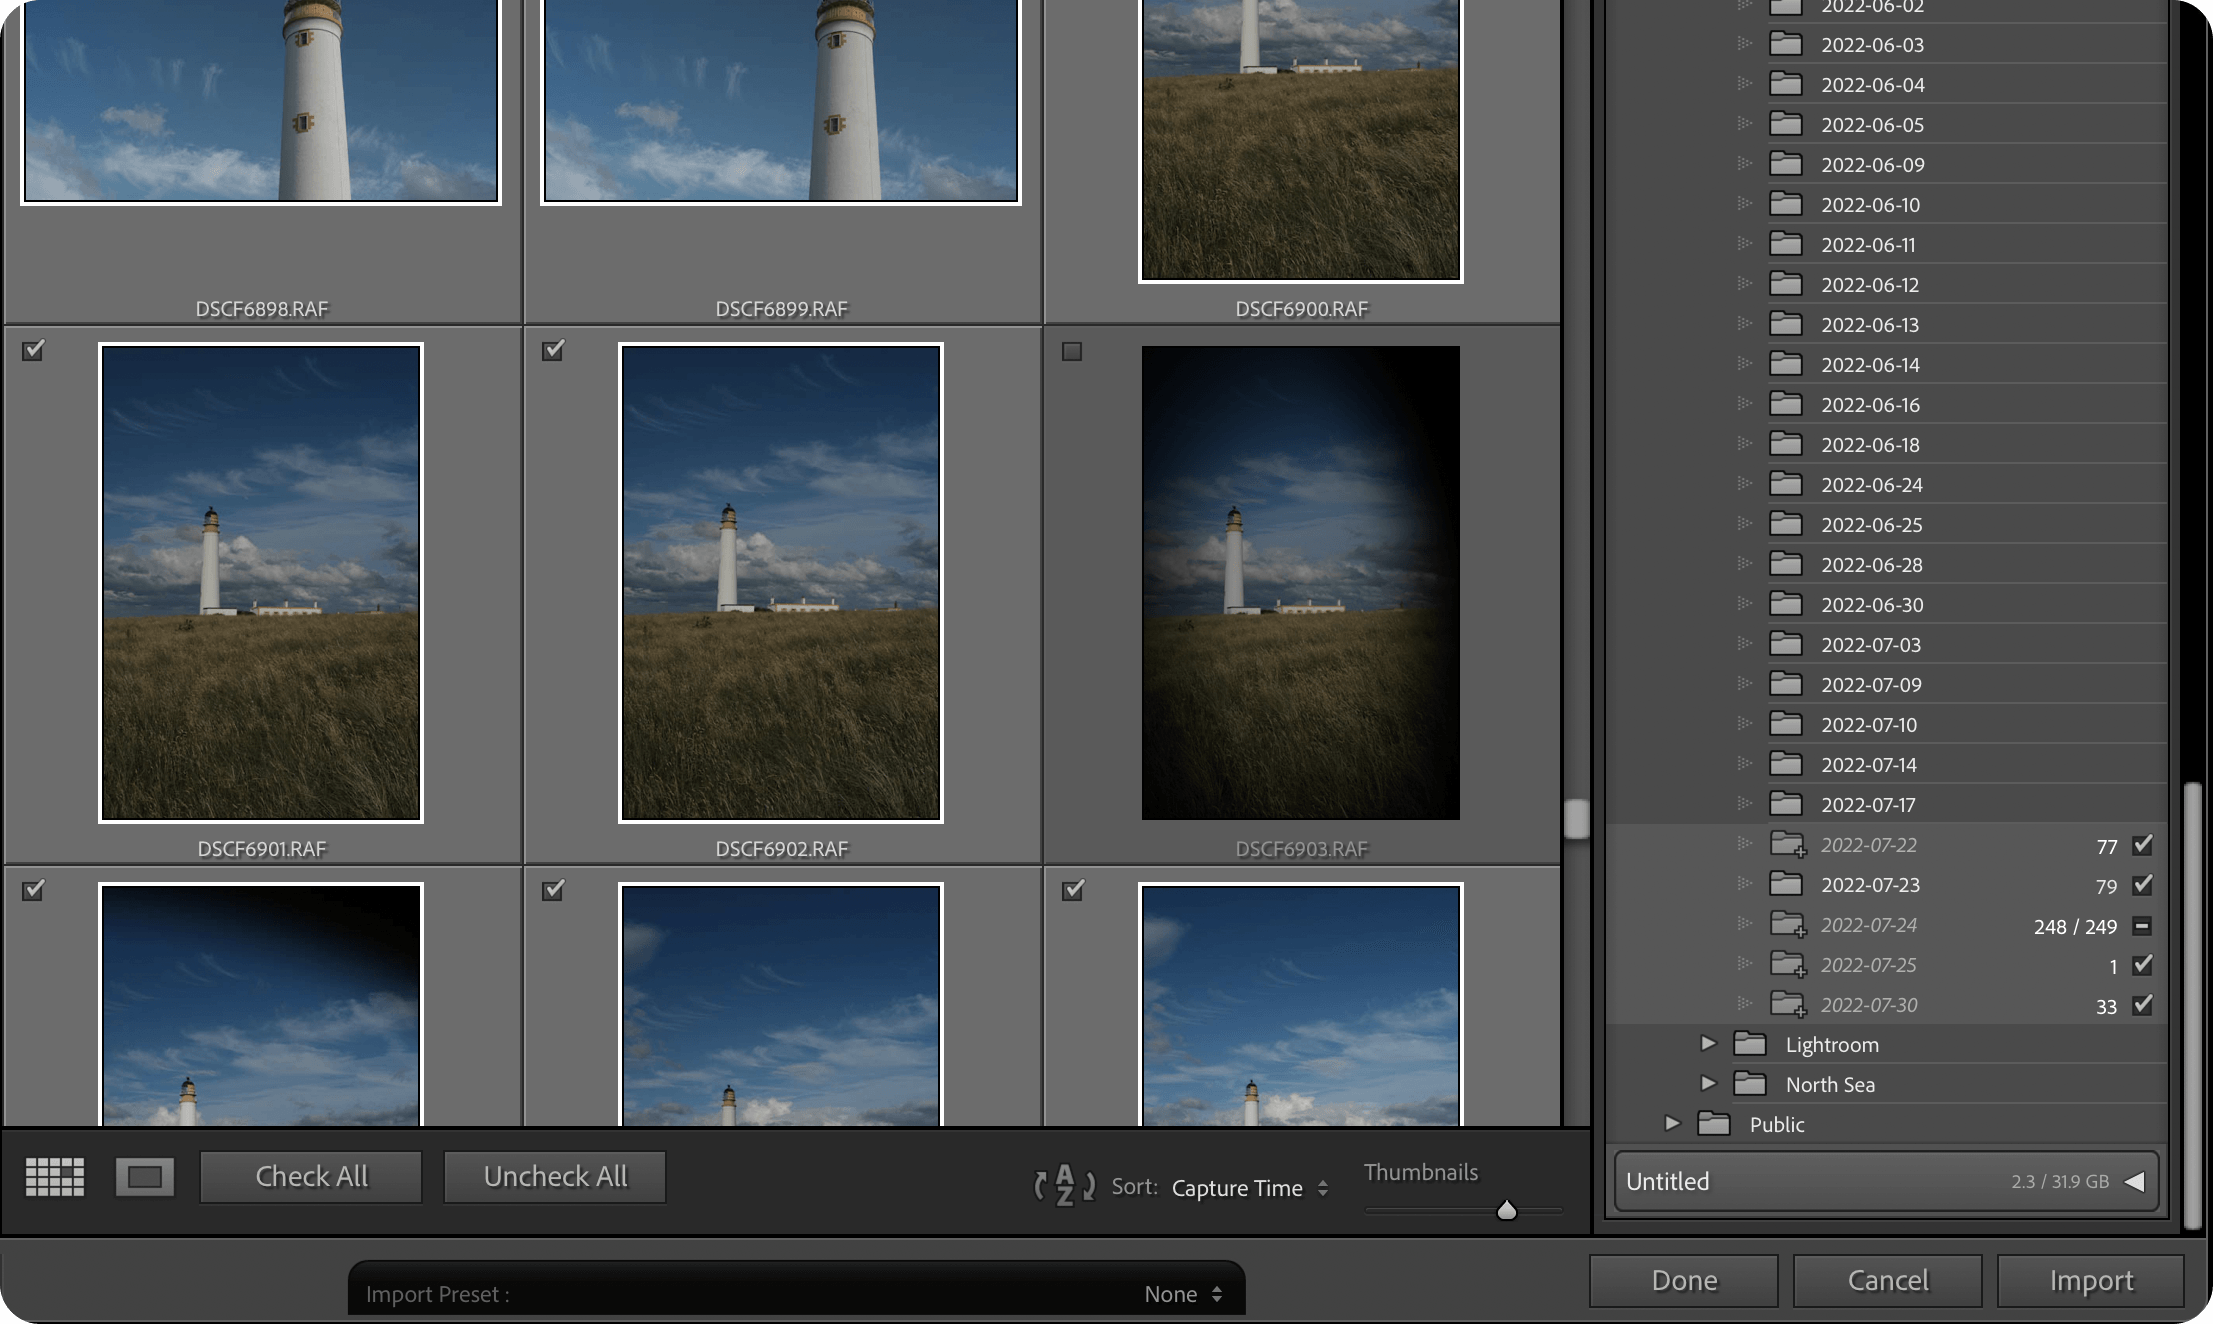
2 Uncheck bad images in the import dialogue
If you can see from the import dialogue that there are deletable images in your reel (such as blurred or obstructed shots), uncheck the option to import them, so they don’t end up in your workflow. Not only will this keep the number of images you need to look through to a minimum, but you’ll also save loads of space on your hard drive. That makes a massive difference if you’re importing hundreds of images regularly - I can’t count the time I’ve spent deleting images later on because I see the low disk space warning appear!
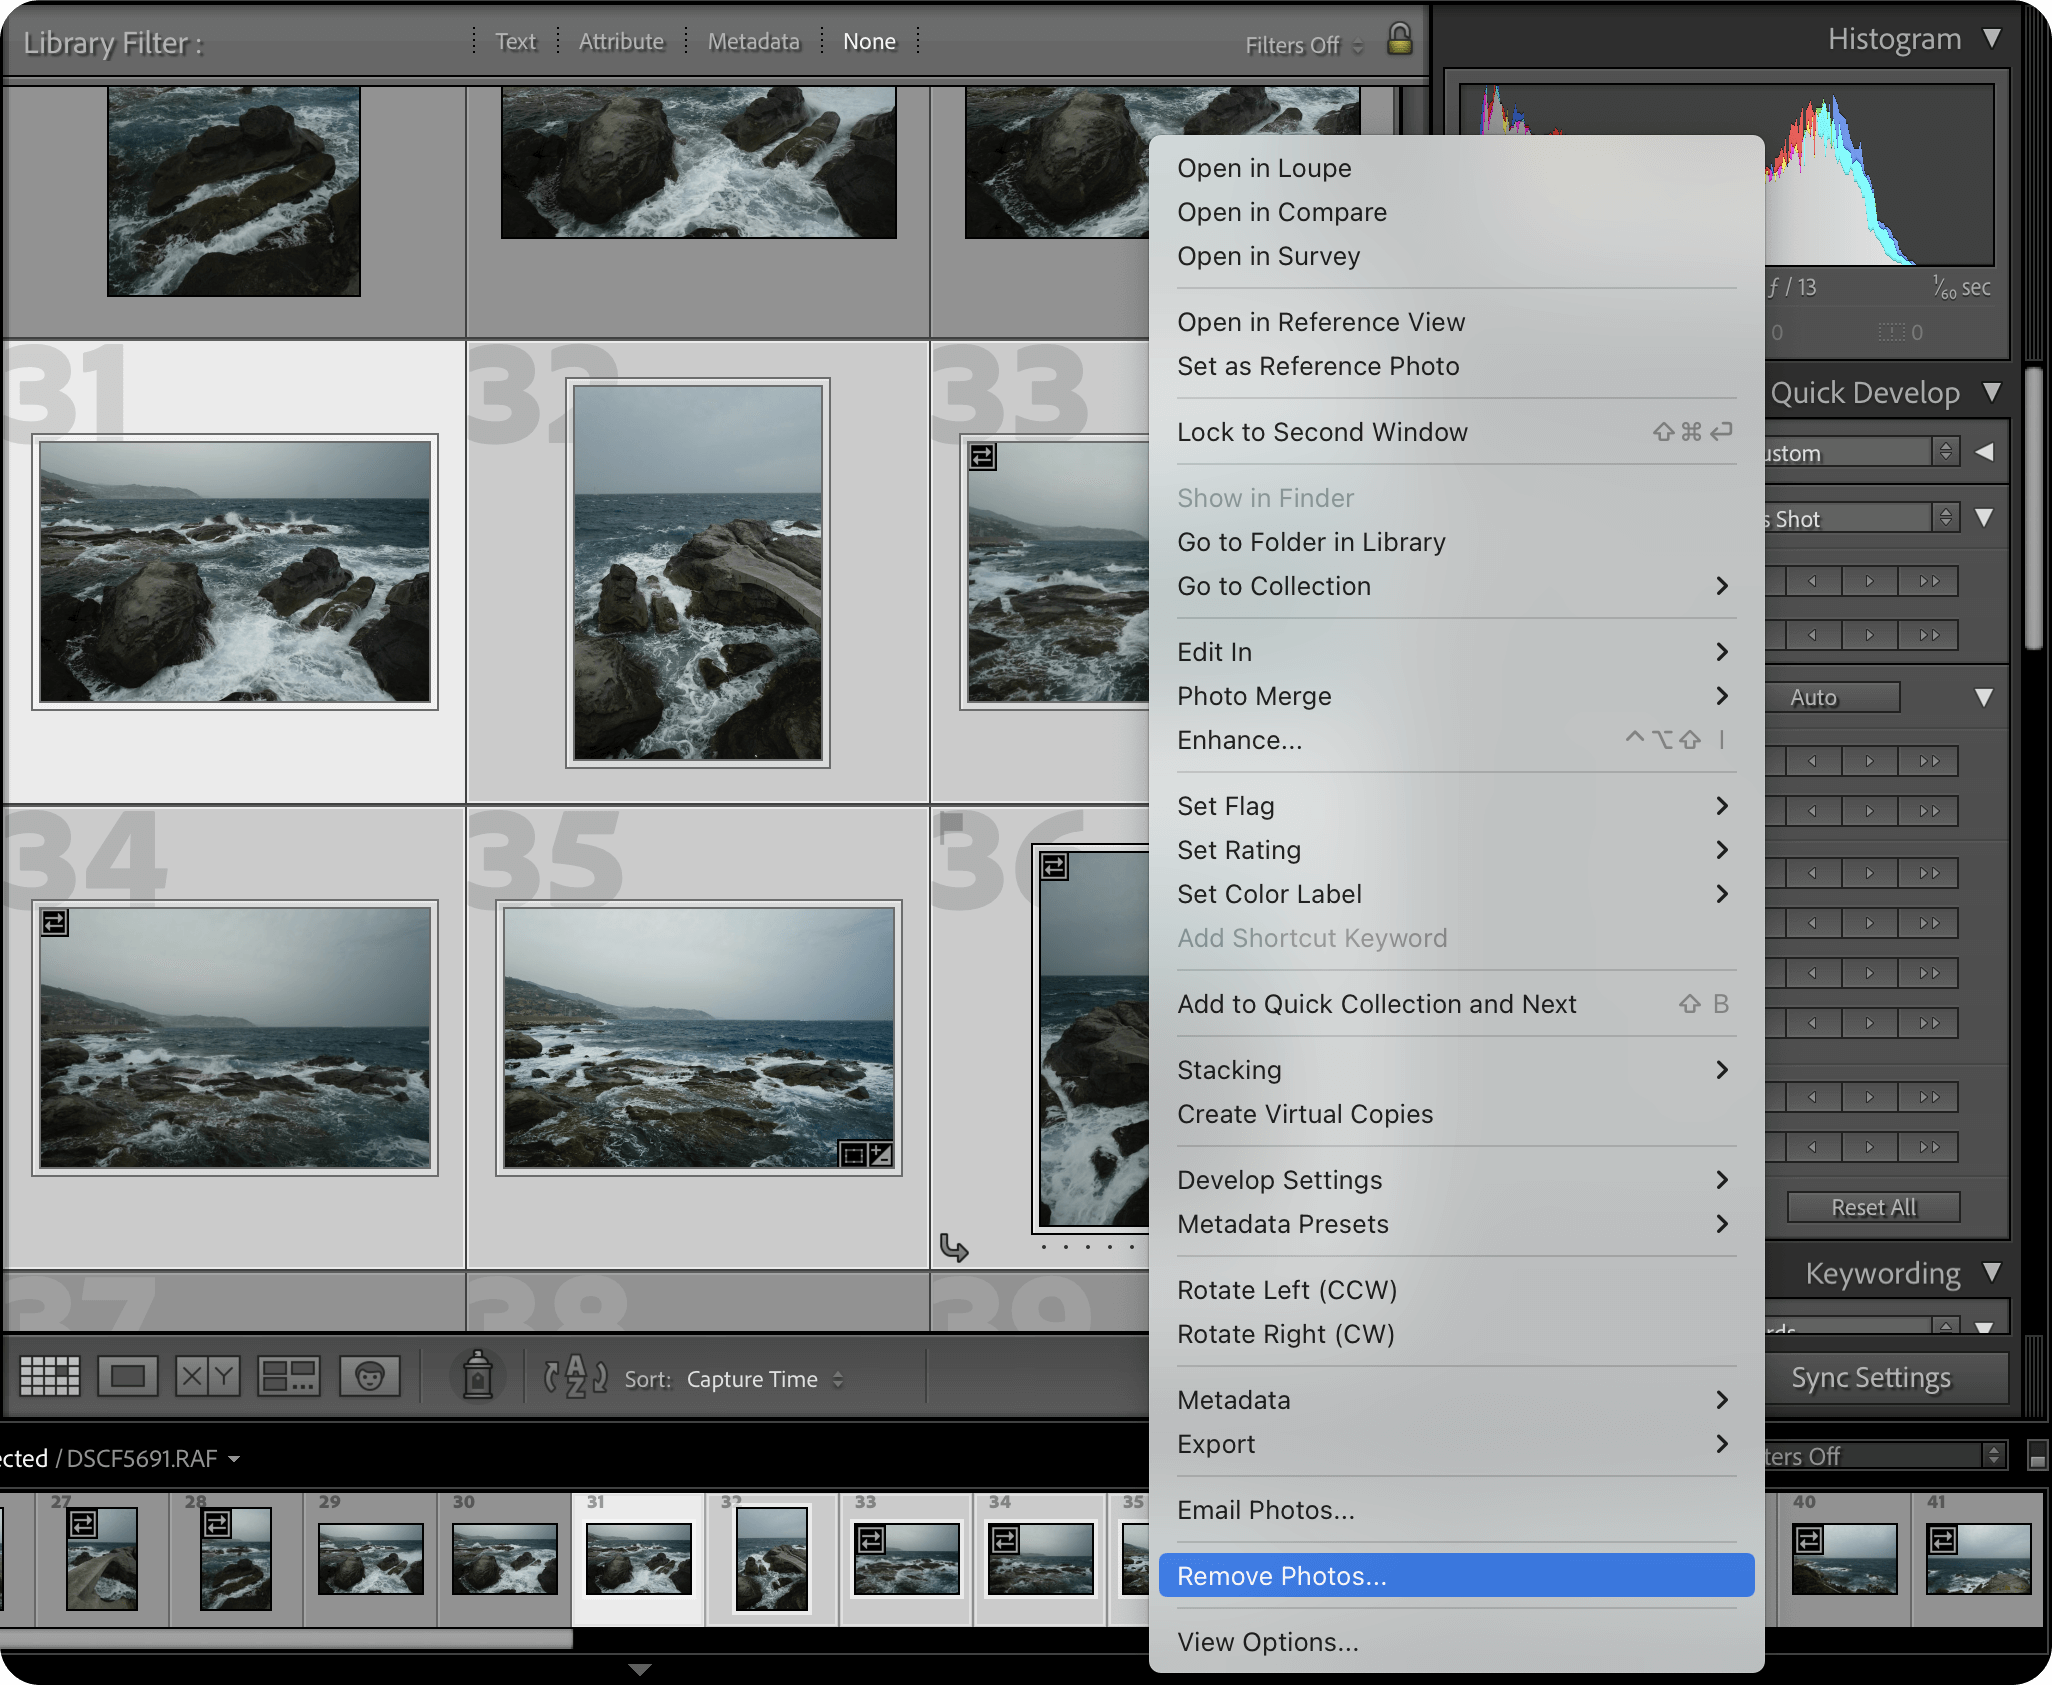
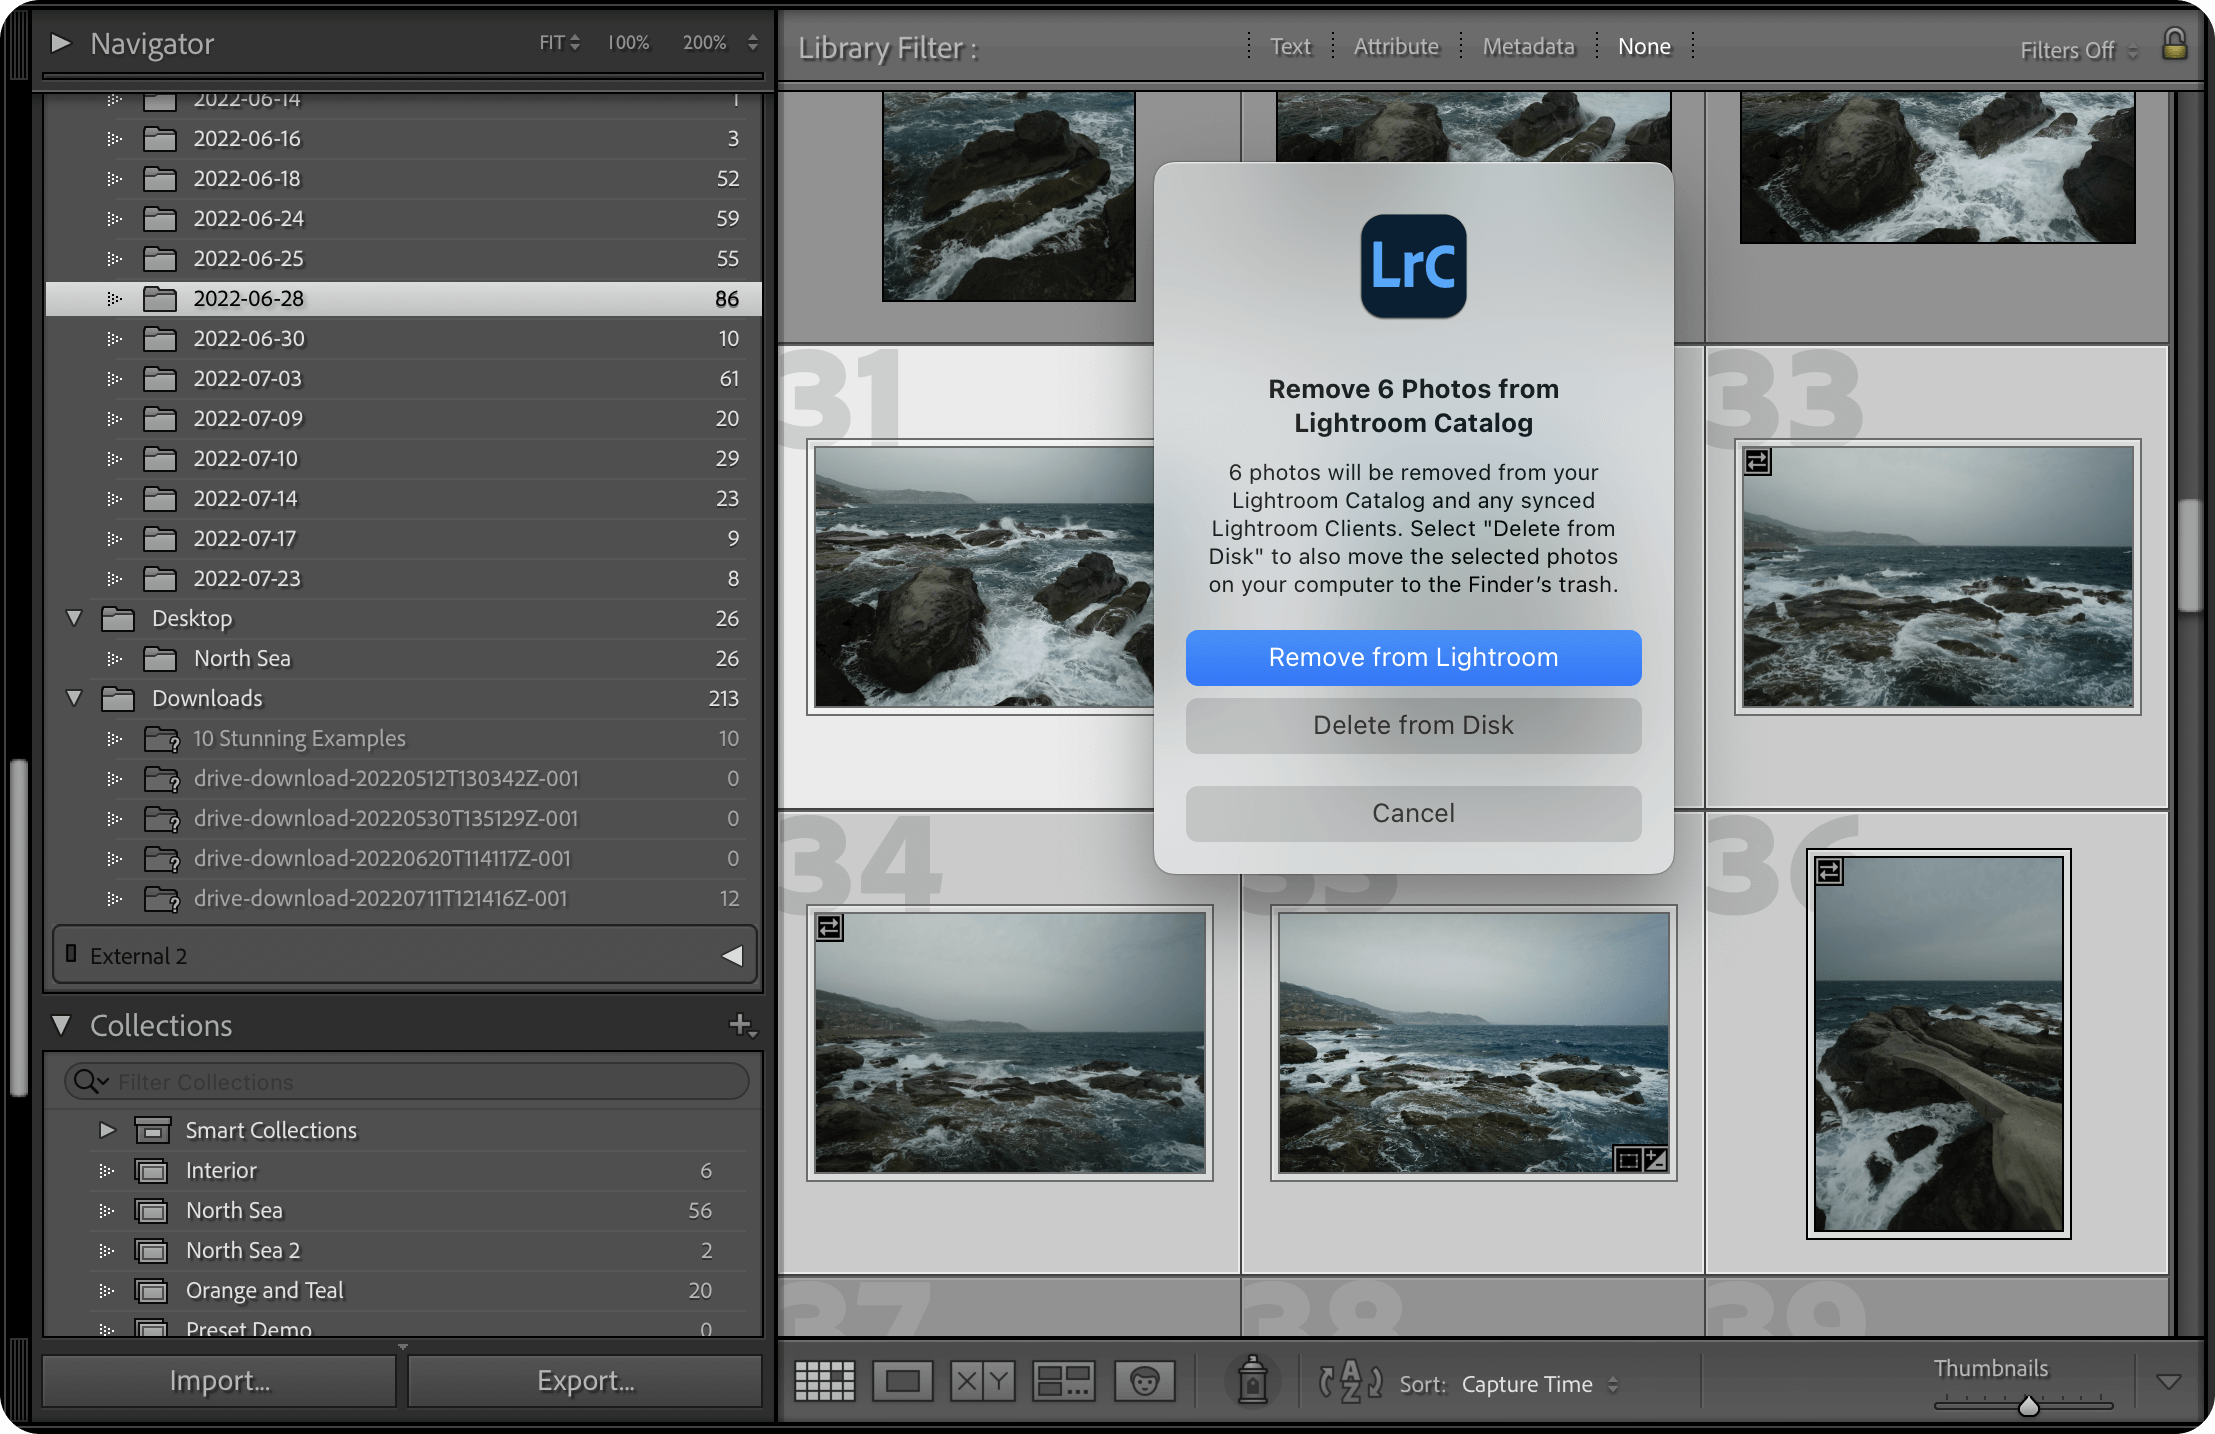
3 Remove images from Lightroom you definitely aren't going to work on
Realistically, you will not work on every image you import to Lightroom; once you’ve done a sweep of your pictures, you’ll probably have identified just a few that you want to work on further. For the rest, take them out of your Lightroom Catalog. You can remove images from Lightroom while keeping them on your hard drive, so you’re not deleting them entirely), but you’ll be left with just a handful of images to work out.
Doing this, mentally, makes post-production feel much more manageable. You’ll likely find that you get through your workflow much quicker, rather than putting it off because of the sheer amount of images you need to go through - that’s one I’ve learned from experience anyway, and I’m sure you’ll feel the same.
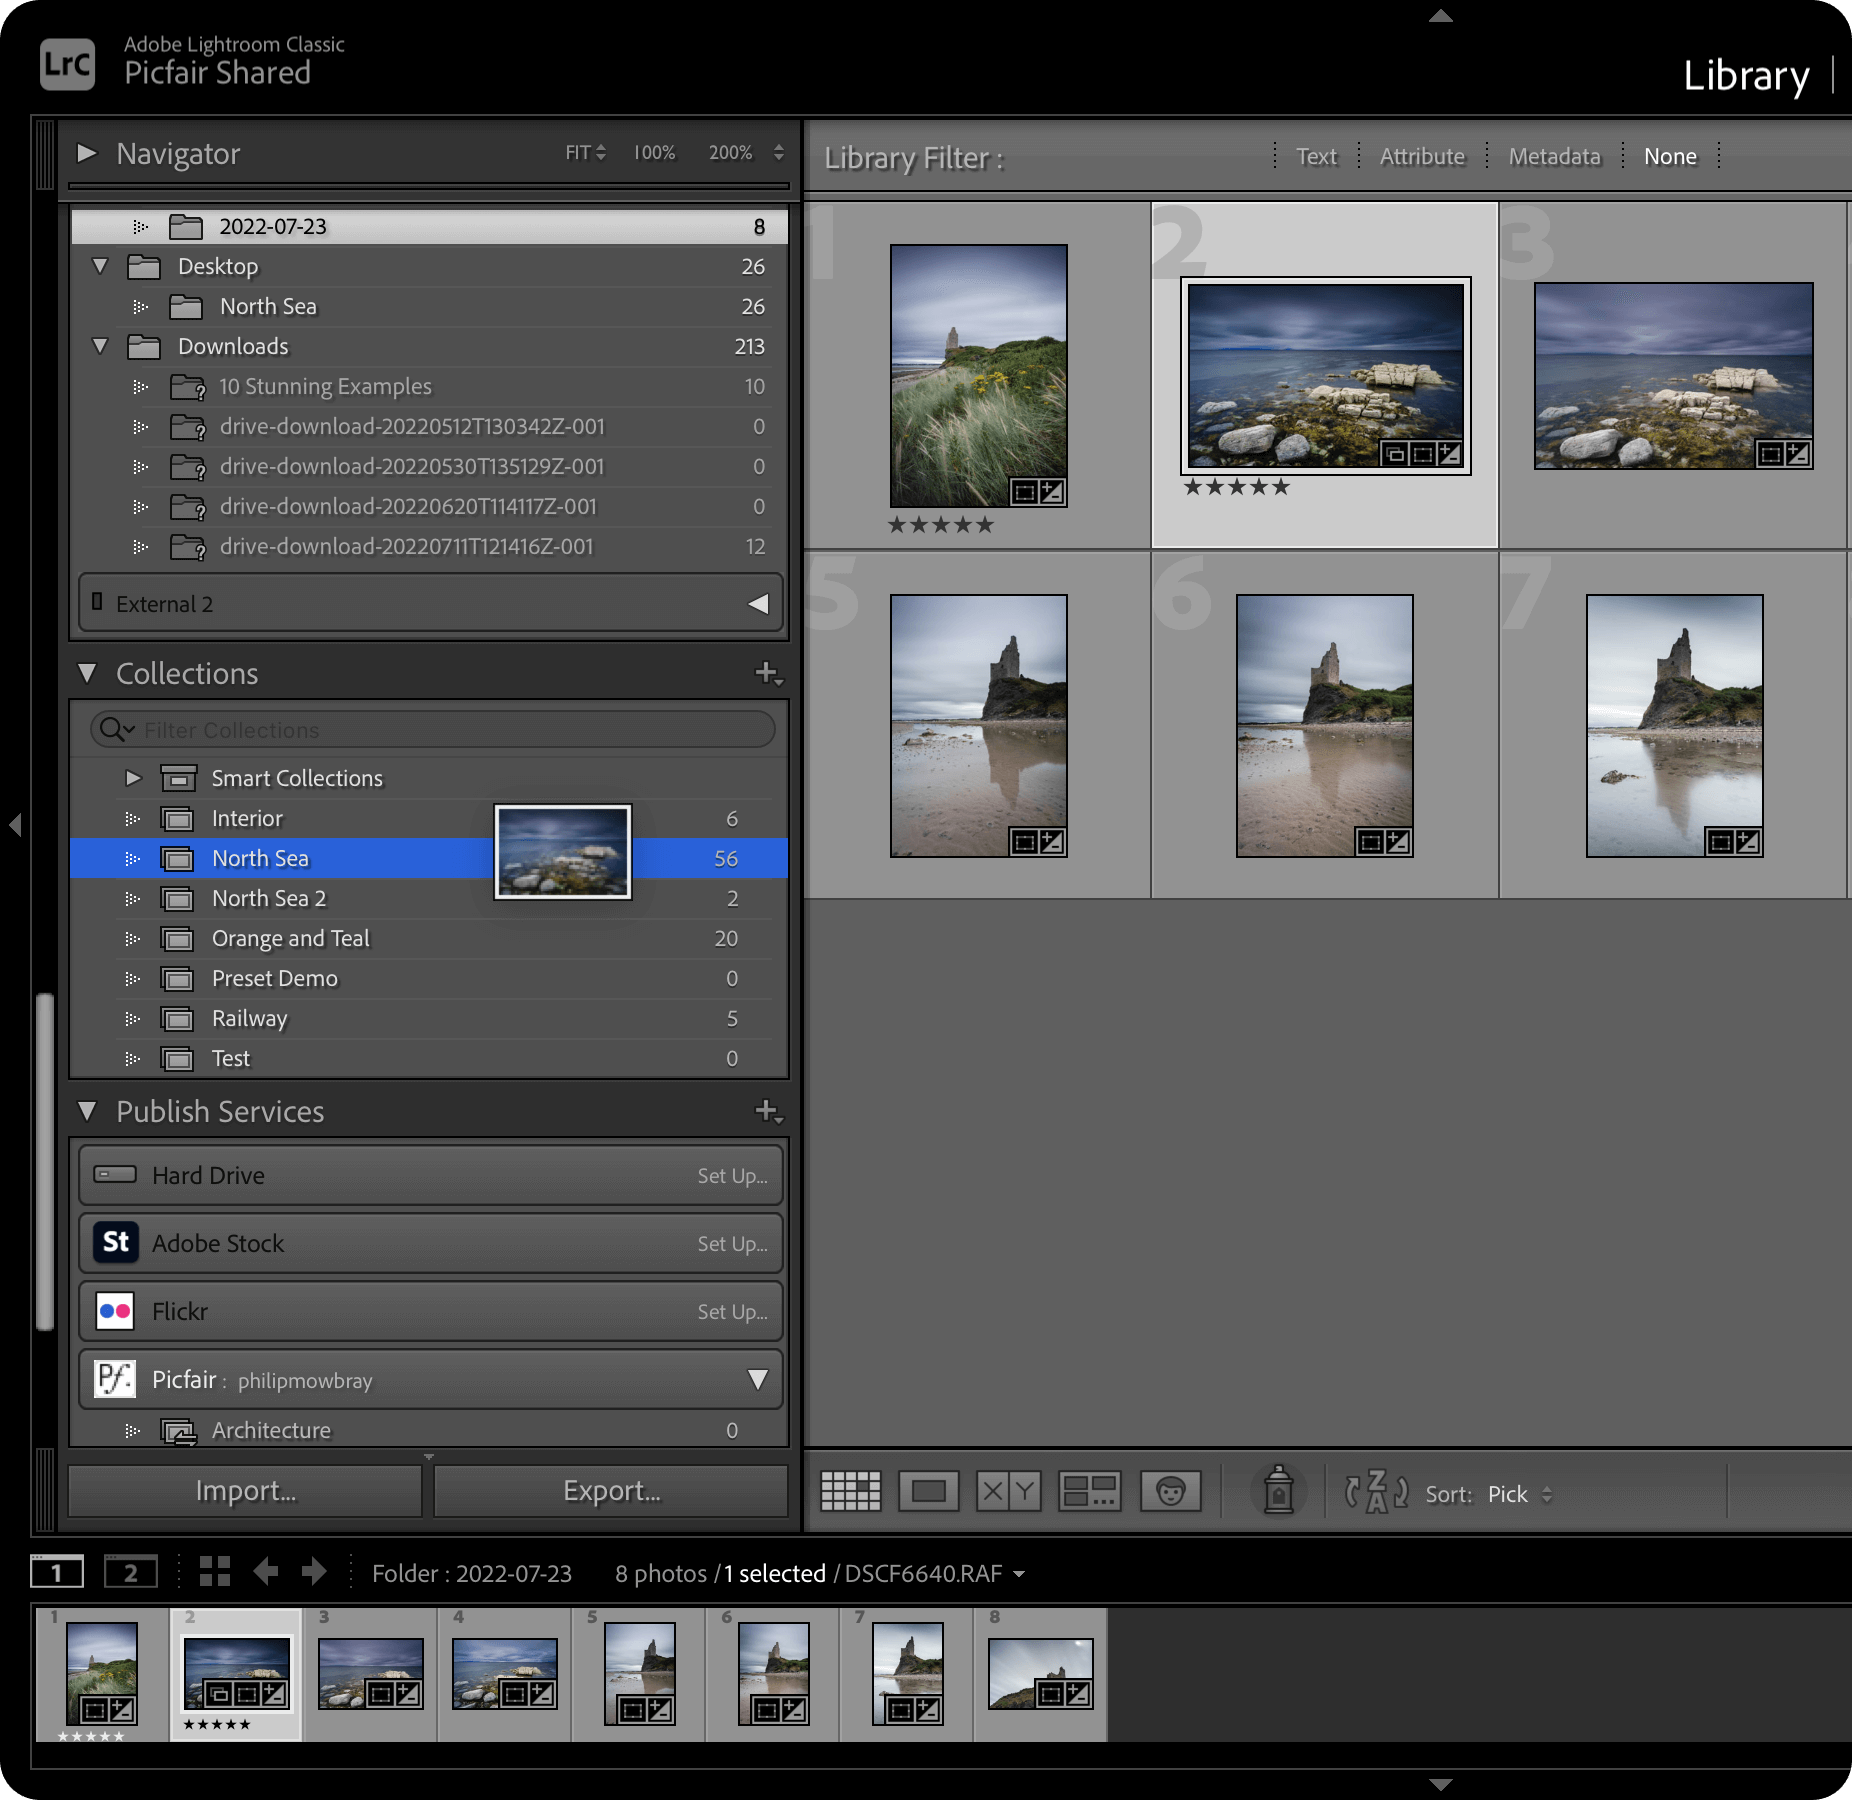
4 Use the rating system to order your images
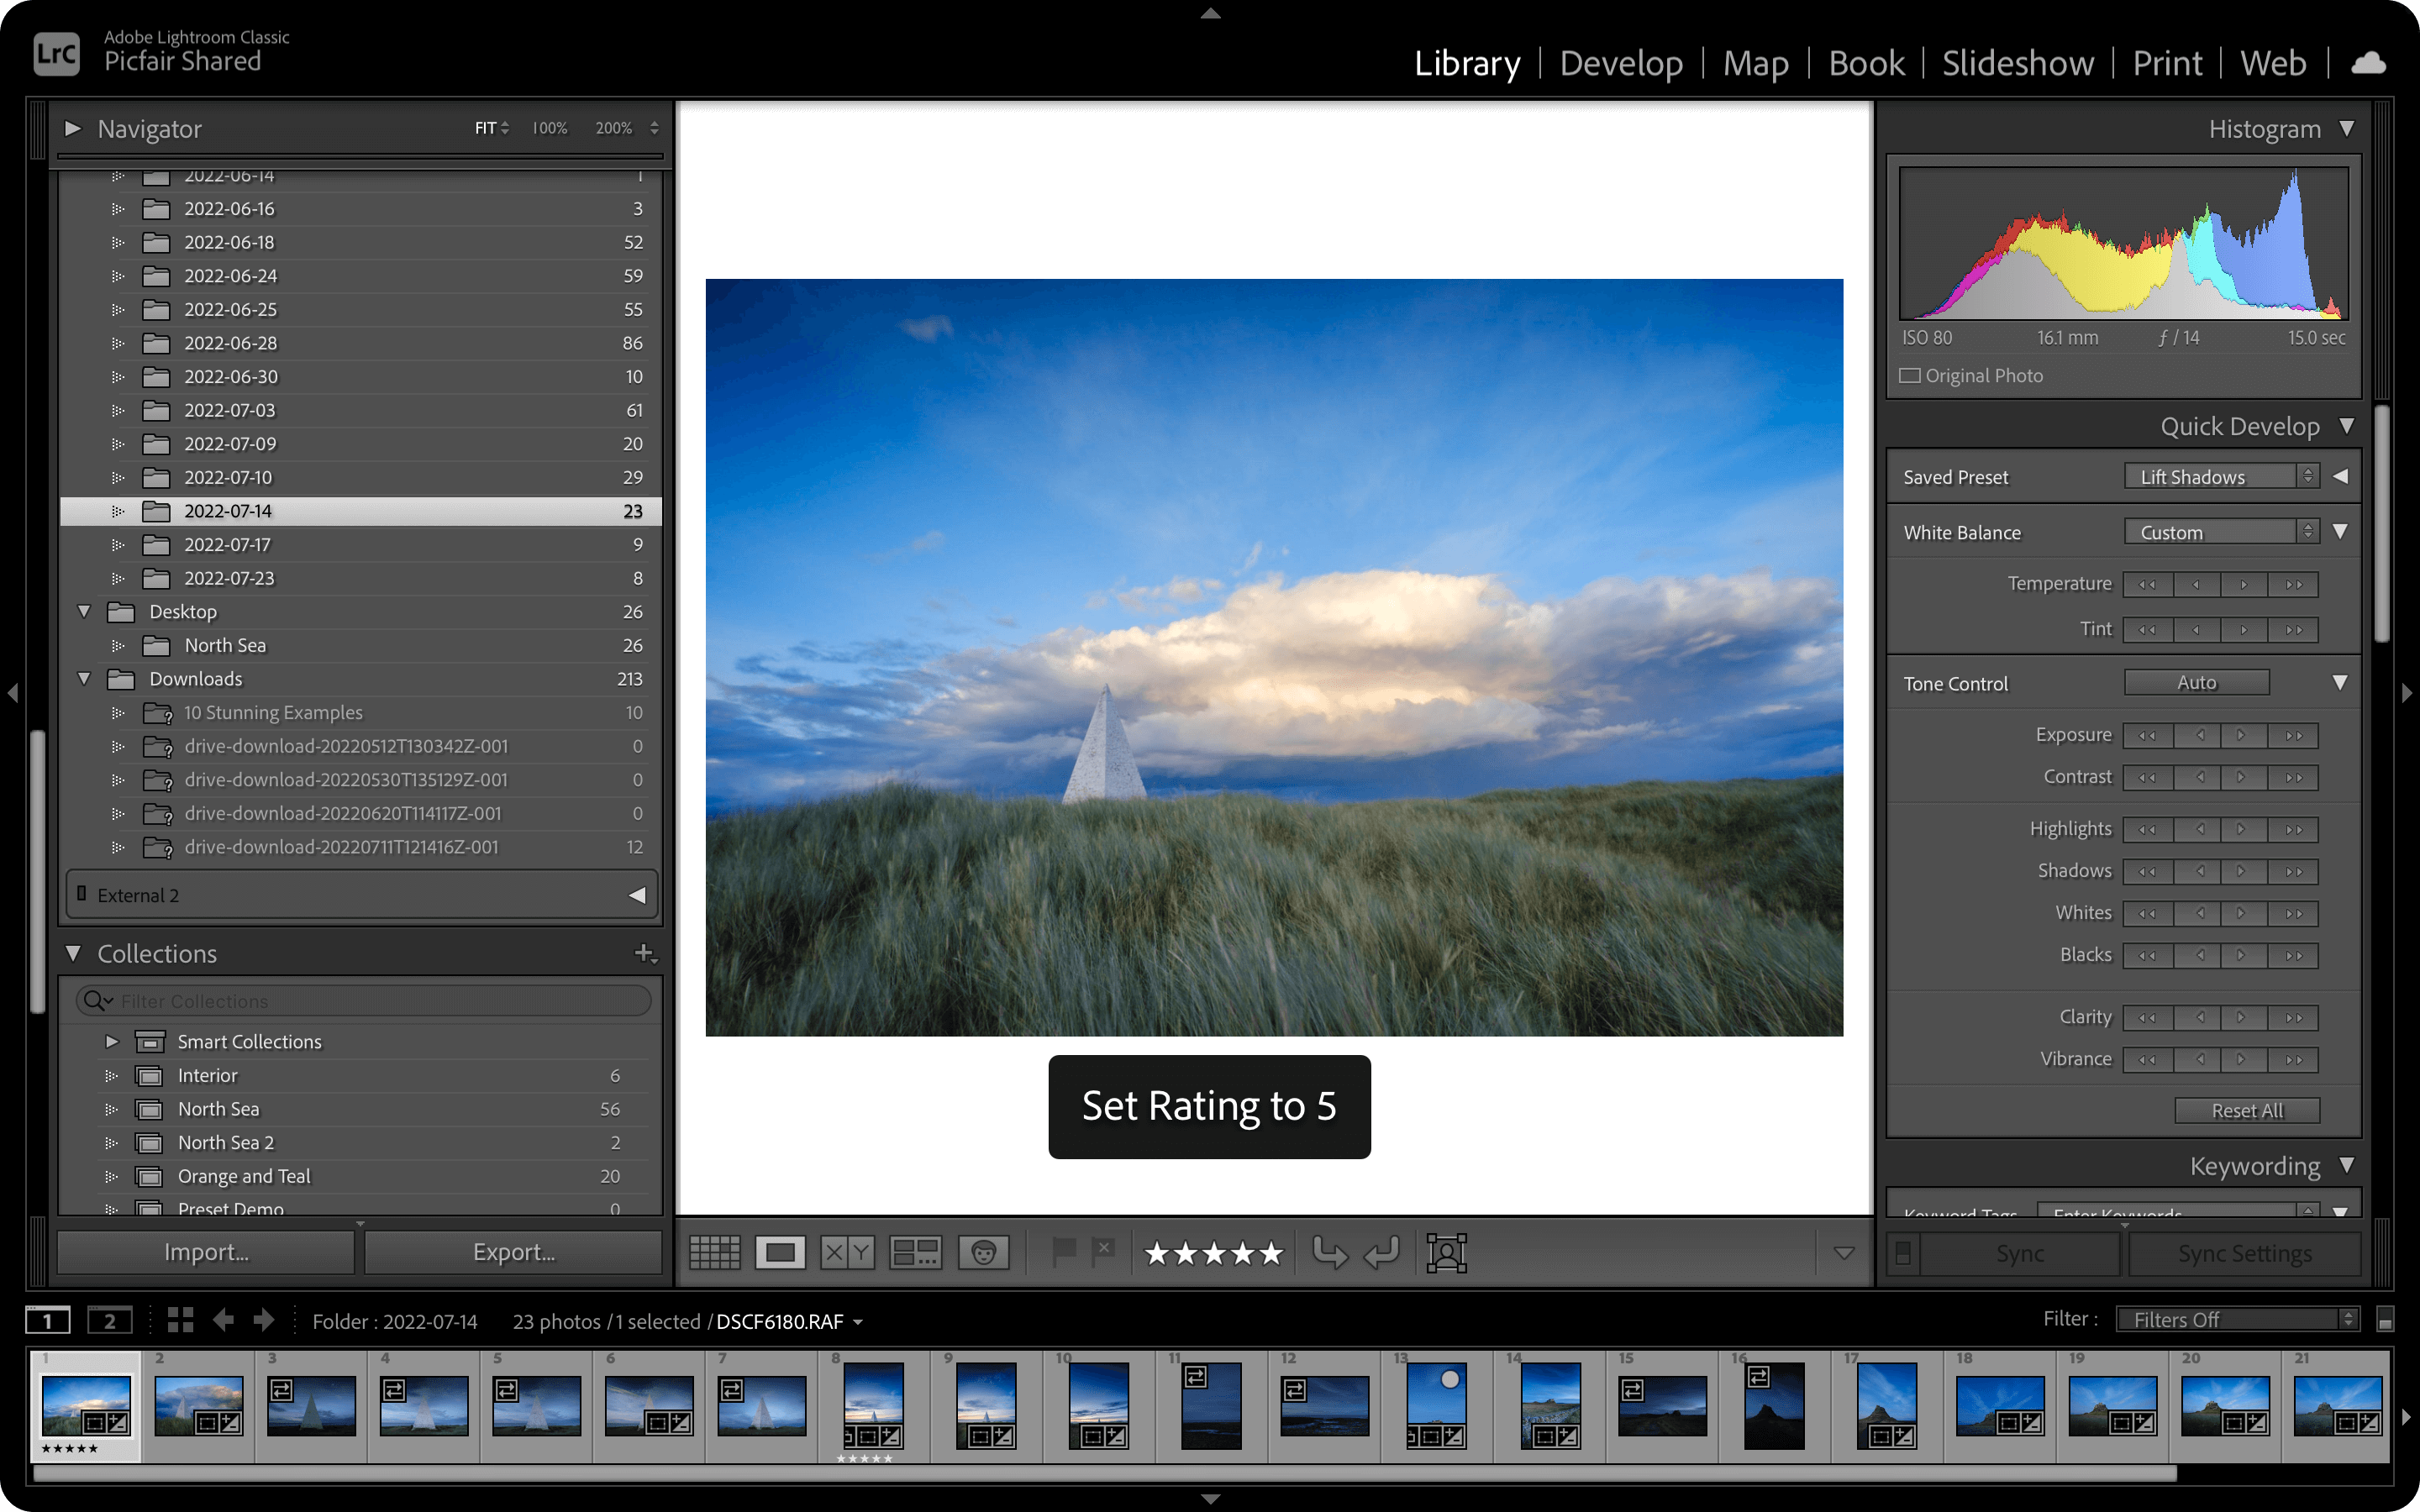
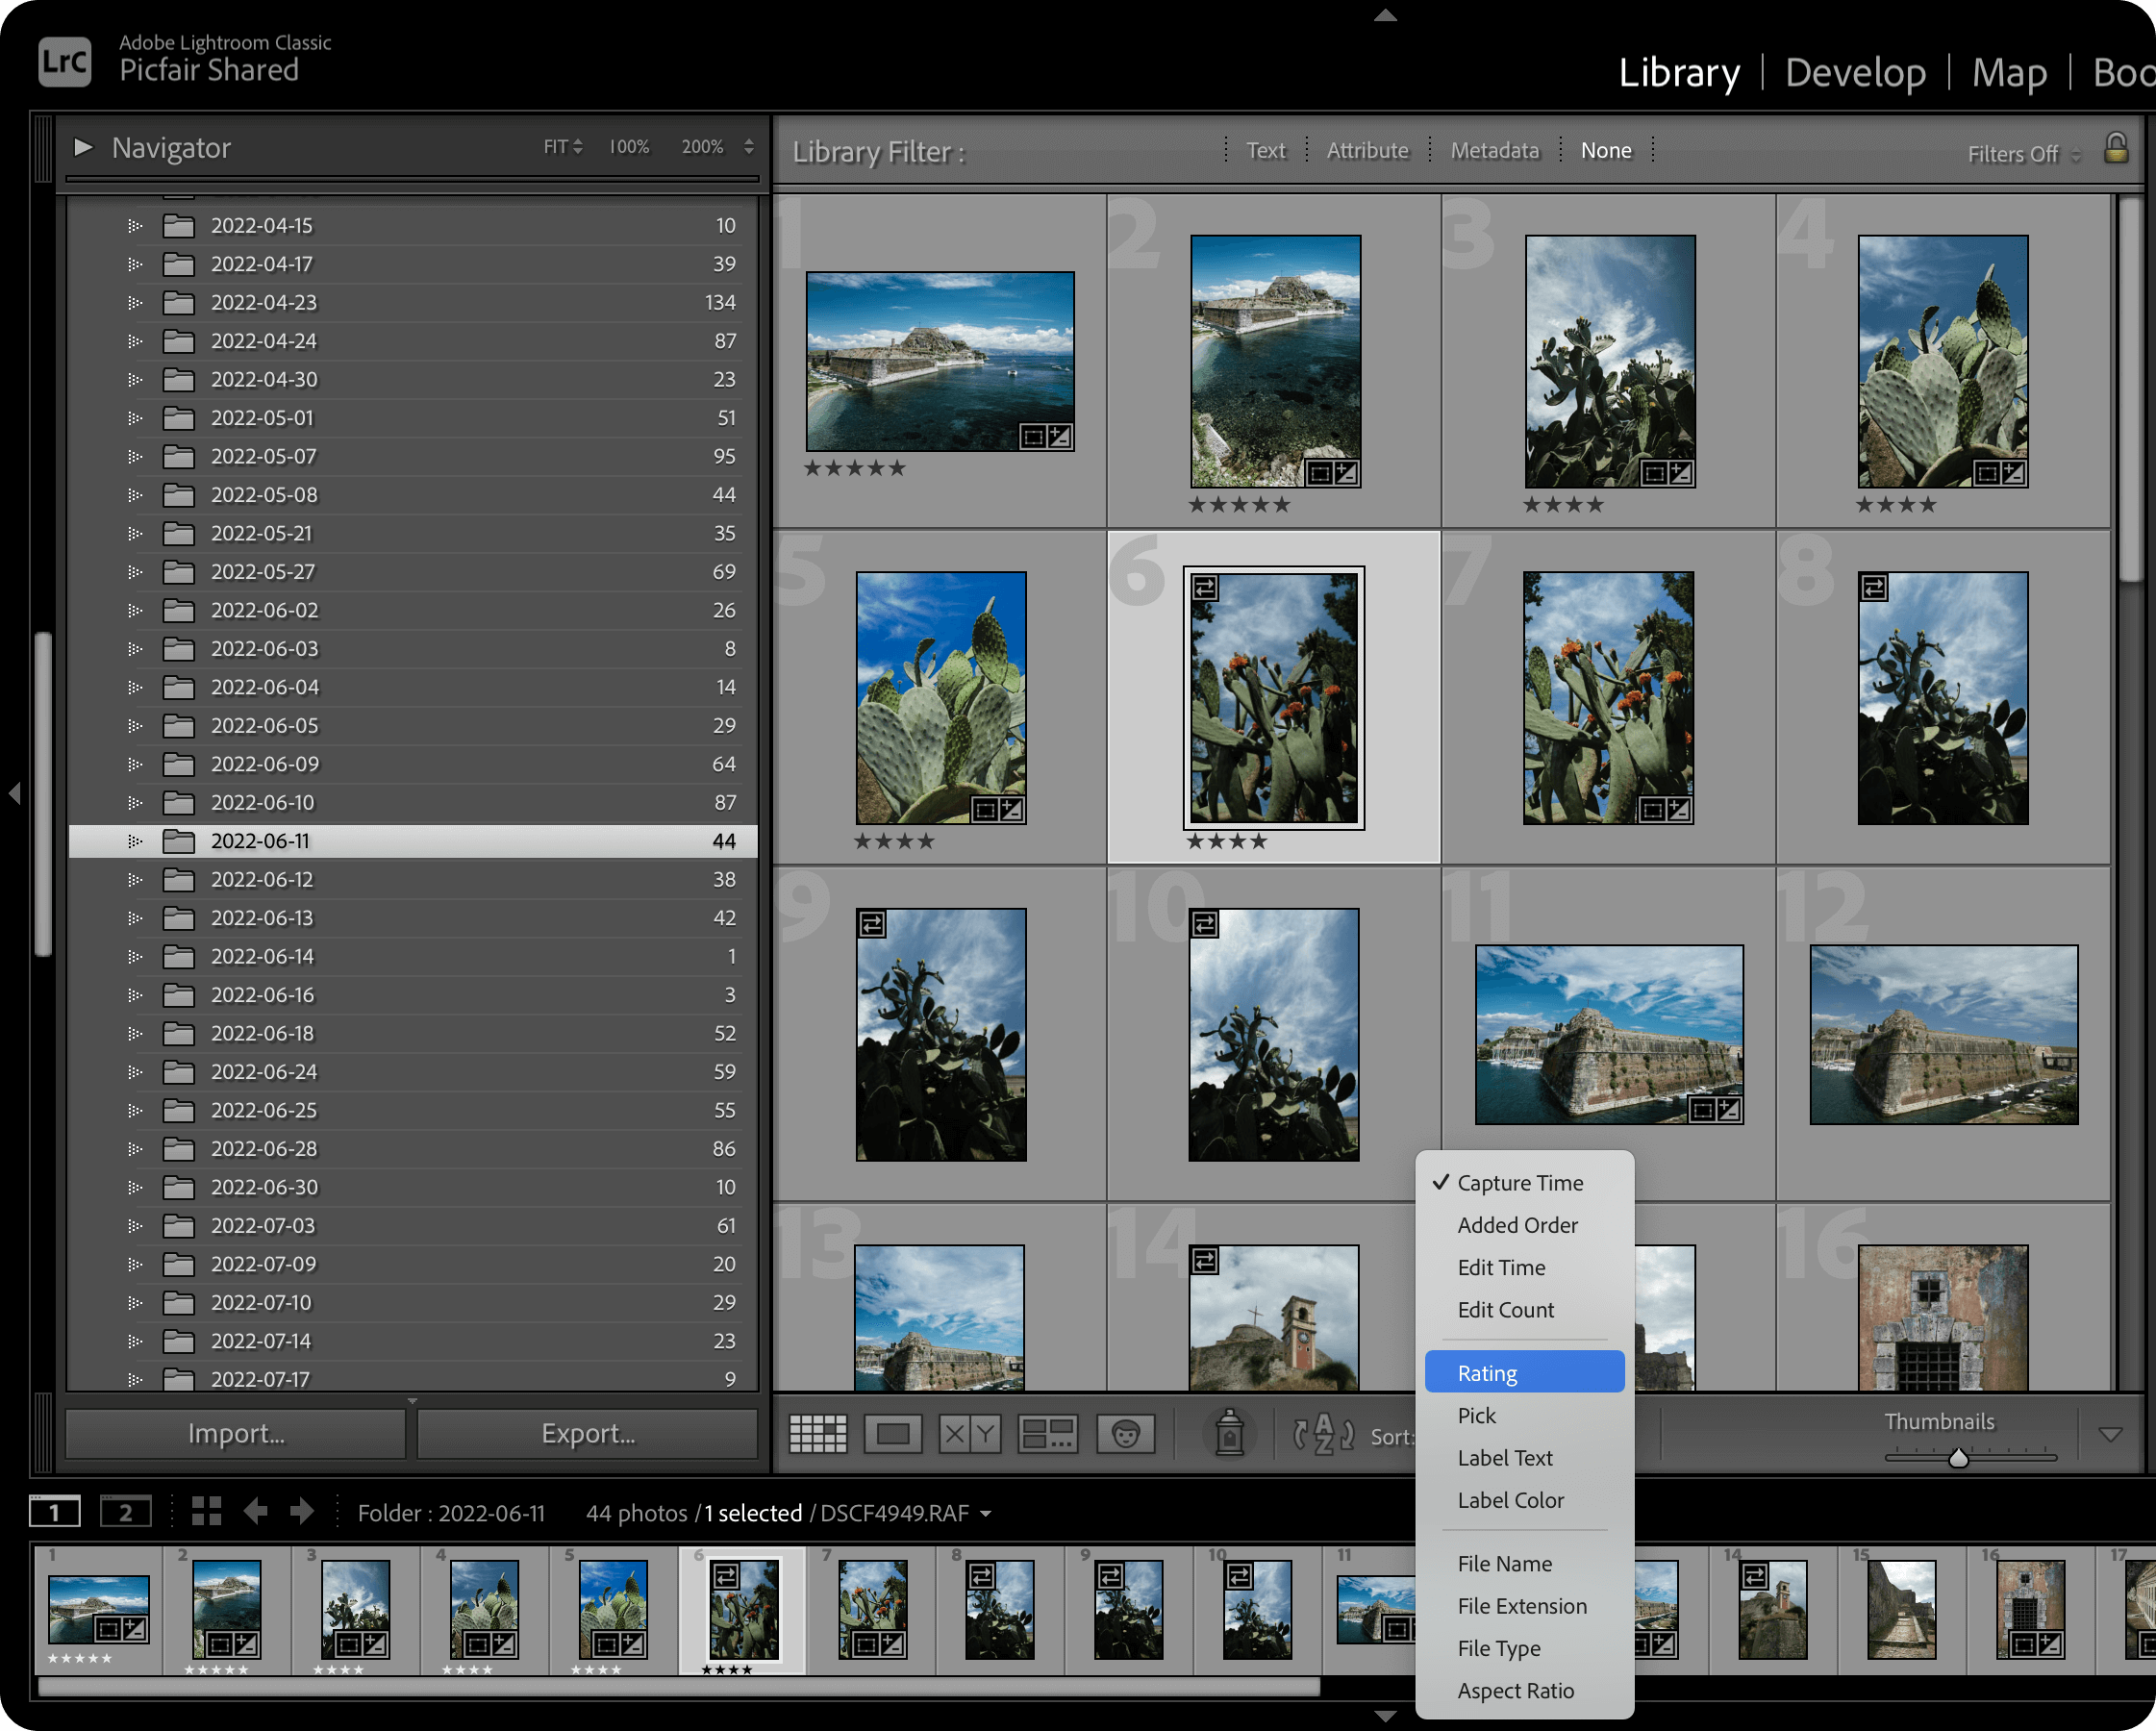
Another excellent method to keep on top of the images you want to work on or give them a priority is to use the handy Rating system. Where you can give your photos a star rating between 1 - 5, I usually rate the images I want to give priority a 5 and work down from there. What’s more, you can sort your pictures by Rating so you can have those with the highest rating at the top.
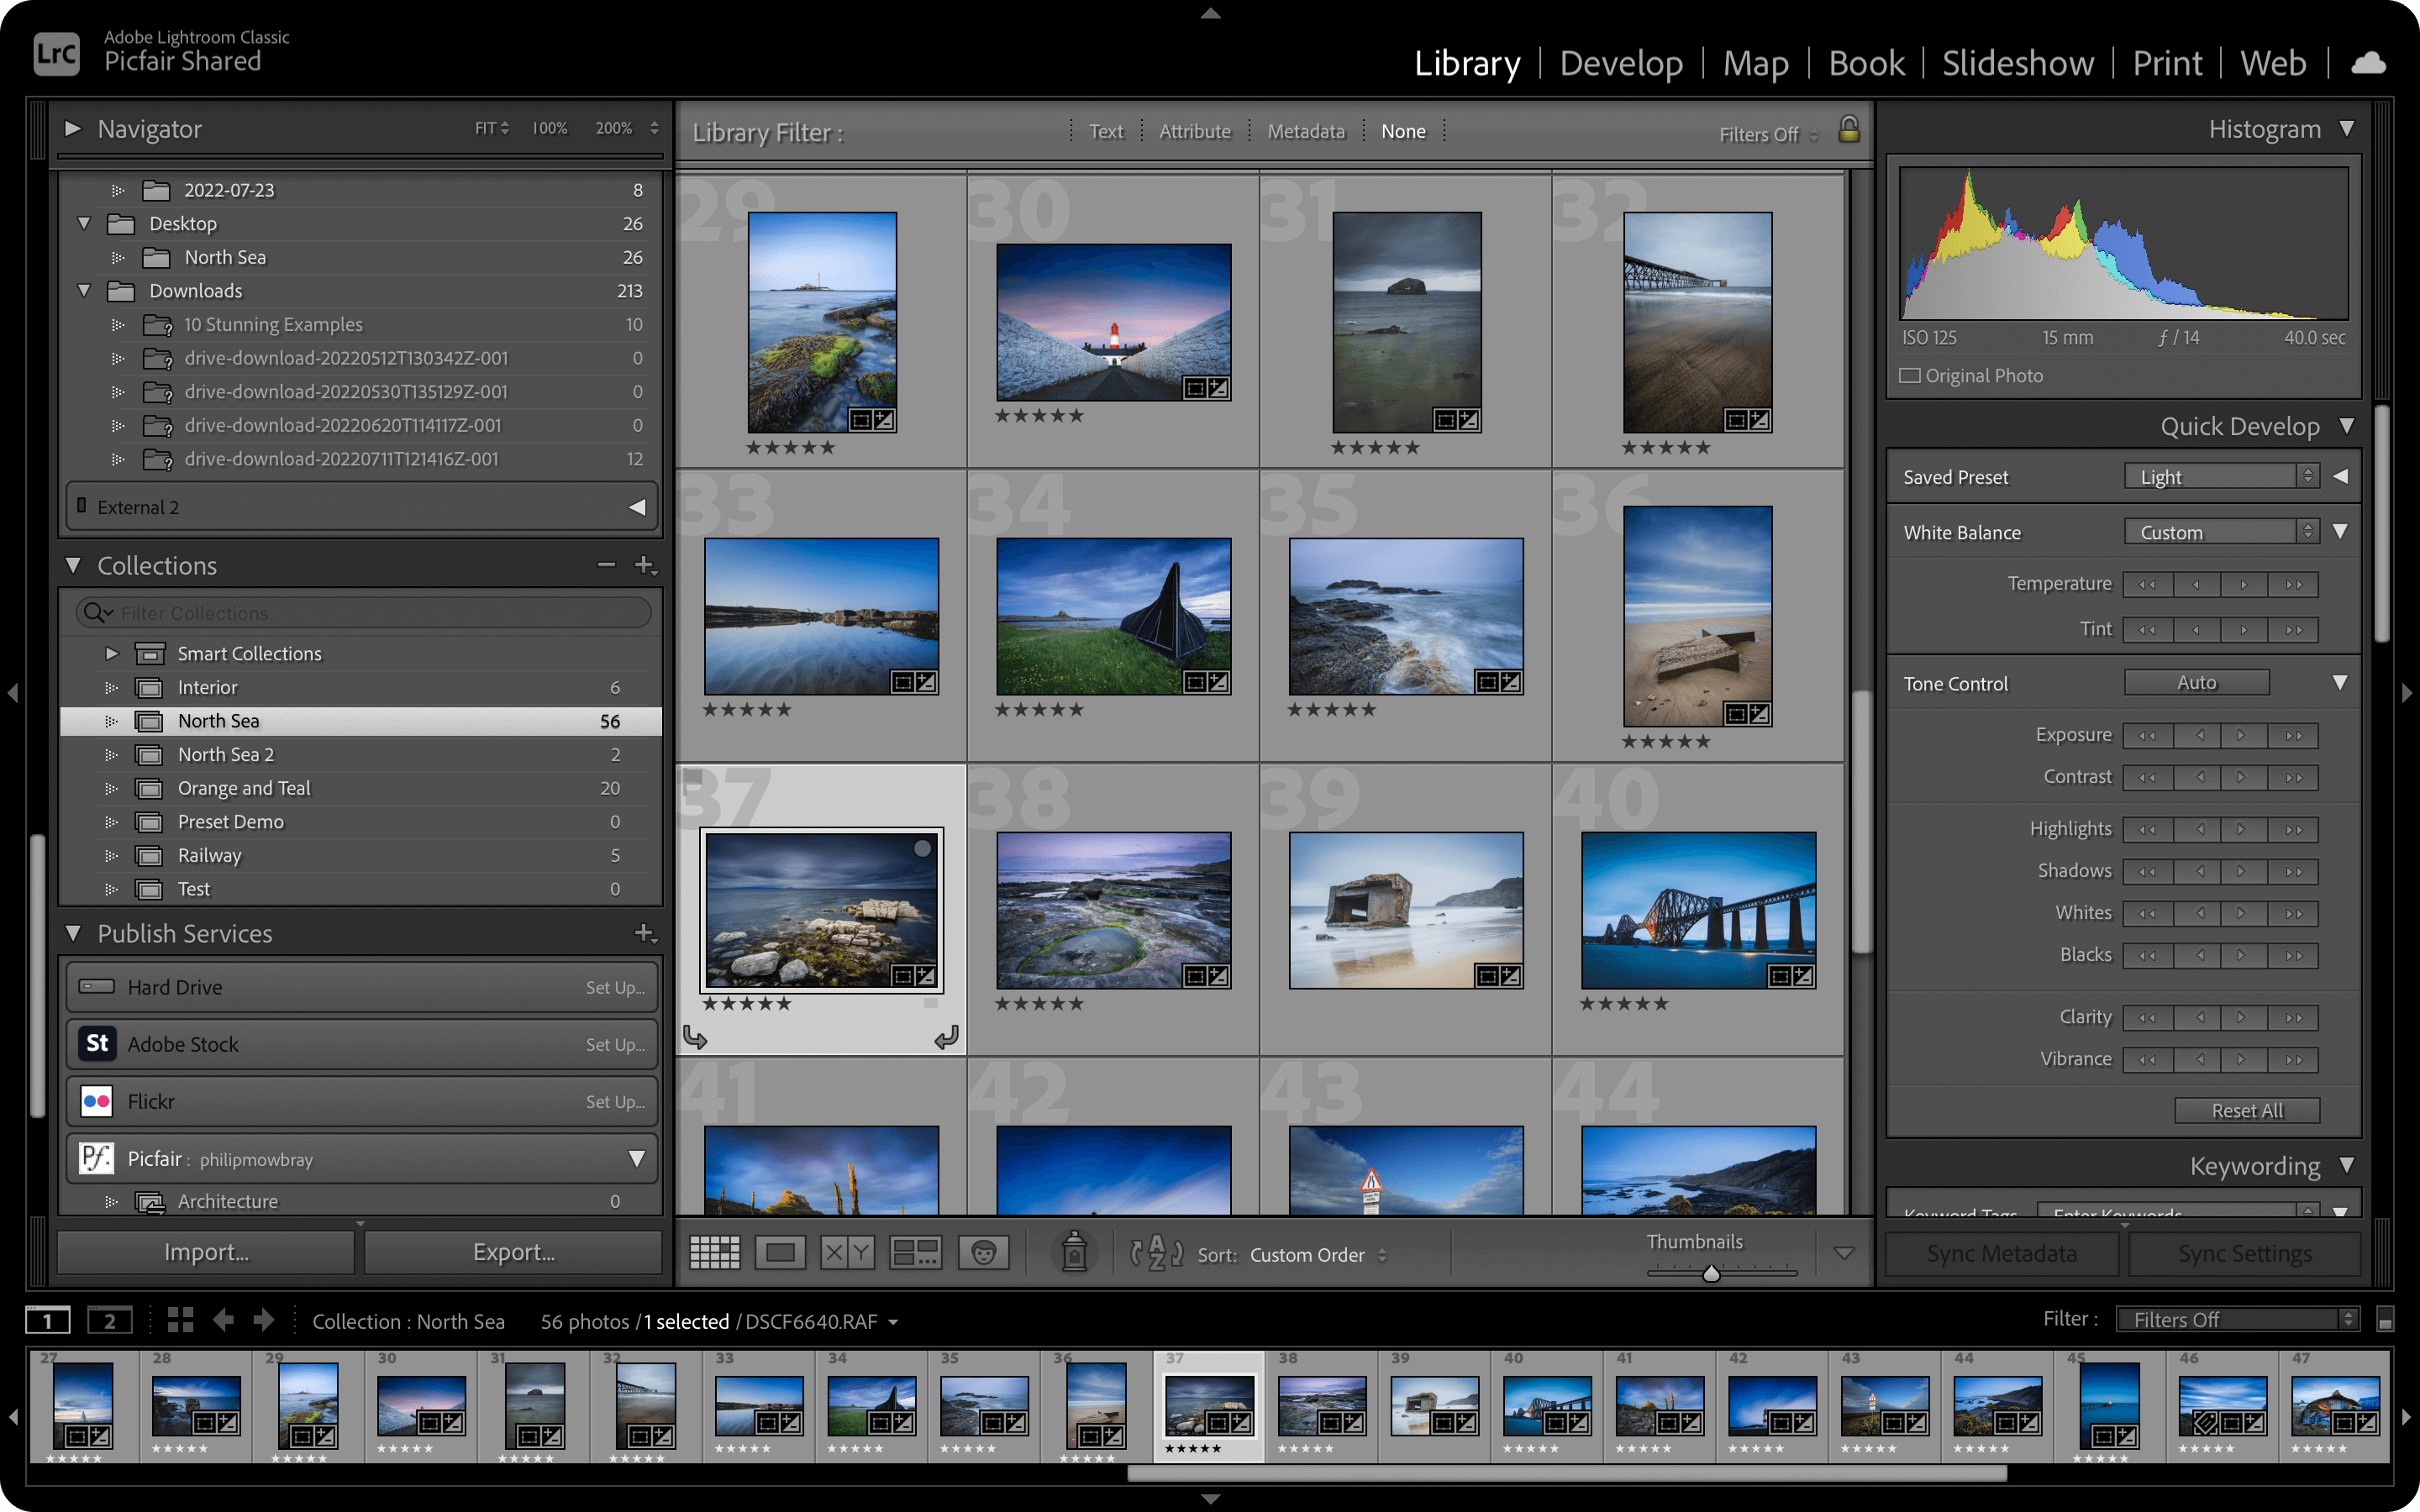
5 Add your images to Collections
Simply put, Collections in Lightroom are a way that you can group images into a set. As a photographer, I work in series. I usually use Collections to group images based on the series they are part of and perform various tasks such as exporting and renaming in bulk. They provide a great way to view images as a set and perform multiple tasks. And it’s effortless to add images to Collections; all you need to do to create a Collection is select the + in the Library Module > Collections Panel and give it a name. Then you can drag and drop images to the Collection from the rest of the Library Module.

