


Apply these three checks to all of your shots before you decide on working on them any further; you'll save lots of time in the long run

When deciding what images you’re going to work on further in post-production, it’s essential to check the following three areas beforehand, as any issues with these will have a detrimental impact on the quality (and usability) of the image, which often cannot be rectified.
If that’s the case, it’s better to cut your losses and move on to the next image (and learn for next time) rather than waste time with the futile process of trying to correct the image.
1 Focus
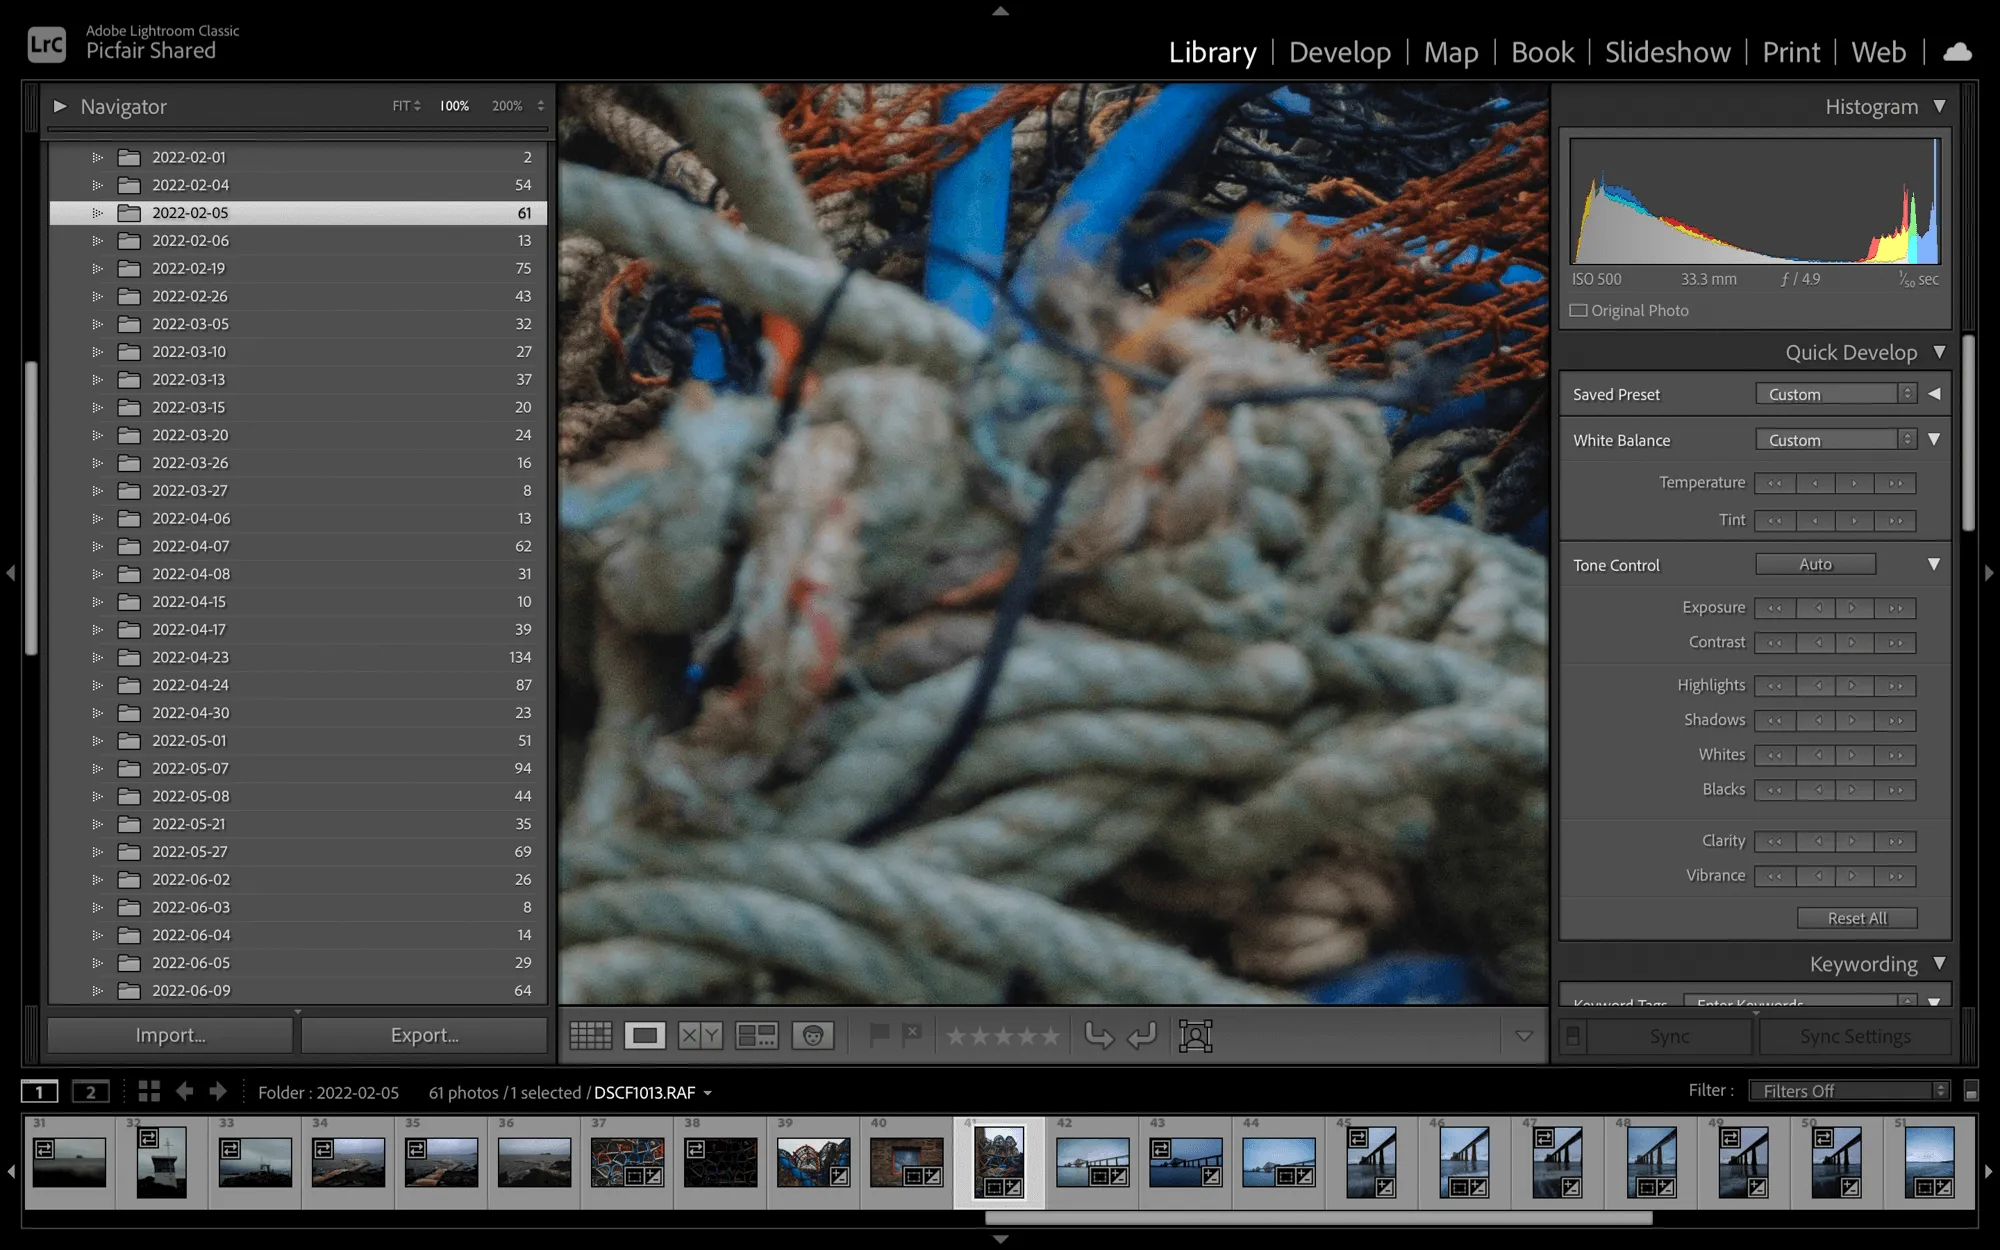
Zoom 100% into your image and view the entire thing, top to bottom, left to right, to check if the image is correctly in focus and the focal point is where it should be. Not, for example, in an unexpected part of the image. Note: You may see a little softness around the edges of the frame due to natural lens distortion; this isn’t anything to be particularly concerned about.

2 Camera shake
Like checking for focus issues, it’s essential to zoom right in (and more) to check the image for blurriness caused by camera shake. Looking at an image on the screen and at a smaller size, it may not look like any camera shake has occurred, so it’s vital to check. Even a tiny amount of camera shake can render your image unusable, and camera shake is much less forgiving in print than it is on-screen.
Plus, as a photographer (and as the perfectionists we are), you’ll likely find it irks you somewhat as the image is not quite perfect; if there’s evidence of camera shake - leave it out! As a rule of thumb, any shutter speed less than 1/60s would likely result in a camera shake if holding the camera. Plus, using zoom lenses, you need an even faster shutter speed as zoom lenses a more prone to the effects of camera shake.
3 No detail in highlights or shadows
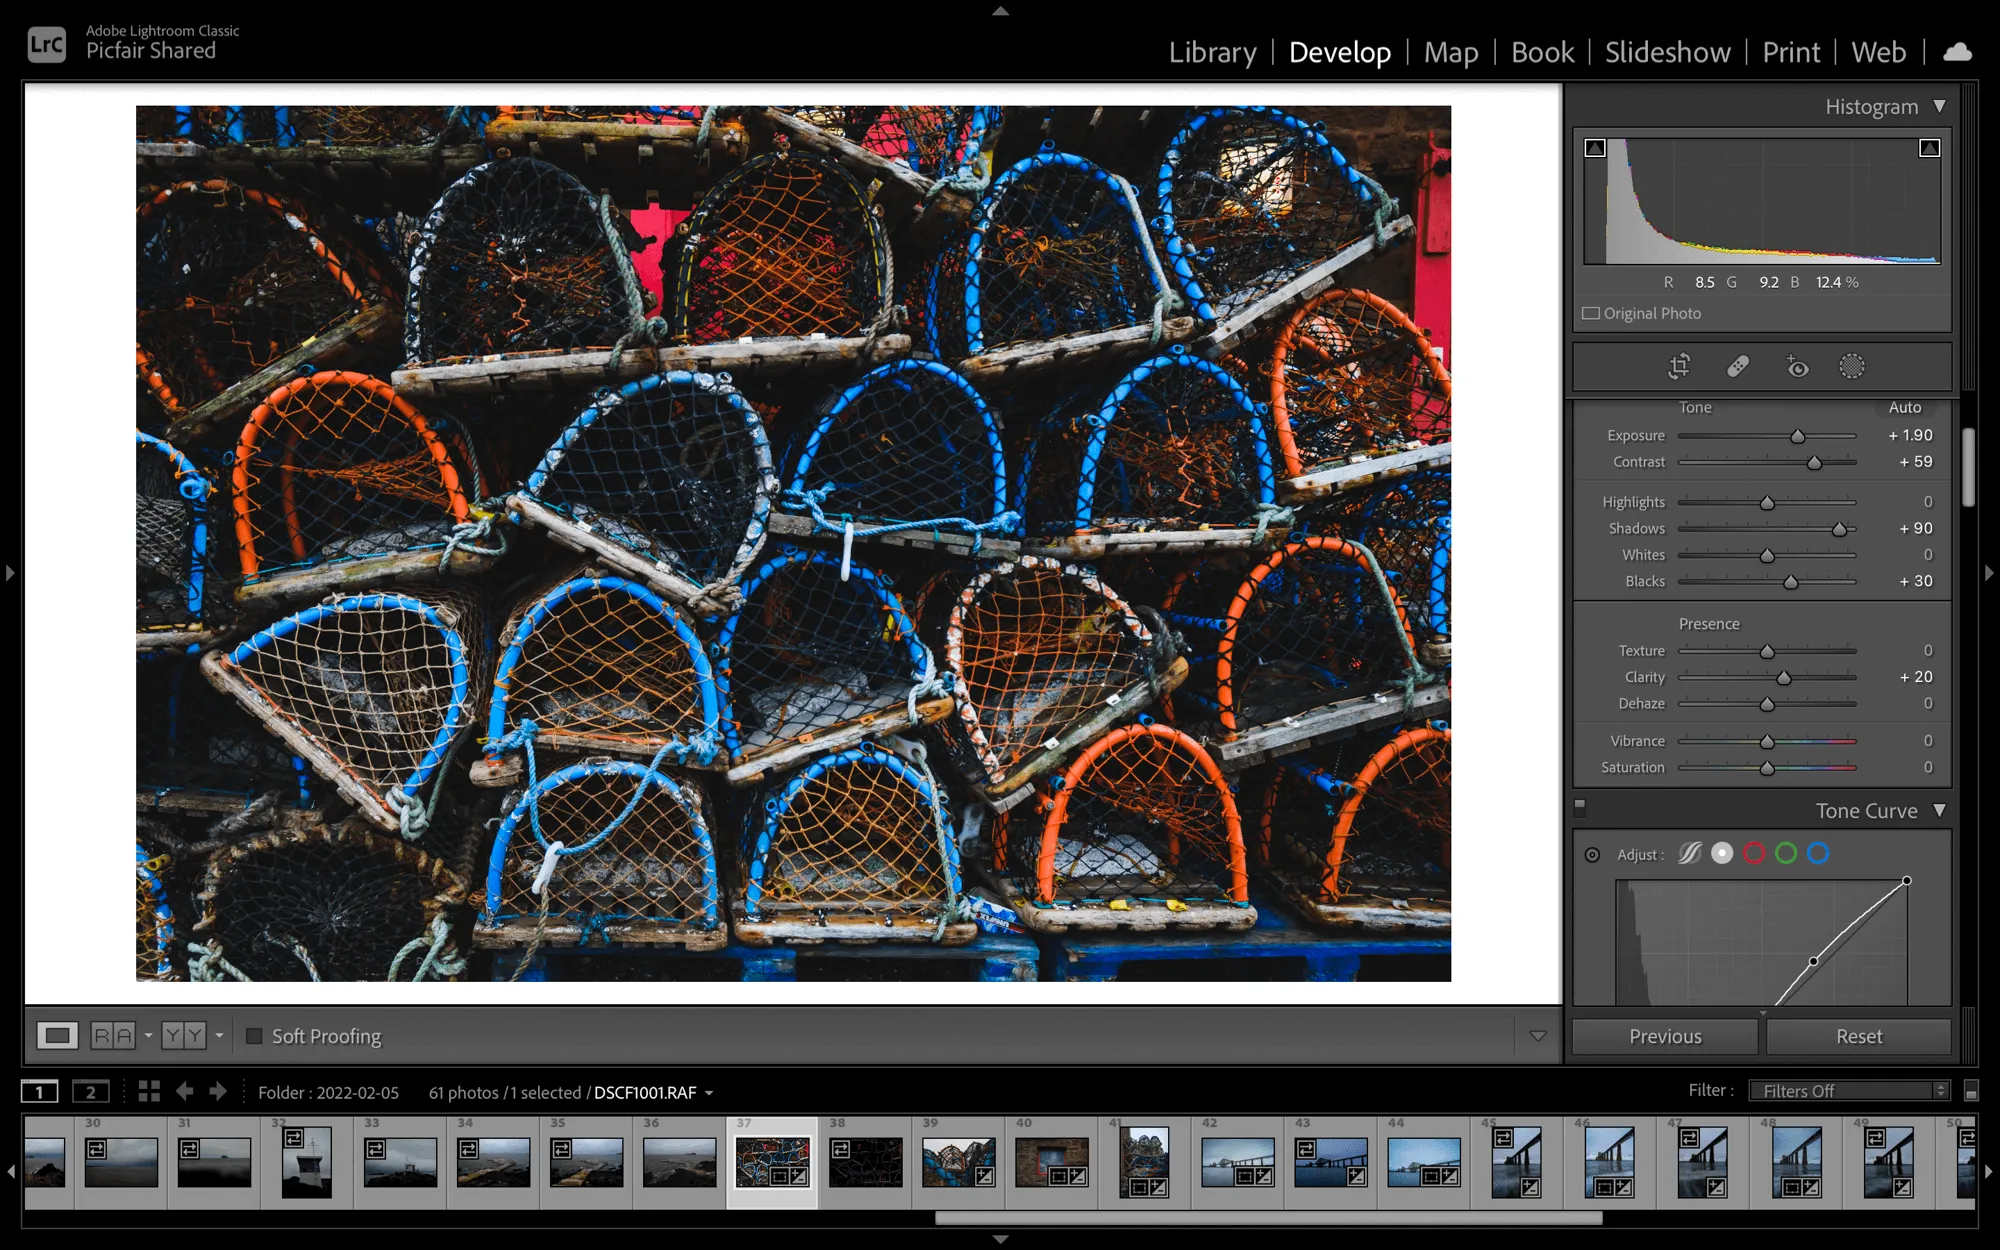
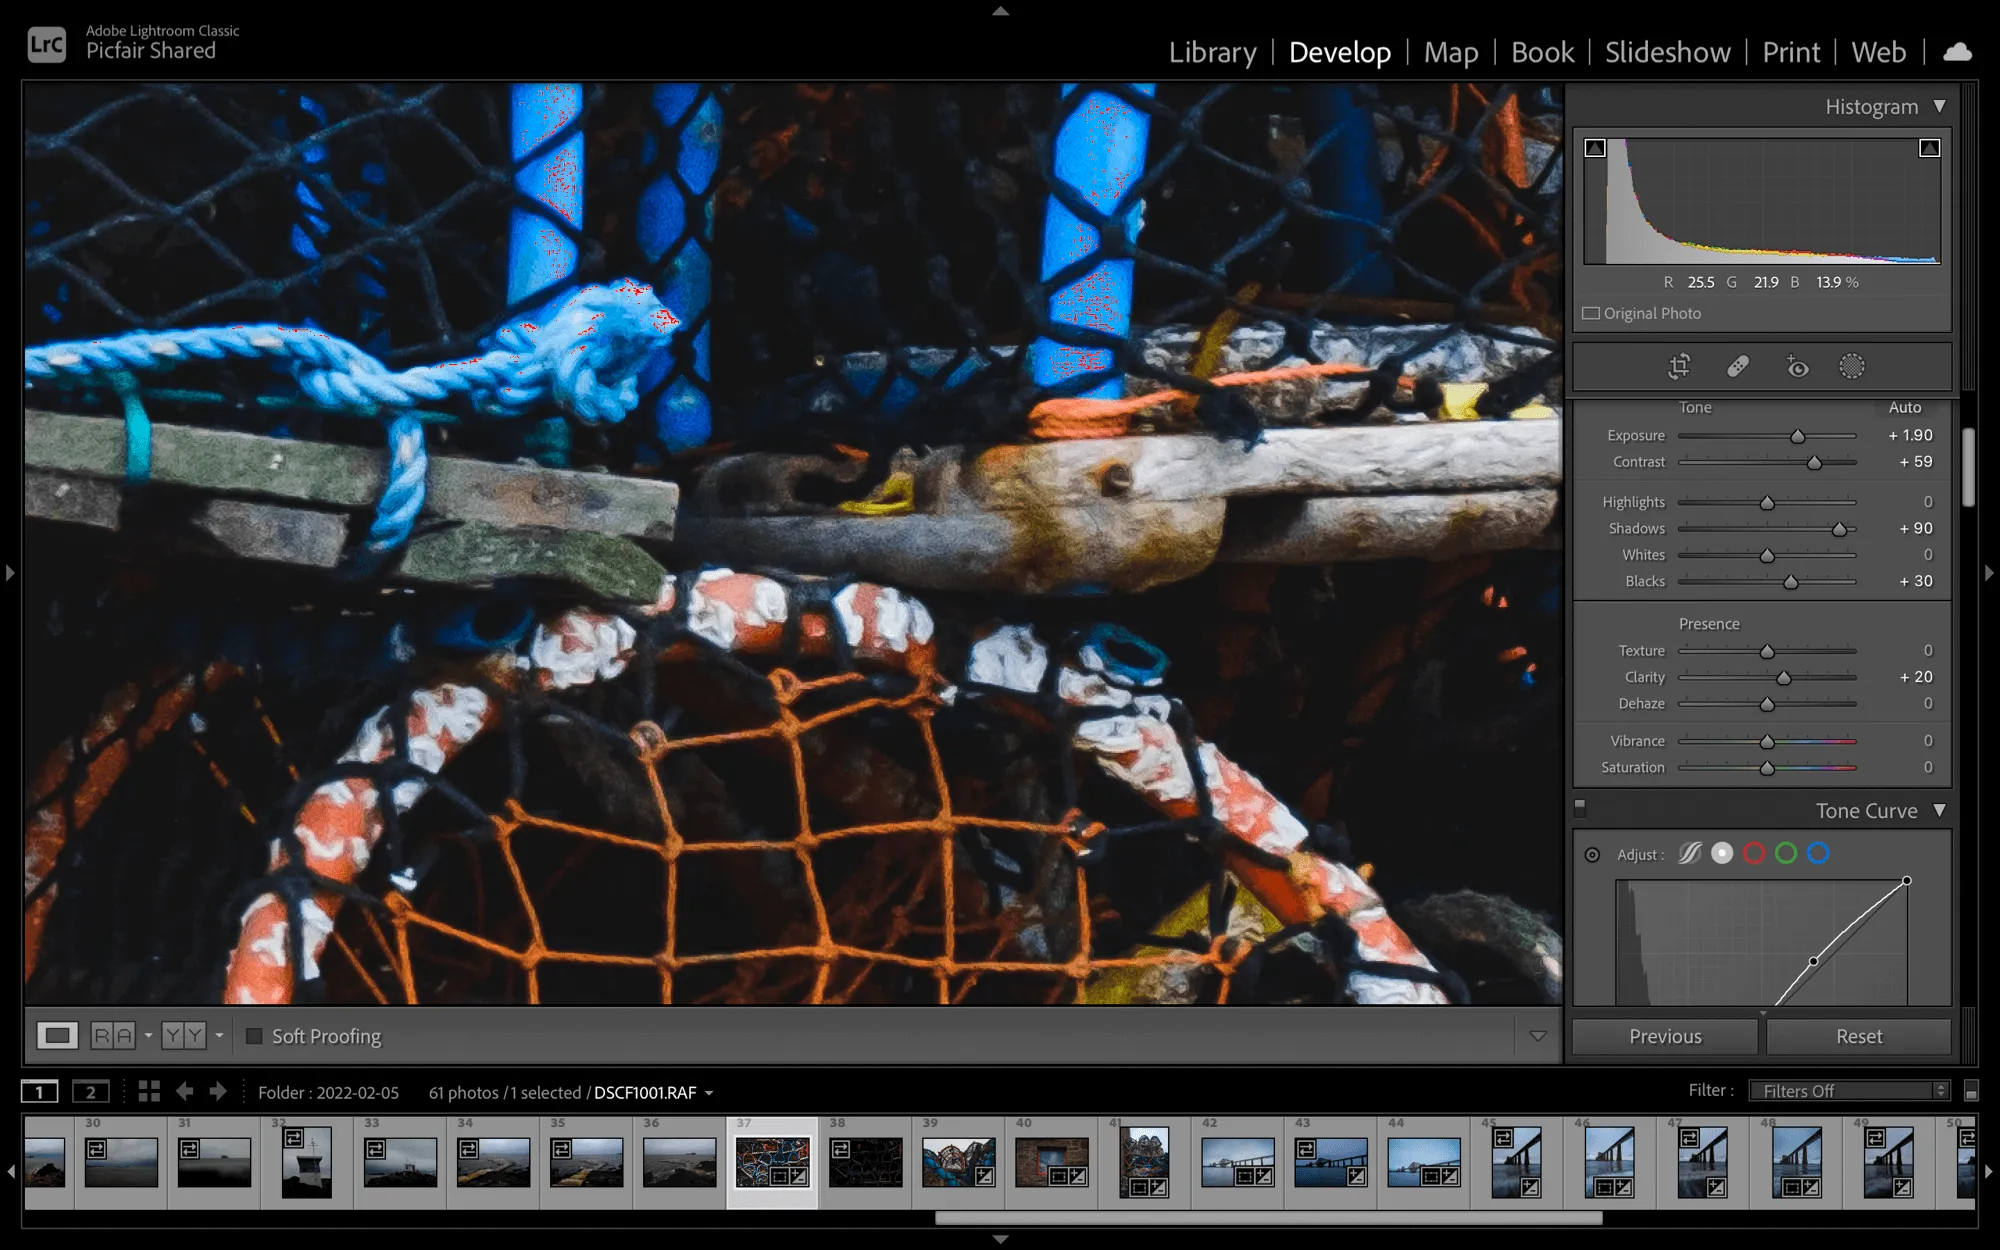
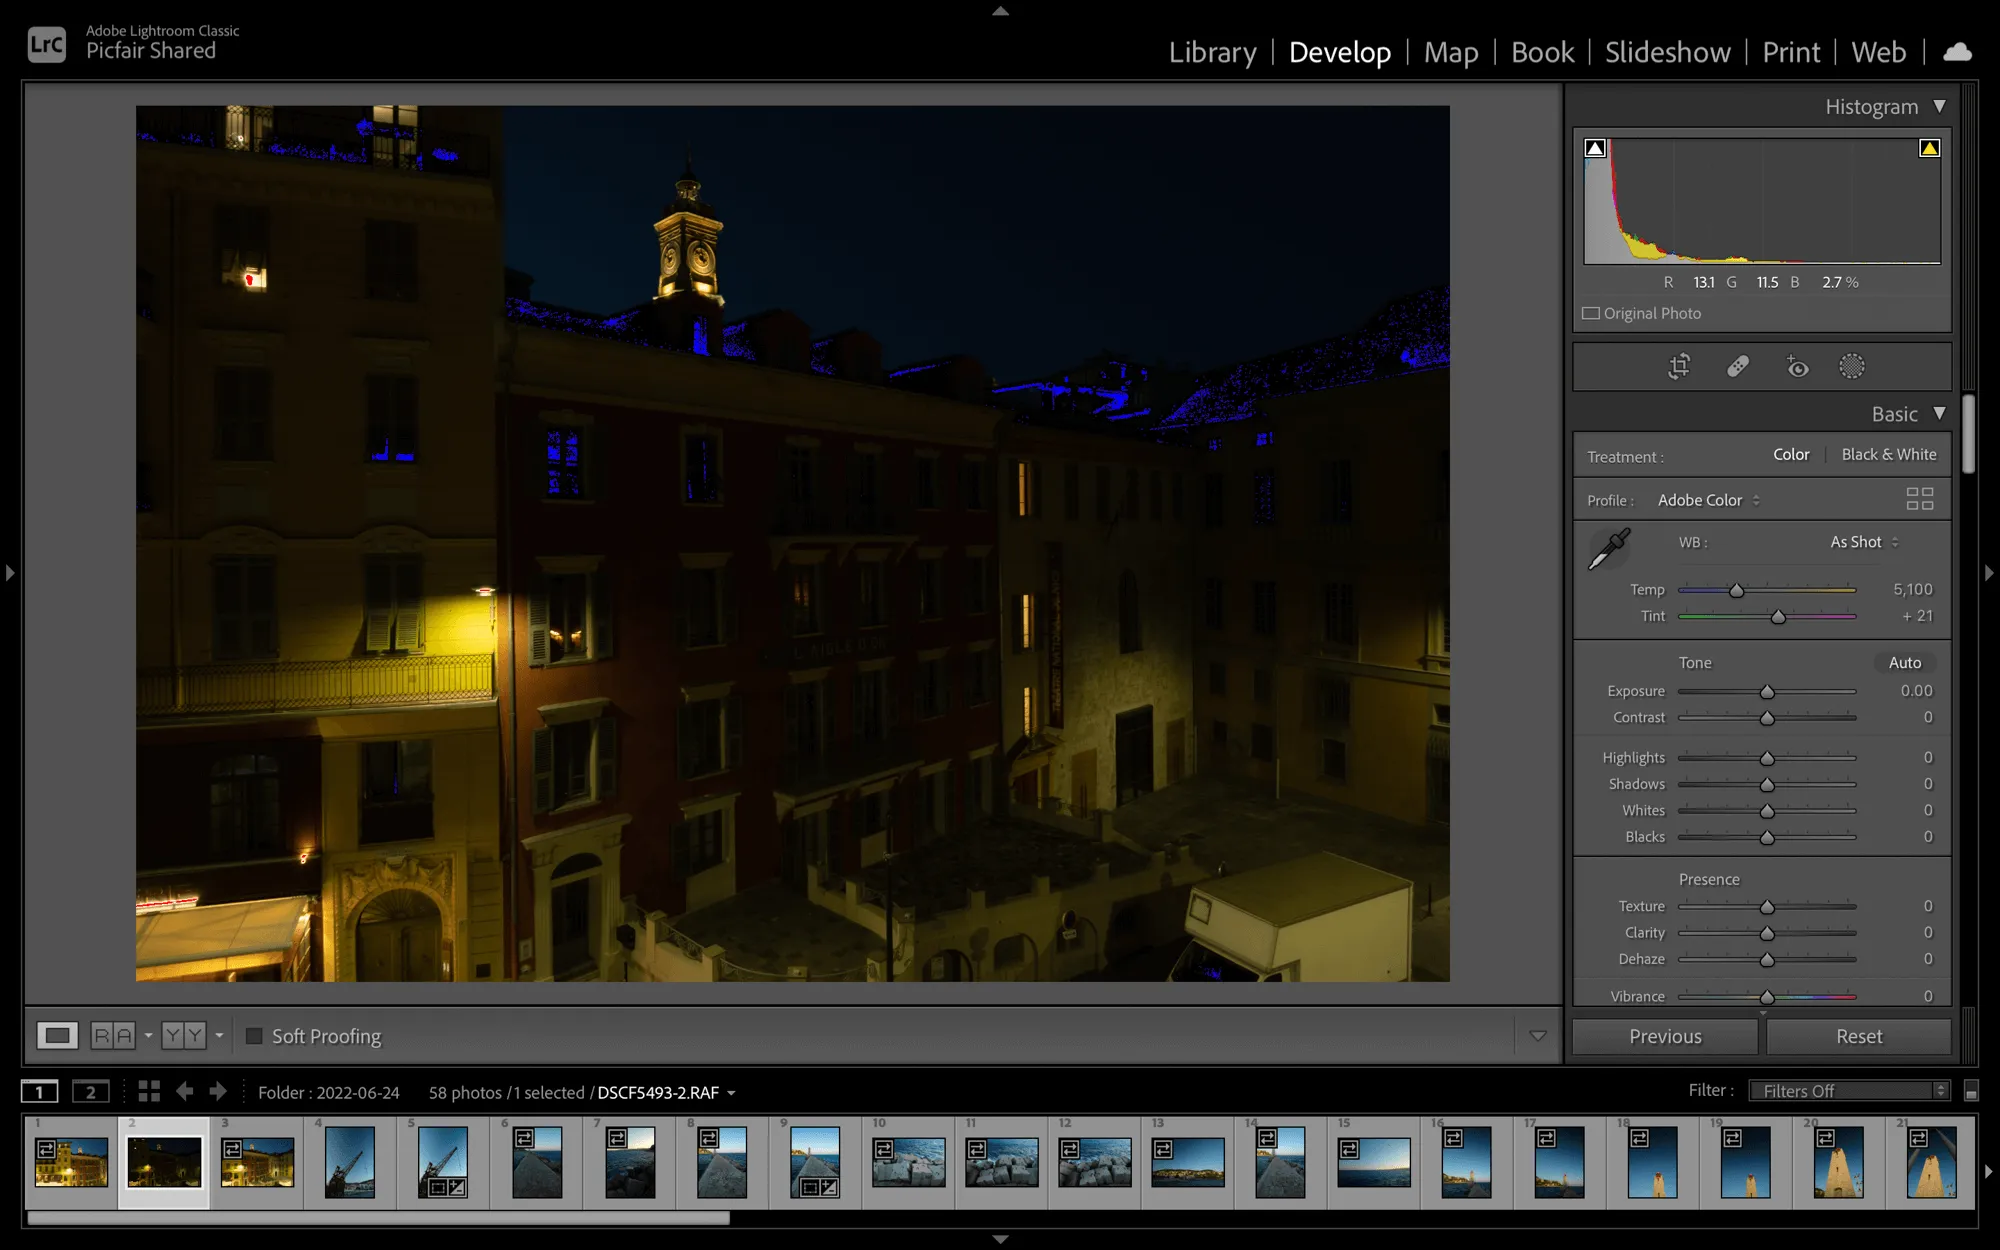
If you’ve under or overexposed your image, usually there’s a way to correct it (see our tutorial on how to fix underexposed shots here); however, if your photo is so far, either way, you may find that you’ve blown out the detail from your image completely, known as clipping - which means that the ‘clipped’ area is either pure white or pure black, and you’ll struggle with image quality - especially if you’re printing it.
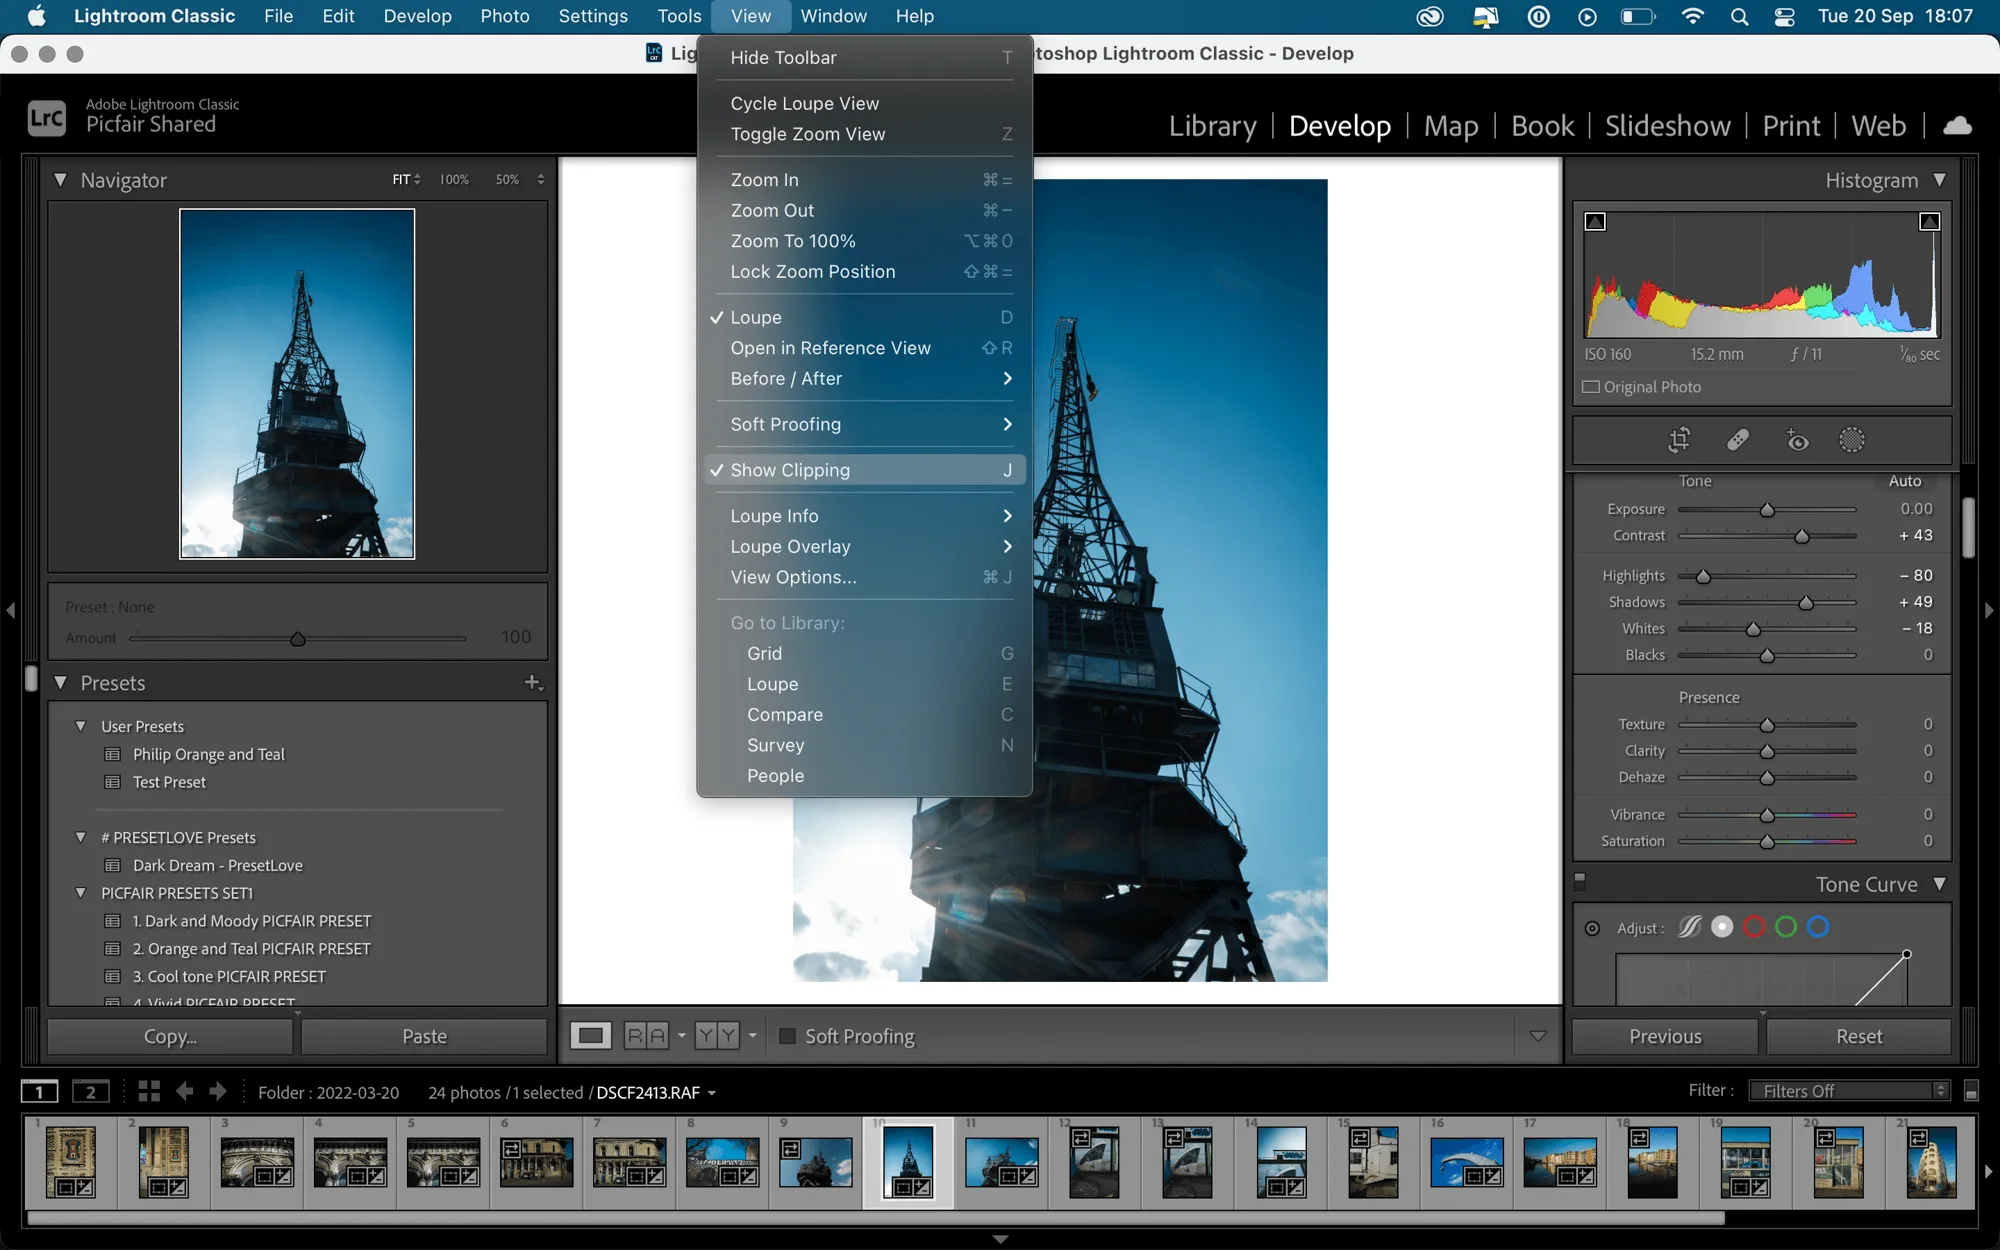
There’s an easy way to check this; however, in image editing suites, for example, in Lightroom’s Develop Module, go to View > Show Clipping, you’ll be able to see the clipped areas in your image. You may be able to adjust the whites and black in the image to rectify some of the issues. However, if it’s significant clipping, it’s best to leave it and move on to the next shot.

Applying these three checks to all your images will, hopefully, help you identify only your best shots and weed out any that aren’t workable.
In particular, suppose you’re looking to sell your photos. In that case, buyers will only be looking for the best images they can find in terms of quality, and by doing this too, you’ll avoid the undesirable scenario of selling a photograph that a customer cannot use as it turns out to be blurry, out of focus or lacking detail.


