


Five tips brought to you by the Picfair Team, to put together the best Picfair Store for you and your customers

Whether you're treating your Picfair Store as a hobby, side hustle, or something more serious, these five easy tips from the Picfair Team will ensure you get the very best out of your Picfair Store and help you make photo sales in the long run.
So let's get started...
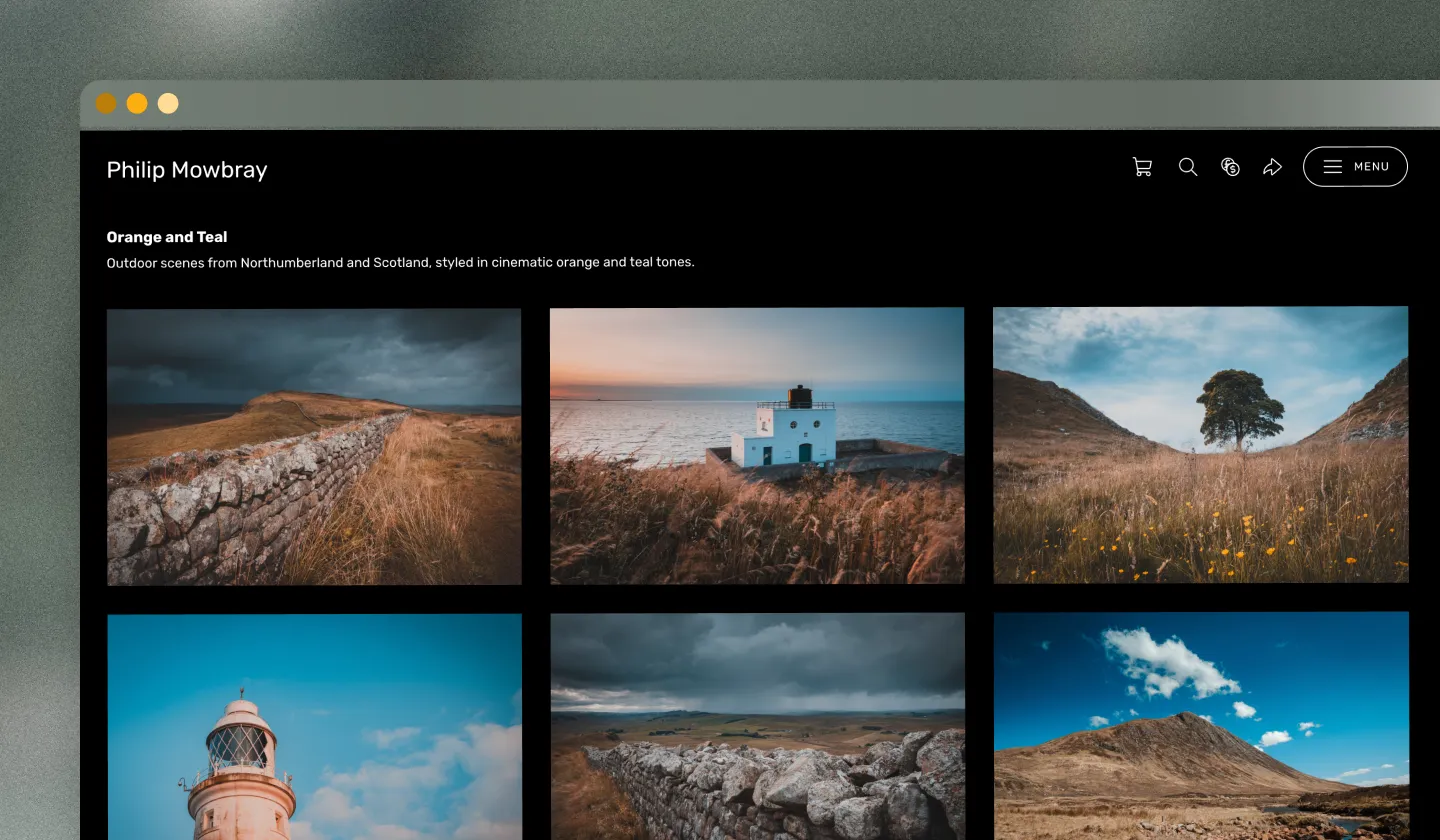
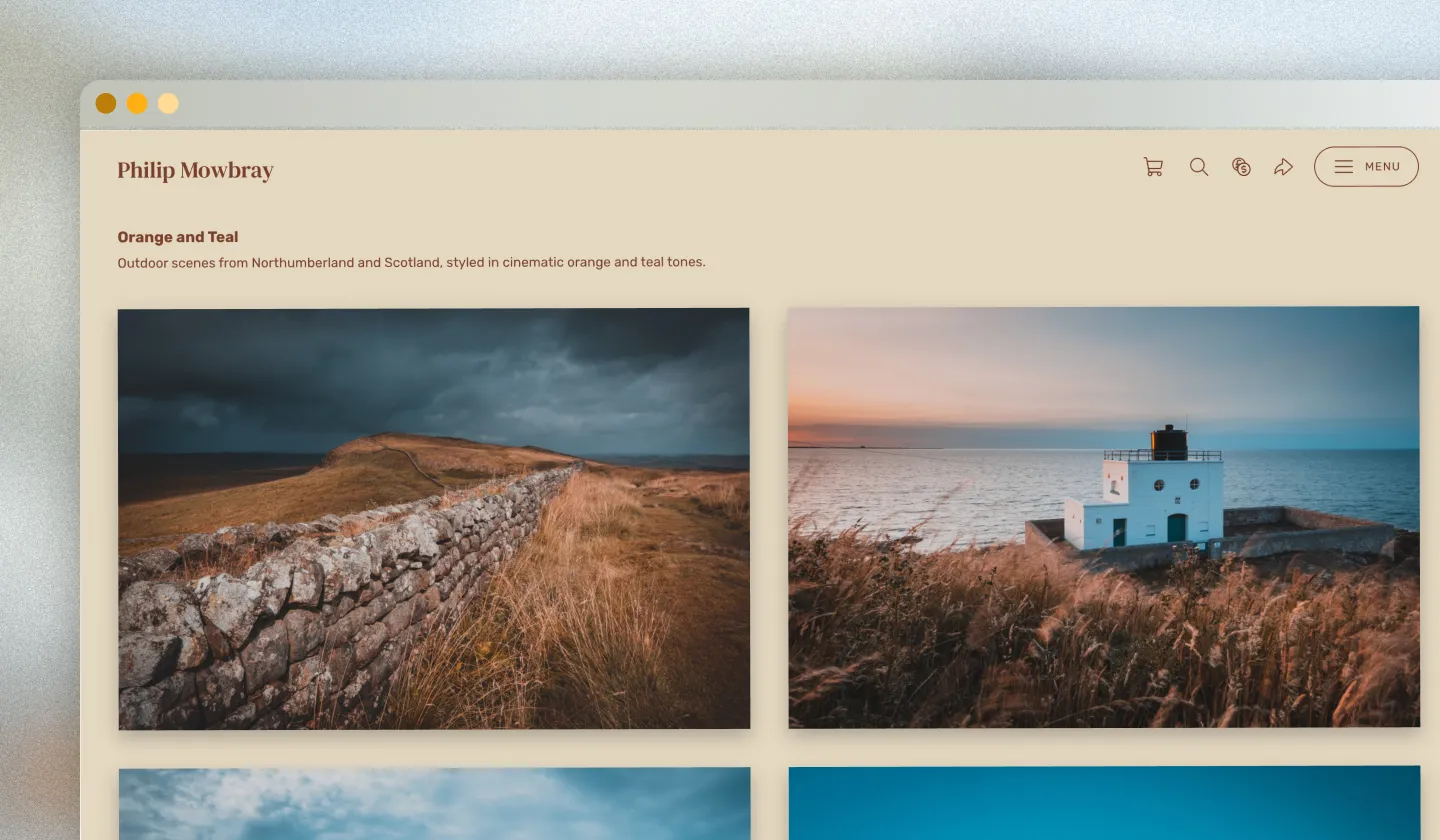
1 Select your Theme
First up, decide which Picfair Theme (layout and design) you want to use for your Picfair Store. We have 10 stunning Themes, with more on the way, for you to choose from, all designed to make your images shine.
Spend some time trying out the different Themes and see which works best for your style and genre of photography. You're sure to find the perfect one!
For further reading, we have a guide on each Theme to help you make that decision.
How to select your Store Theme:
You can select and configure your Picfair Theme at any time from the ‘Theme & Layout’ section of your ‘Store Settings’.
2 Make Albums of your images
There are many reasons for creating albums and displaying them in your Store. First, it’s a great way to organise your images for you and your visitors.
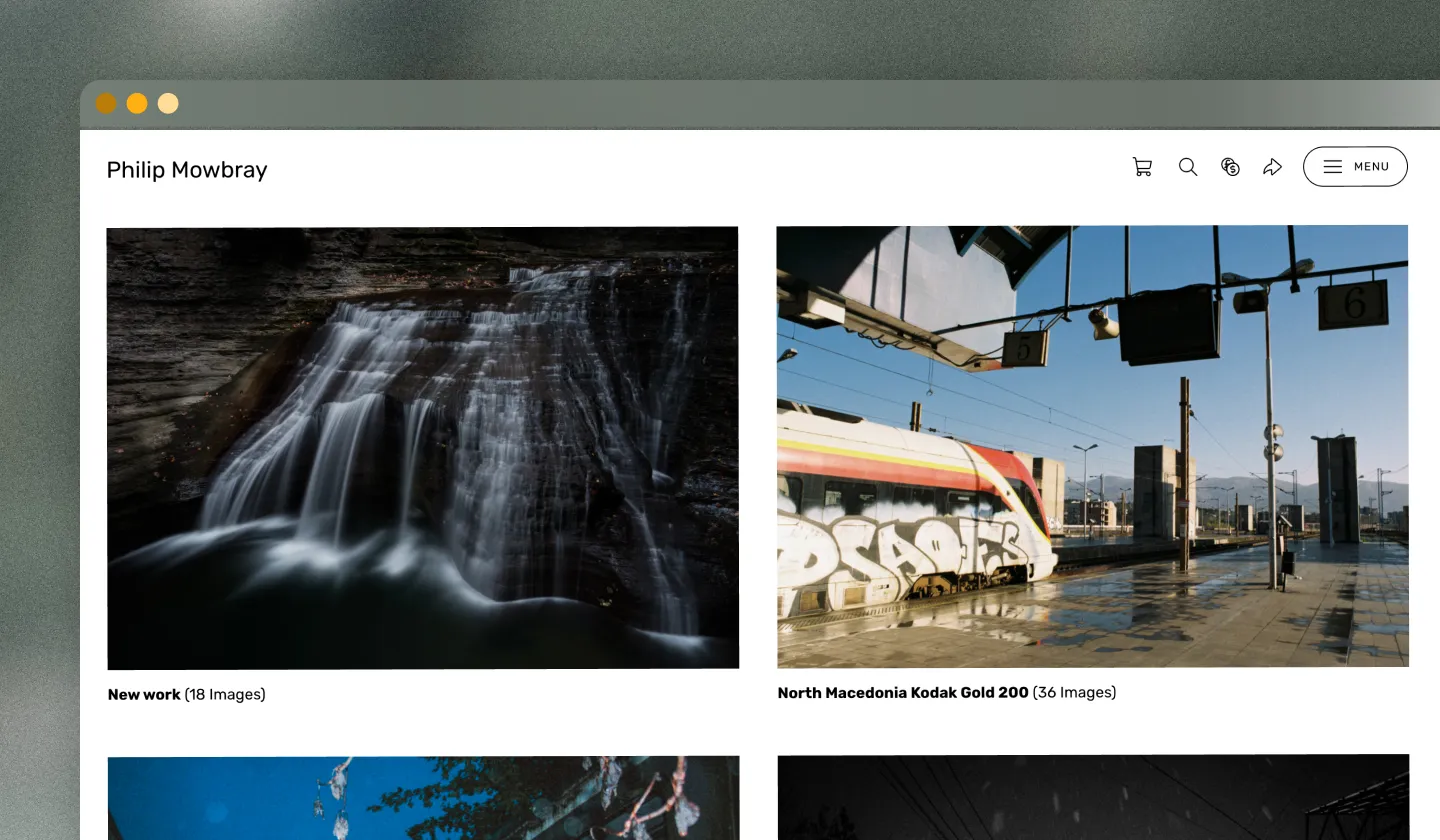
Secondly, making albums gives you that feel-good feeling to see your images neatly displayed in sets–allowing you and your potential customers to admire your work in a nicely curated setting.
Third, it makes it easy to share and advertise your work online and across your networks. With Picfair Stores, each album gets its own unique link, making it easy to post and share with people!
How to create albums of your images:
You can create and edit albums from the Albums section of your Library.
3 Add personal touches to your Store
Once you’ve chosen your Theme, uploaded some images, and put them into albums, consider what personal touches you want to add to your Picfair Store.
Think of these personal touches as extensions of your personal brand as a photographer. For example, you might want to add a logo, a welcome page, or even your own personal watermark.
These little touches make all the difference; they help visitors remember your Store and give it a standout impression.
Ensure you also add plenty of info to your Picfair Stores’s About page. Tell people your story and what drives you as a photographer. Remember to include any links to social media, blogs, or additional websites you have and add these to your menu.
How to add those personal touches:
Go to Your Store from your Picfair Dashboard where you can find everything you need to personalise your Picfair Store. Including a range of options from adding logos, to selecting a bespoke social media preview image, and configuring a welcome page. See our feature guides for more in depth information, too.
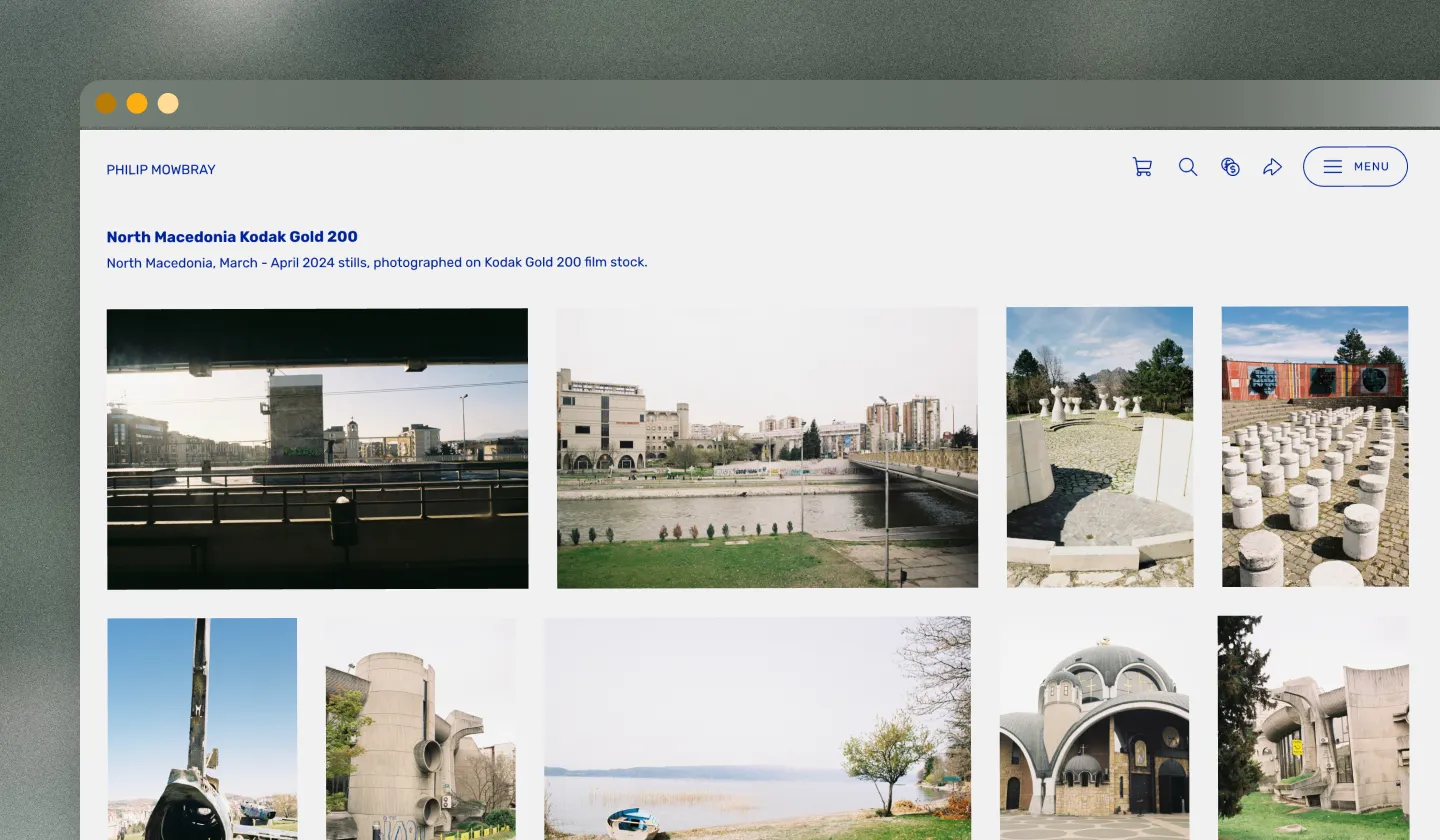
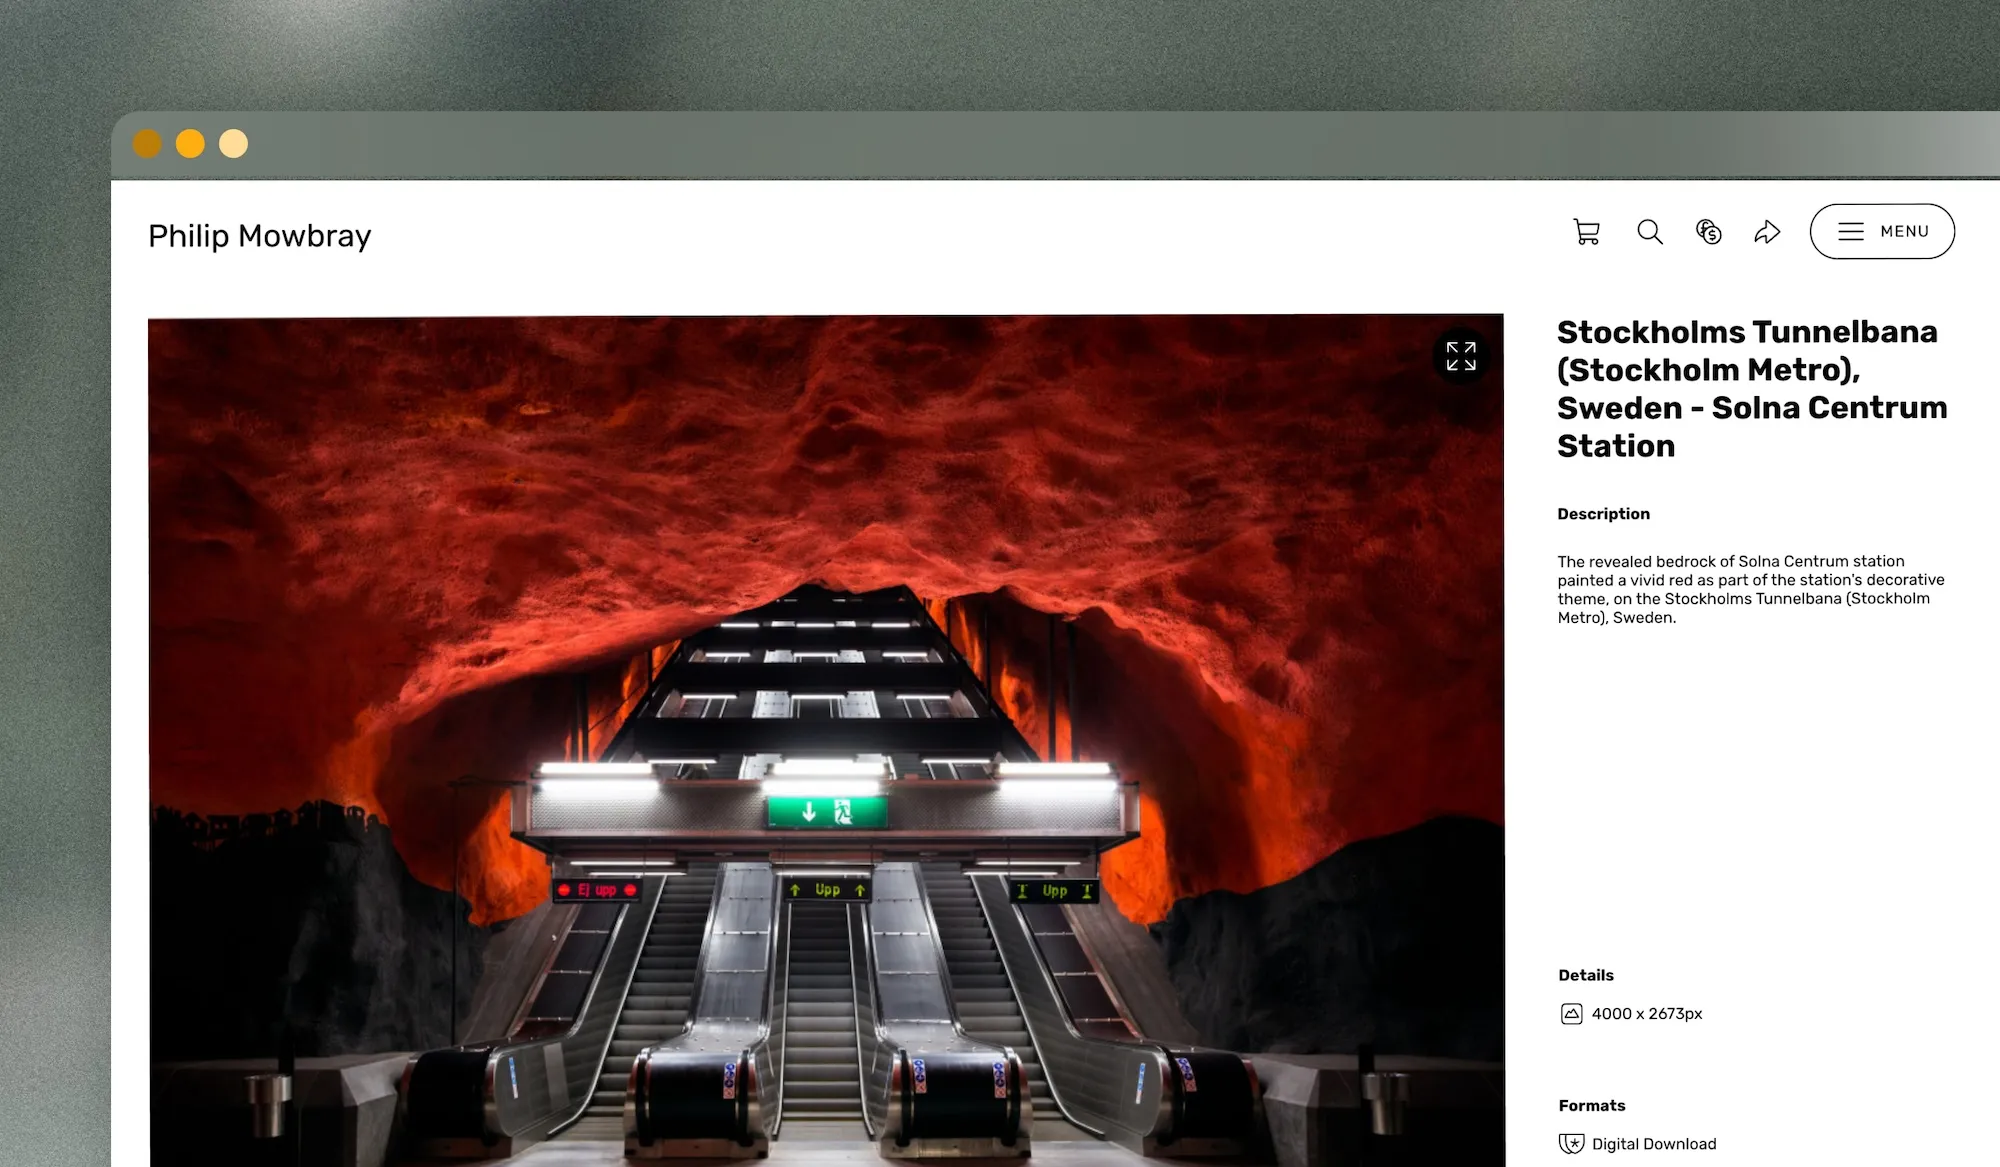
4 Add contextual information to your photos
Once you’ve chosen your Theme, uploaded some images, and put them into albums, consider what personal touches you want to add to your Picfair Store.
Think of these personal touches as extensions of your personal brand as a photographer. For example, you might want to add a logo, a welcome page, or even your own personal watermark. These little touches make all the difference; they help visitors remember your Store and give it a standout impression.
Ensure you also add plenty of info to your Picfair Stores’ About page. Tell people your story and what drives you as a photographer. Remember to include any links to social media, blogs, or additional websites you have and add these to your menu.
How to add titles and descriptions (captions) to images:
All titles and descriptions can be added in the Images section of your Library.
How to add info to your About page:
You can edit and configure all information displayed on your Picfair Store's About page from the About section of Your Store.
5 Use the Share links
Make use of the share links available at your Picfair Store. We make it easy to share your images, albums, or entire Store with a single click on your social media profiles.
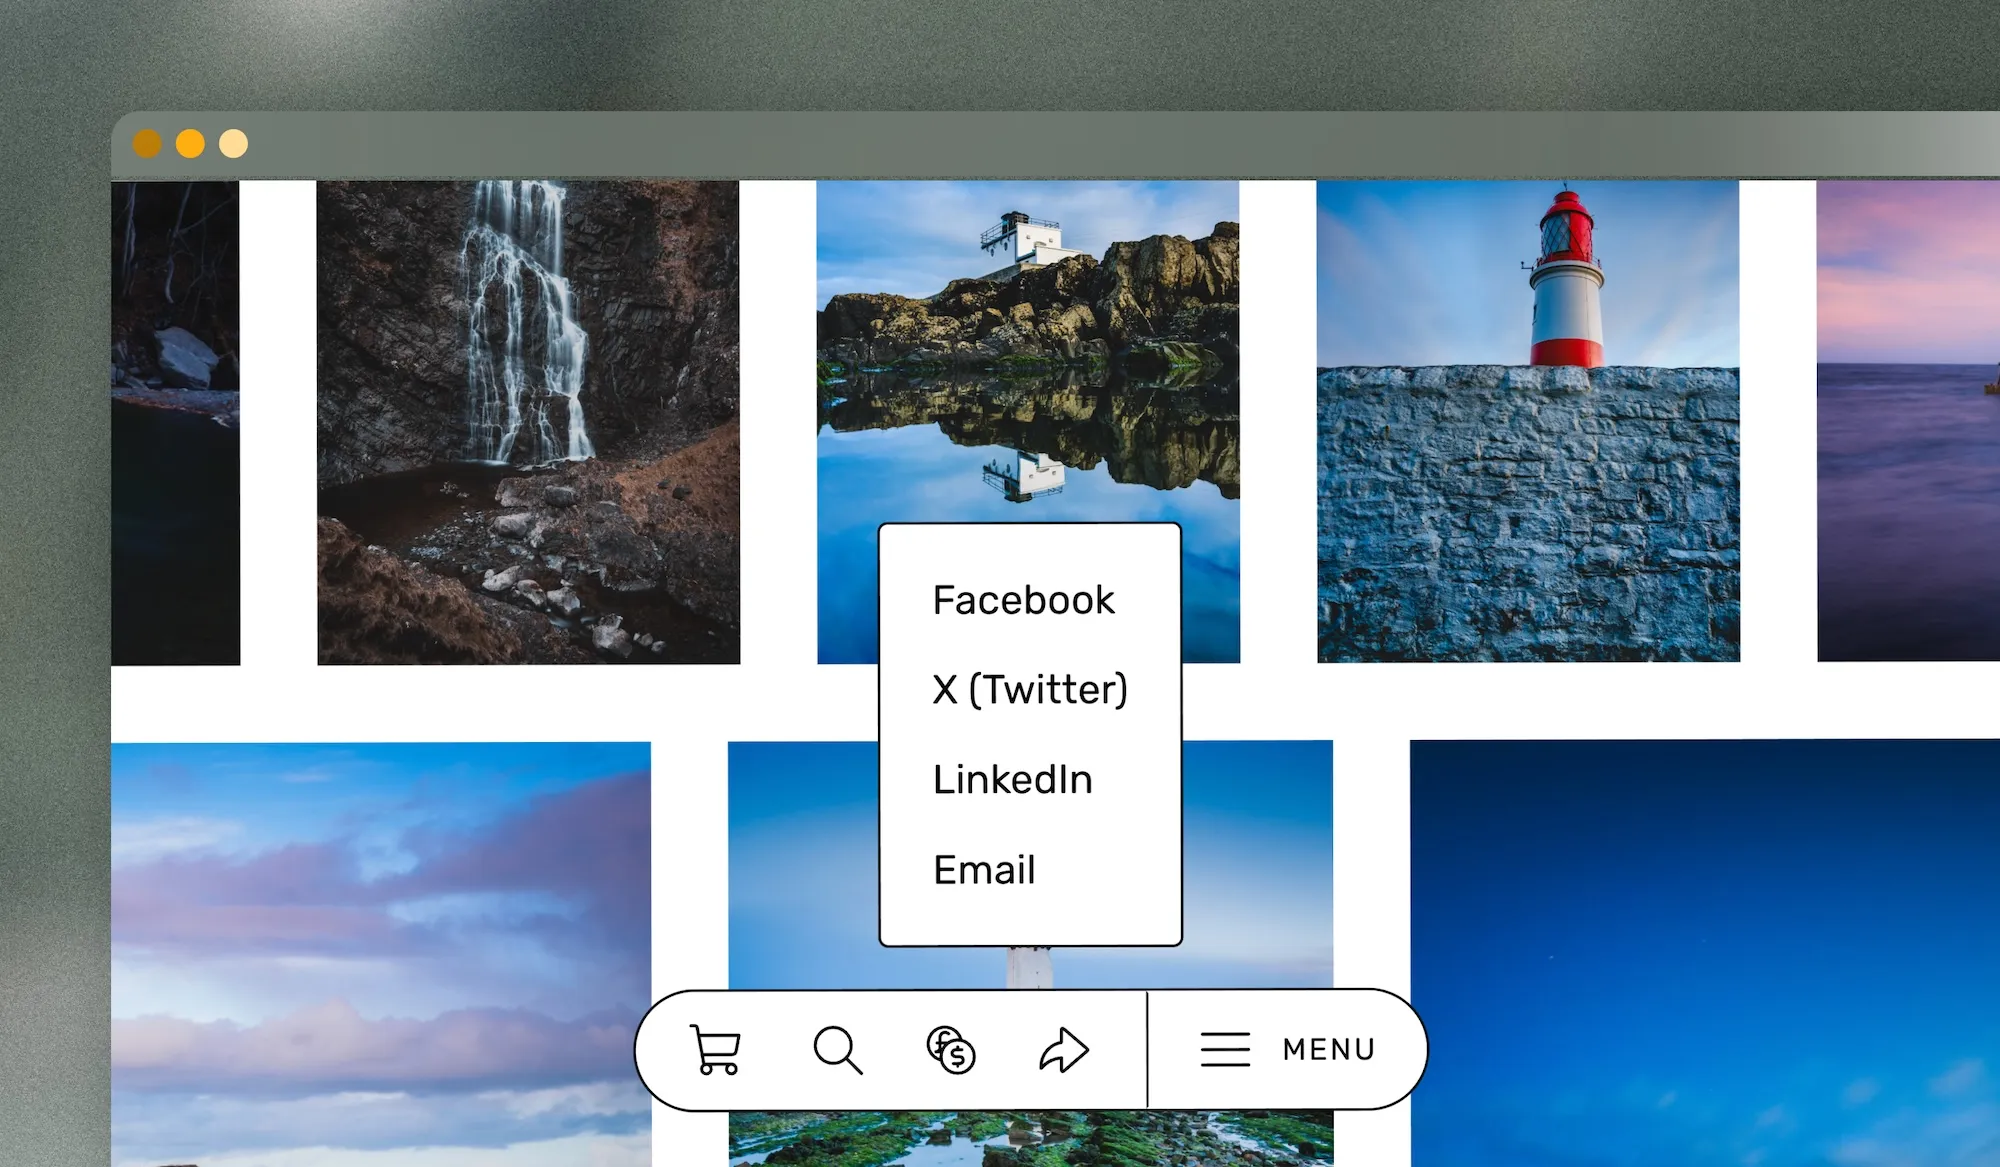
We also make it easy to send links by email, which is particularly useful for contacting business or photo editors. Use these as much as possible; it’s quick and easy to share your work, and the more you share it, the more likely you’ll see interest in your images.
Adding social media profiles to your Picfair Store:
You can add all of your socail media handles in the About section of your Picfair Store.
Final thoughts and next steps
If you’ve followed these five tips directly from Team Picfair, you should have a bit more knowledge of some of the easy-to-follow steps to get that perfect Picfair Store look and experience. They are all super simple to implement, too, so if you just take a little time, you could soon start seeing a great return on your investment in putting together a Picfair Store of your photography.
And if you’re new to Picfair Stores, you can sign up here to get started!
We have a huge amount of additional guides and resources to help you with your Picfair Store, too, all across Focus. These are aimed at helping you get the most out of your Picfair Store and include in-depth guides on how to sell your photos; take a look here!


