


The orange and teal look is popular for good reason, and it's incredibly easy to get for your own photos too; here's how

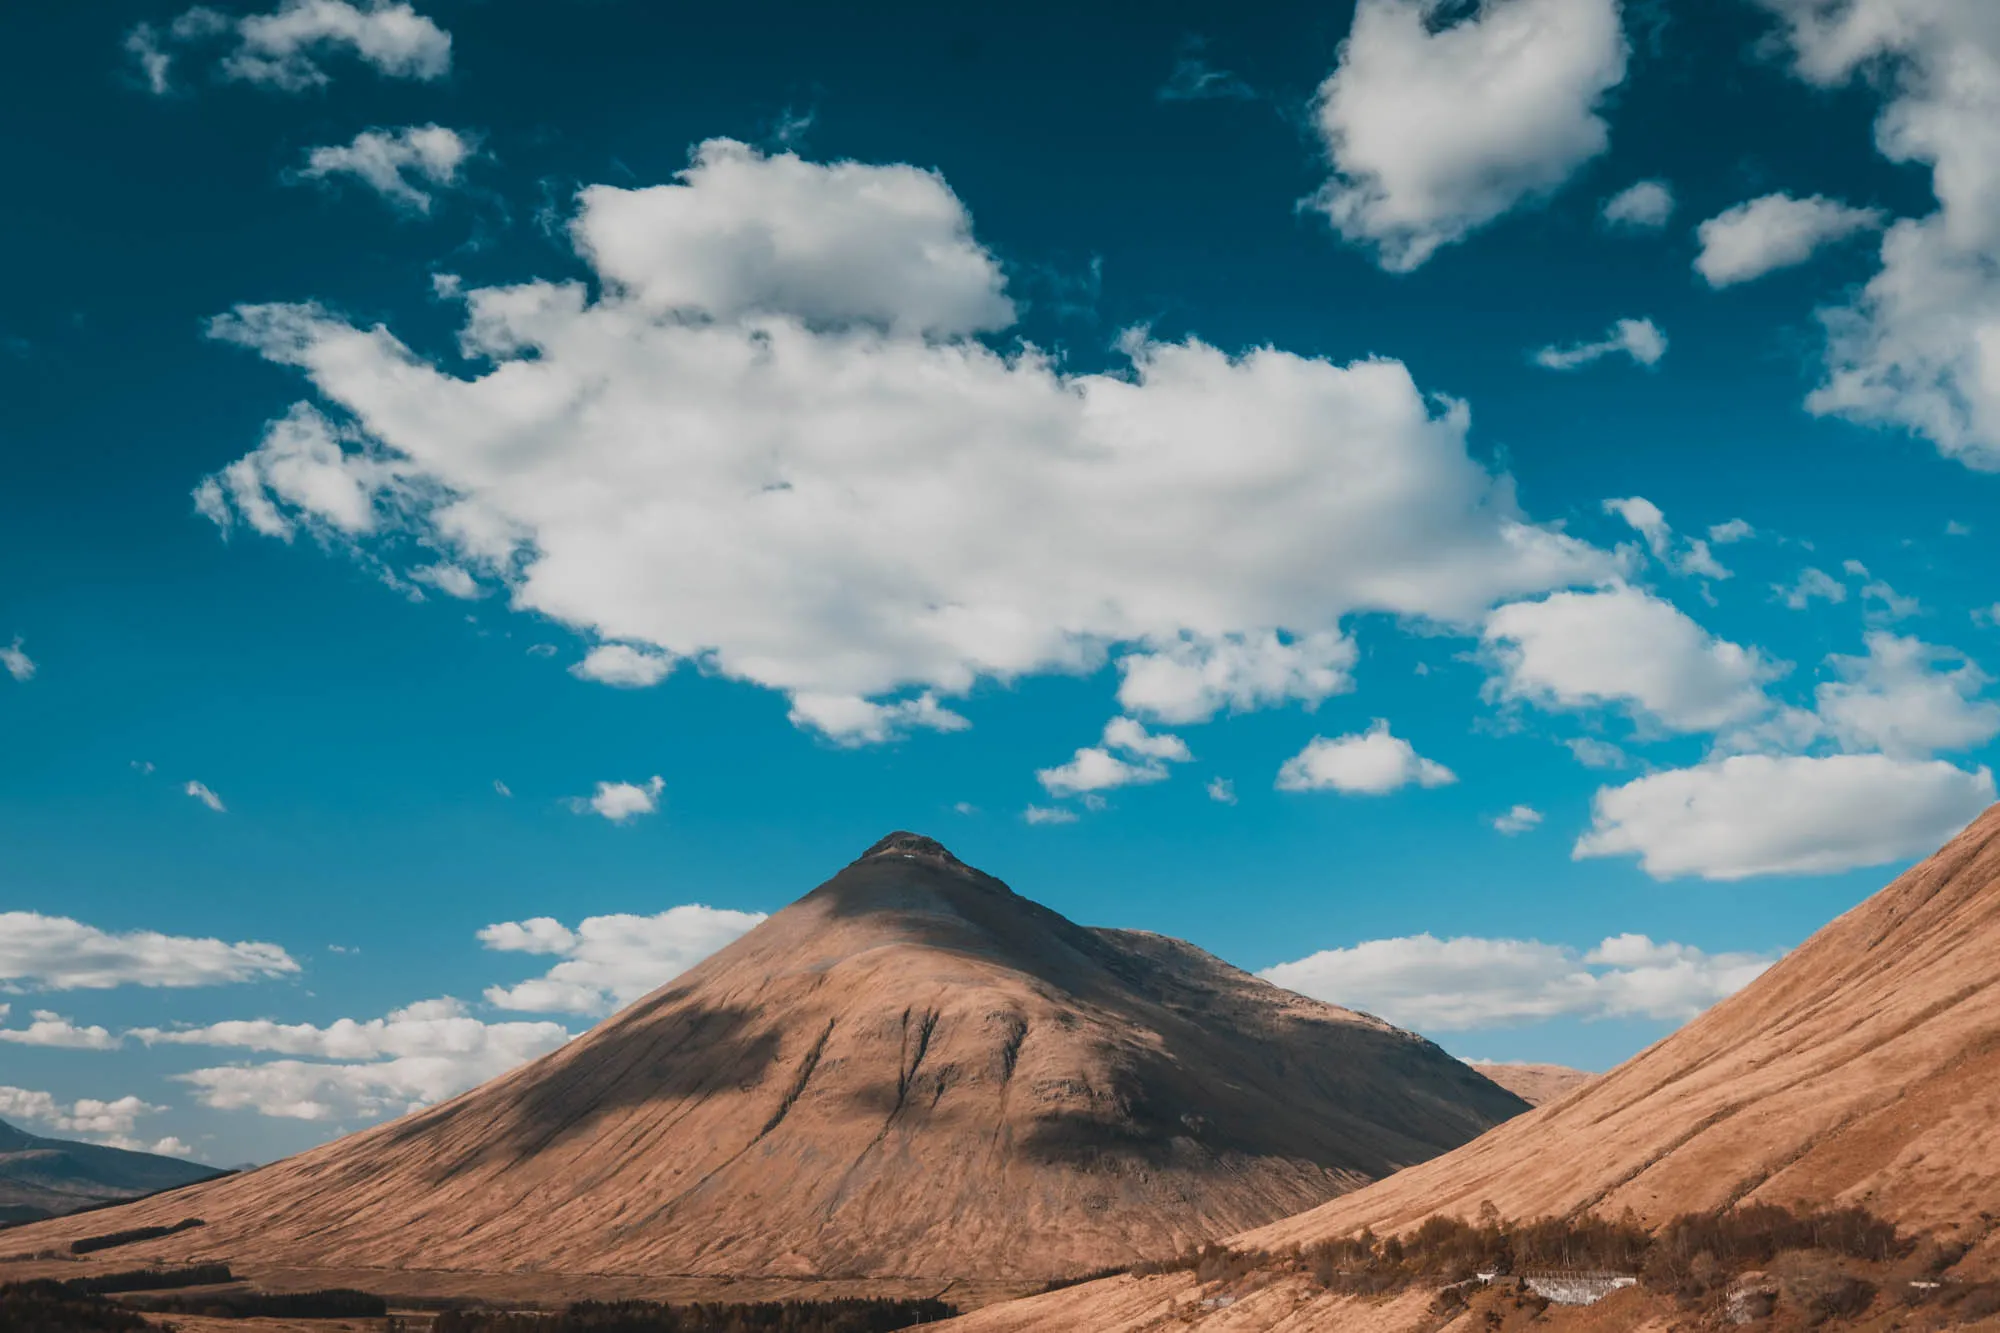
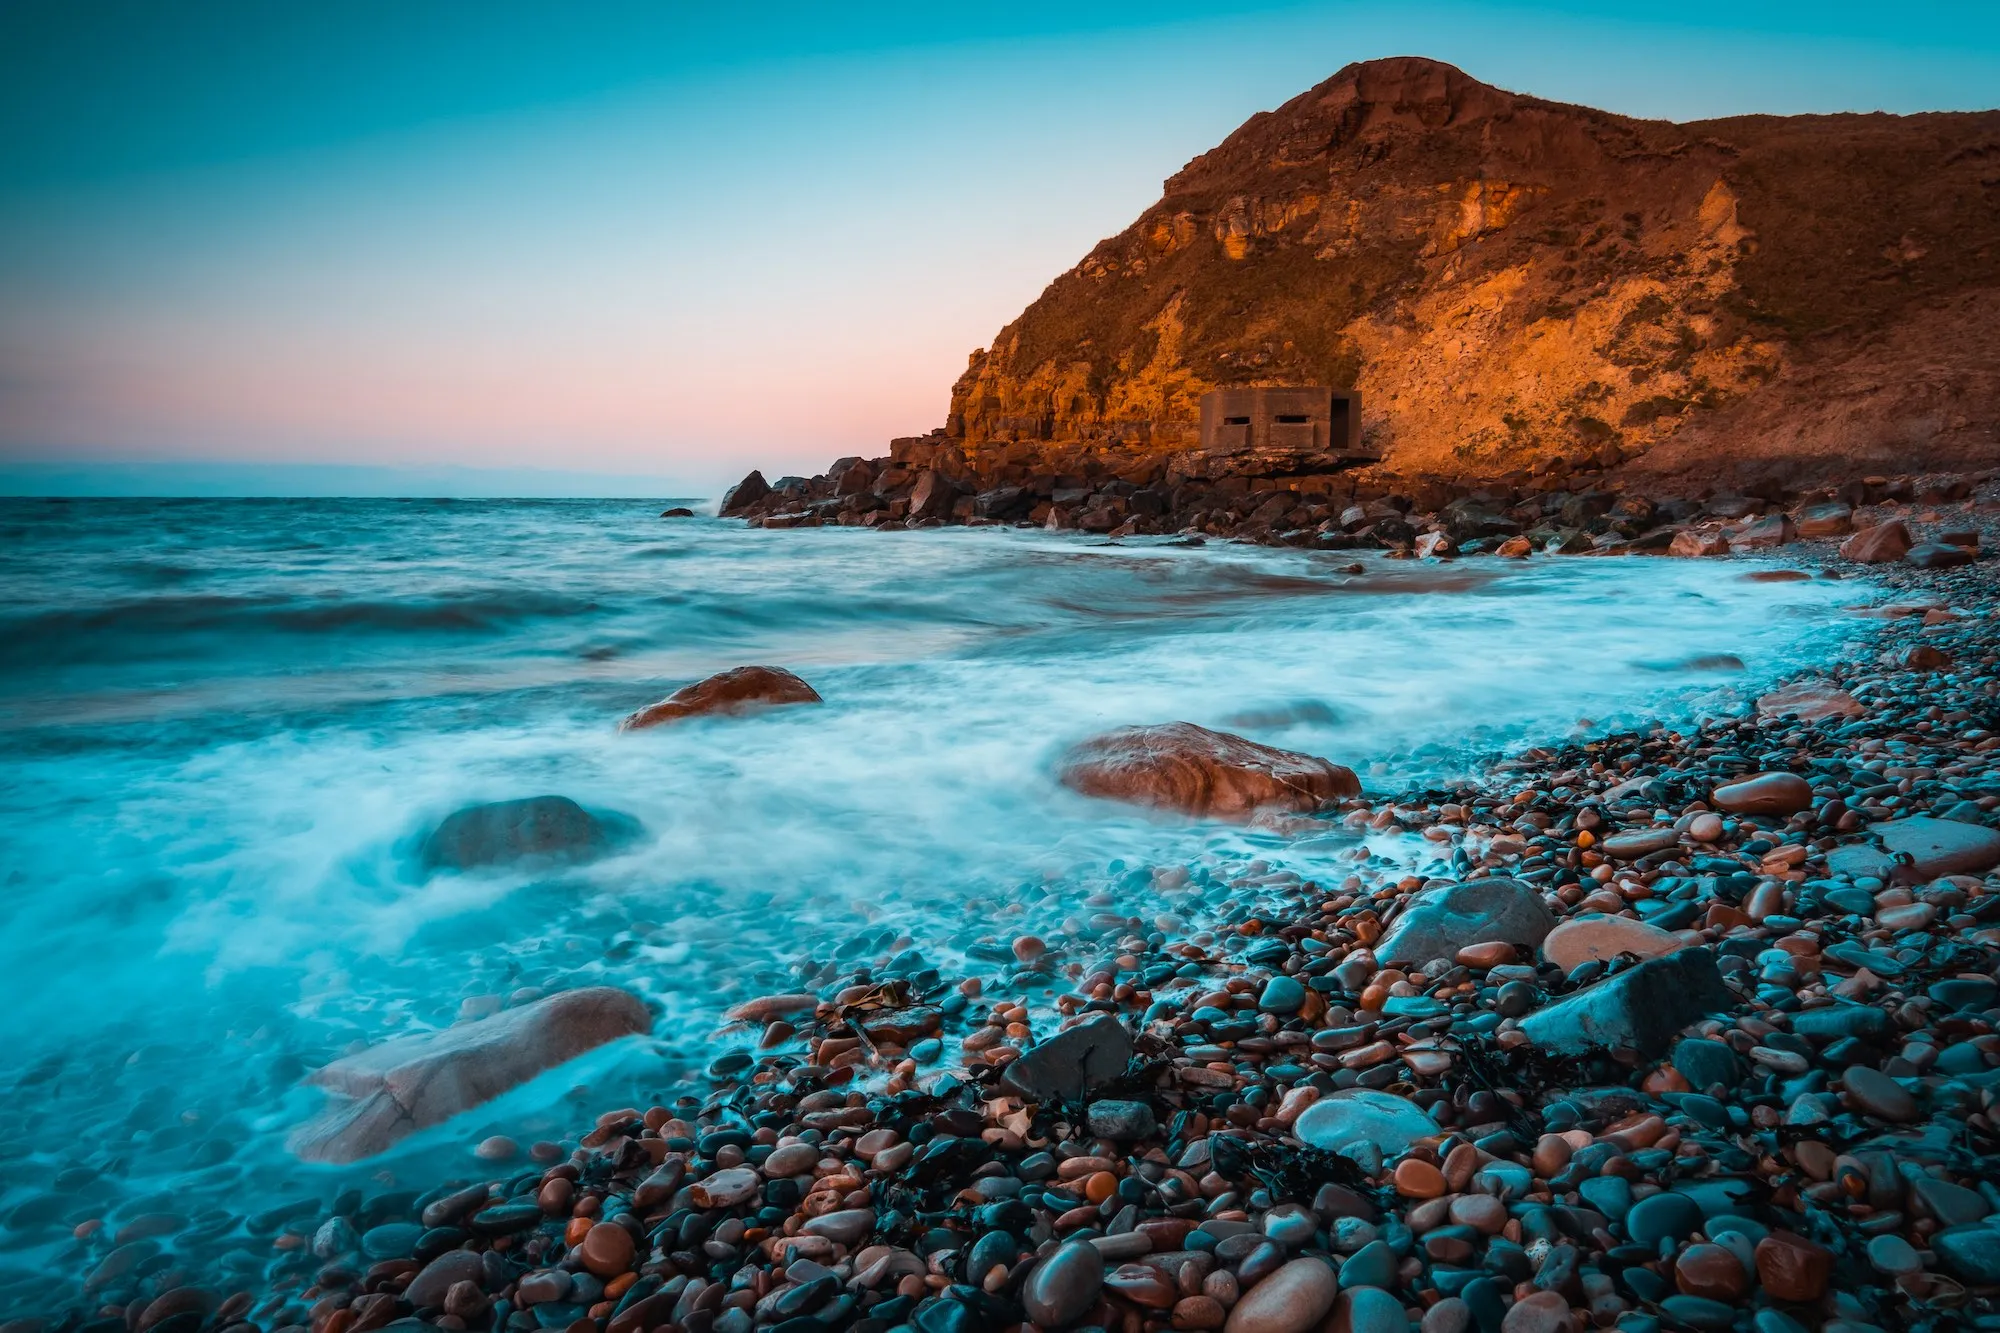
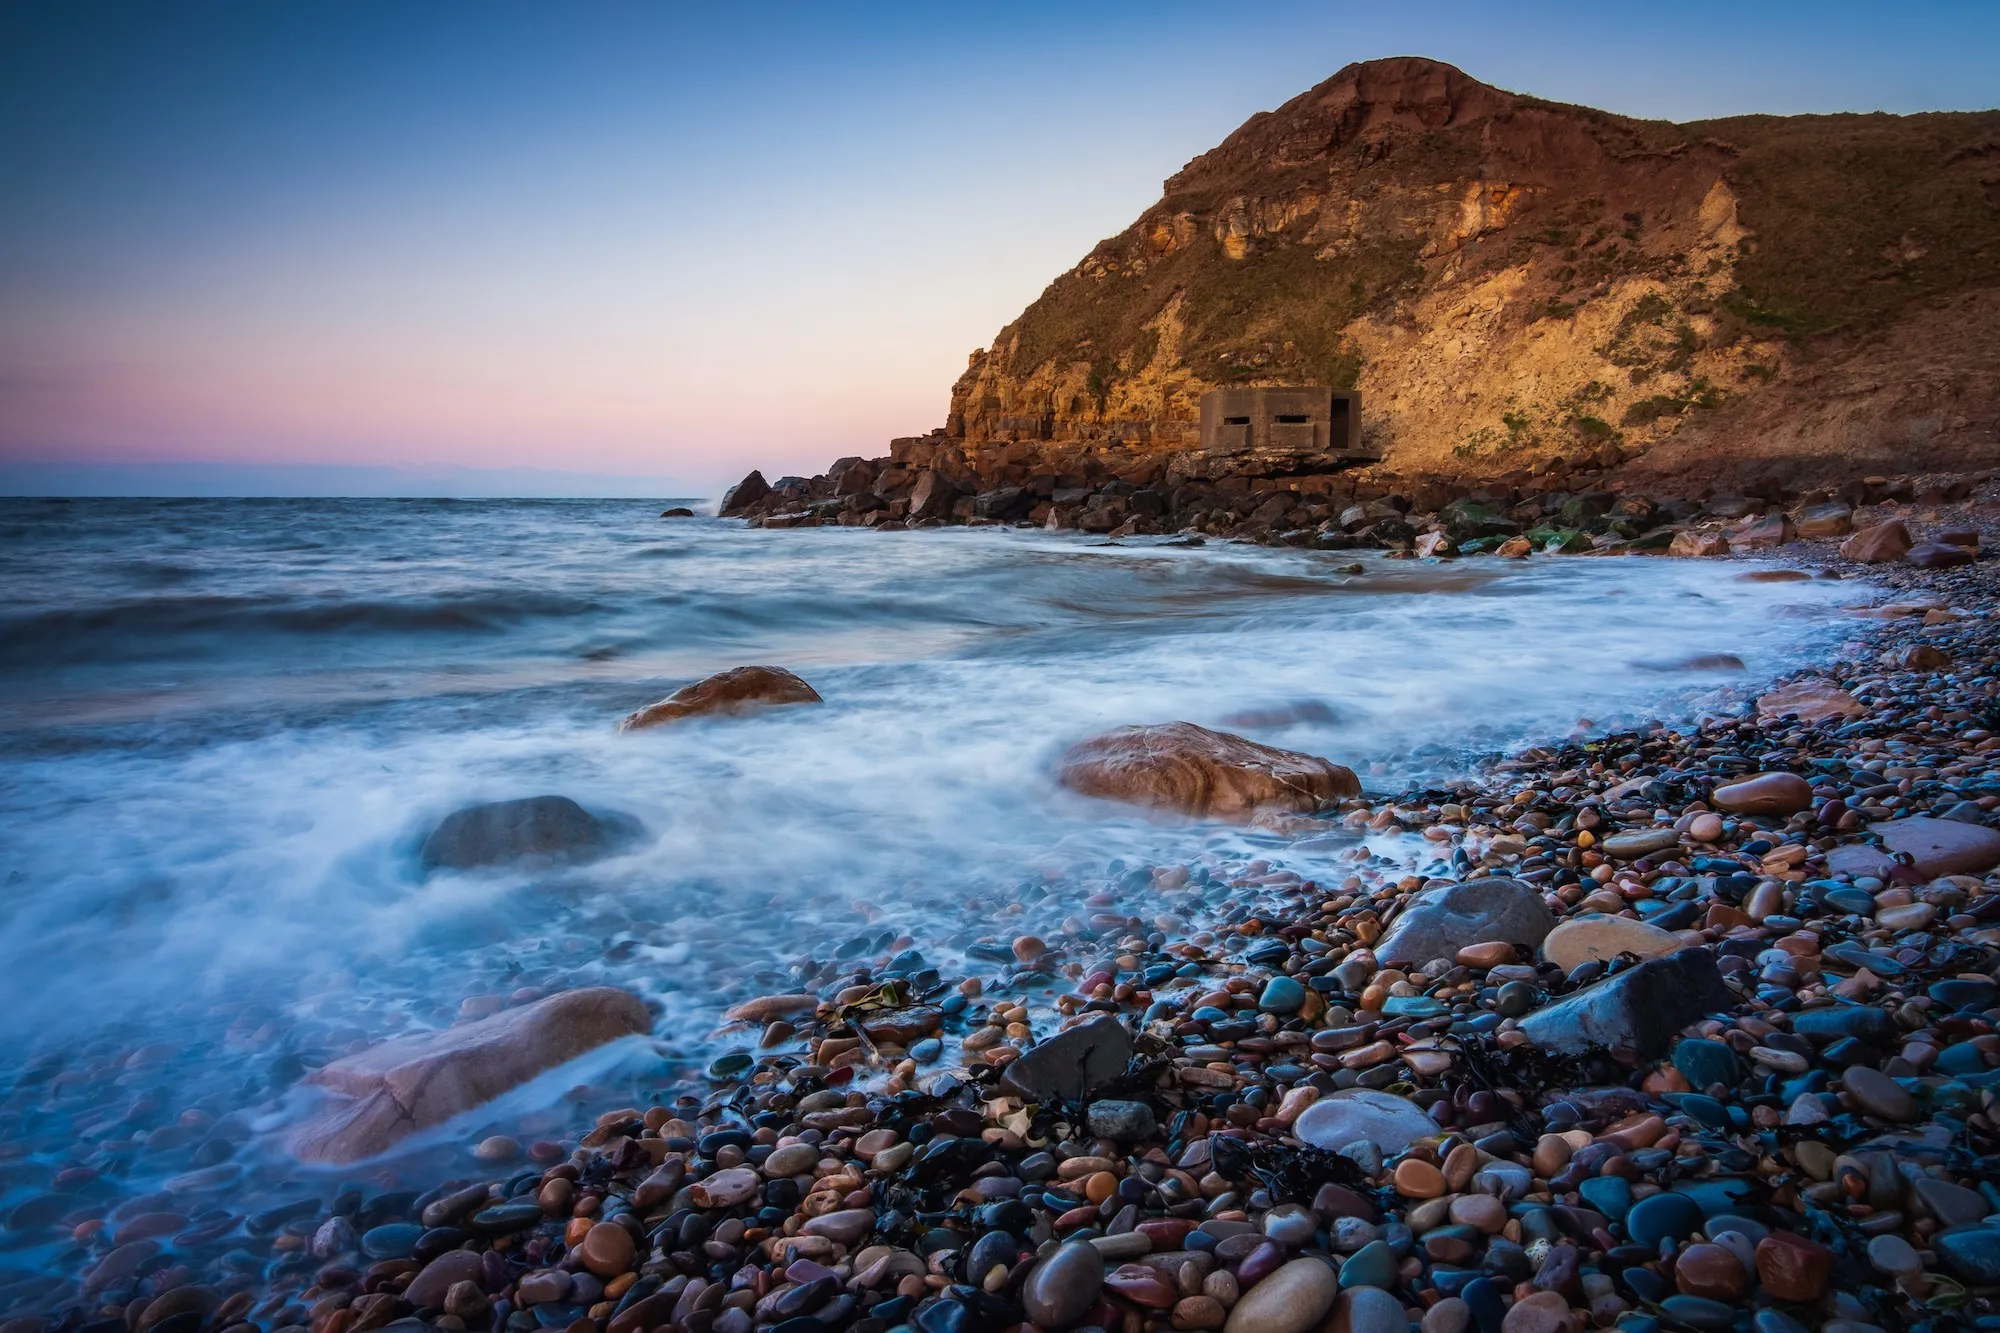
The orange and teal look is a particularly popular cinematic style that works well in photography because, as opposites on the colour wheel, orange and teal compliment each other well and make for a very aesthetically-pleasing image. As you can see by these examples below:

In editing suites like Lightroom and Photoshop, it’s a simple process to create an orange and teal look; in fact, you can do it in as little as three basic steps.
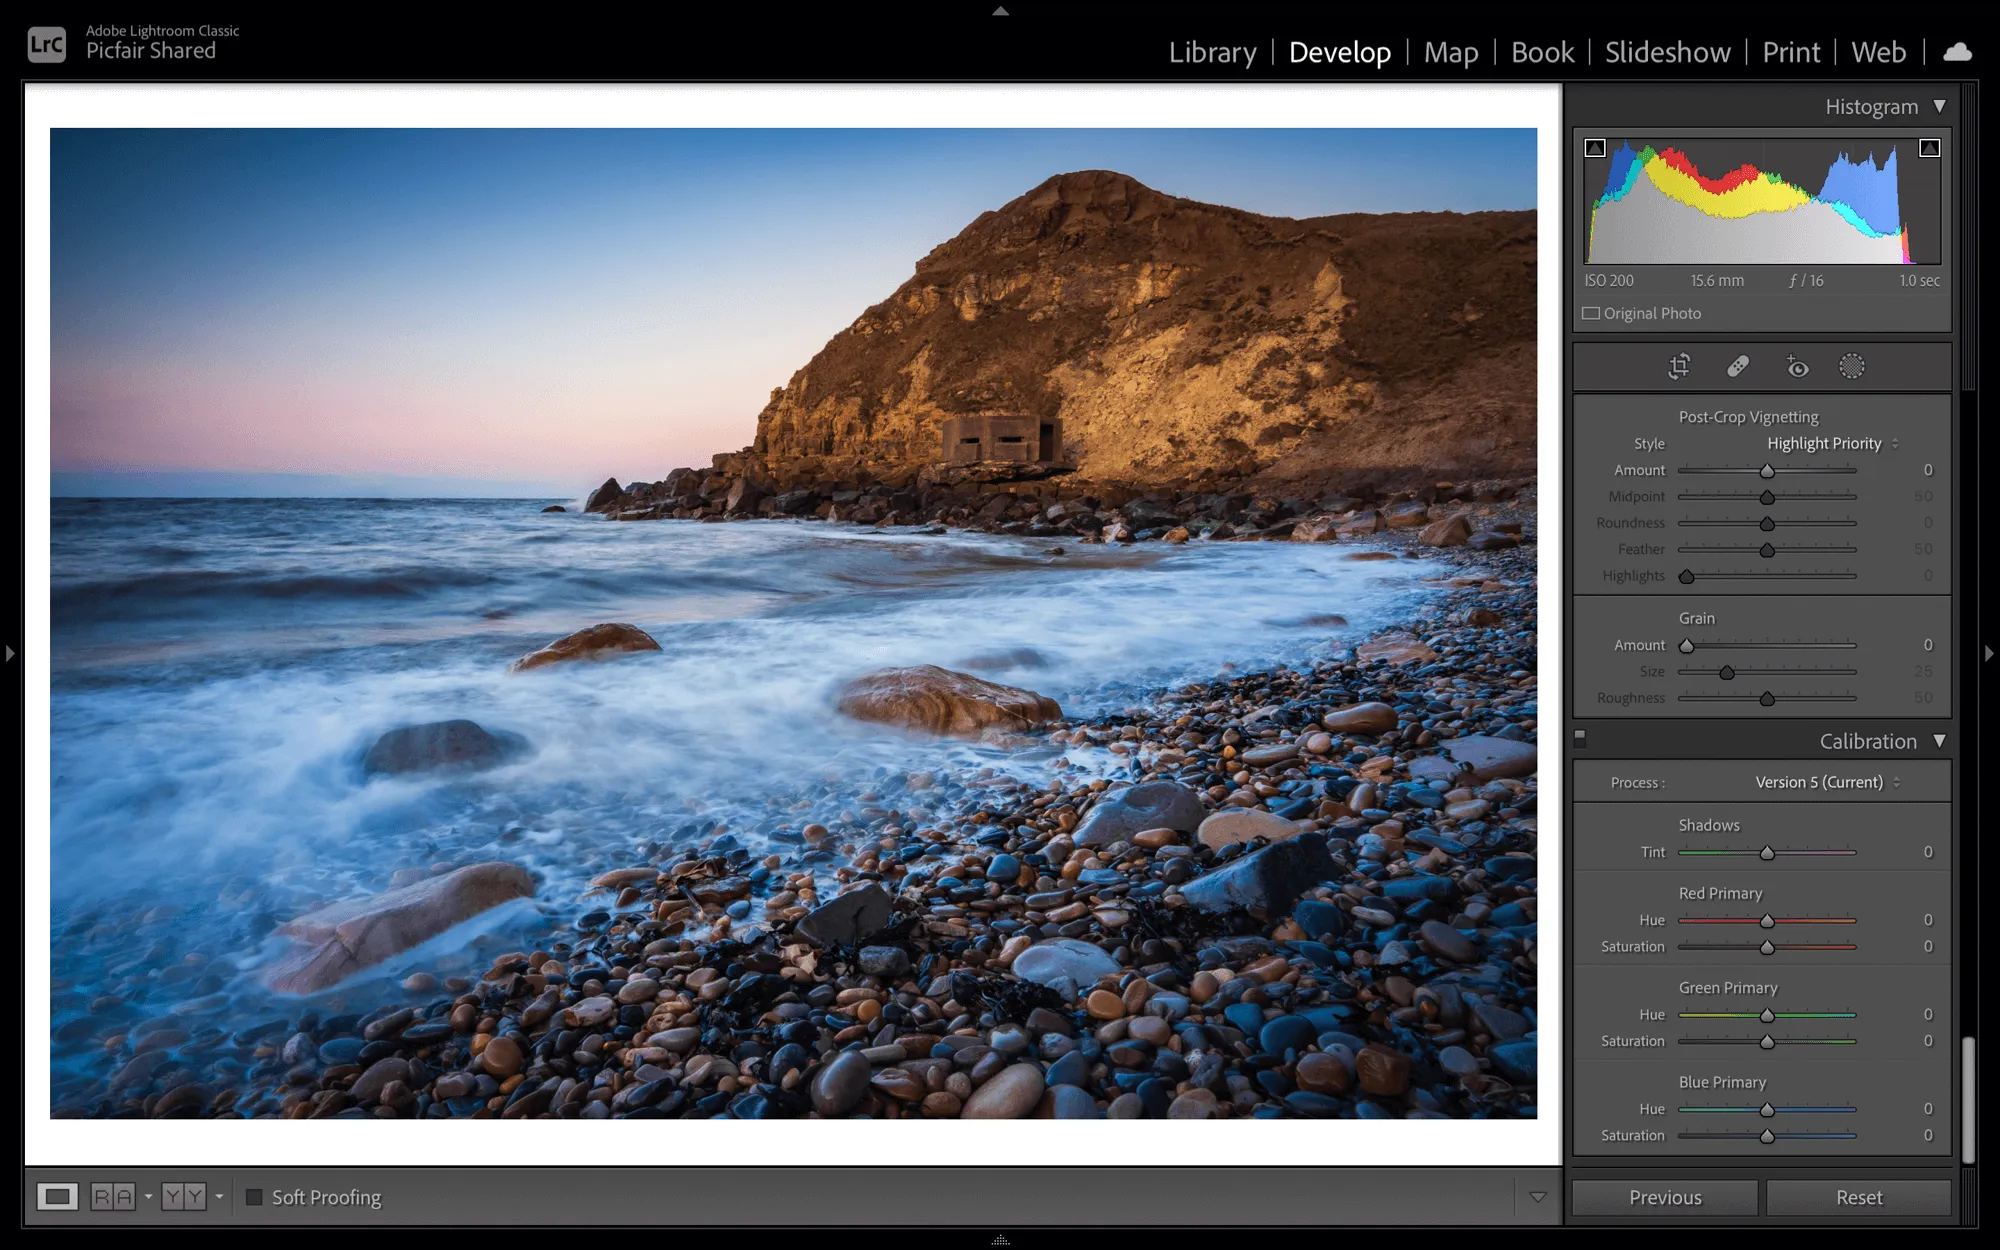
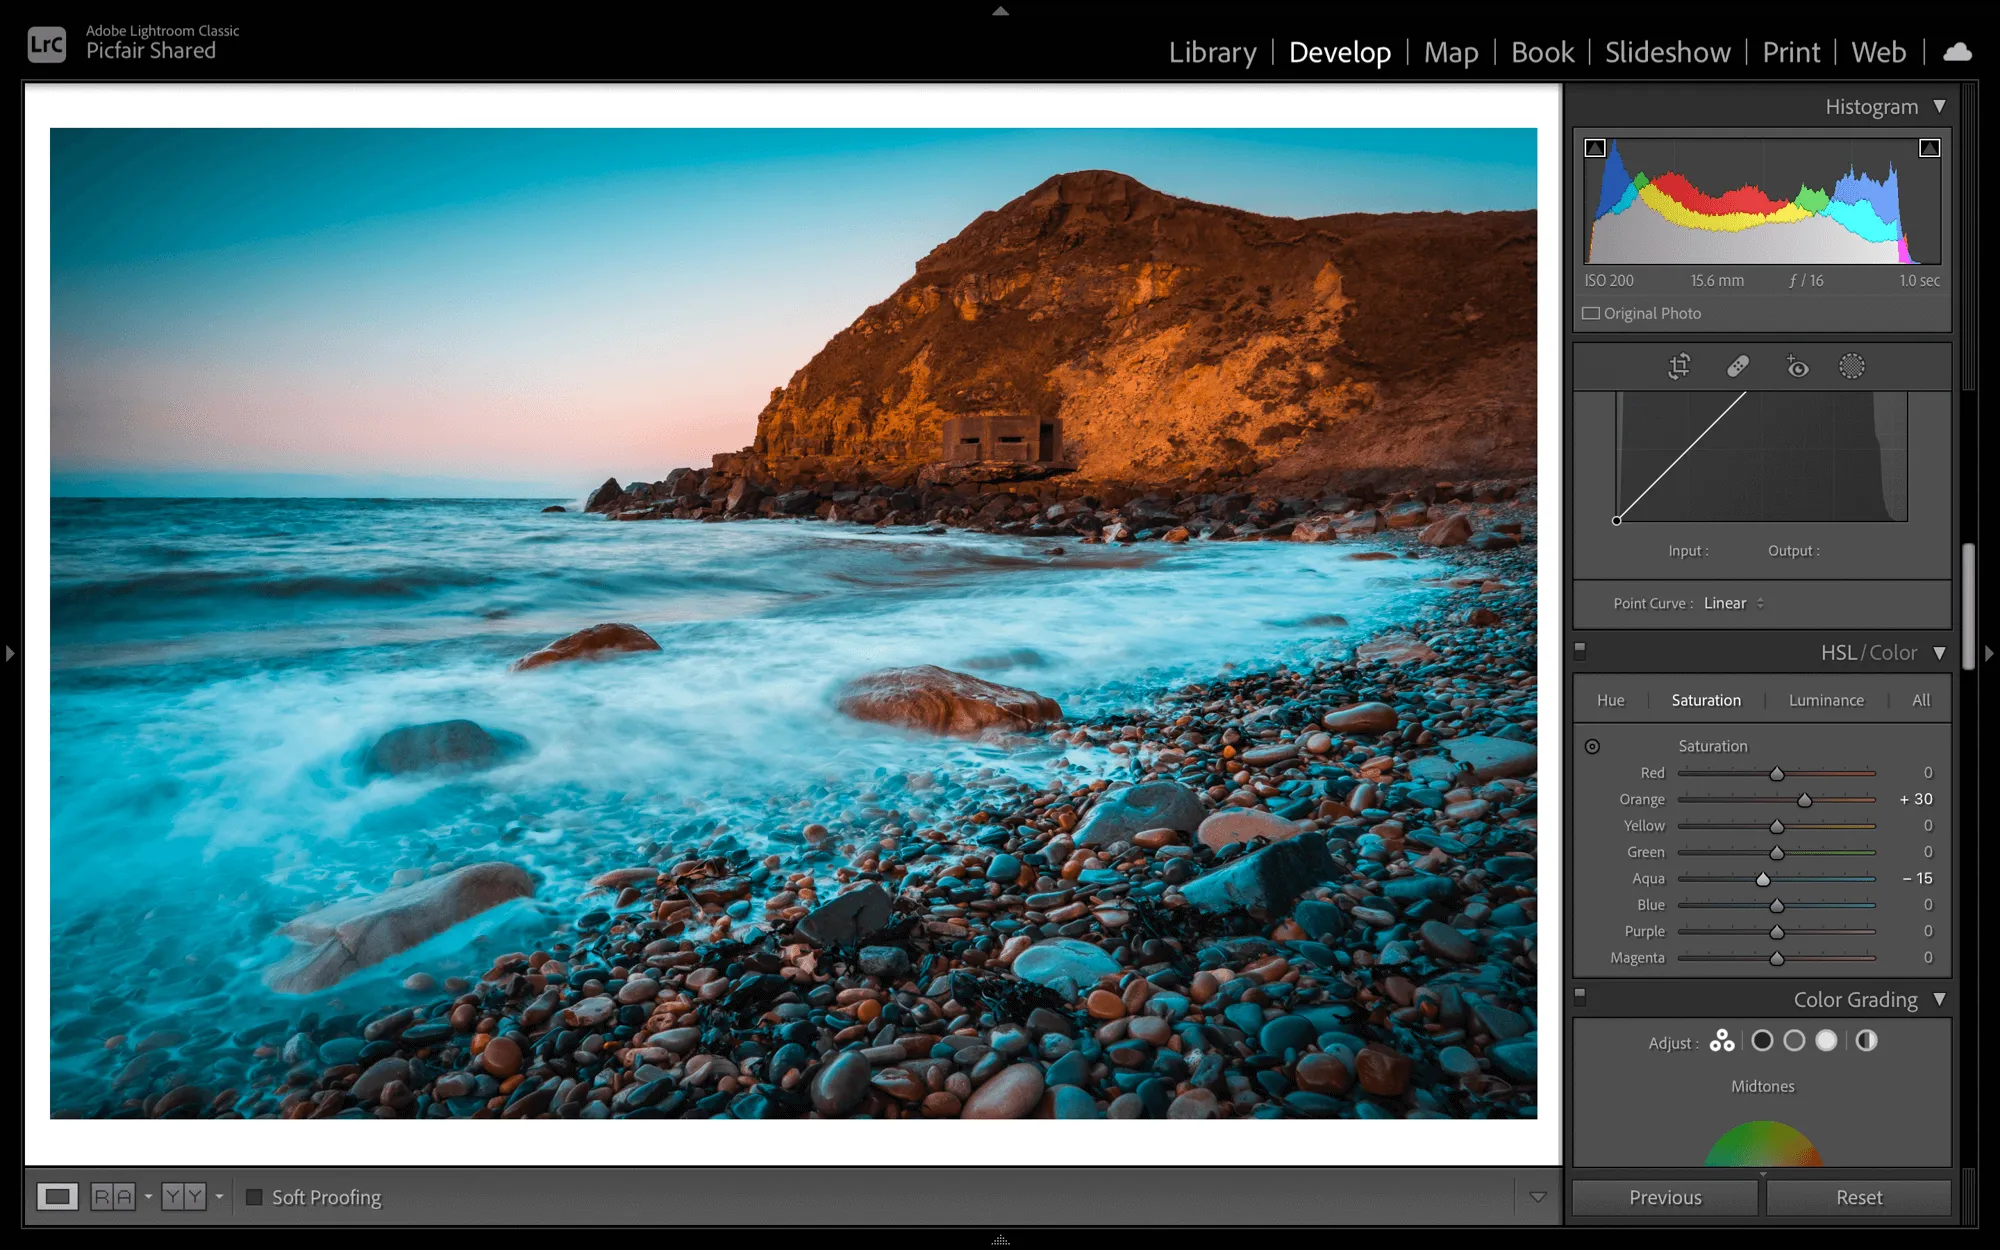
For me I prefer to use Lightroom, where I use the Calibration Tools to replicate the basic orange and teal aesthetic and then add further adjustments (depending on the image) to finish off the overall look. Here’s how:
1 Open your image in Lightroom and in the Develop Module navigate to the Calibration Panel
2 Increase the Hue of the Red Primary to +50

3 Reduce the Hue of the Blue Primary right down to -100
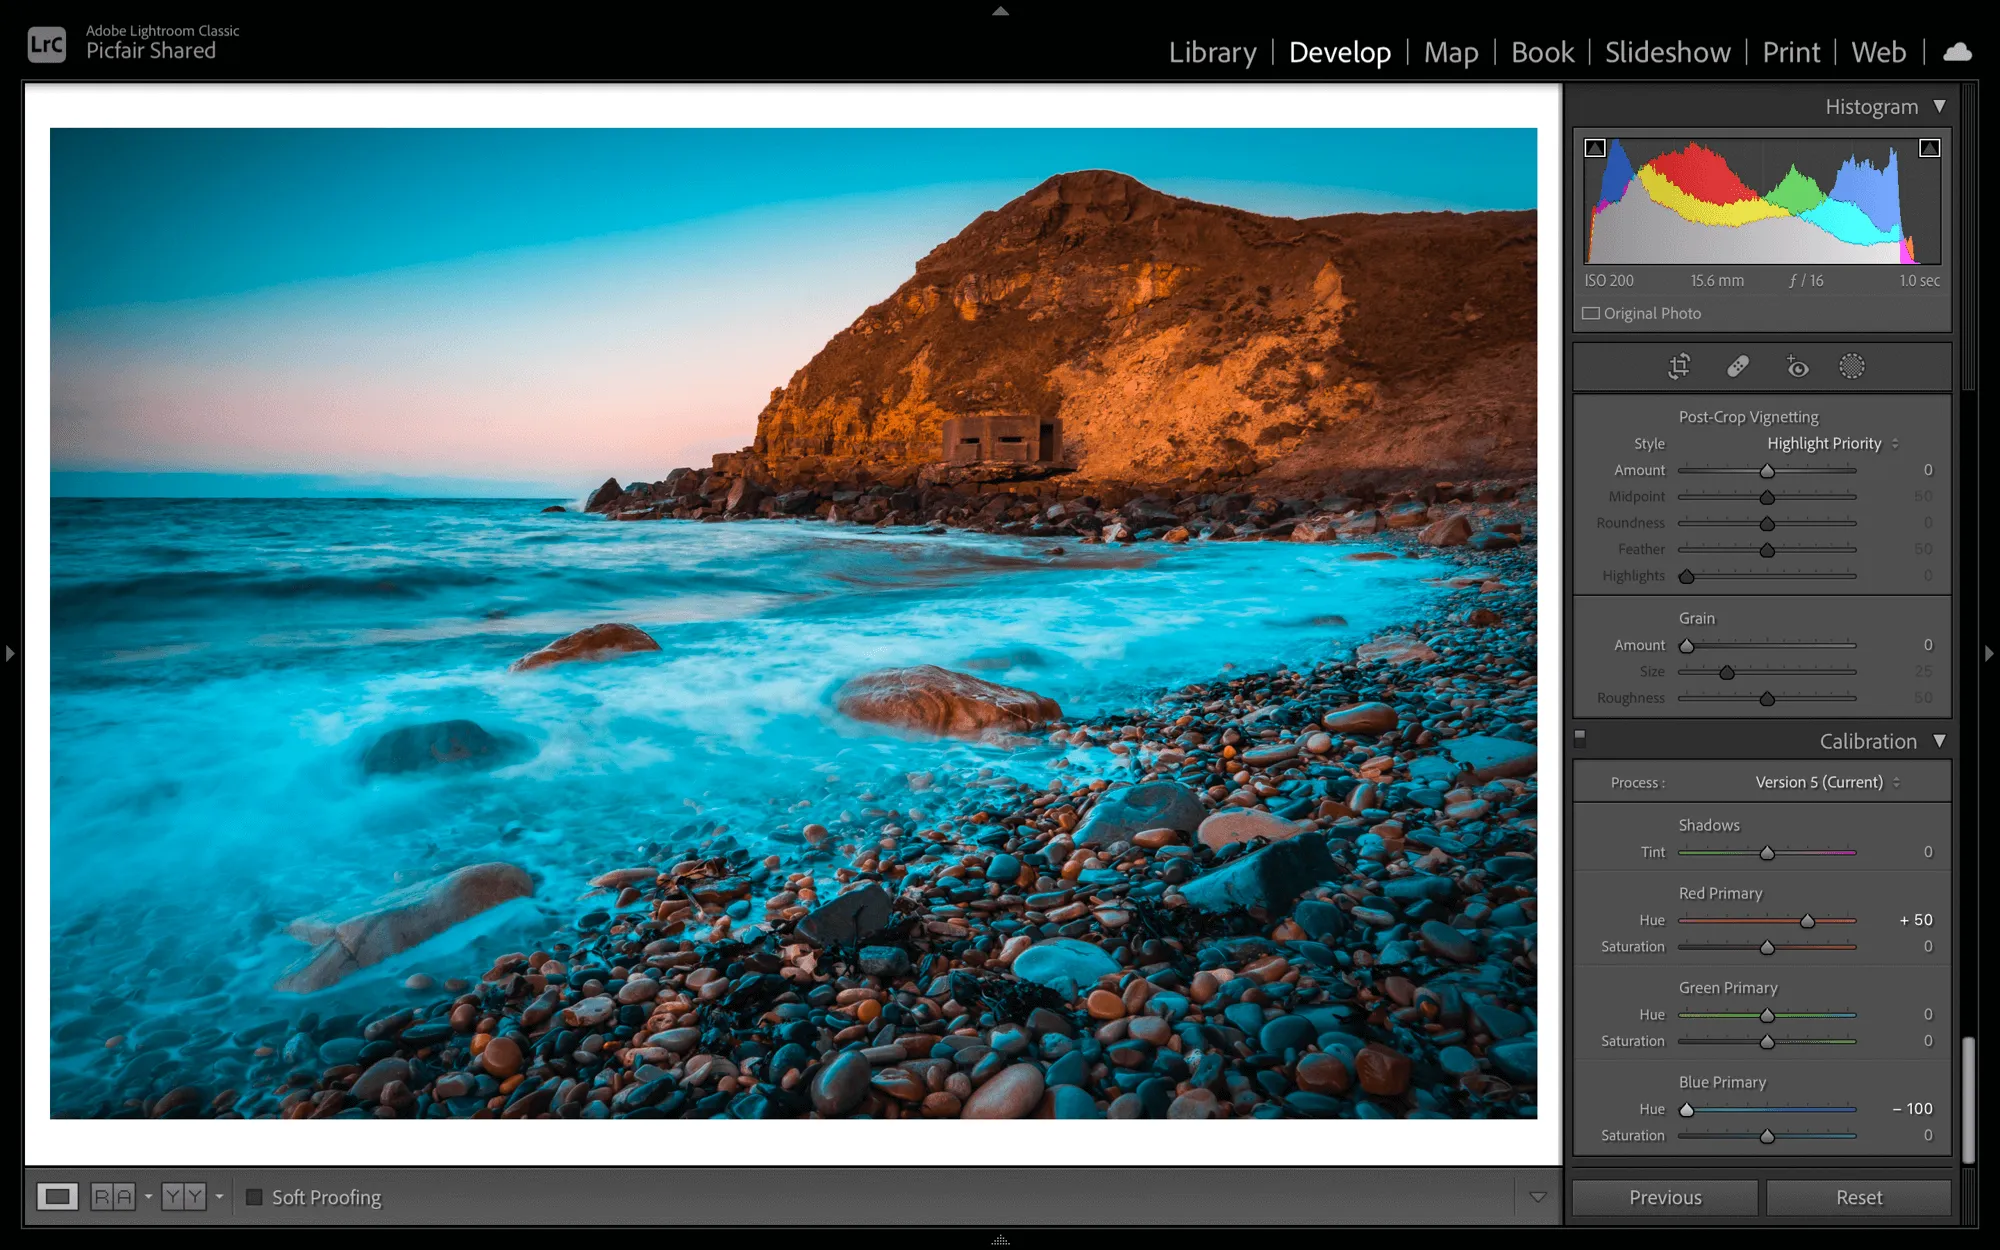
4 Reduce the Saturation of the Blue Primary to -50
Applying these adjustments will give you the ideal foundations of an orange and teal look for your image.
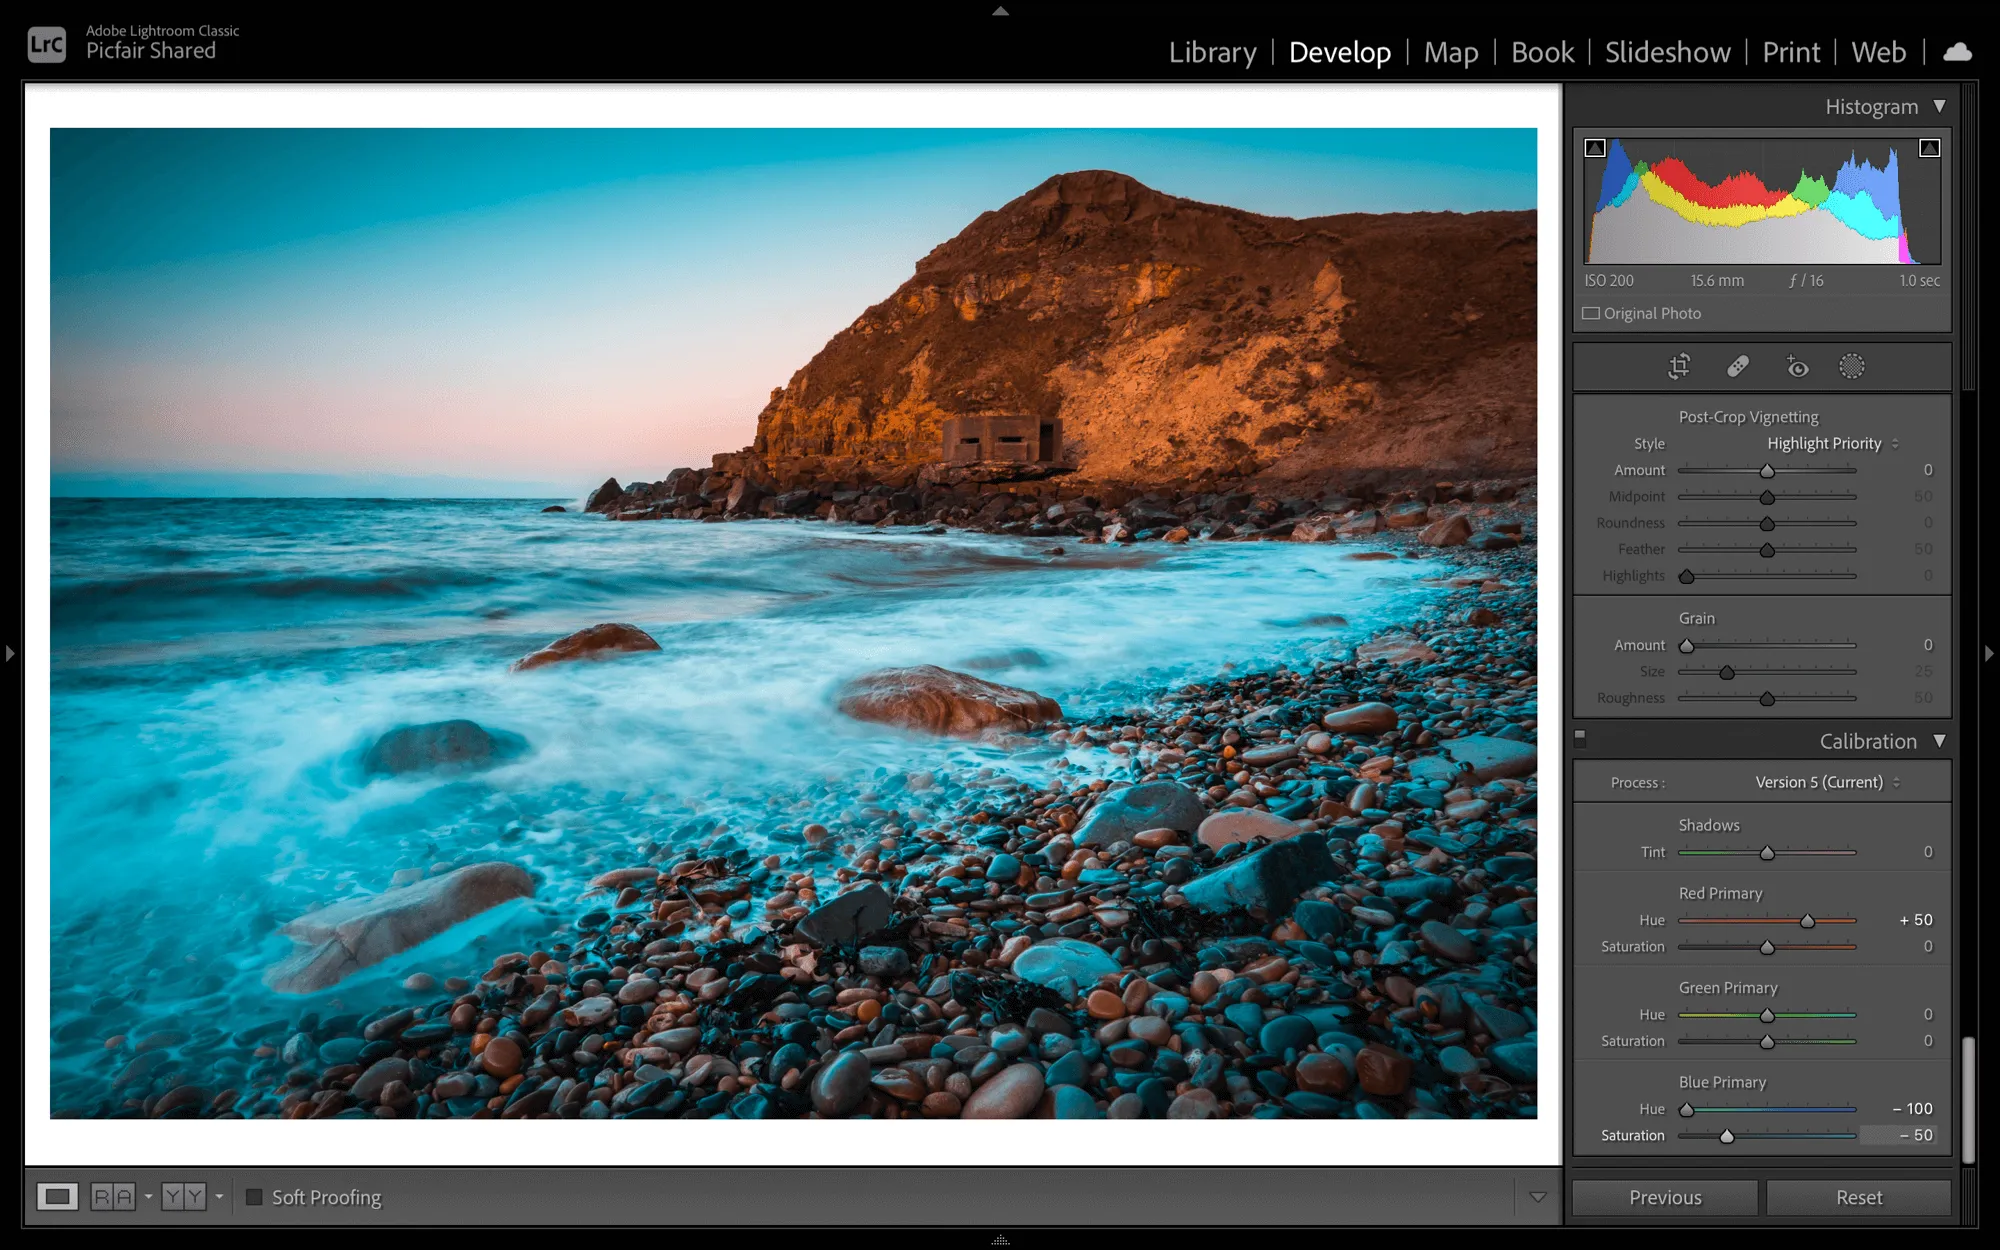
Now, further edits can be made in order to tweak the look to your preference, for this particular image I’ve made a few small adjustments to individual colours to balance the colour range a little more by using the sliders in the HSL/ Colour Panel.
Don’t forget to also apply all the usual adjustments you would normally make to an image, such as exposure enhancements. You could also experiment with other adjustments to add to the cinematic flair too; such as lifting shadows to get a matte look, further manipulating the hue and saturation or building depth in the image by adjusting the shadows, highlight and contrast. Take time to experiment and enjoy that part of the process too.
And there you have it! A quick and easy way to get that sought after orange and teal style.
Also, it’s worth saving your orange and teal adjustments as a preset, so you apply these edits to images in bulk, or, for example upon upload.


