


Work Lightroom like a pro with these secret tricks, hidden tools and workflow shortcuts

Lightroom offers a wealth of tools and settings for enhancing your photos, but to get the most out of Adobe’s editor it pays to have a few tricks up your sleeve. Let’s take a look at some of our favourites...
1 Essential tricks
To kick things off, here are 10 quick tips that every Lightroom user should know...
- Double-click any slider to reset it to the default
- When in the Library Module hit G for grid view and E for loupe
- Hold Alt over any panel for an option to reset all the sliders
- Right-click over any panel name to enable Solo Mode so that all the others auto-collapse
- Use Cmd/Ctrl and + or - to zoom in or out, or hold Alt+Shift and drag left/right
- While in the Develop Module hold \ to show a ‘before’ version of your image
- Hit F for a full-screen image or L for ‘Lights off’ mode which dims everything else
- To apply the same settings as your last edited image click the Previous button
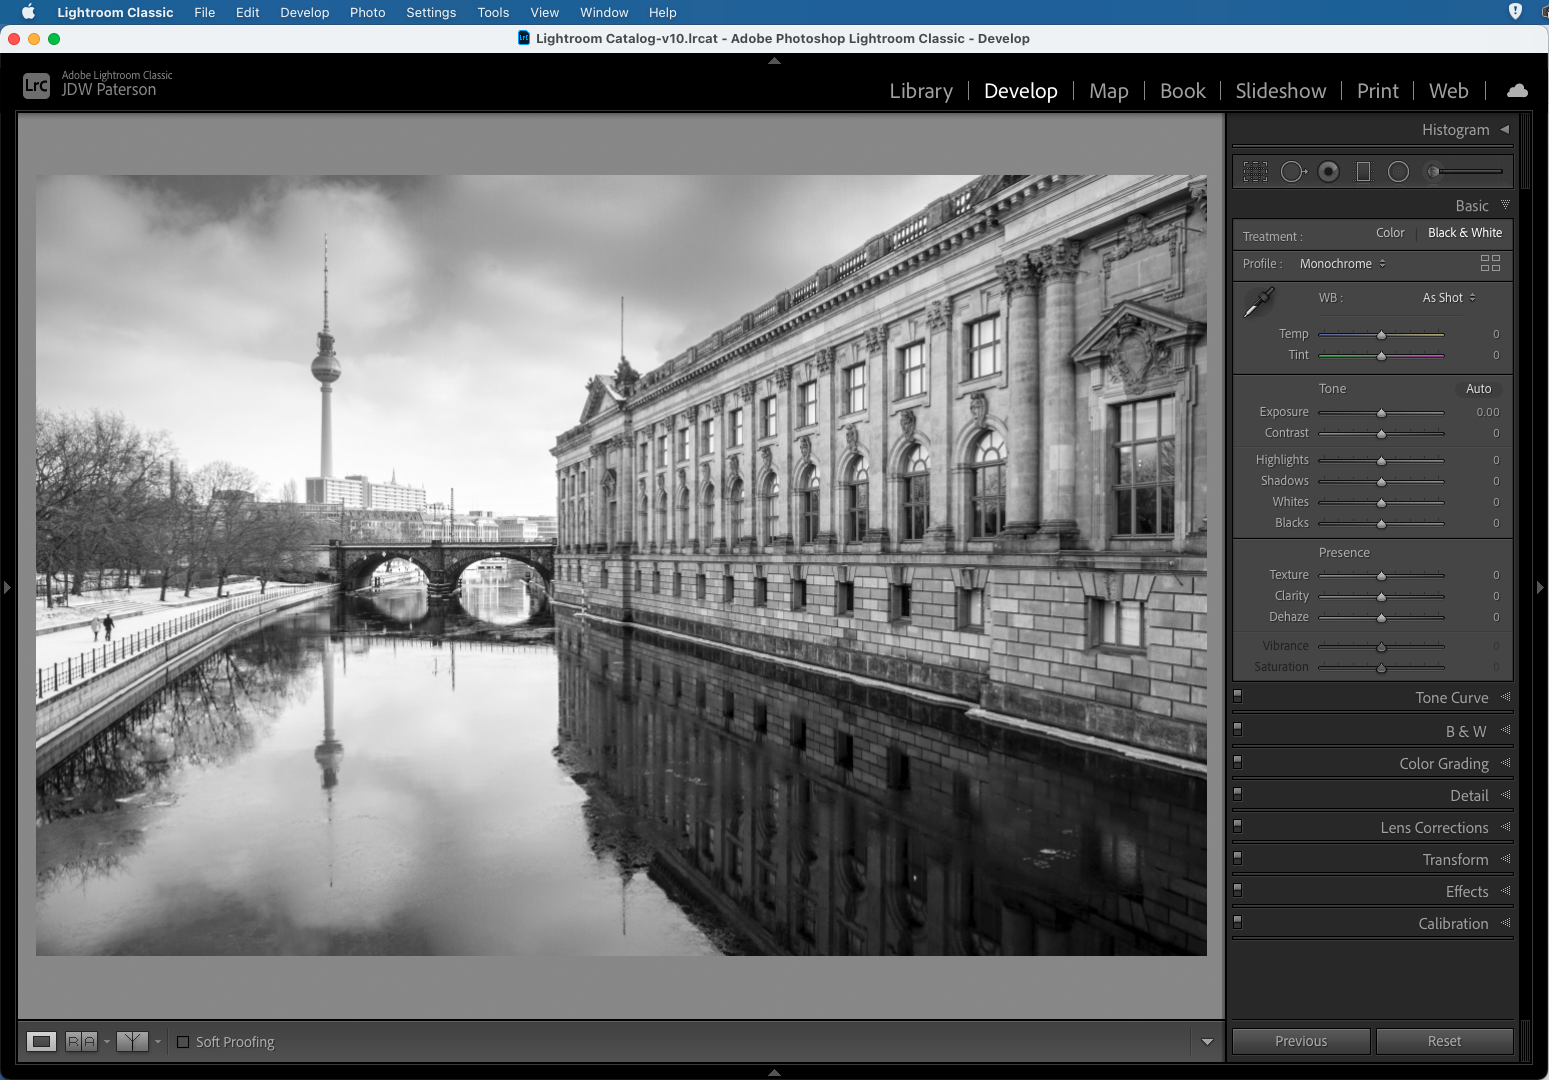
- Tap the V key to quickly toggle the image to black and white
- Drag the text field next to a slider to adjust the setting in smaller increments
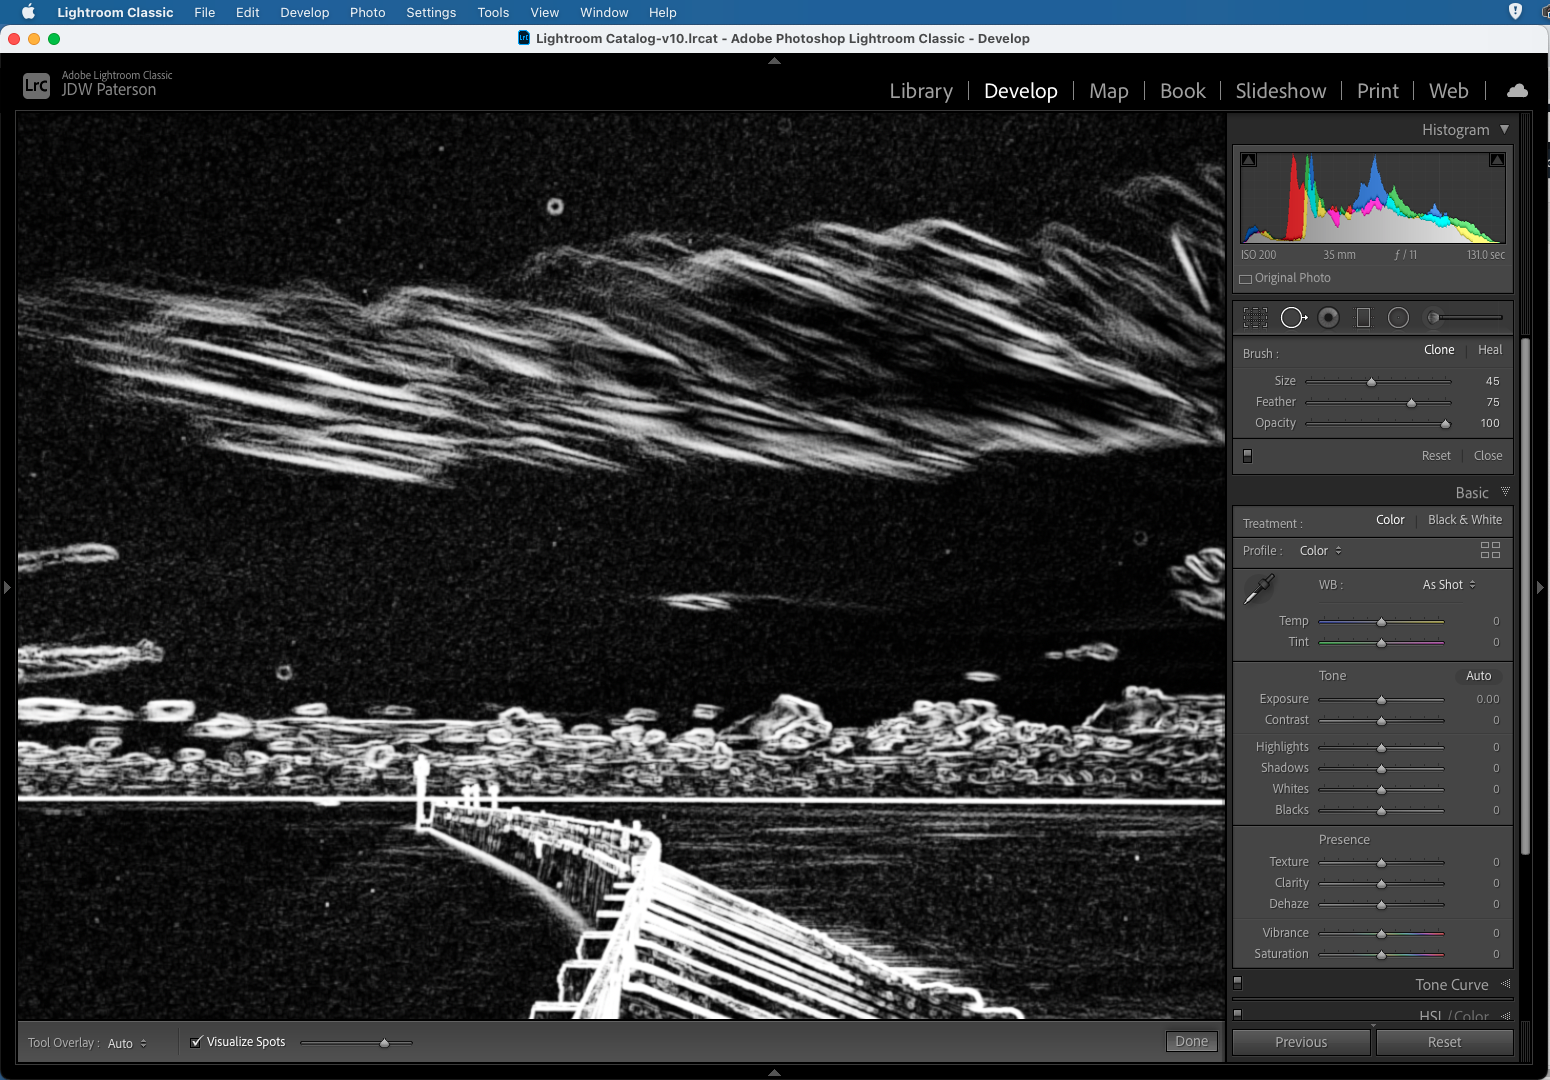
2 Remove spots quicker
The spot removal tool lets you remove marks and blemishes with ease, but to get the most out of the tool it pays to know a few tricks. The tool automatically selects a heal point for you, but if it chooses the wrong area there’s no need to drag to another, just hit / to let Lightroom pick another one for you. Also, if you click over a point, hold shift and click elsewhere then you can paint a straight line - useful for removing wires, wrinkles or other unwanted lines. The ‘Visualise Spots’ option offers a handy view that shows sensor marks more clearly. Keep in mind that you can sync your healing points across several images, so if you have a recurring sensor mark you can remove it on one frame then sync the edit with the rest.
3 The power of the Alt key
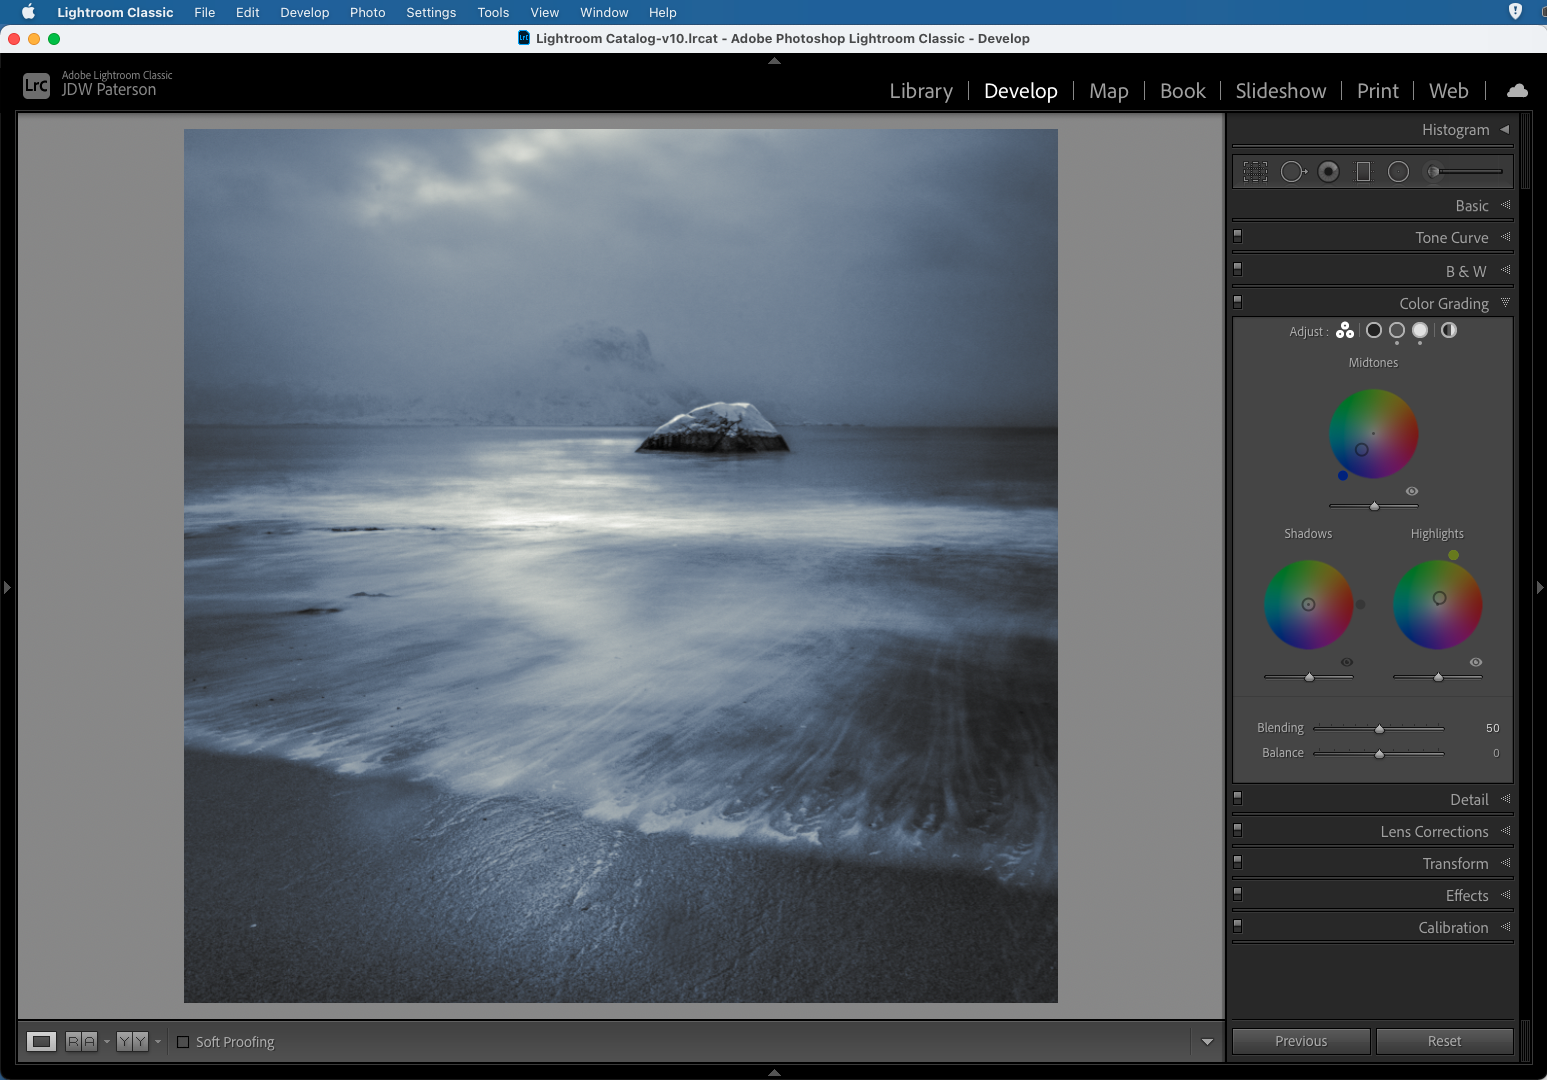
The Alt/Option key allows for all sorts of useful workflow shortcuts and tool tricks. Hold Alt while adjusting the Exposure, Whites or Blacks sliders for a handy view that shows clipped pixels as you drag. The key also changes the view to greyscale while sharpening or adjusting noise reduction in the Detail panel, and when altering the Masking slider in the sharpening settings it shows exactly what is being excluded from the sharpening effect. What’s more, holding Alt lets you crop from the centre with the crop tool, or switch to the eraser when using the Adjustment Brush, or make smaller increments when altering the Color Grading wheels.
4 Auto-set individual sliders
The Auto tonal setting in Lightroom is surprisingly good at choosing amounts for you (in fact it employs machine learning to recognise subjects and scenes when making adjustments). But if you want to apply an auto setting to individual sliders rather than the entire Basic Panel then simply hold Shift and double-click any tonal slider to adjust it to the auto setting.
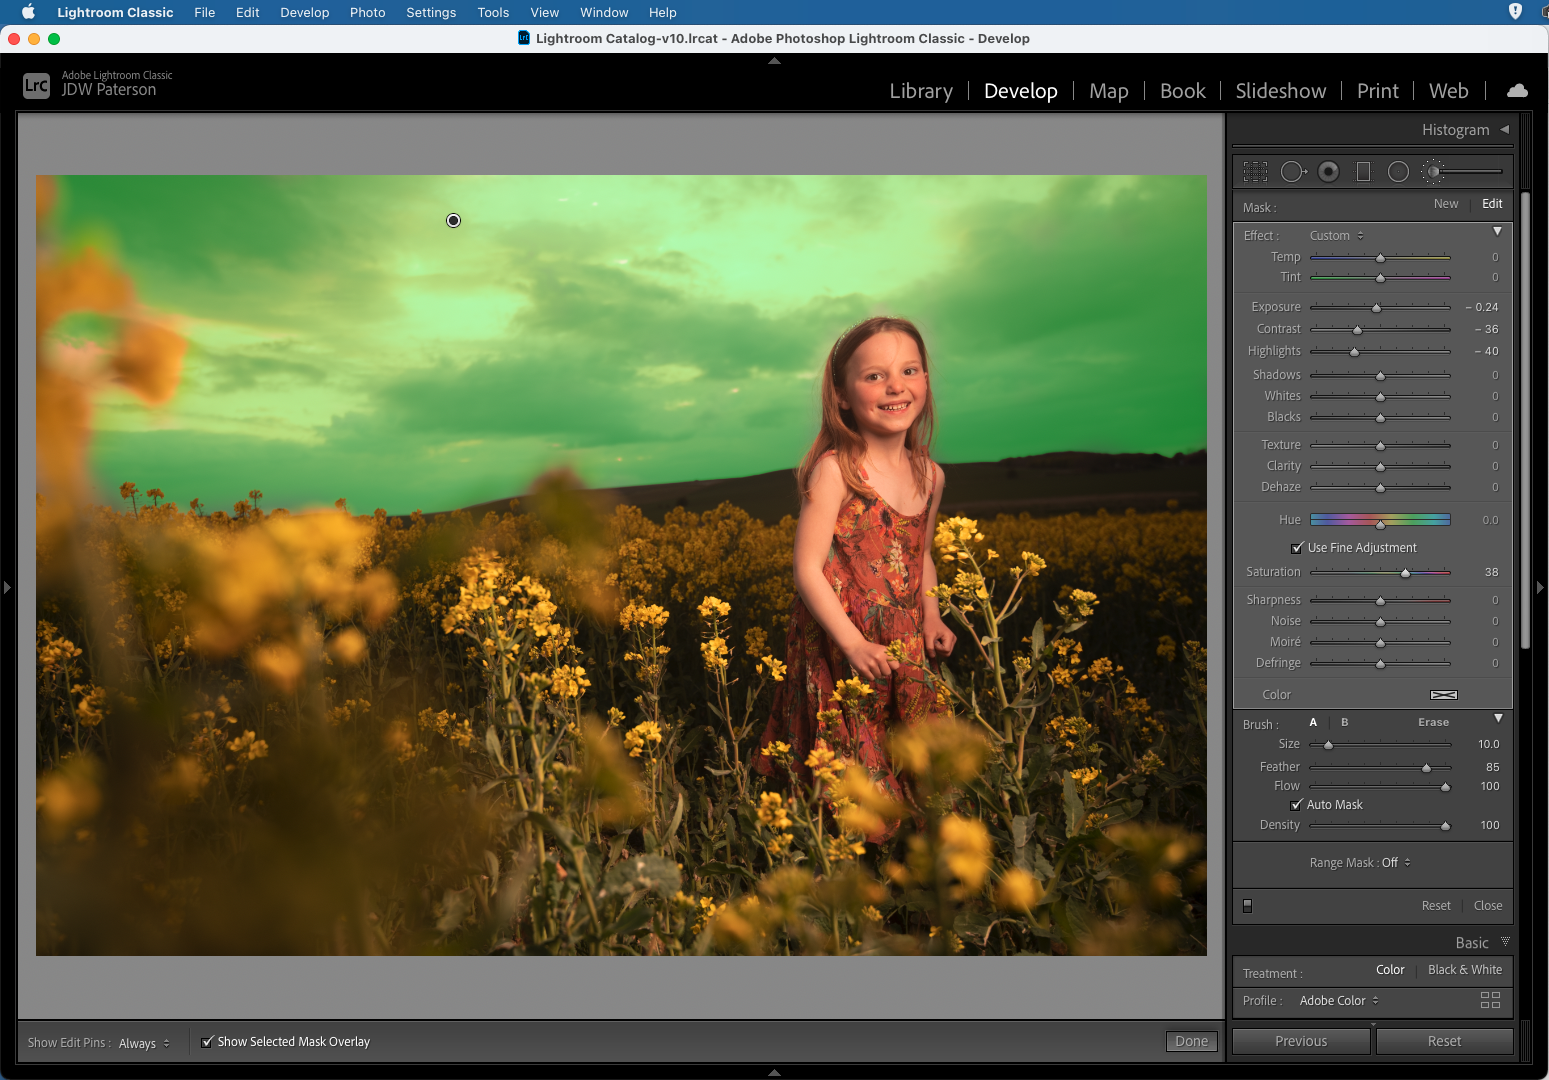
5 Smarter Adjustment brushing
The Adjustment Brush is arguably Lightroom’s best tool. Like almost all brush-based tools in Adobe software you can change the brush size with the ] and ] keys. But interestingly, you can also alter the hardness of the brush by holding Shift while using the bracket keys. To see where you’ve painted press O to toggle on the mask overlay (you can change the colour of the overlay in the brush settings to suit your needs). Press A to turn on Auto-Mask, which makes the brush seek out similar pixels to the point that is first clicked on, thereby making it easier to paint precisely around complex objects.
6 Sorting shortcuts
Sorting through and rating your images can be both a pleasure and a chore, so it helps to know a few workflow tricks to speed up the process. You can use the 1-5 number keys to quickly add a star rating, and if you hit Caps Lock before you start you can enable auto-advance, which automatically moves on to the next image once a rating has been applied. Sometimes it can be hard to choose between several similar frames. If you highlight them all then hit N you can enter Survey mode, which makes it easier to pick the best of the bunch.

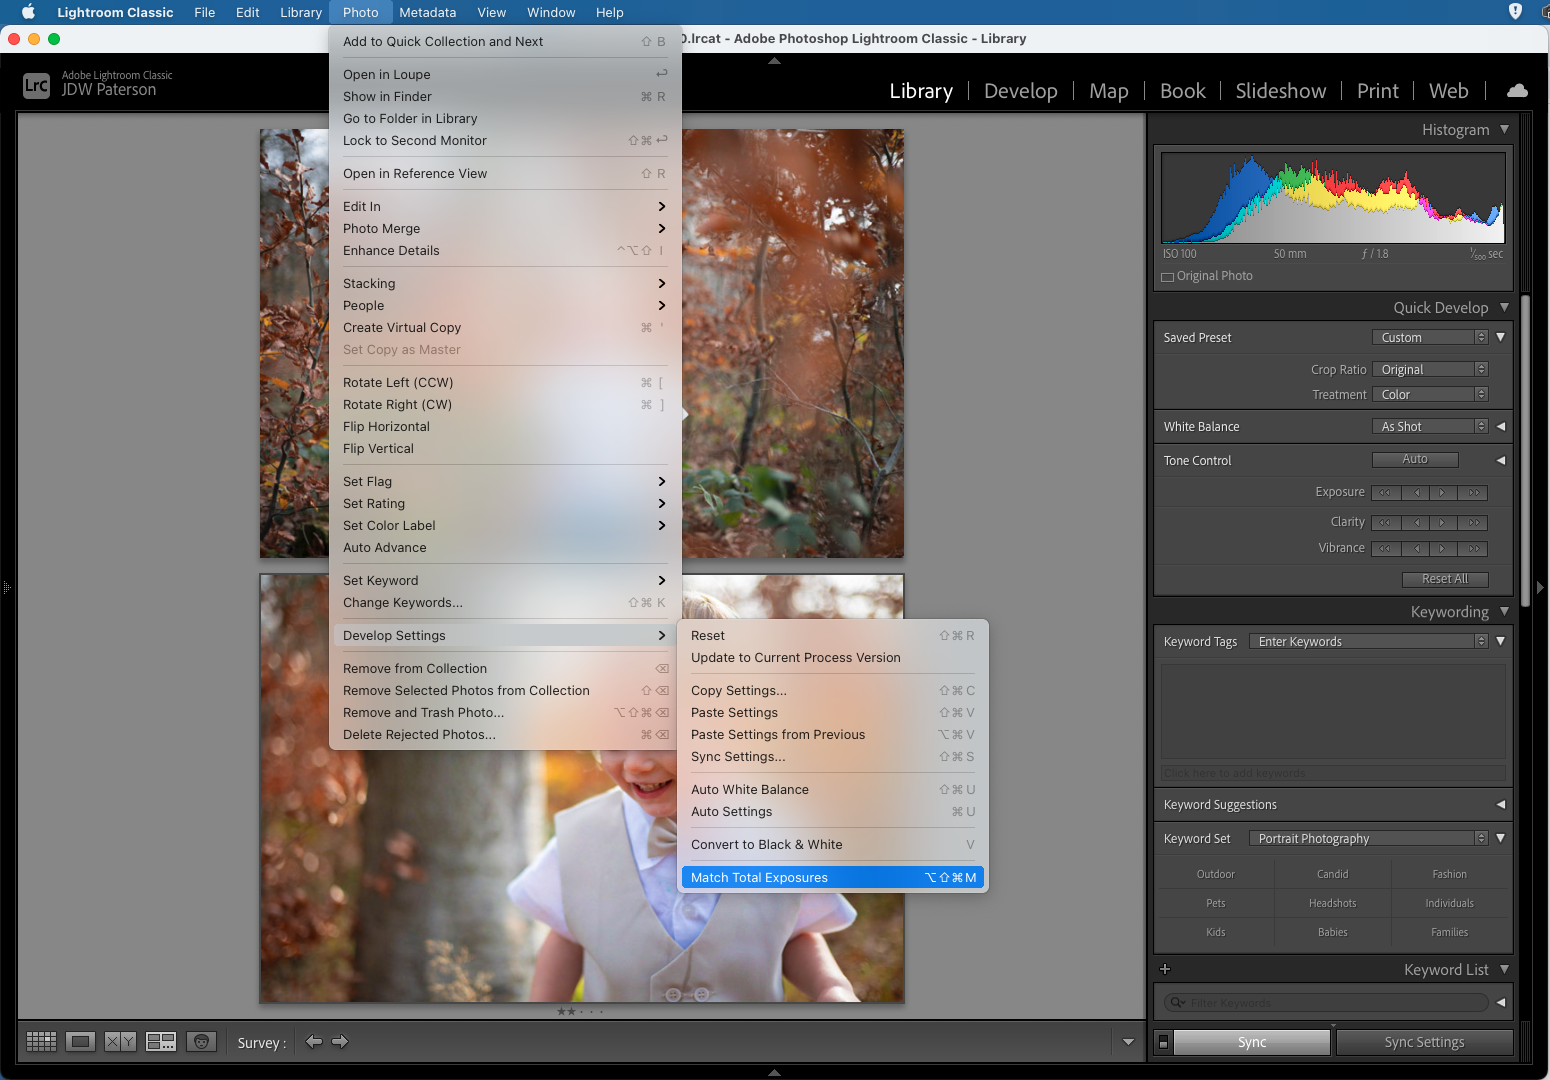
7 Match exposures in seconds
If you have a series of photos taken at an event or wedding then you might want to balance the exposures in all of them so that they match up with one another. A hidden Lightroom tool lets you do just this. First edit a single image then highlight the rest (making sure your edited image is still the active or ‘most selected’ frame) and go to Photo > Develop Settings > Match Total Exposures. This will edit the rest of the batch to intelligently match the exposure of the active image.
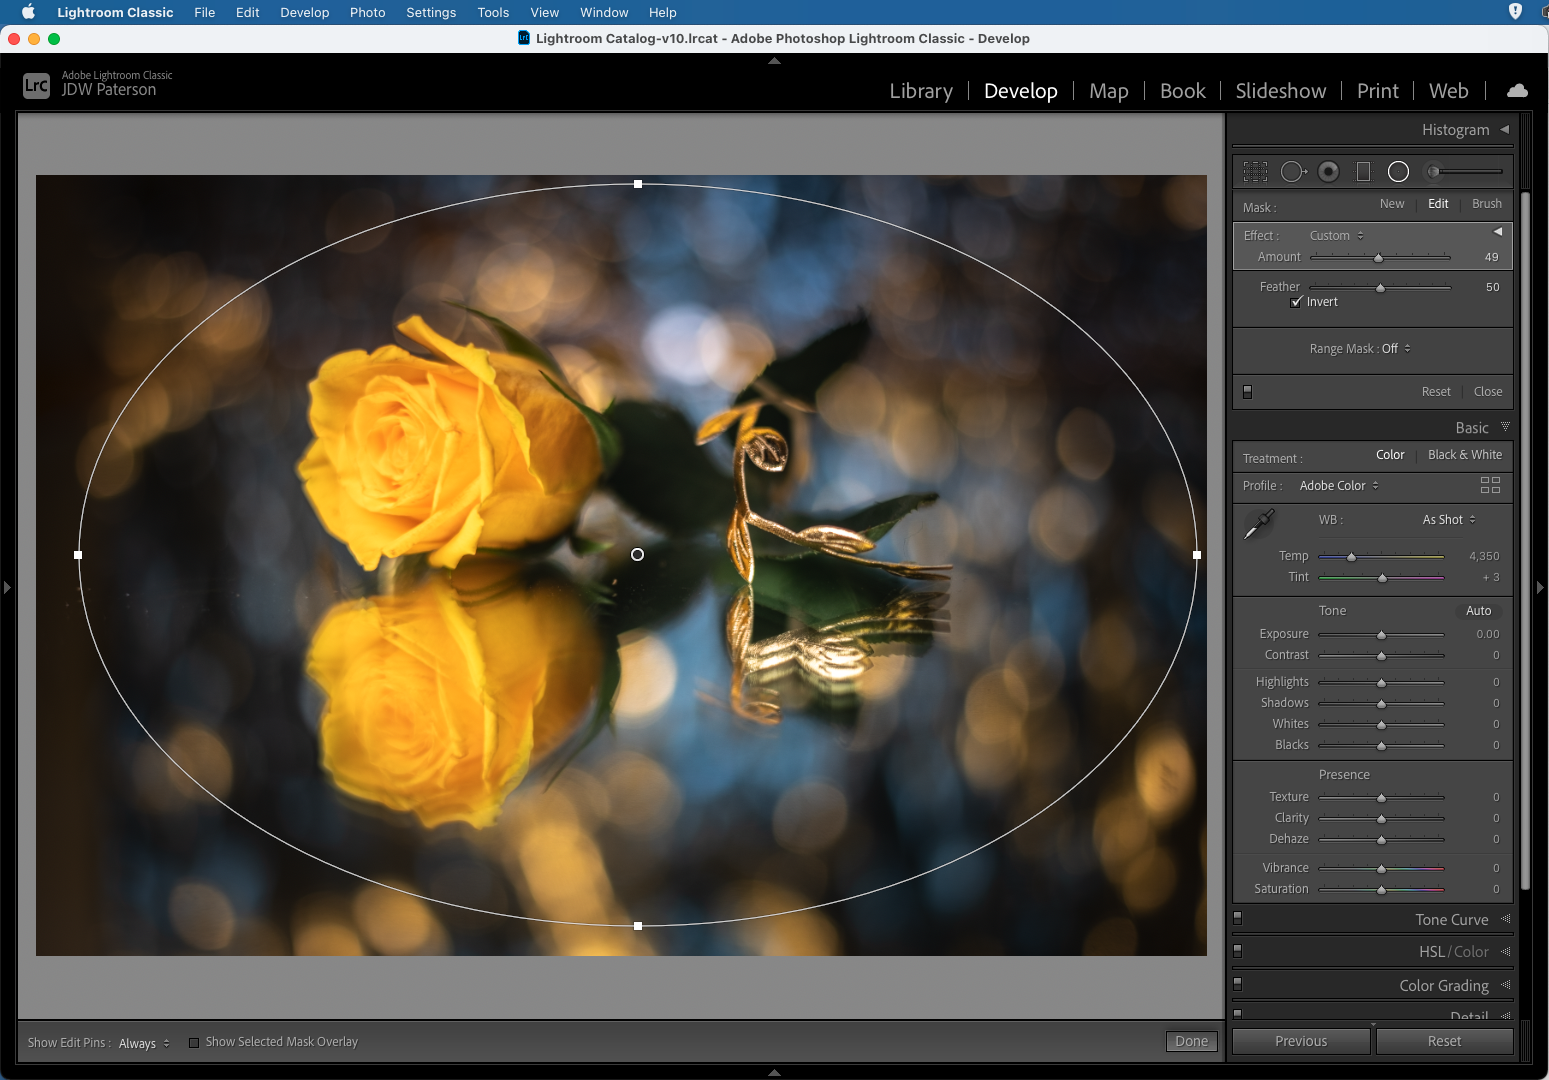
8 Adjust your adjustments
When making local adjustments with the Graduated Filter, Adjustment Brush or Radial Filter you’ll often want to make a combination of edits that involve a variety of tonal sliders. For example, to boost a sky you may want to drag a graduated filter down from the top of the screen then decrease Exposure and Highlights while also increasing Clarity and Saturation. But what if you want to make the overall effect stronger or weaker? Rather than going back to alter every individual slider, simply click the little arrow at the top of the tool’s tonal sliders to collapse them. This gives you a single Amount slider that can be used to control the intensity of the overall effect.
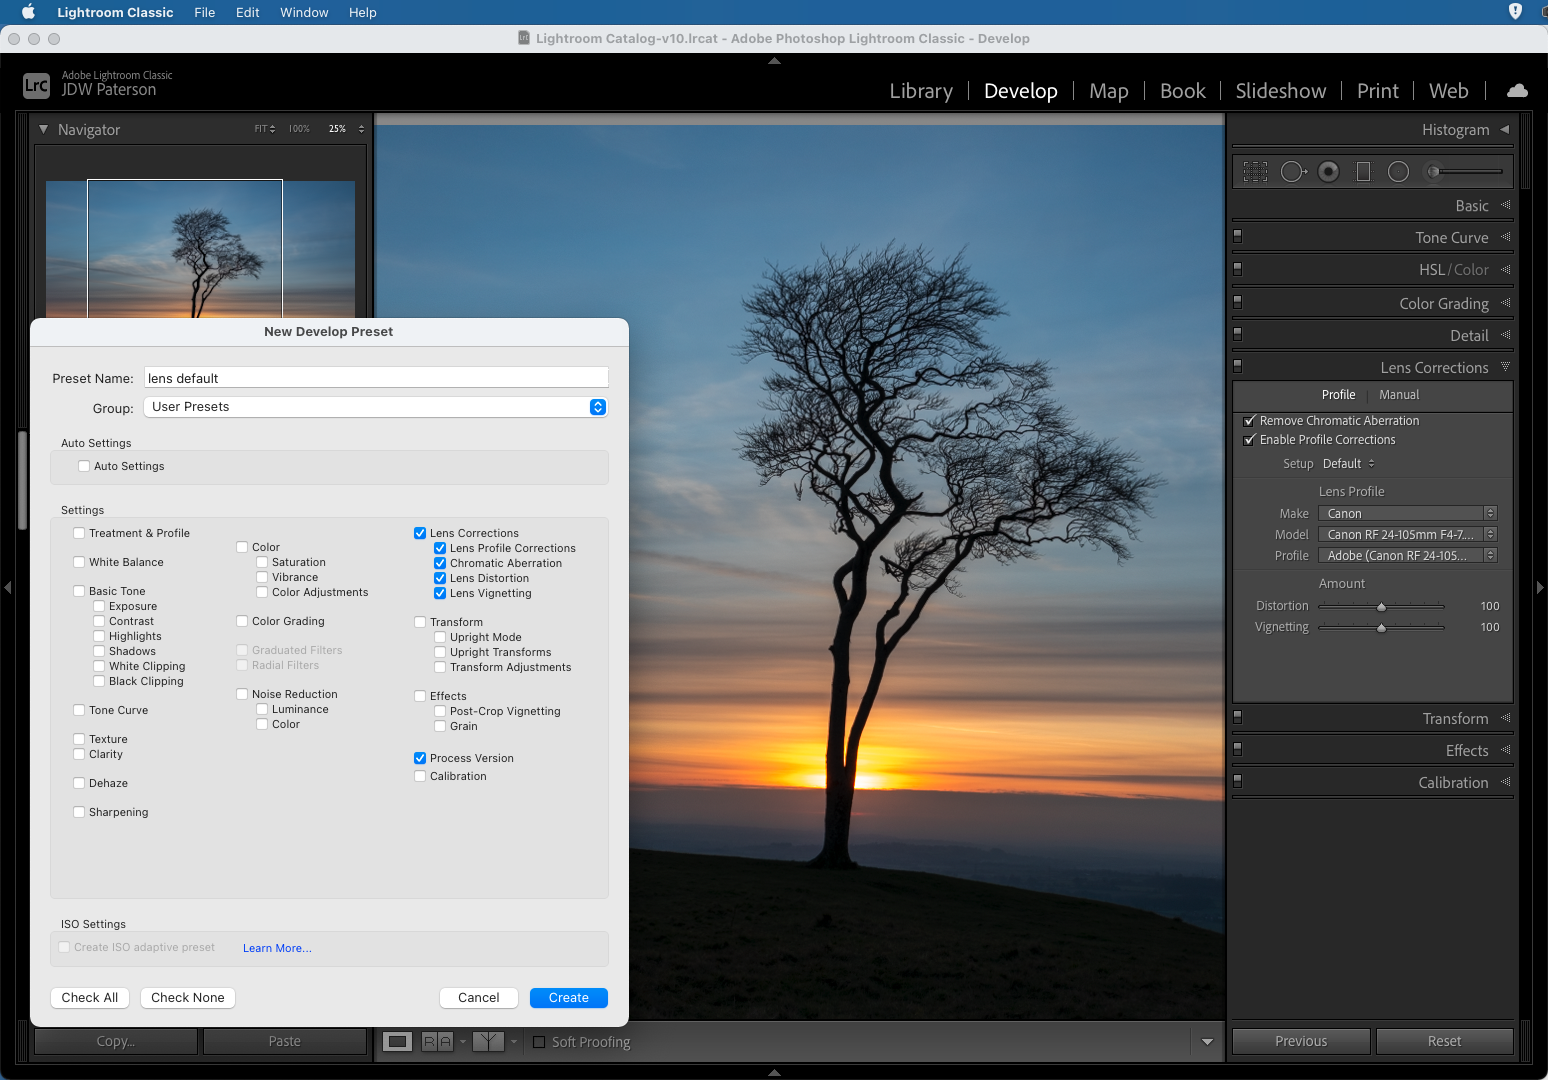
9 Set editing defaults
There might be some settings - like ‘remove chromatic aberration’ or even ‘auto tone’ - that you’d like to apply to every image. There are a couple of ways to set this up. The first can be found in the Import dialog, which gives you the option to apply a preset on import (of course, you’d need to create a preset for your default settings beforehand). The second option is go to the Lightroom Preferences, click on the Presets tab and set up a new default. This gives you the option to set defaults for different cameras.
Video tutorial
If you prefer to edit your photos on your phone, you can use the mobile version of Lightroom. Here's our tutorial on how to edit your photos on your phone.
All screenshots from James Paterson

James has been a professional photographer and award-winning journalist for the past 15 years. He is editor of Practical Photoshop magazine and contributes to leading photography publications worldwide.
View all articles

