


Learn how to promote your photos (and Picfair Store) with Instagram Stories, and see how simple and effective Stories are as a tool to market your work...

Instagram is an ever-evolving landscape, and it can be hard for photographers to keep up with it. What’s going to get your images seen more? Posting to your feed or creating an Instagram Story?
Recent research shows that Instagram Stories - a time-limited post on your profile for 24 hours - now takes up a significant proportion of Instagram activity. Instagram Stories are generally designed to be more fun, memorable and engaging than evergreen posts. So, for photographers promoting their images, Instagram Stories should be an essential part of their marketing strategy...
How to put together an Instagram story to promote your photos (and Picfair Store)
1 Choose the images you want to promote on Stories
First, choose the images you want to display in your Instagram Story. For example, it could be a photo series you’re working on, some of your best pictures, or those related to a specific event you want to promote to attendees.
Once you’ve chosen your images(s), make sure they are on your phone (if they aren’t already), that they are the best quality they can be, and that you’re happy with them.
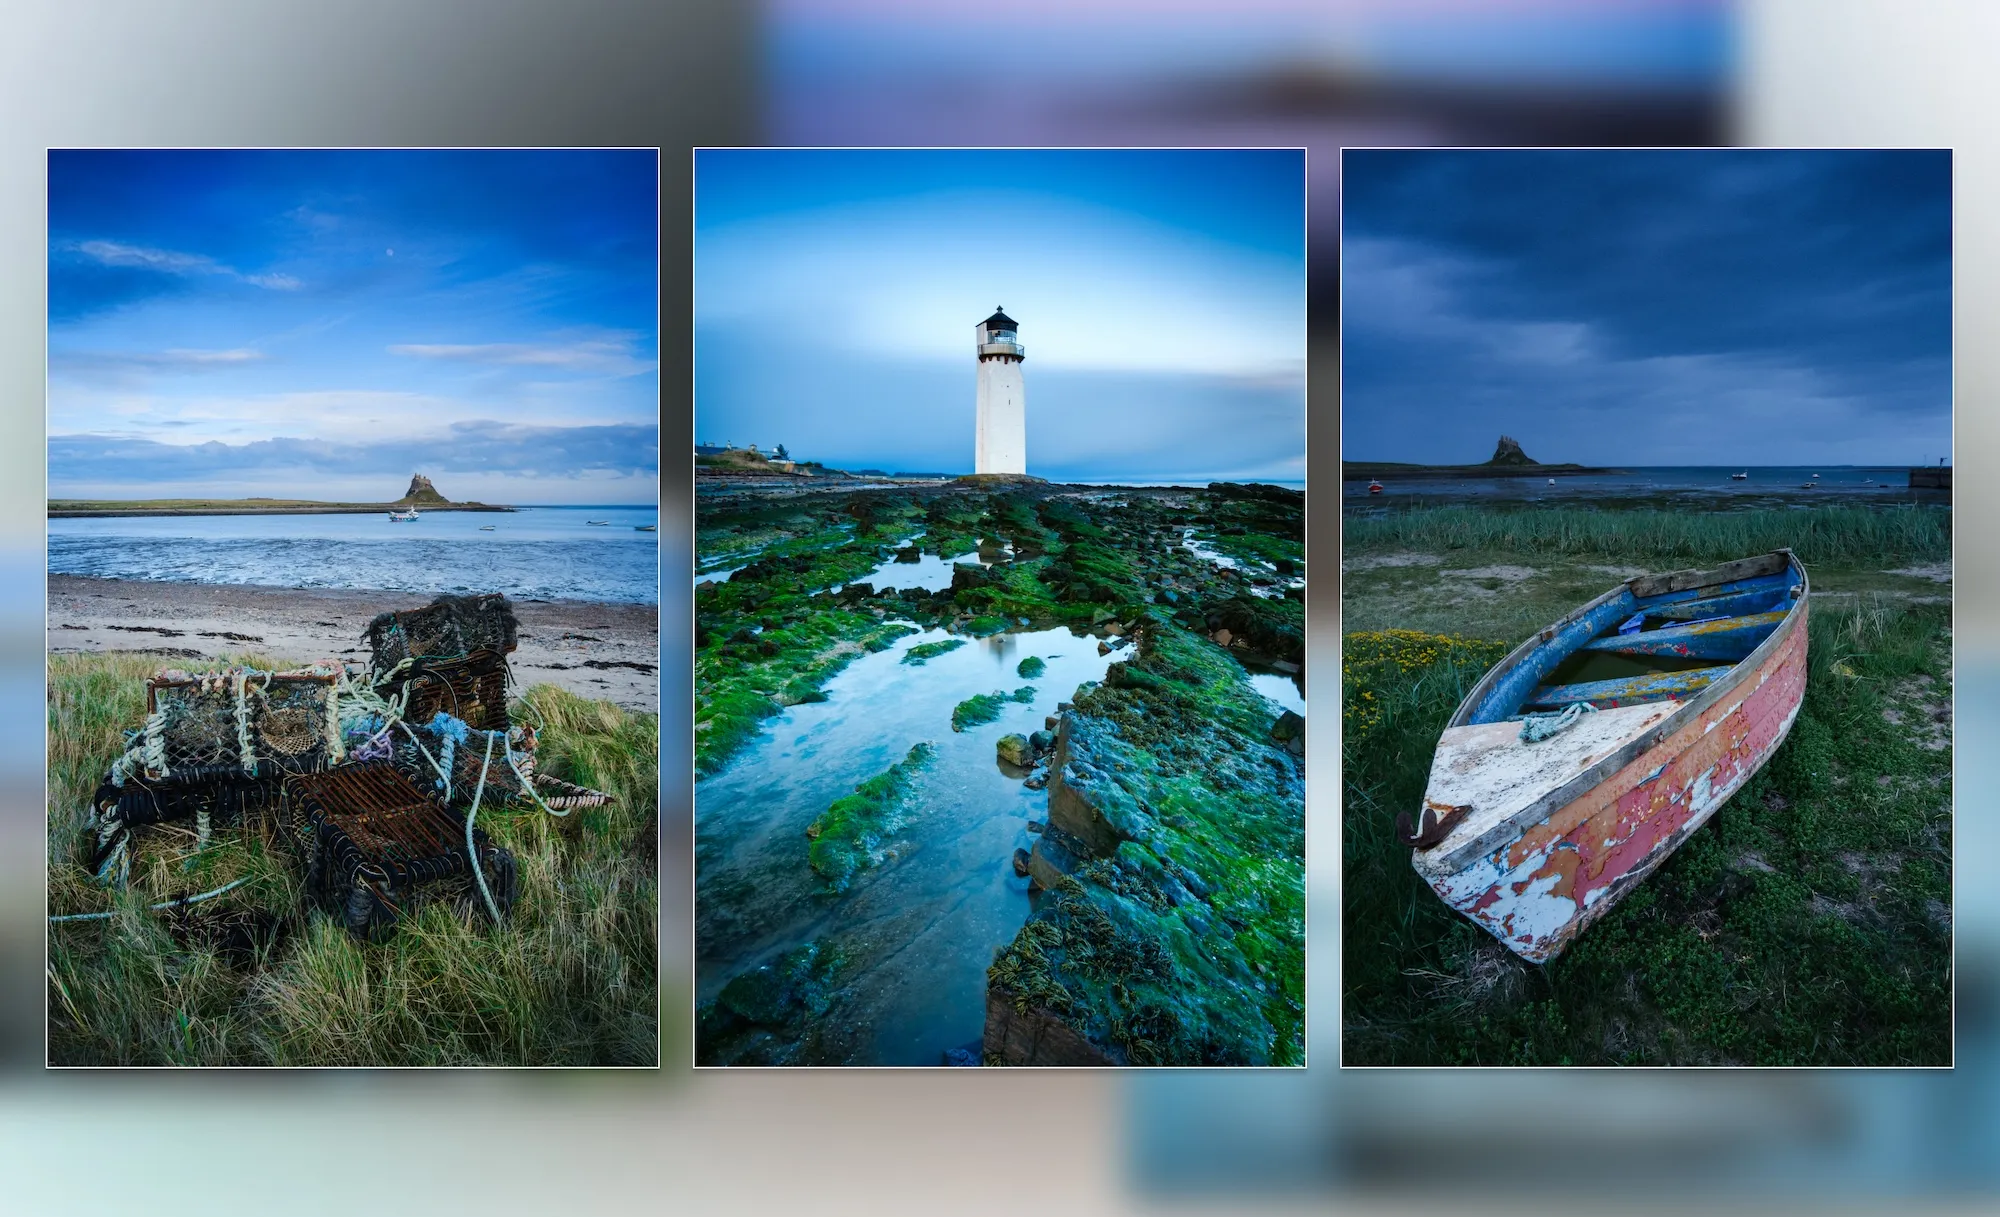
Try not to post random images. If your photography is based around specific trips, subjects or locations, build Stories around these themes. Here's an example of building an Instagram Story around my coastal series,
2 Open Instagram and navigate to Stories
Open the Instagram app on your phone (note that currently, it isn’t possible to create stories on the desktop version of Instagram). Then, tap your profile picture at the top-left corner of the screen or swipe right from your Instagram feed to access Stories.
3 Select your image(s)
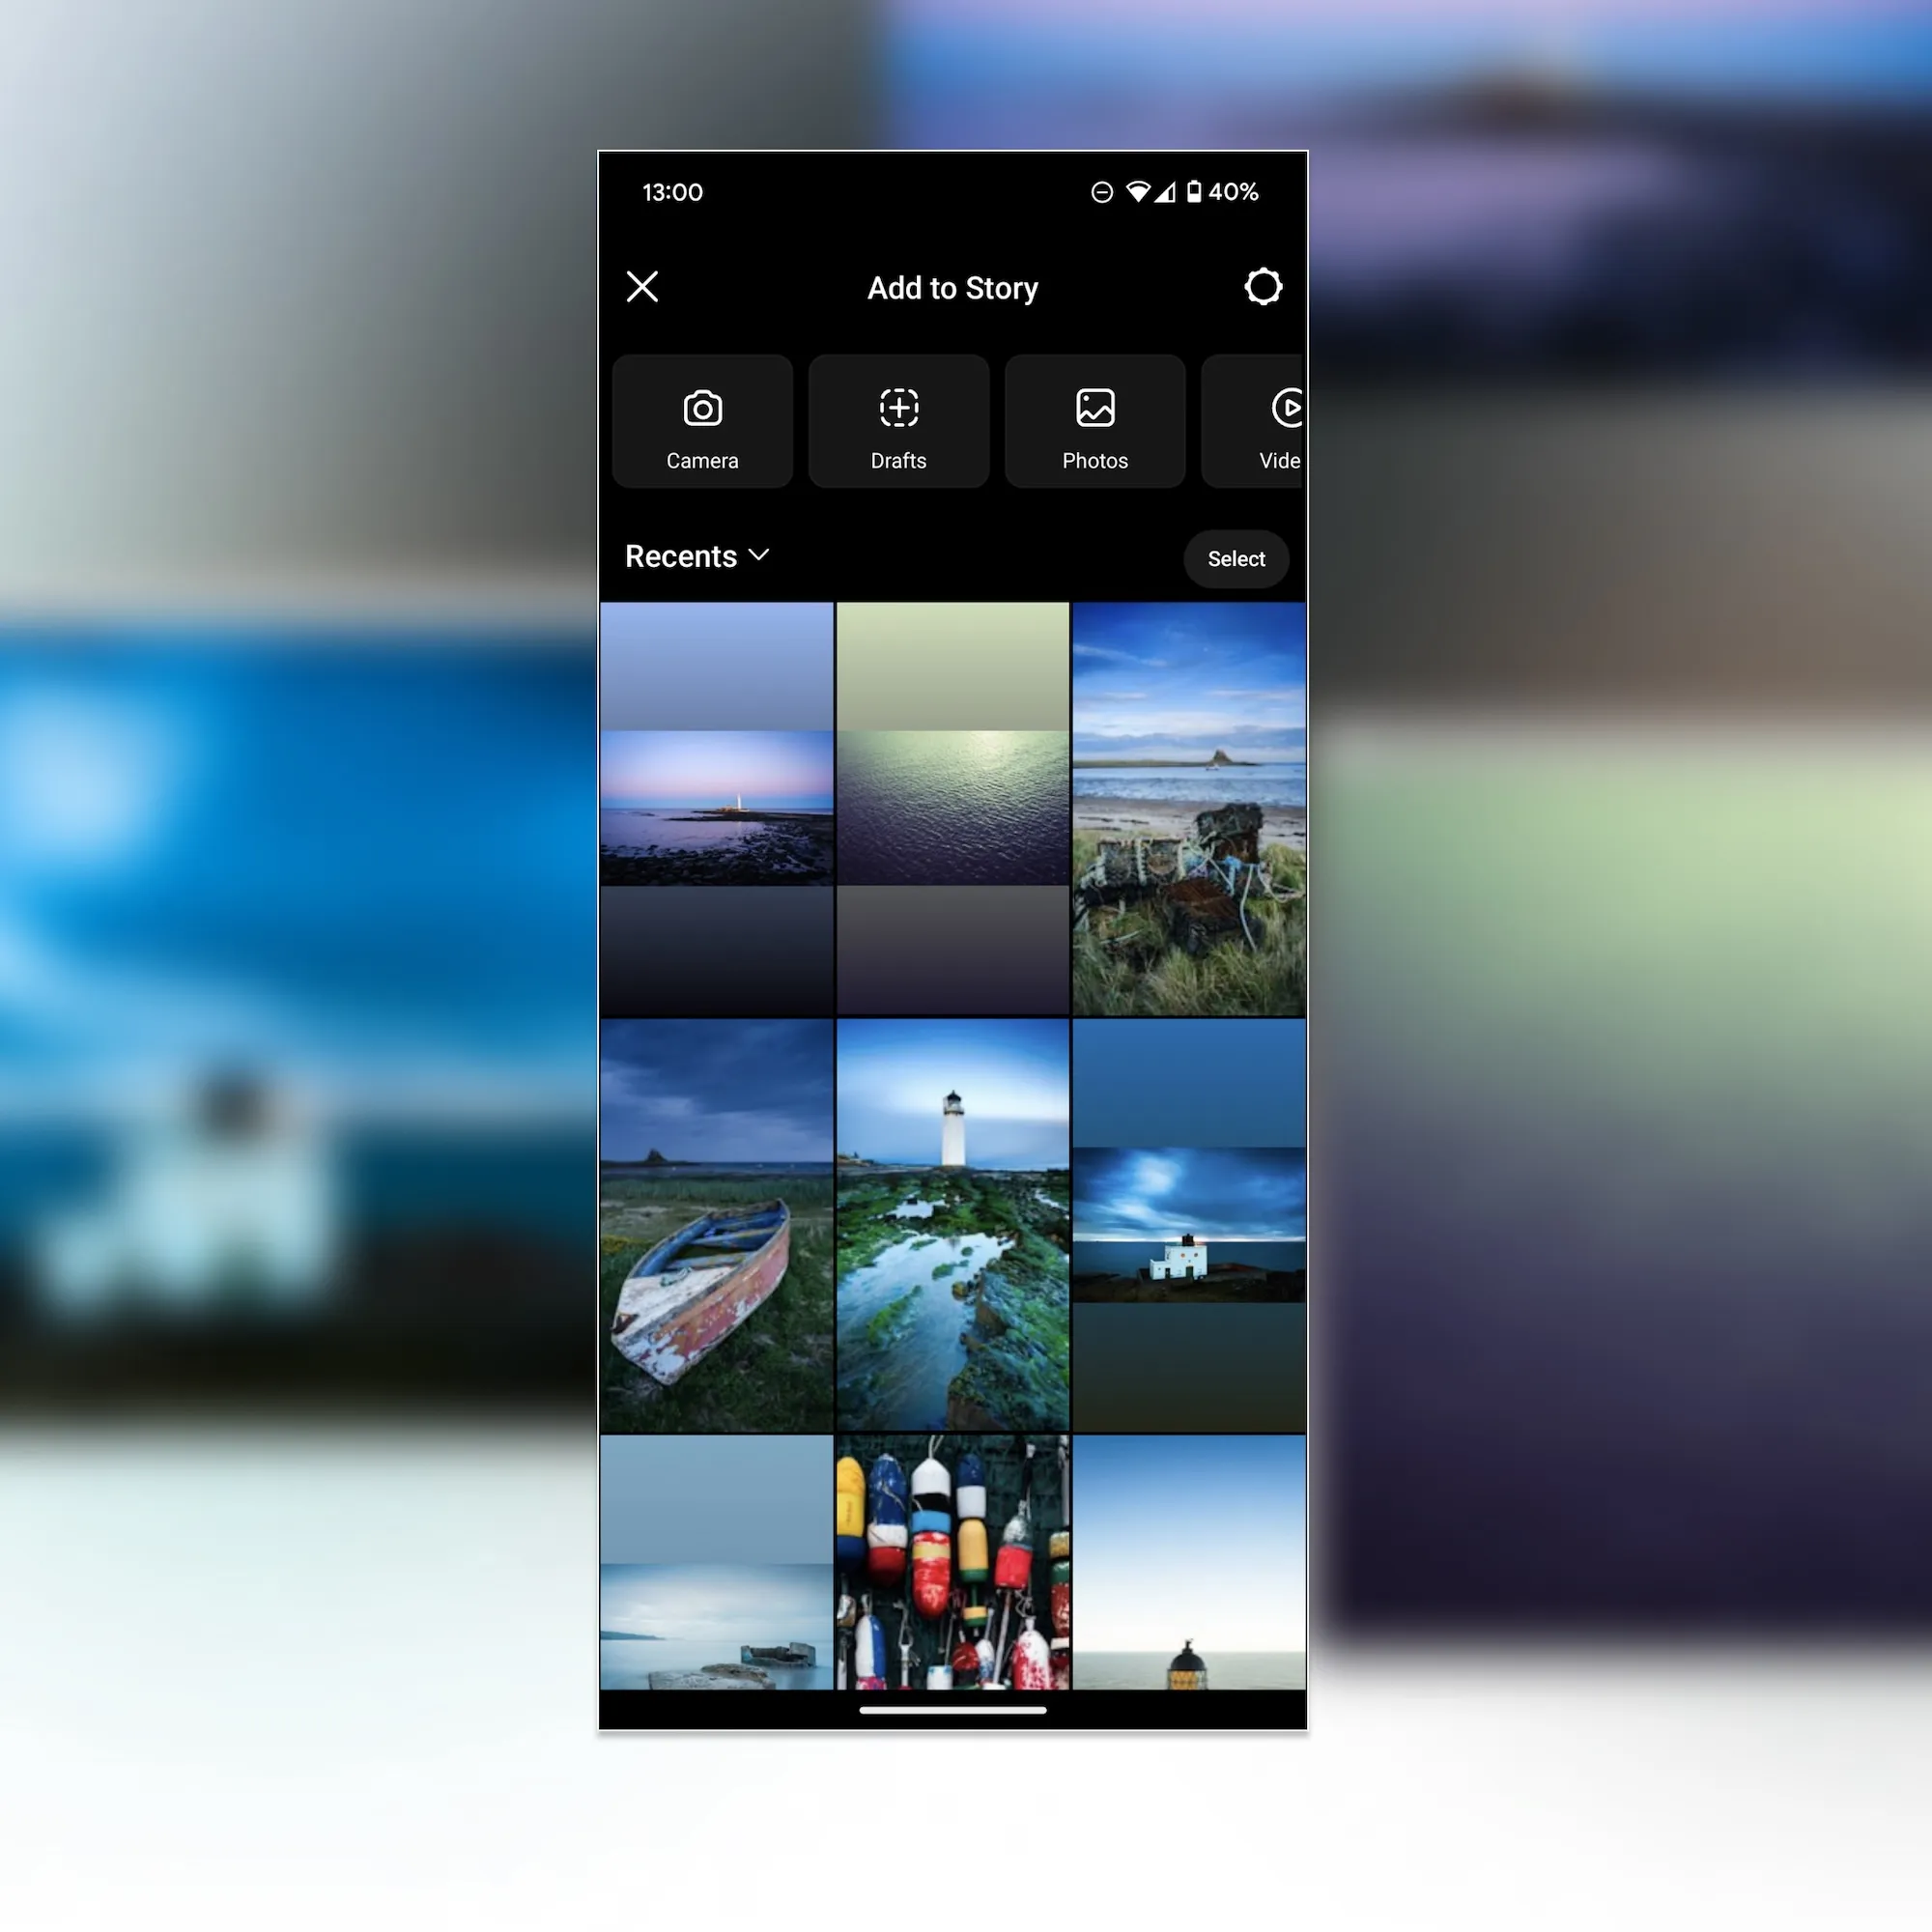
Once in the Stories app, you'll access your camera roll and any other photos you have saved on your device. You can choose one image for each Story, or select multiple photos and choose a layout to display all one one screen (see below).
.webp)
.webp)
4 Add text, links (including to your Picfair Store), and CTAs
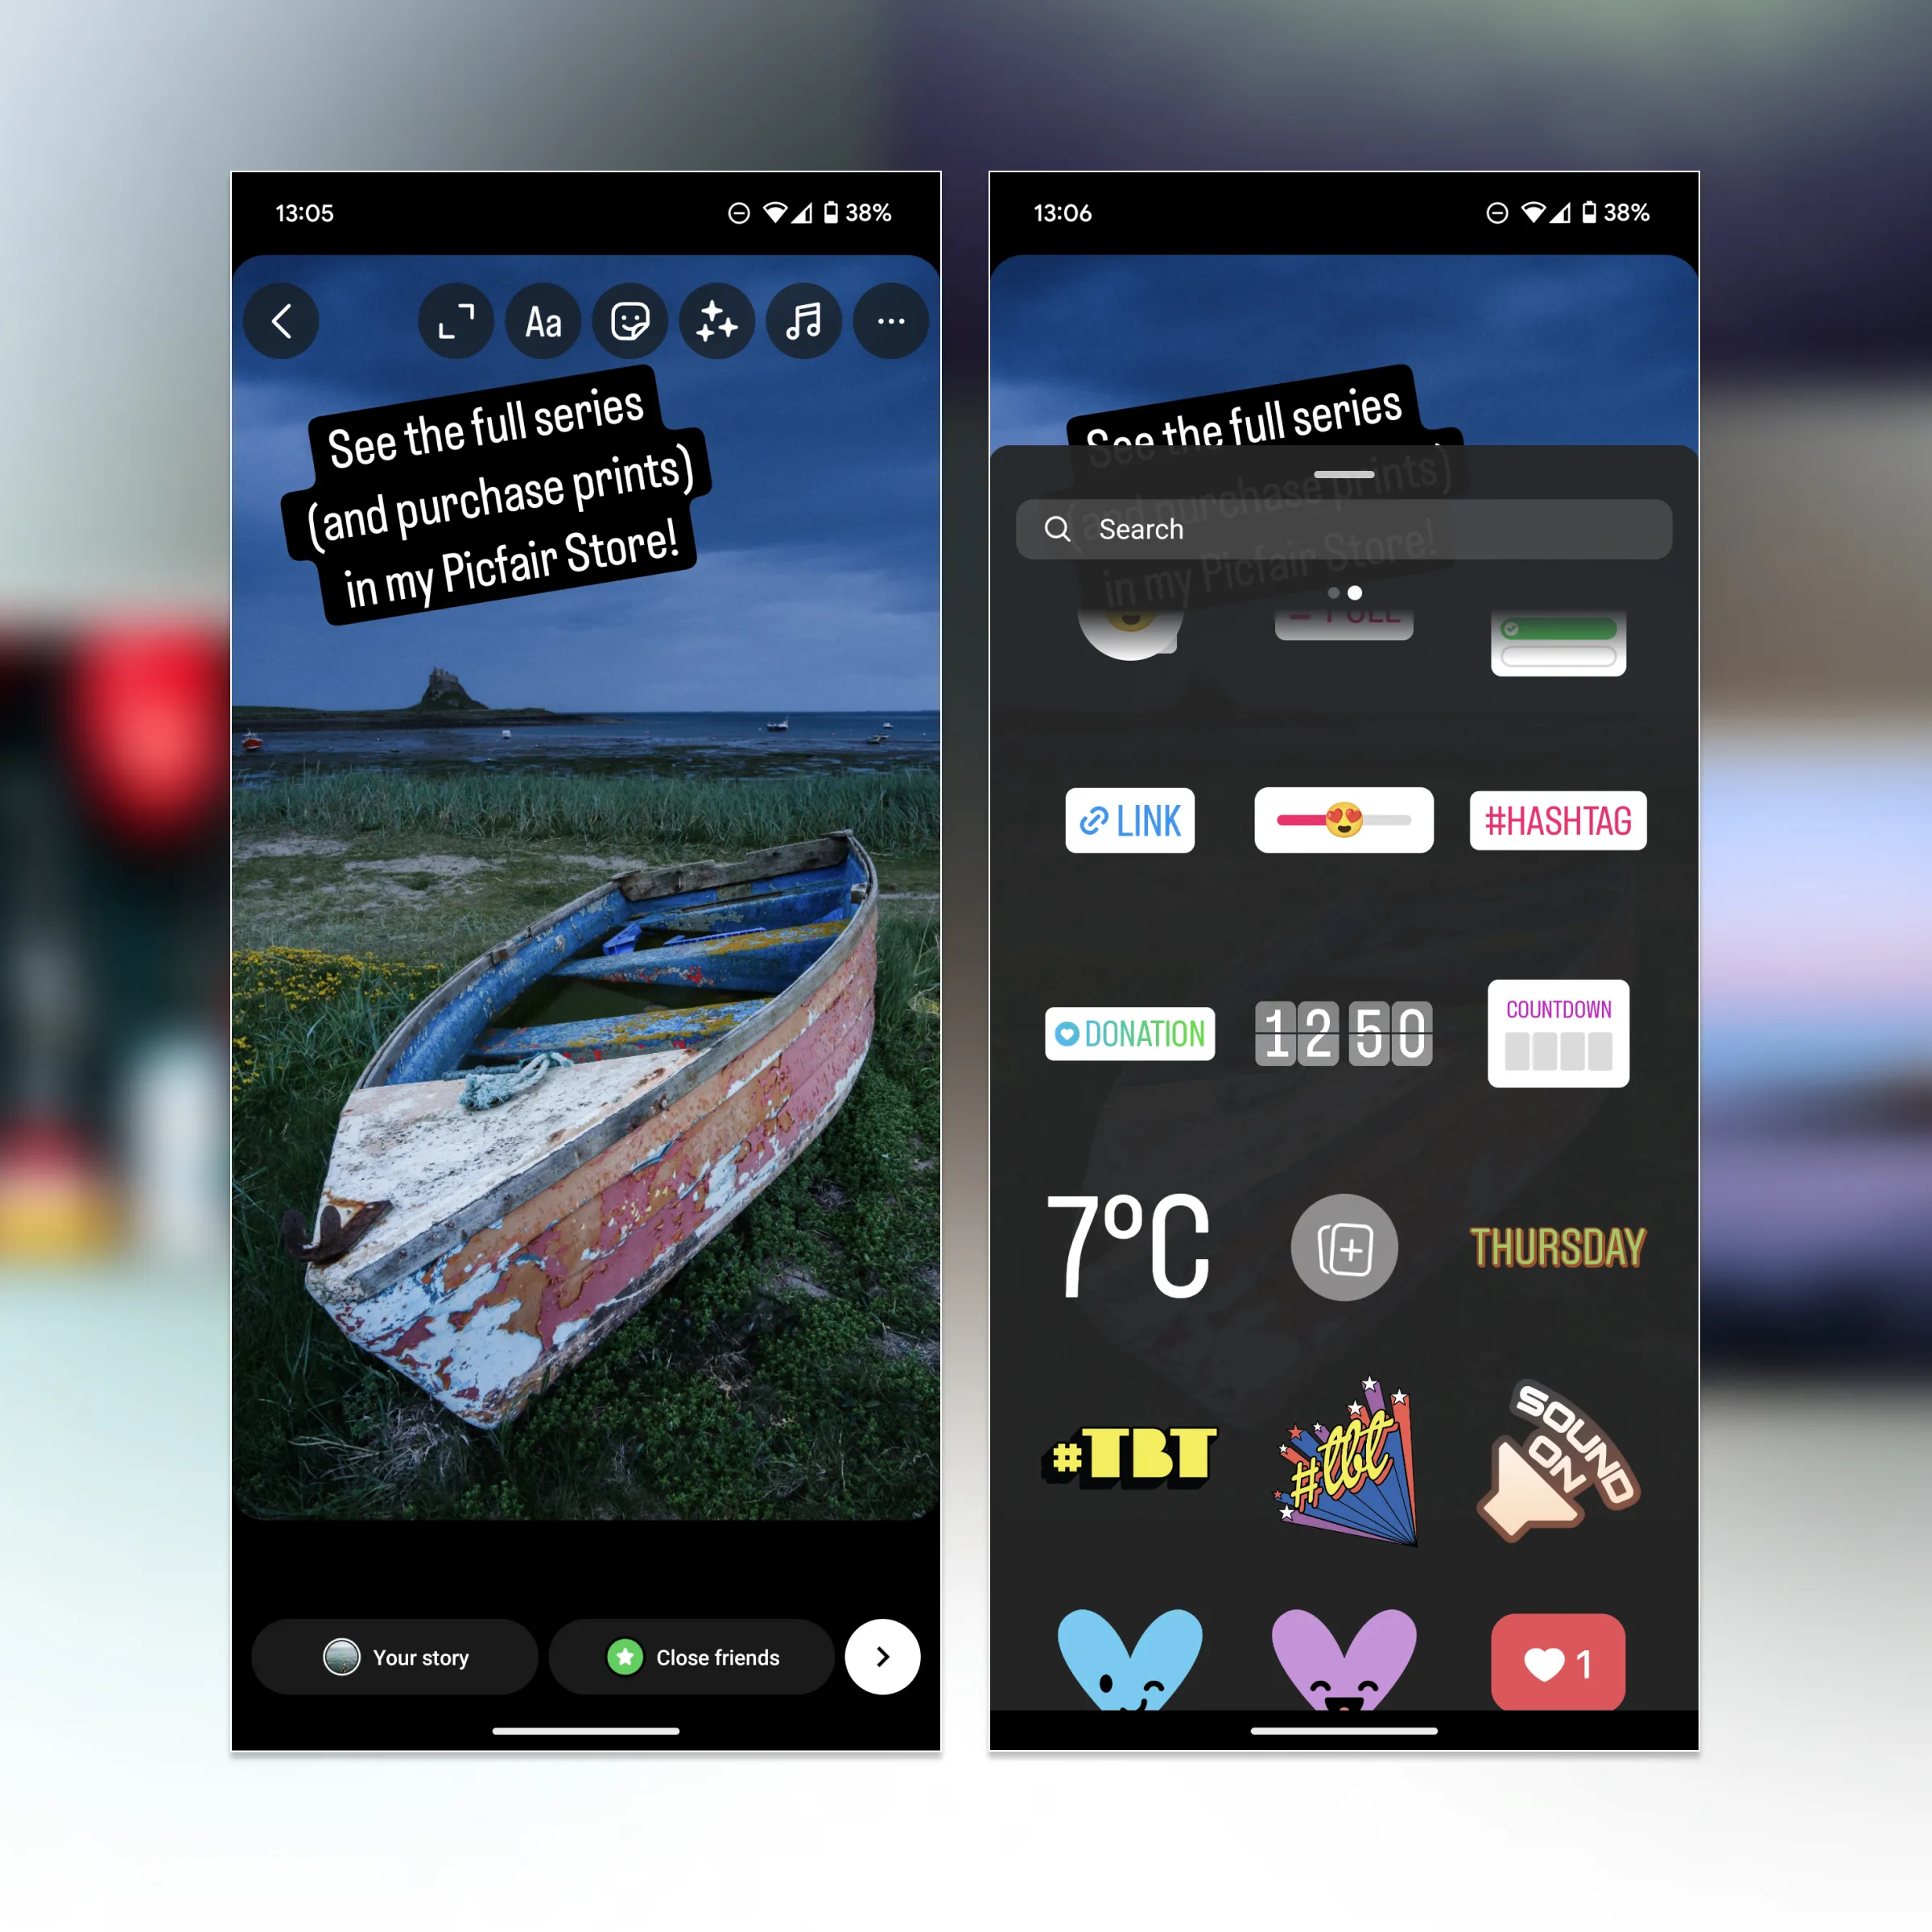
Once you've selected your images for your Instagram Story, you can then add text, a link to your Picfair Store, and any other visual or sound elements you wish to include (there's literally loads to experiment with). Here you use these elements to direct visitors to where you want them to go once they've viewed your story, also known as a call-to-action, and this is where you can prompt viewers to visit your Picfair Store, or anywhere else you to direct viewers, like a blog or website.
When promoting your photos, the most apparent CTA would be to direct viewers to where they can buy your images, which, in the case of Picfair Stores, would be to link to your Picfair Store homepage or the individual image pages in your Store.
See the example here showing with text and a link to a Picfair Store added to story. To add text, select the 'Aa' button at the top of the screen, and to add links (and other elements) select the sticker icon next to it!

5 Post your Story
Once you're happy with how your Story looks, tap the 'Your Story' > 'Share' at the bottom of the screen to publish it. You can choose to share it with your entire audience, or your close friends (who you can select), but if you're promoting your photography we always recommend sharing with everyone for maximum visibility!
.webp)
And there you have it, an Instagram Story showcasing and promoting your photography! Once your story is published, you can continue to tap into it to check on many views it's getting.
But don’t just leave it at that; promoting your work via Instagram Stories should be about experimenting and testing different styles of story to see what engages your audience the most.
Also, remember to check the view counts on your Picfair Store on your Dashboard and views for your images in your Image Library. If you make any sales from your marketing efforts with Stories, congratulations!
Four top tips for creating the best IG Stories to promote your photos
1 Add unique identifiers for potential buyers such as location information
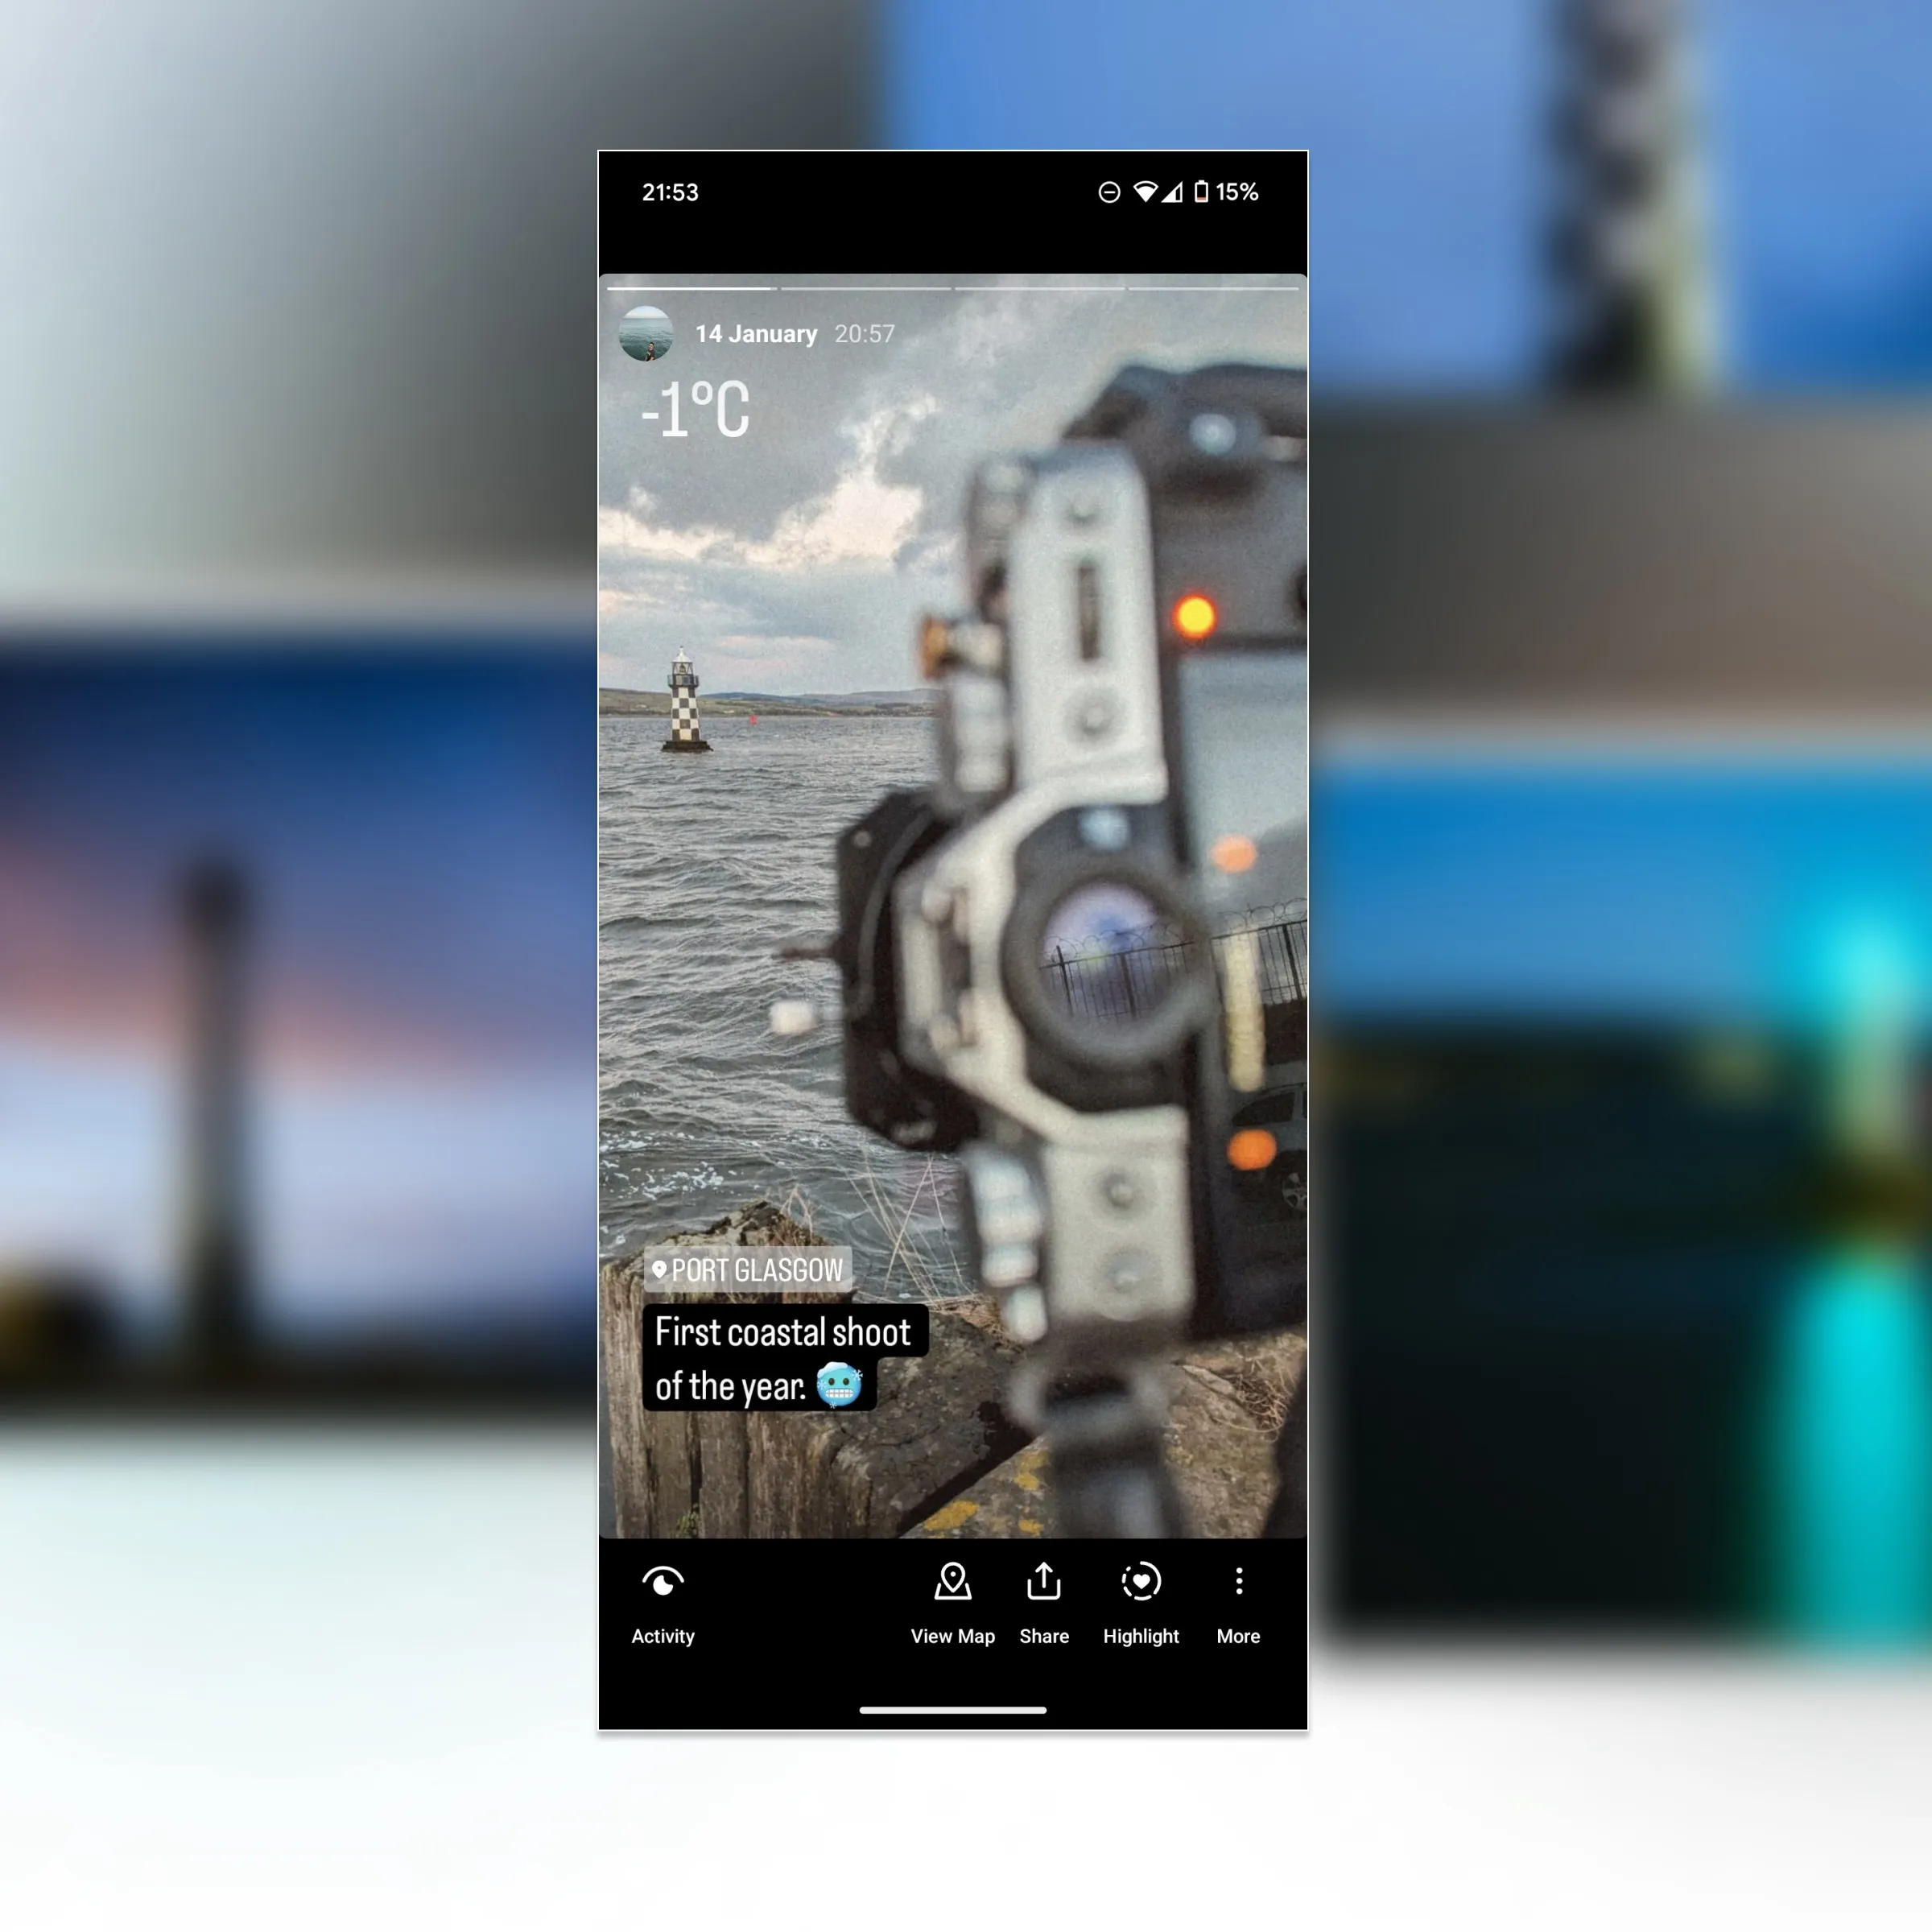
Adding information such as location information to your images is an ideal way to increase engagement and capture the audience of viewers interested in those locations. By clicking the Sticker Icon when adding a story, you'll bring up the menu where you can add in a location (it's the first option which highlights its usefulness too). You'll also see options to add other elements such as hashtags, and you can even add polls, questions,
.webp)
2 Save your story highlight to your Instagram profile
While Instagram Stories only live on a feed for 24 hours, you can save your Story as a ‘Highlight’ on your profile - an ideal way to keep and share your promotional posts on your profile.
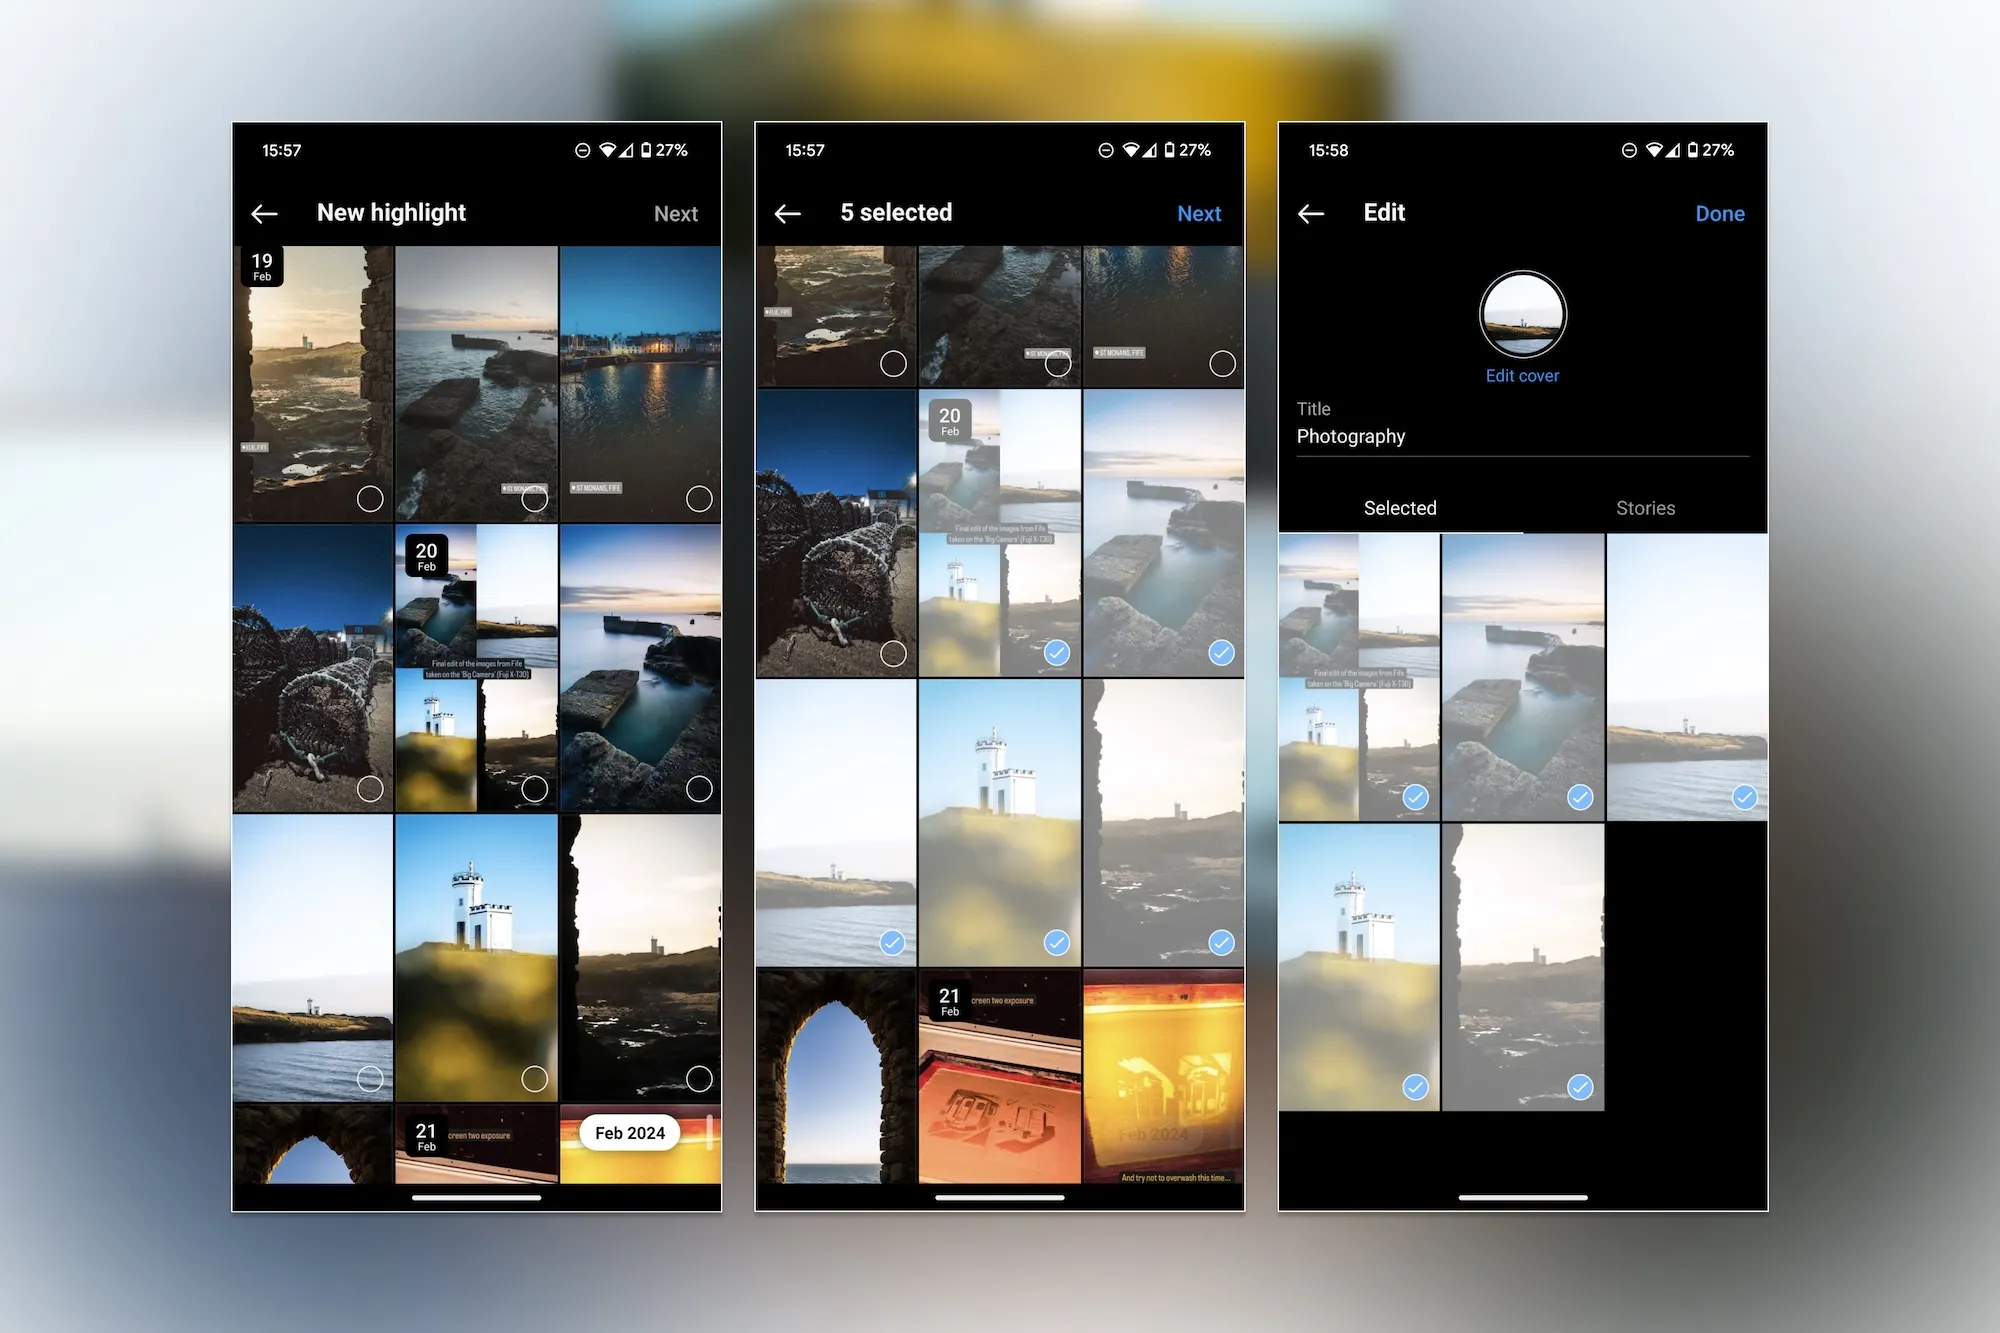
To create a Story Highlight, navigate to your Instagram profile and tap the ‘New’ circle with a plus sign beneath your bio. On this page, select the Stories you want to include in your Highlight, then tap ‘Next’. The 'New Highlight' menu will then appear where you can choose previously published stories to appear in your Highlight.
Choose a cover photo and enter a title for your Highlight; for example, you could name it something as simple as ‘Photography’, or you can be more specific if it’s related to an event or series. Then, select ‘Add to your profile'; your Story Highlight will now appear beneath your bio.
3 Try our different elements in your story
Instagram Stories offer many additional components that you can add to your story, including sound effects, GIFs, emojis, little animations, tags, and filters - and these are what can make Instagram Stories so fun and memorable!
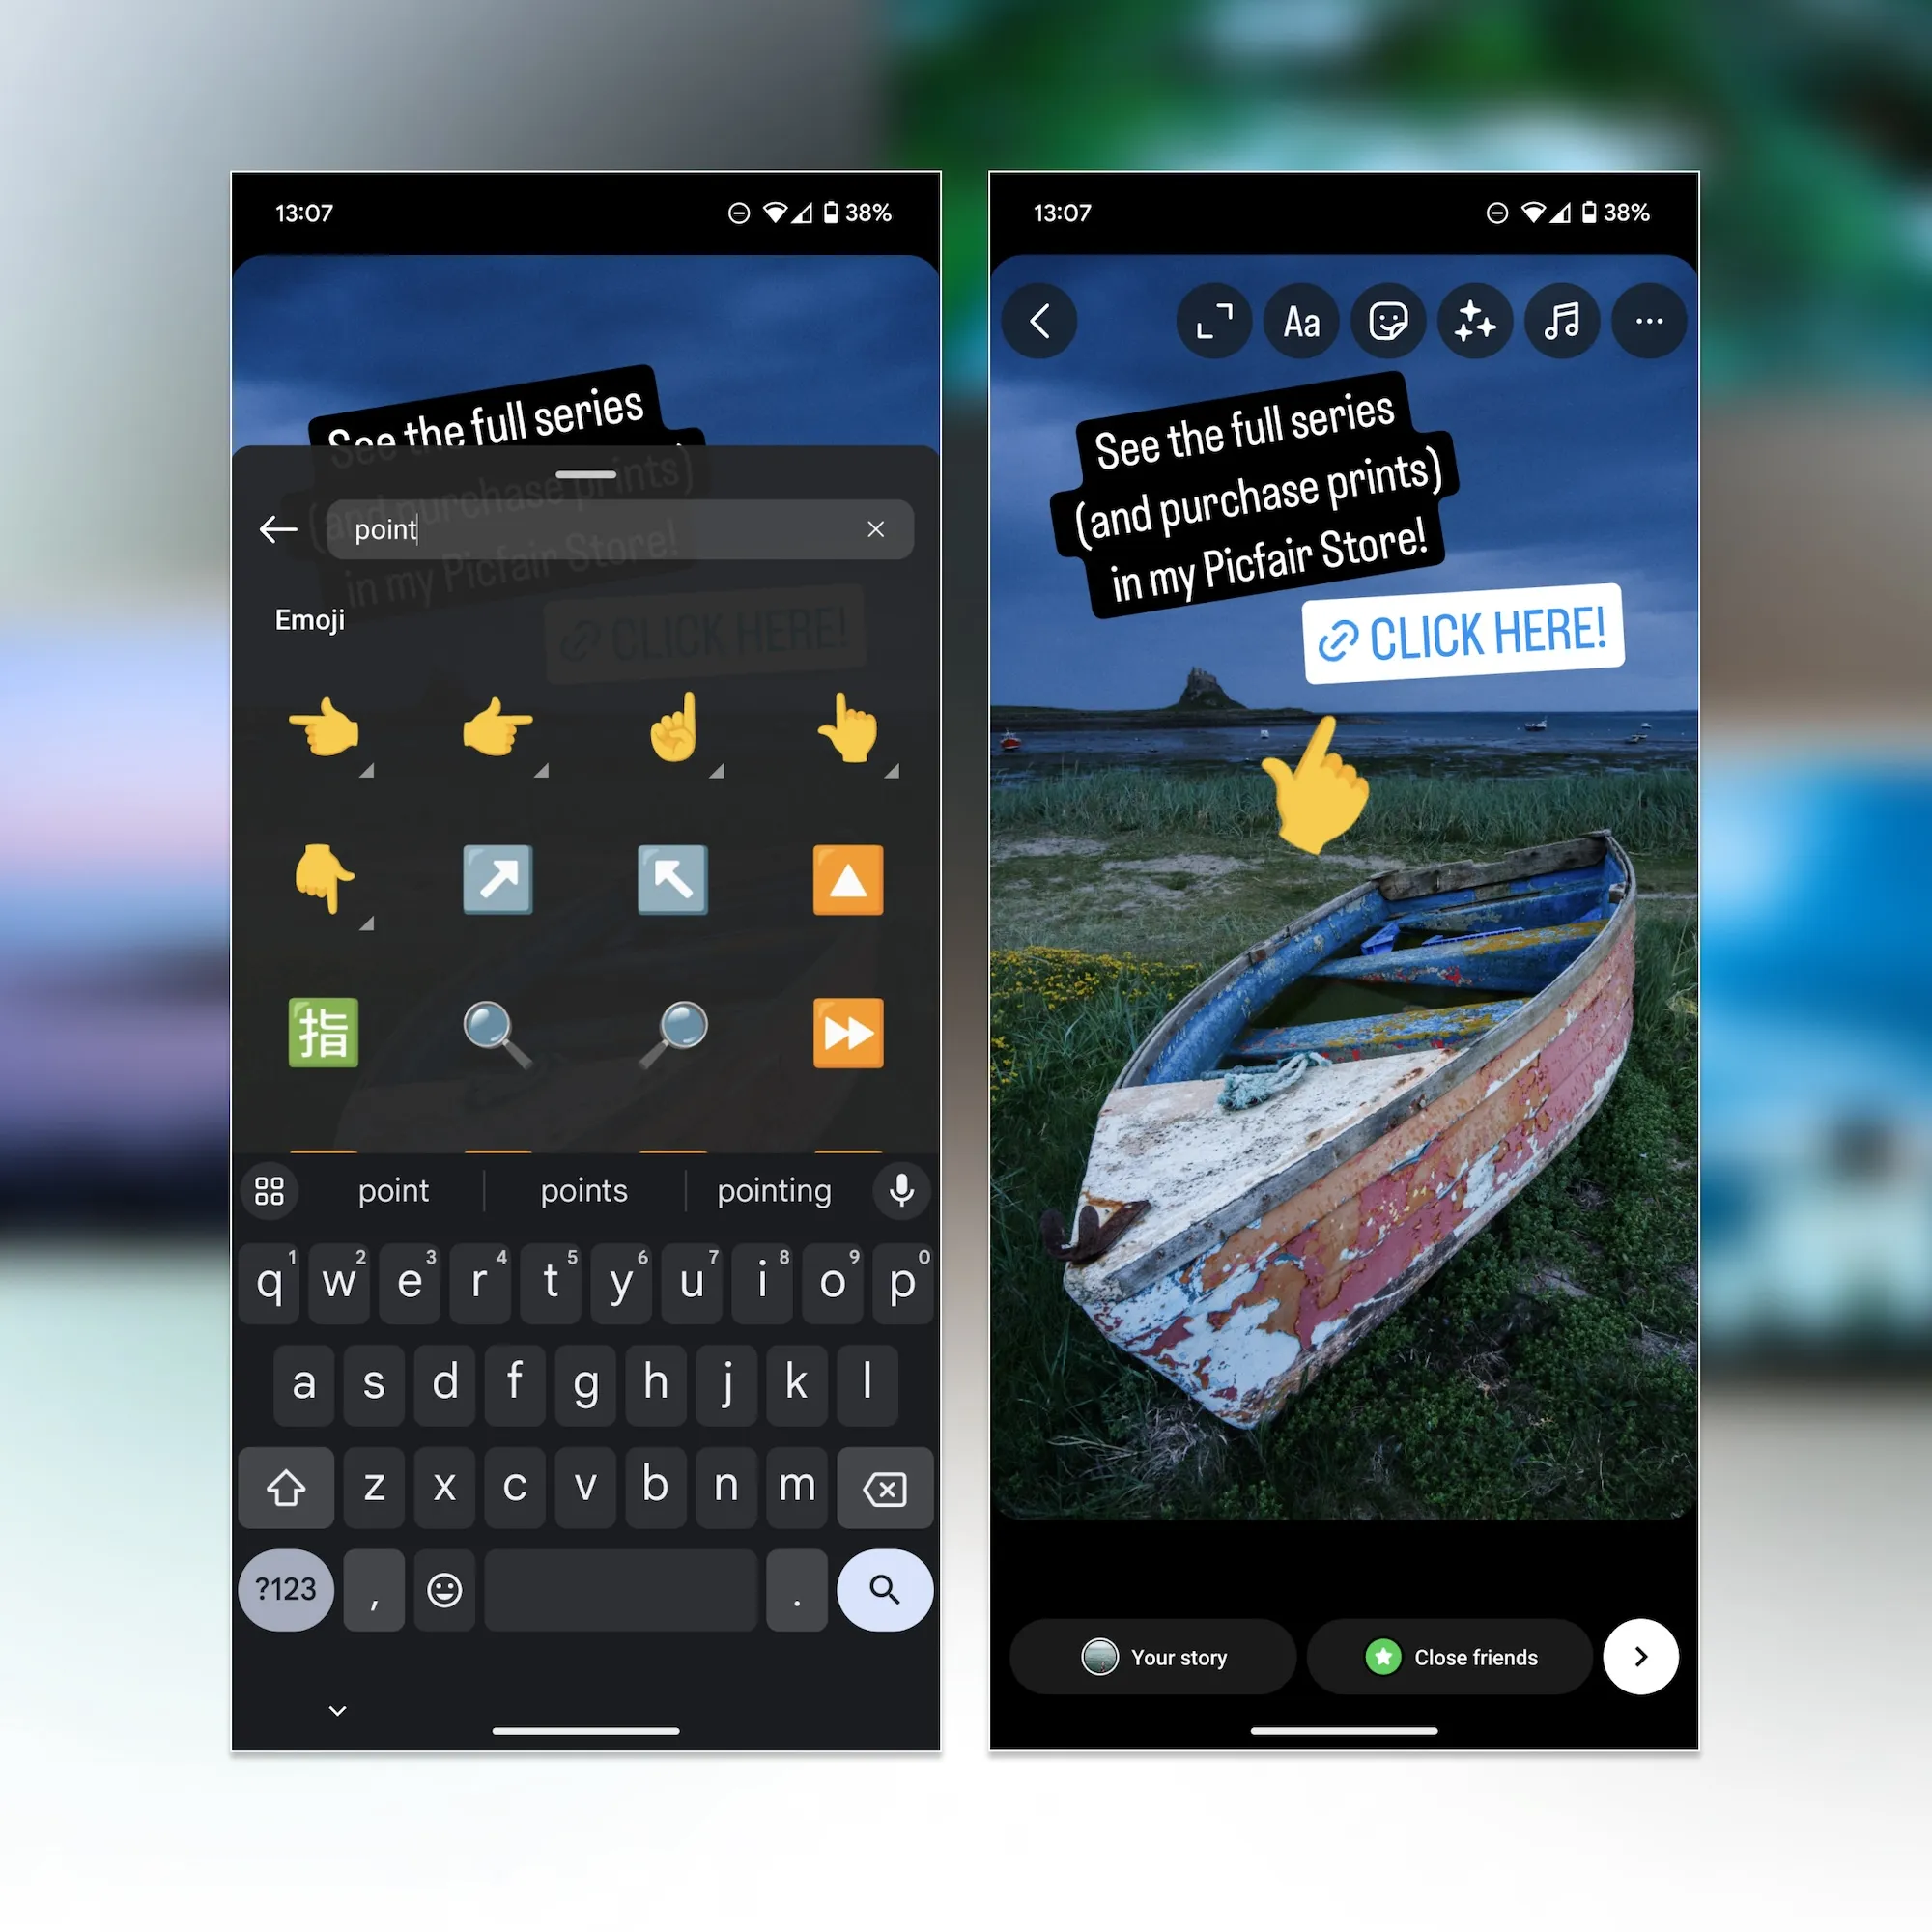
Experiment with lots of different elements and try these out with your stories, there's literally so much you can do - it would be too difficult to list everything. But as an example below, a pointing hand emoji has been added to the story as a way of guiding viewers to click the link - something as little as adding a small element like an emoji can have a significant effect on engagement.
4 Lastly, don’t over-promote, give your audience other content too
This point may seem counterintuitive, considering I’ve just discussed how to create a story to promote your photos. But what I mean by this is that you shouldn’t just do stories to promote your images. Give your viewers other exciting content relating to your photography, too. This way, you’ll give viewers further insight into your photographic practice, and they won’t feel fatigued from seeing constant promotional content.
You could, for example, show viewers your editing process, behind the scenes of a shoot, or even some images of your work out in the field (for example, if you’ve had a pic published somewhere, then absolutely share it!).
Final thoughts
Hopefully, by reading the above instructions and tips, you should have all the knowledge you need to create an Instagram Story (and know that it’s not as difficult as it looks at first!) to promote your photography, as well as the best tips and advice for making them stand out and be memorable, persuasive, and engaging for your viewers.
Remember, there will not be a one-size-fits-all approach to how you make your Instagram Stories and what will work best for your audience. Just remember, it’s all about experimenting and having fun with it!
For more top tips and guides on promoting your work via social media, see our dedicated guides on Focus.


