


Follow these key processing steps, prior to making your images available for sale, to help you maximize their sales potential

Whether you plan to sell images as prints and digital downloads to clients that you’ve known for years, or to new editorial and advertising customers, (such as book publishers, magazines, newspapers, websites and design agencies) via Picfair’s Central Marketplace. These key steps in your image processing that will help you get more sales.
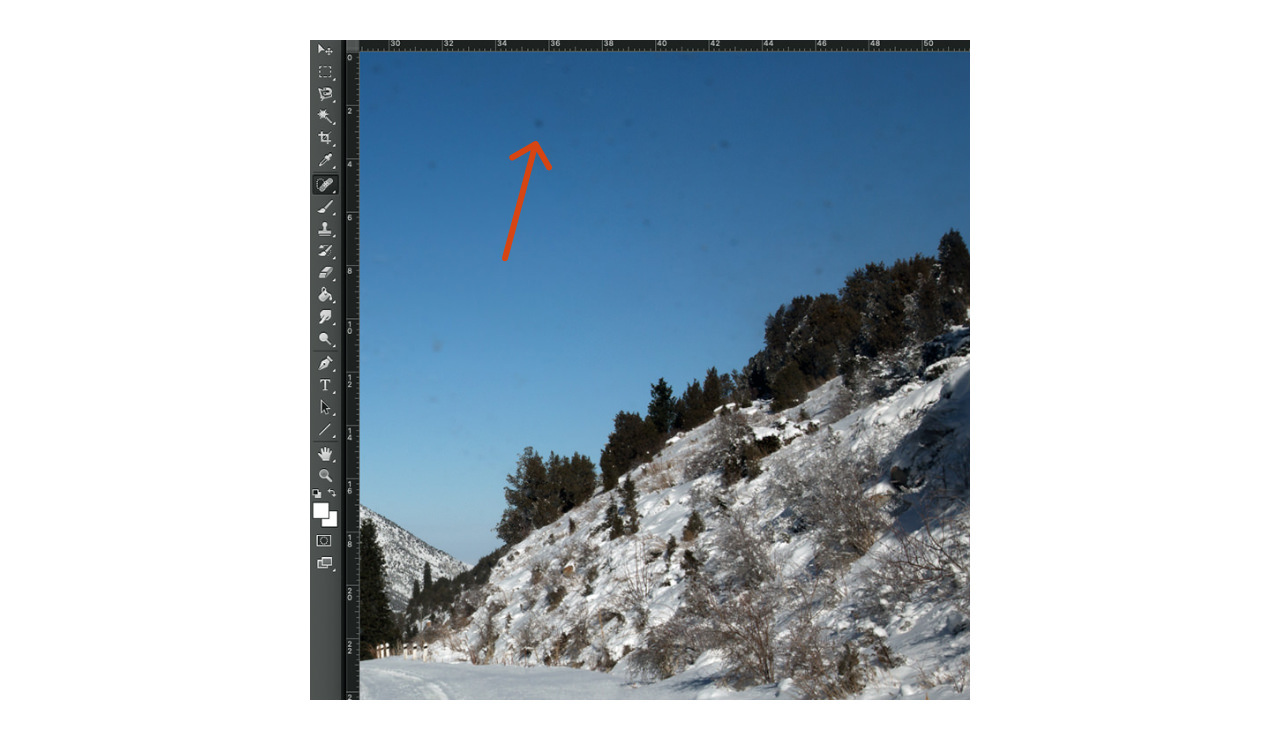
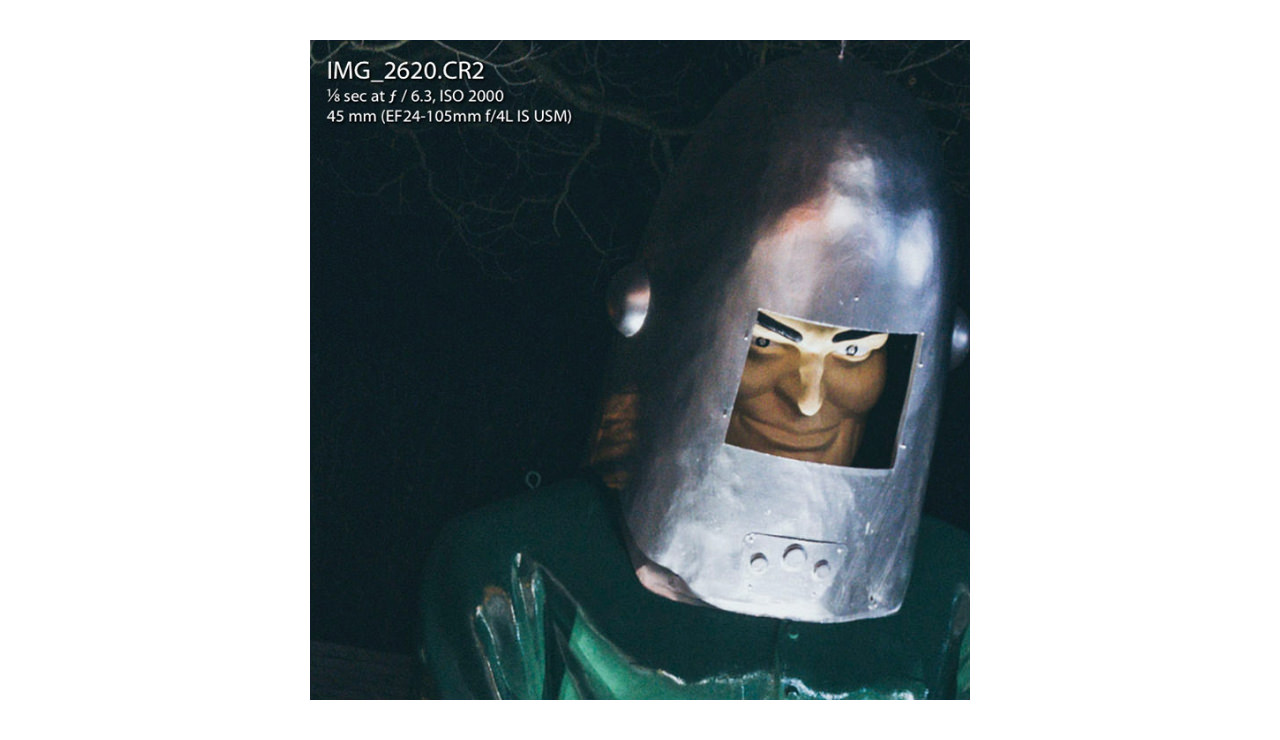
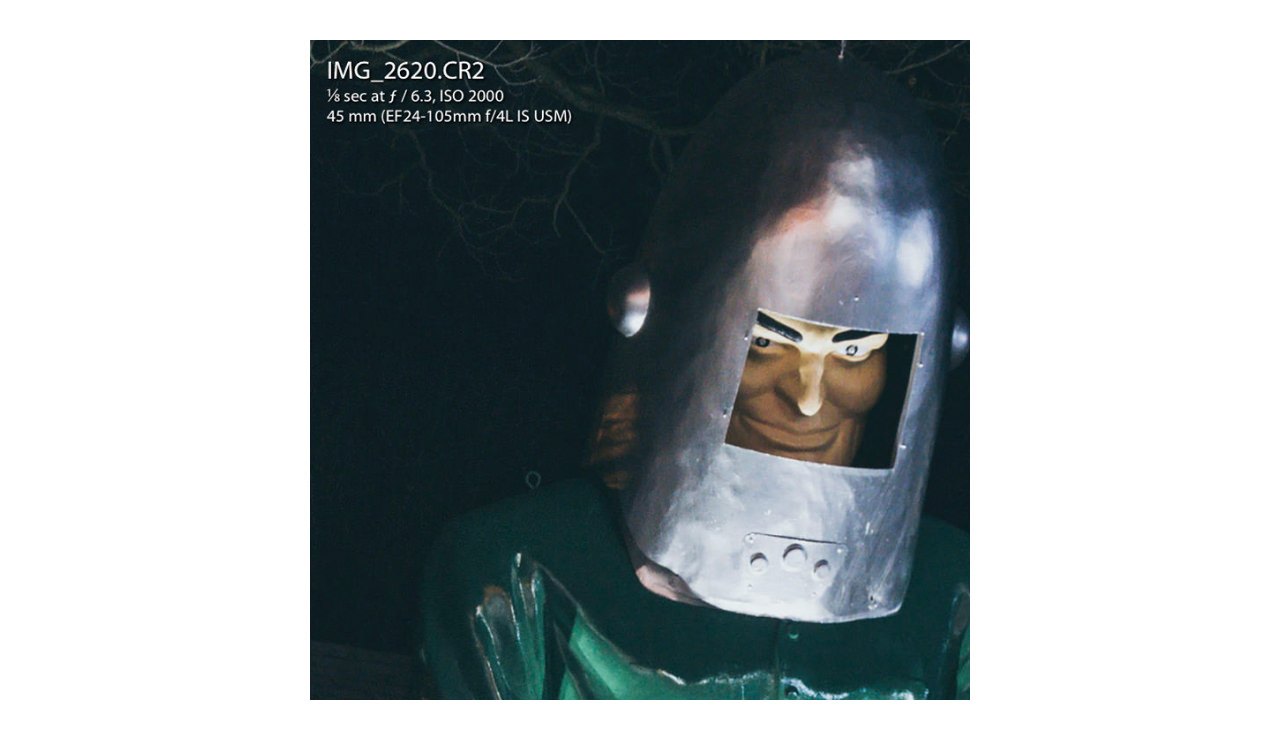
1 Dust removal
Even if your camera has a built-in dust removable system, it’s inevitable that some dust will find its way on to the sensor and make itself known in your images. And once you or a potential client sees a dust mark, it’s hard for them to see beyond it.
Thankfully, it’s easy to remove the tell-tale marks using the cloning or healing tool in an image editing software package like Adobe Lightroom or Photoshop. However, a methodical approach is essential if you’re going to get every spot.
Whatever software you use, magnify the image to 100% and examine it in sections, starting from the top left corner, move down checking the screen’s width to the bottom of the image before moving across another screen-width and checking the next section. Keep moving down and across until you reach the bottom right corner and all the marks have been removed.
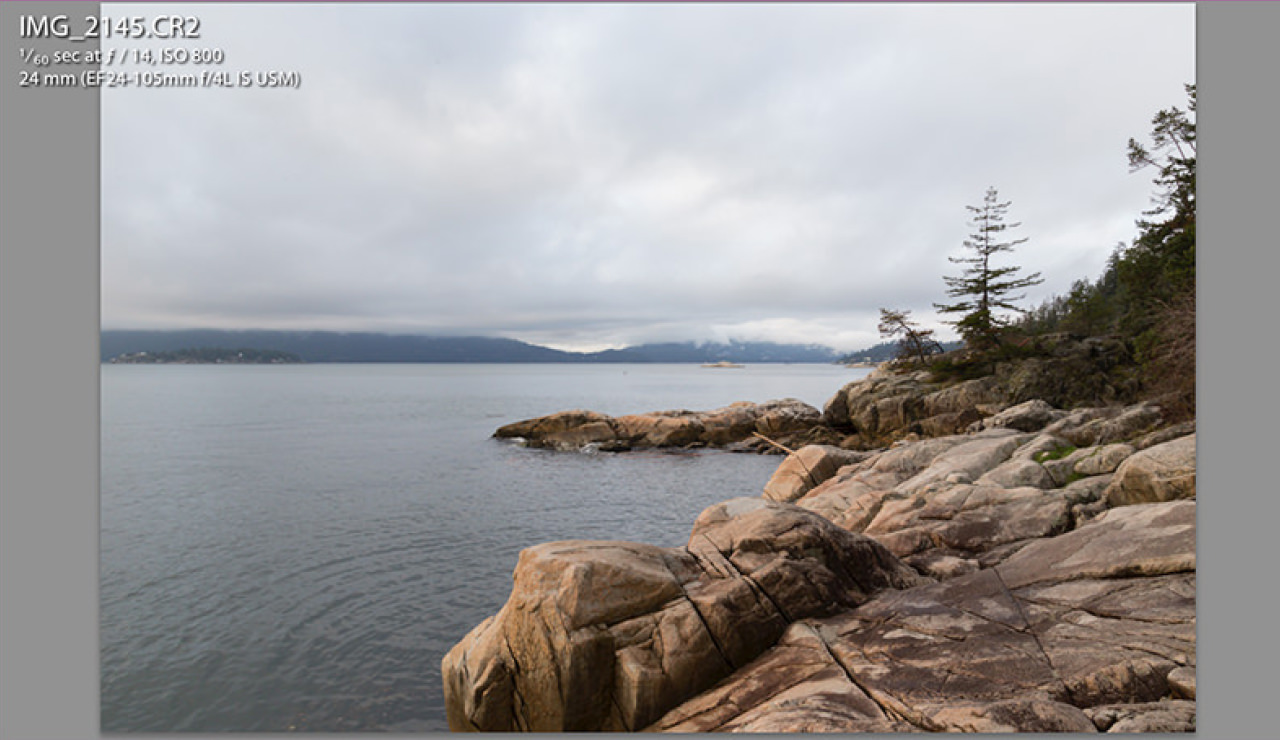
2 Cropping and levelling
Ideally you want to avoid too much cropping, leave this to the buyer. However, when processing your images you should crop out any odd bits that may have crept into the edges of the frame accidentally. When you crop, stick to one of the standard aspect ratios.
If you're unsure, an ideal aspect ratio is 3:2, which gives the buyer plenty of flexibility when it comes to cropping. You can learn more about best-practices for cropping with our dedicated guide.

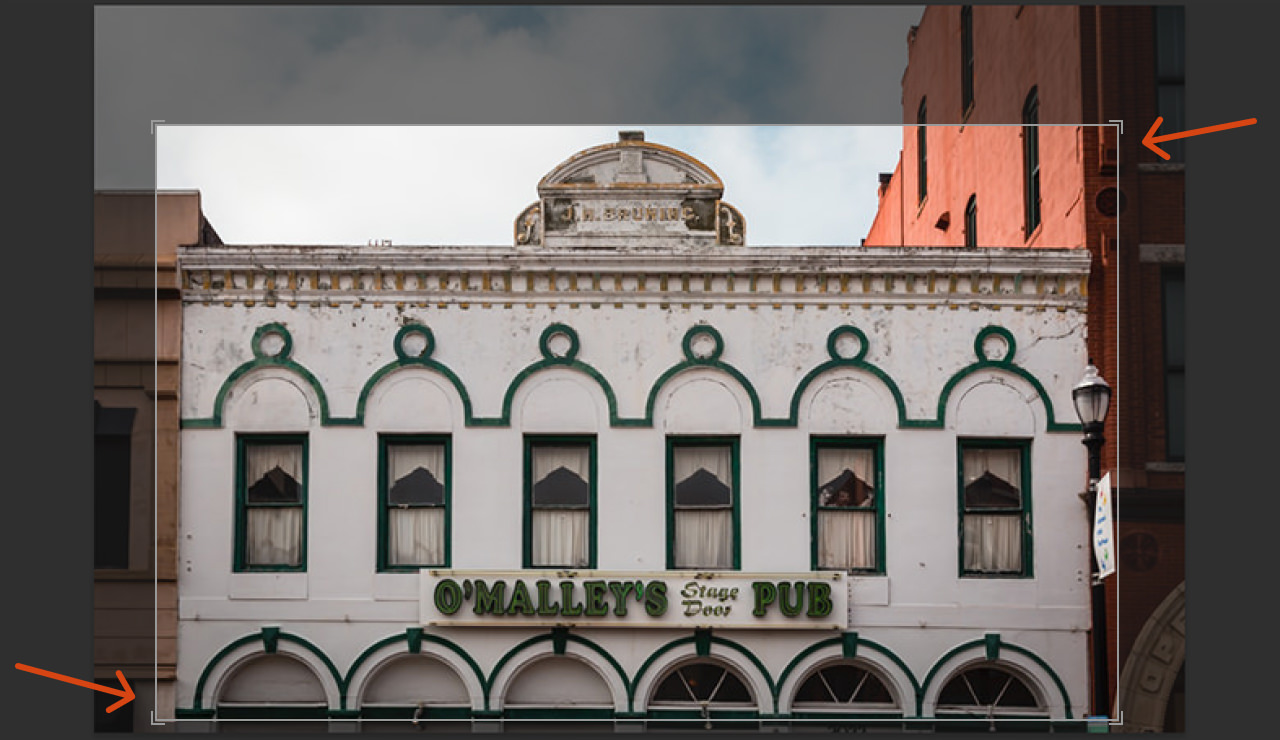

You also need to make sure that the horizon, or any vertical lines, are straight. Some image editing software can detect and correct wonky horizons for you, but if not, there’s usually a simple tool that you can use often situated with, or near, the cropping tool.
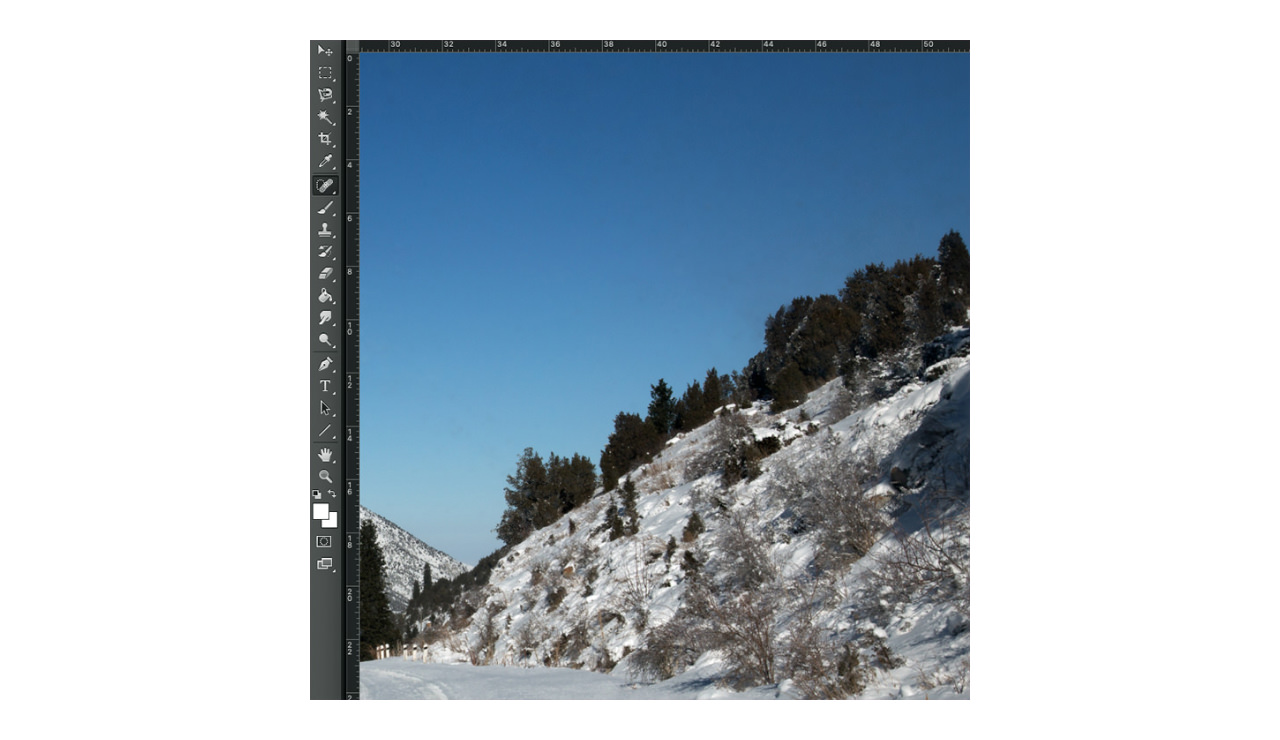
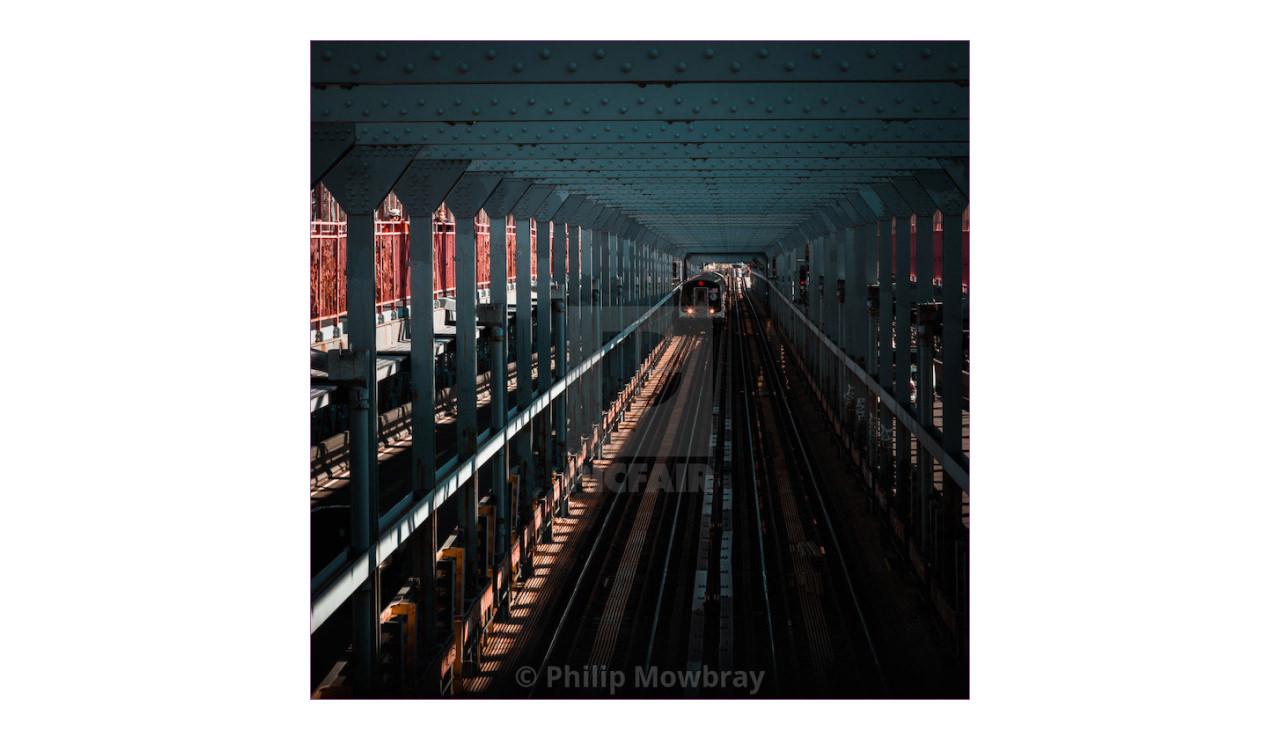
Image from Phillipp Dase
3 White balance and color
White balance can be a creative tool, but for straight editorial images in particular, it’s important to correct colour casts, especially with images uploaded as a series. An attractive, warm landscape image is more likely to sell than one that has a cyan cast, for example.

4 Noise reduction
Unless you’re shooting at a very wide aperture, if you’re hand-holding your camera in low light you have to push the sensitivity (ISO) up to enable a fast enough shutter speed to avoid camera shake spoiling the shot. The downside is that a high ISO setting introduces coloured speckling called noise.
Cameras apply noise reduction to JPEG files to reduce the visibility of noise, but it can also reduce the amount of detail that’s visible. As a rule, the best results are created by shooting raw files and then applying a bespoke level of noise reduction when you process them. We’d rather see a little grain than lose all the detail or have images that look like watercolour paintings.
5 Creative processing
There’s a creative aspect to image processing that’s entirely personal, and it's great to develop your own style. A personal style makes your images stand out from the crowd, and it’s why your clients come to you.
However, many editorial clients, such as book and magazine publishers look for 'straight’ images, or images to which they can apply their style. So with this in mind, it may be worth producing two versions of your images. One for editorial buyers and another for your followers and creative clients.

6 Sharpening
We recommend that you don’t sharpen images that are for the editorial or advertising market, leave that to the buyer. However, you may wish to apply a subtle sharpening treatment to your creative work, but take care to avoid introducing sharpening artefacts such as halos along edges within the image.
7 Personal watermarks
There’s no need to watermark your images before uploading them to Picfair!
Picfair's watermark will be applied automatically when you upload your work. And, with your Picfair Plus account you can choose to upload your own watermark, or remove them altogether. Find out more about custom watermarks for Picfair Plus here.
Any images uploaded that feature a personal watermark will not be accepted. Buyers need a clear image, and when images are purchased on Picfair they are delivered without watermarks. We cannot remove personal watermarks uploaded with images and therefore cannot accept them.
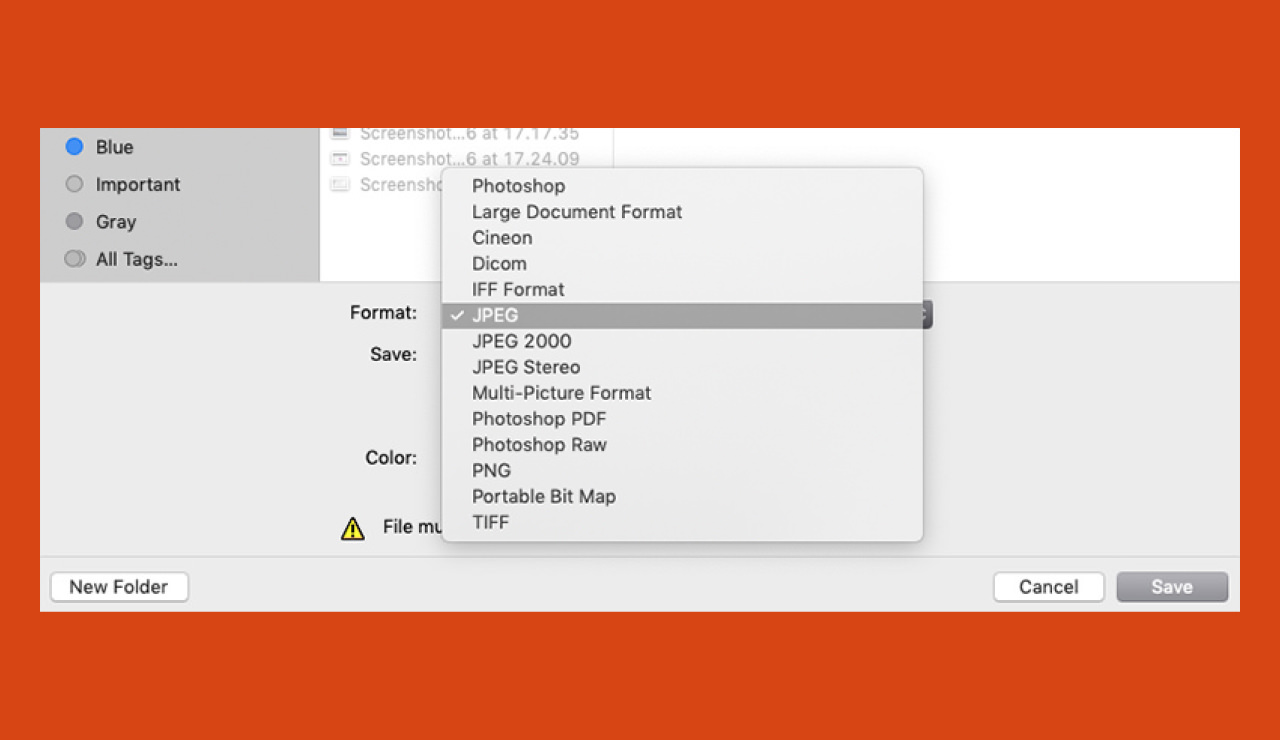
8 File format
Although you may shoot raw files, you need to create JPEG files in order to upload your images to your Picfair Store.
We accept a minimum size of 800pixels along the shortest side and the maximum file size of 50MB per image.
As a rule of thumb, we recommend always uploading your images at the largest size possible up to 30MB and as close to the original dimensions of the image as possible. The more freedom you can provide the buyer to resize the image to their preferences, the better.

Expertly crafted guides and tutorials brought to you directly from the Team Picfair.
View all articles

