Adding a welcome splash page (also known as an intro page) to your Picfair Store will give your visitors a powerful first impression, here's how

What is a welcome splash page?
A welcome splash page, or a welcome screen, intro splash page or landing page, is a full-screen page displayed to visitors for a few seconds when they first arrive at a website, or in this case, your Picfair Store. The splash page will usually comprise of an image, along with a logo and/or some text.
As part of the Picfair Stores feature package, you can create an eye-catching introduction to your photography by adding a welcome splash page to your store, making that all-important positive first impression with visitors.
In this guide, we’ll explain how to add a welcome splash page to your Picfair Store, why a good introduction is essential for photographers looking to sell their images, and what your welcome page should look like. Along with some of our top tips for creating the best introductory experience for your visitors.
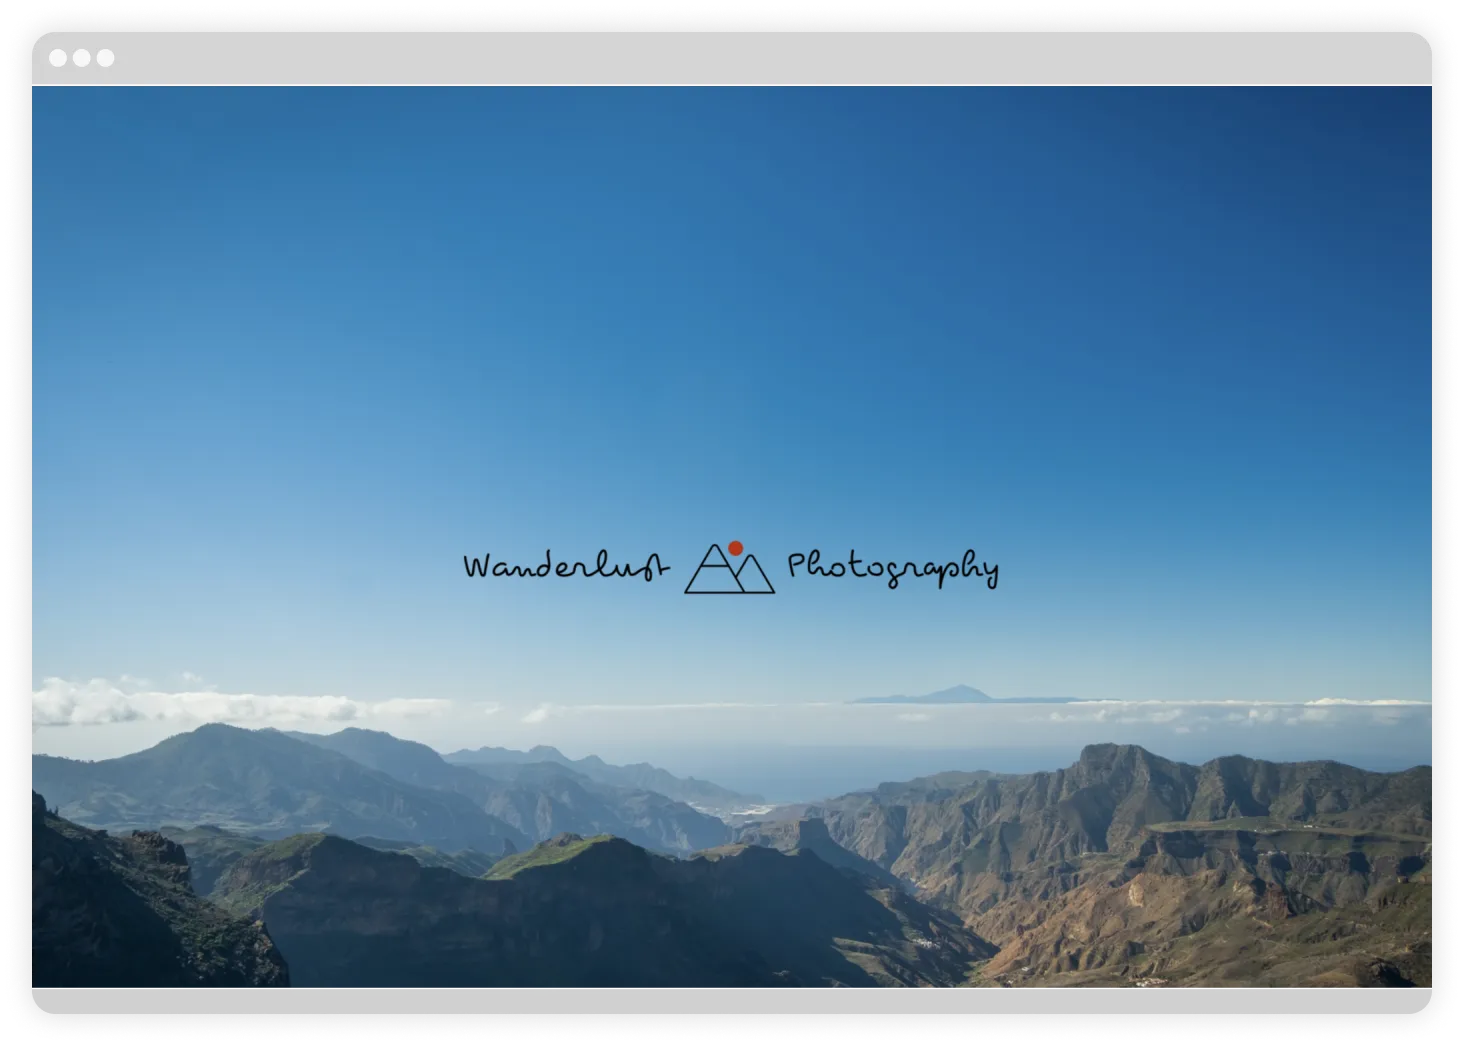
It doesn’t take any time at all!
First, from your Picfair Dashboard, navigate to
“STORE SETTINGS" > "HOMEPAGE”.
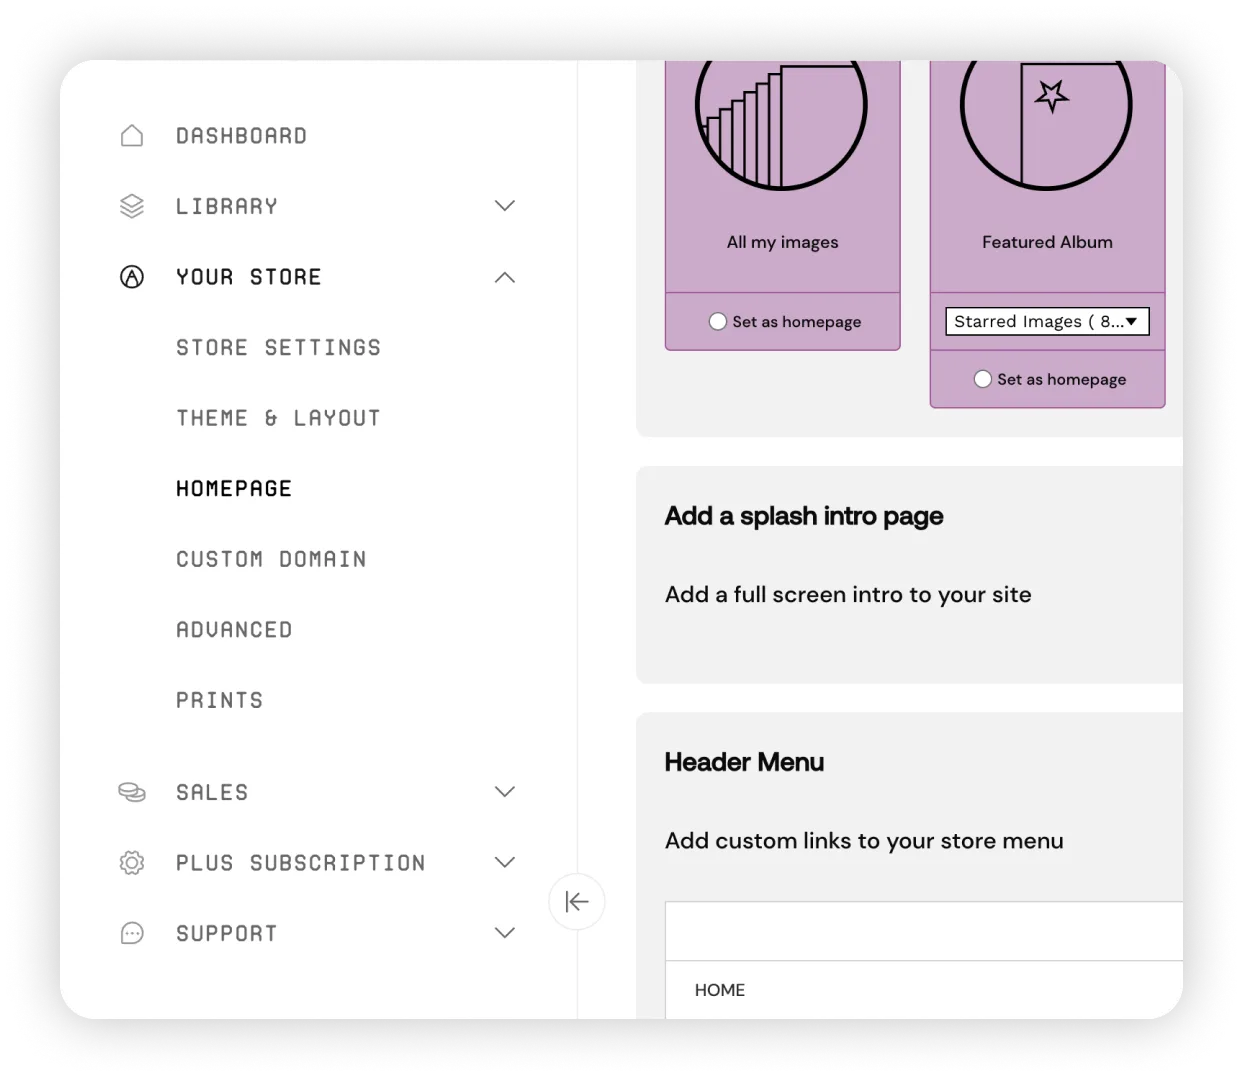
Once on this page, you’ll see the option at the bottom to
“Add a splash intro page”.
Click to toggle to green and you'll see a menu appear (below) where you can add the contents of your splash page.
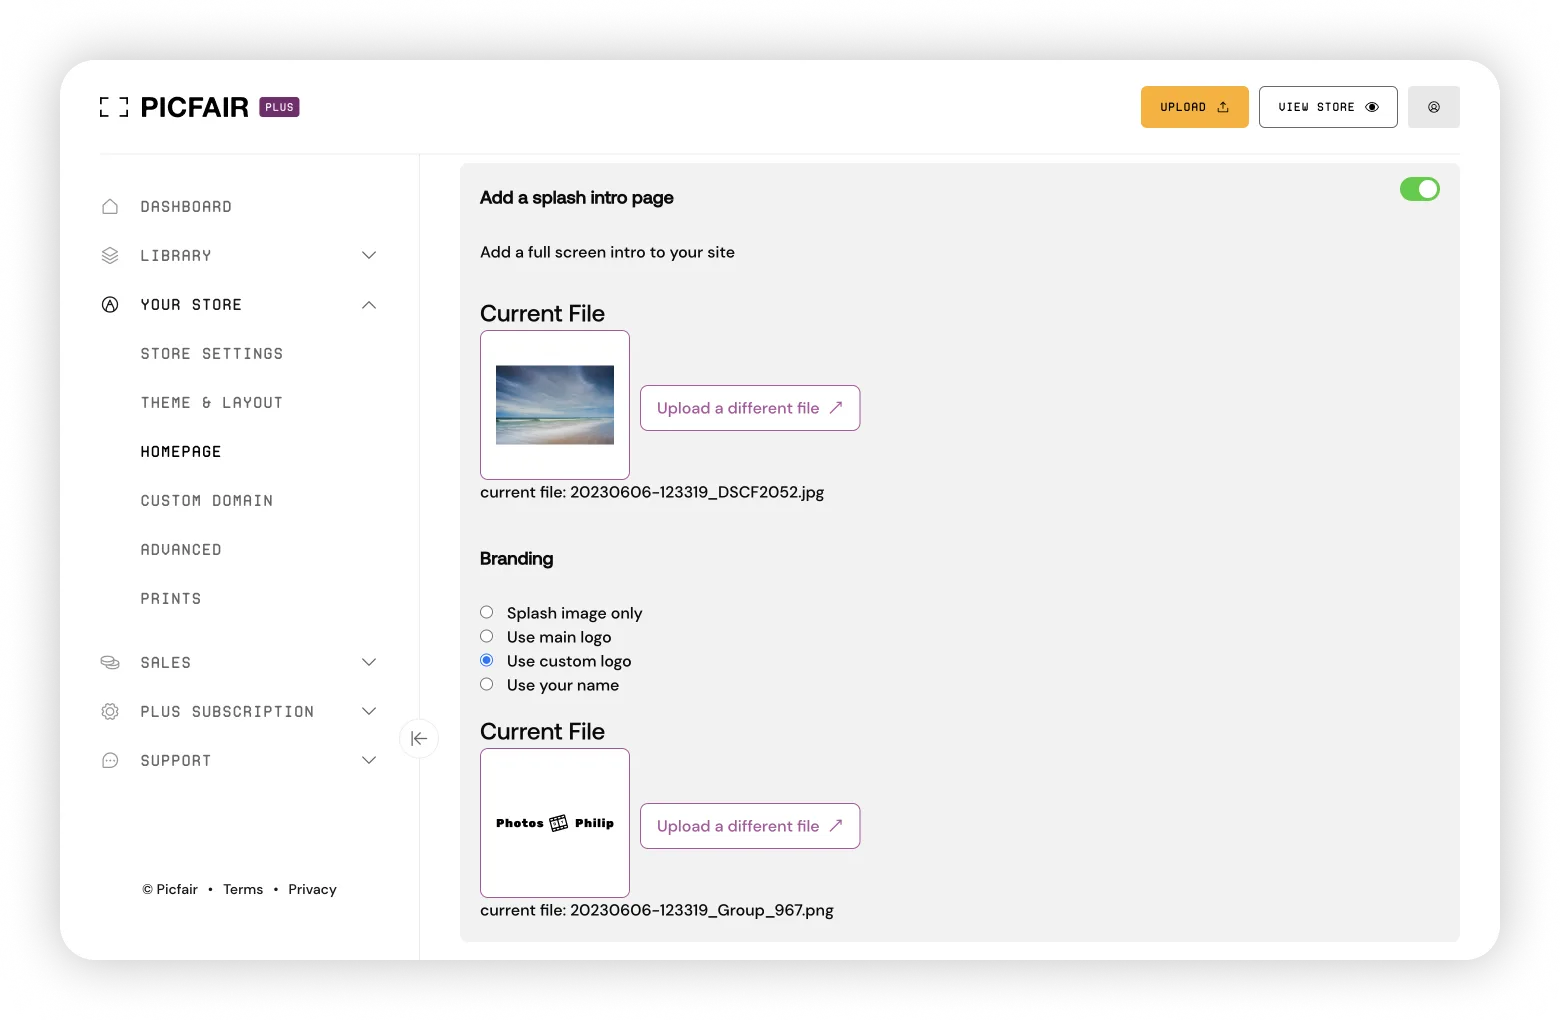
Here, you can upload the file you would like to use as the full screen image. You can change the file at any time (also see our tips on creating the optimum image file for your splash page below).
You can also choose whether you want to include your name (this is your name as displayed in your Account Settings), and whether to use your primary logo (the one that appears on your Picfair Store header) or a custom logo.
If you wish you can also choose just to display the image without any additional text or graphics. This is a popular option for those who choose to add text and graphics to the image file itself.
The screenshot above shows a custom logo selected to with the full screen image (we recommend a PNG file on a transparent background for best results). Just remember to click on “Save Changes” when you’re done so they take effect.

You'll then have a beautiful welcome page that all visitors will see when they arrive at your Picfair Store!
.webp)
Why are intro splash pages a good idea for photographers?
Photography is all about visual impact, and a splash page makes you and your work the star of the show from the get-go. For a photographer, a strong intro splash page provides a brilliant way to engage visitors with your images immediately. Don’t forget, any visitor to your store might be a potential customer.
A welcome splash page should also make visitors want to explore your work further, and you can do this by reflecting the very best of your artistic merits and photography vision in full-screen. This is why we’ve made welcome splash pages an integral part of the Picfair Stores package–we want your visitors to get that wow factor the second they click through to your store.
"Photography is all about visual impact, and a splash page makes you and your work the star of the show from the get go."
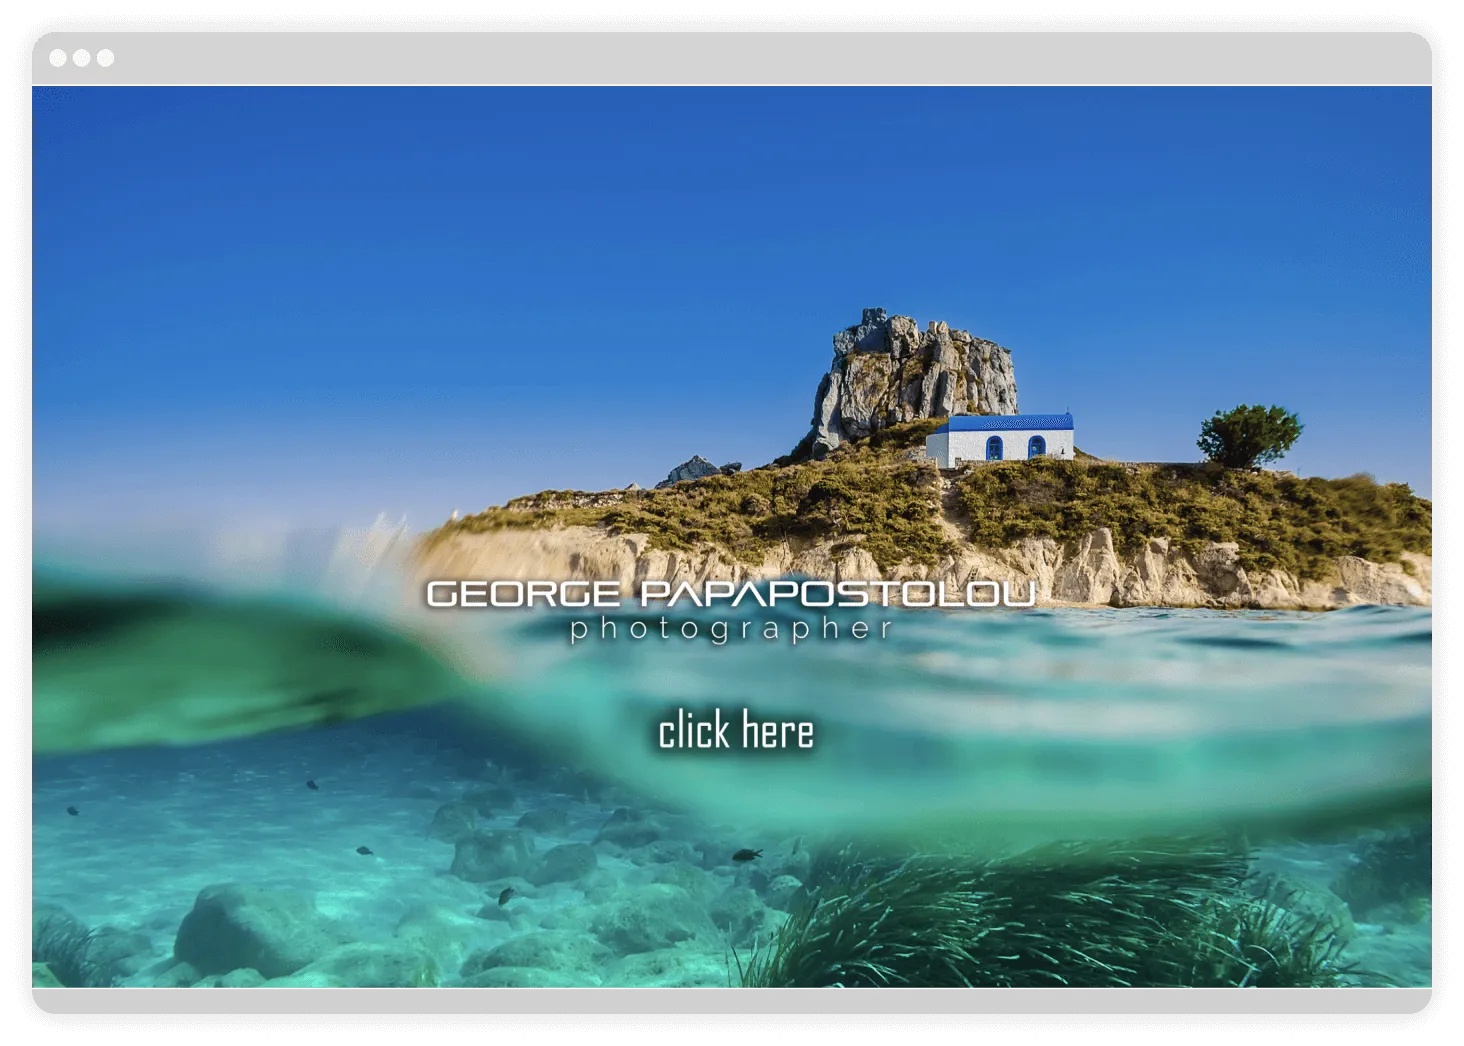
A sleek introduction to your store also gives you that professional edge–if you act serious about your photography store, so will your visitors.
A good splash page should give visitors a solid introduction to your photography work. It should combine visual elements, such as one of your strongest photographs, and some text or branding (such as your logo) to give visitors a good idea of what you and your photography are all about before they go further into your store.
Essential tips for creating the best splash page possible
- Use one of your most striking images
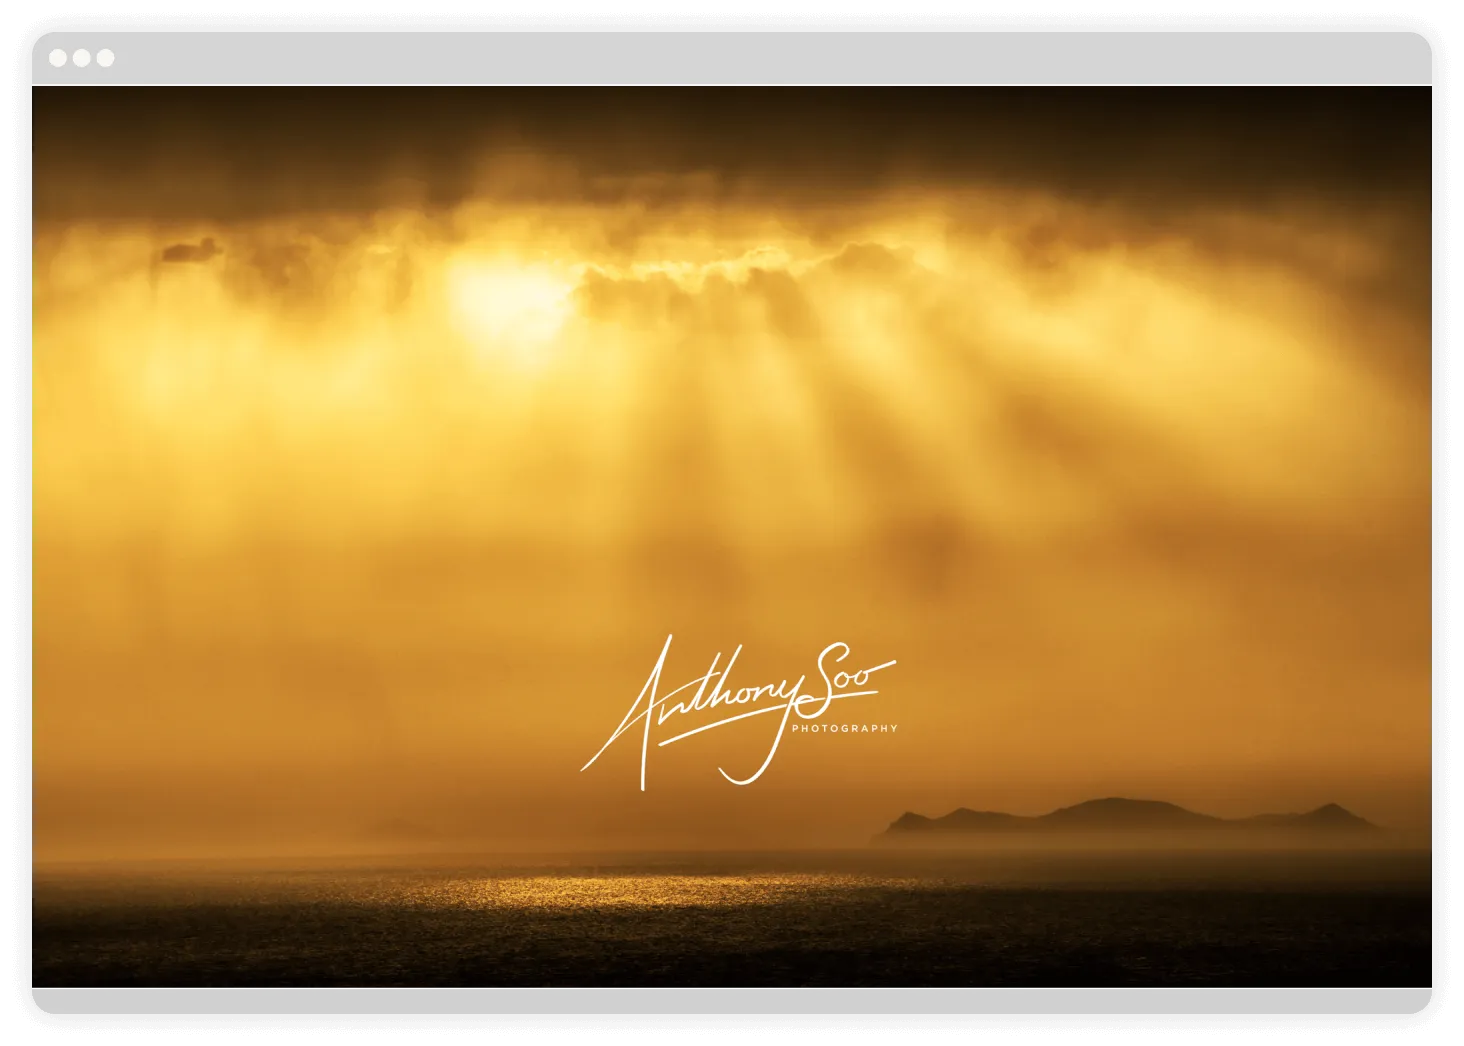
As mentioned in this guide several times, a welcome intro page is all about making a fantastic first impression. Therefore, you should use one of your very best, most powerful images to wow visitors.
Top tip:
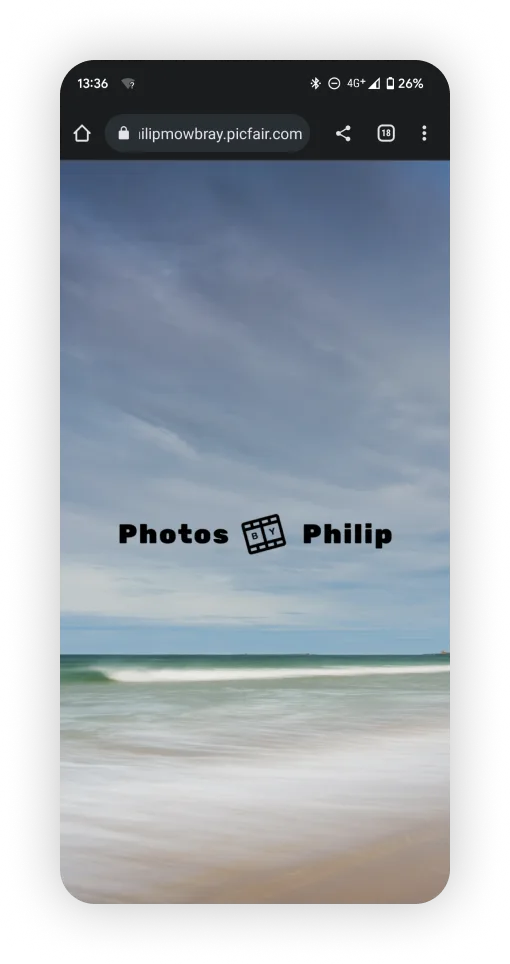
Remember that visitors will view your Picfair Store from both desktop and mobile, so choose an image that looks good on both screen types. This may require some trying out of different images to see what works best–but that’s part of the creative process!
- Make sure the image loads fast
There’s nothing more irritating than a slow-loading welcome page! Not only can it take up a lot of bandwidth, but a slow-loading page can make your site appear slow and clunky, which can be off-putting and frustrating to visitors.
You want to make that first great impression within a few seconds to increase the likelihood of a visitor purchasing one of your images, so make sure your page does just that–loads quickly and feels sleek and professional.

The best way to ensure your image loads fast is to use editing software to resize and compress your image. The optimum image size in pixels for a desktop image is 1920 x 1080 pixels or slightly above, so we’d recommend resizing your welcome image to have a length of at least 1920 pixels and then compressing the file so it loads quickly.
Use desktop software like Lightroom, Photoshop, Affinity Photo, or web-based image compressors like TinyPNG to reduce the file size while not compromising the quality too much. We recommend keeping the file size 500kb. With an image with a pixel size of around 1920px length, you should still be able to get good-quality compression at this size and the image load quickly.
- Be careful when overlaying text or graphics on the image file itself
Again, this is down to the fact that visitors look at your site on different devices, all with varying parameters for displaying screen elements. If you use an image with text or graphics embedded it for your welcome page, it may display fine on a desktop, but the text might not be fully legible when viewing on a mobile device. If you do decide to go down this road with your welcome splash page, try and test it on a range of devices to make sure it looks good. As a general rule of thumb, keep any text or graphics roughly in the middle of the image file (just like how you can display your name or logo with your splash page too).
This is also one of the reasons we give you the option to display your name or a logo with your welcome image as part of the feature. We resize and format the image, text or logo to display nicely on different devices, so you don’t have to worry about it!
- If displaying your name or logo, use an image where these elements will be clear and visible
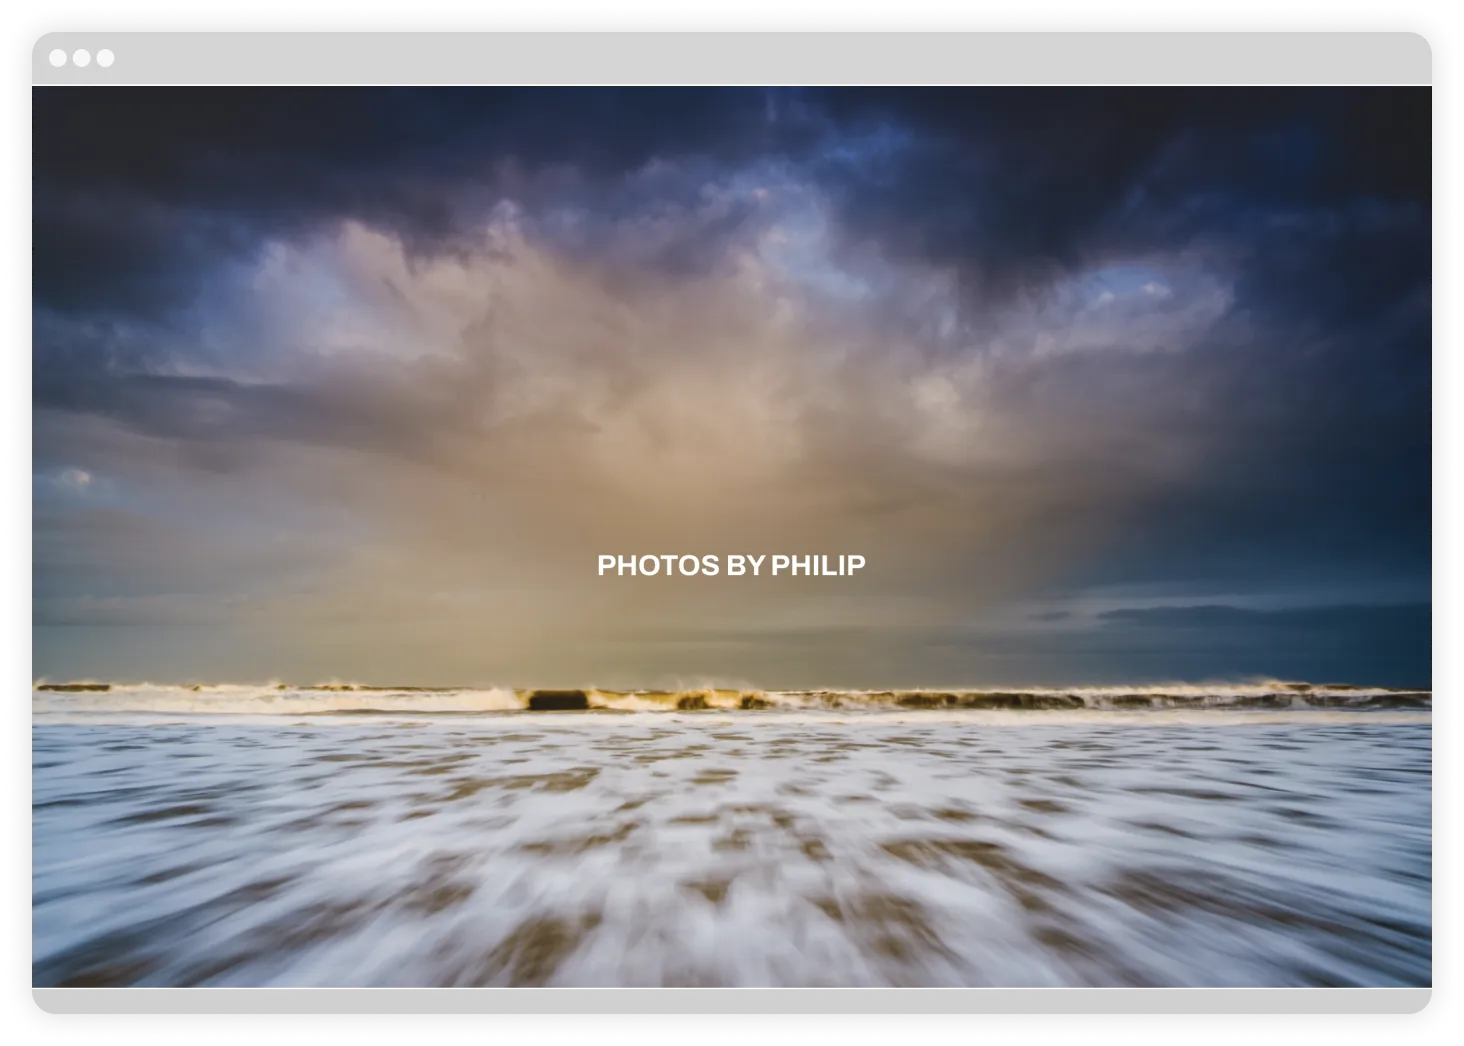
If you add your name or a logo (recommended) to your splash page, this should stand out and be immediately visible. So ensure this element can be seen clearly on the page. On Picfair Stores, this element automatically displays in the centre of the page.
Don’t choose an image that might obscure the logo or text on the splash page, or select a colour for the text or logo that doesn’t stand out against the image. You want any text branding to be as clear and legible as possible.
- Test out different versions of your welcome page or make seasonal variations
It’s worth trying different versions of a welcome page, such as testing your welcome page with different images or information. Review the data on your store visits (such as that gathered from Google Analytics) to see what page works best to engage your visitors.
You could even change your welcome page depending on the season and subject, or if you're going to promote an area of your work for a specific period of time, your splash page should reflect that.
Checklist for creating a stunning splash page:
- Image is a strong & clear representation of your photography
- Page looks good on both mobile and desktop
- Image file resized at an appropriate size (recommended 1920 x 1080 or above)
- Image is around 500kb file size for fast loading
- Main image doesn’t detract from any displayed logo, text or graphic
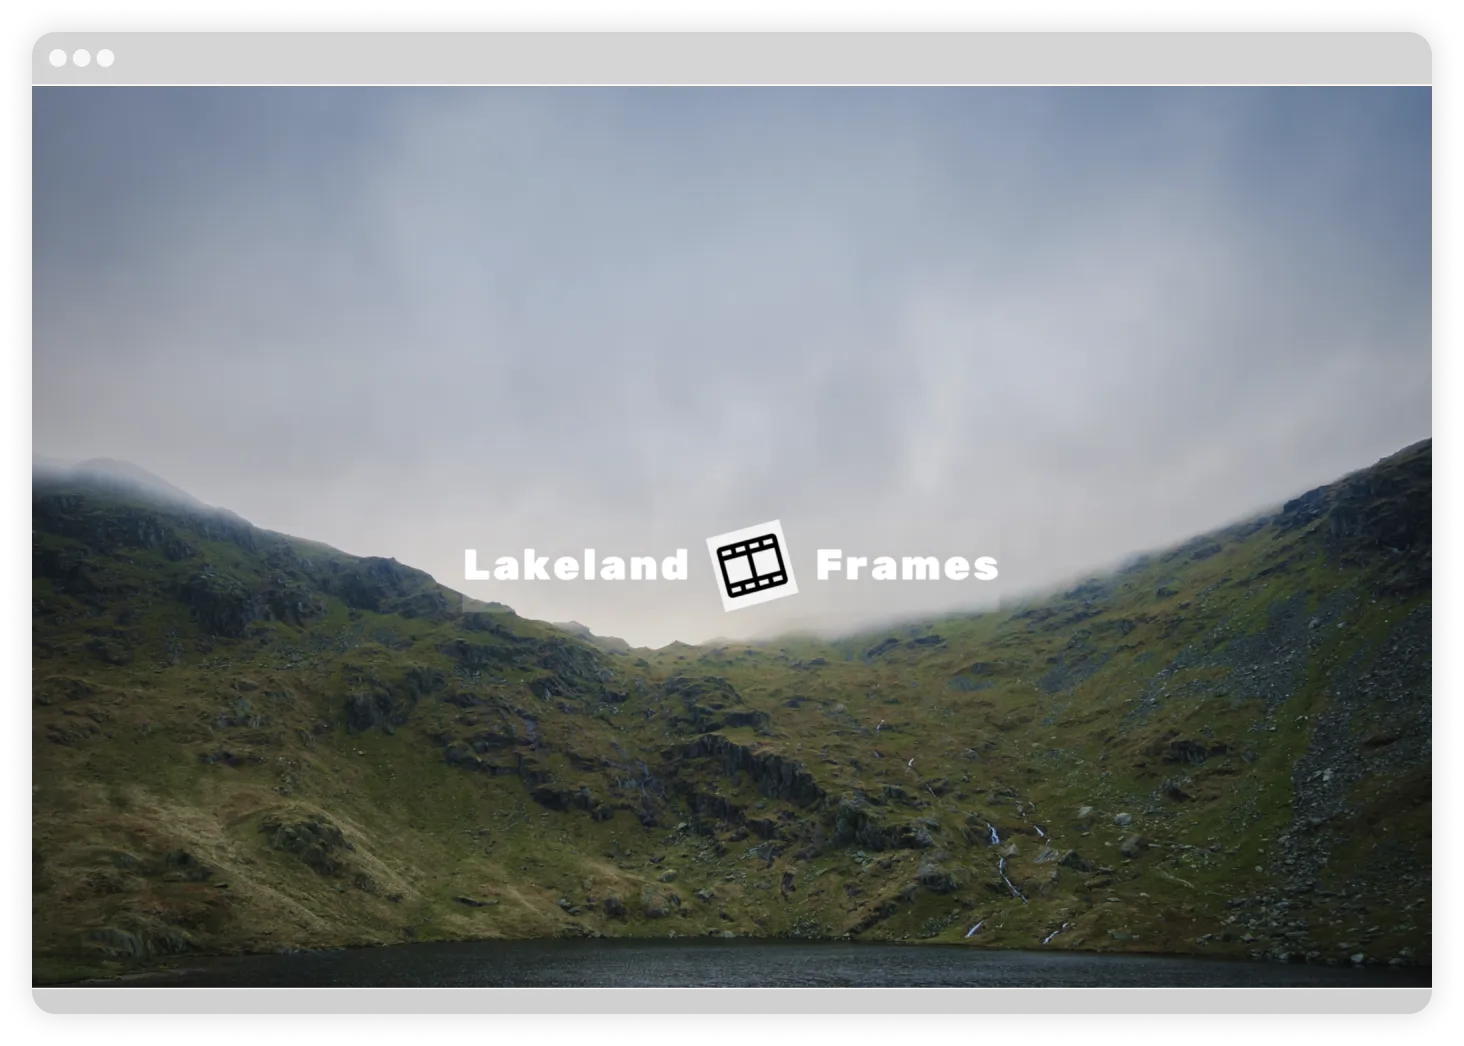
Some more beautiful examples of welcome splash pages

.webp)
.webp)
.webp)
.webp)
Ready to get started with your welcome splash page?
Now you've got to the end of this guide you should have all the know-how you need to make a stunning welcome splash page for your Picfair Store.
Go straight to your Picfair Dashboard to get set up!


