


Essential tips to ensure your photos are print-ready for your Picfair Store. From capturing high-quality images to testing them as prints, these steps are your key to success...

Selling your photos as prints is an exciting venture. There's a massive amount of satisfaction in knowing that someone has your photo displayed on their wall, and appreciating it daily.
To ensure your images look their best for prints, and to maximise their availability for various print products, take a look at these essential tips:
Have a question about prints for Picfair Stores?
Visit our Support Centre for more FAQs on how prints work for Picfair Stores.
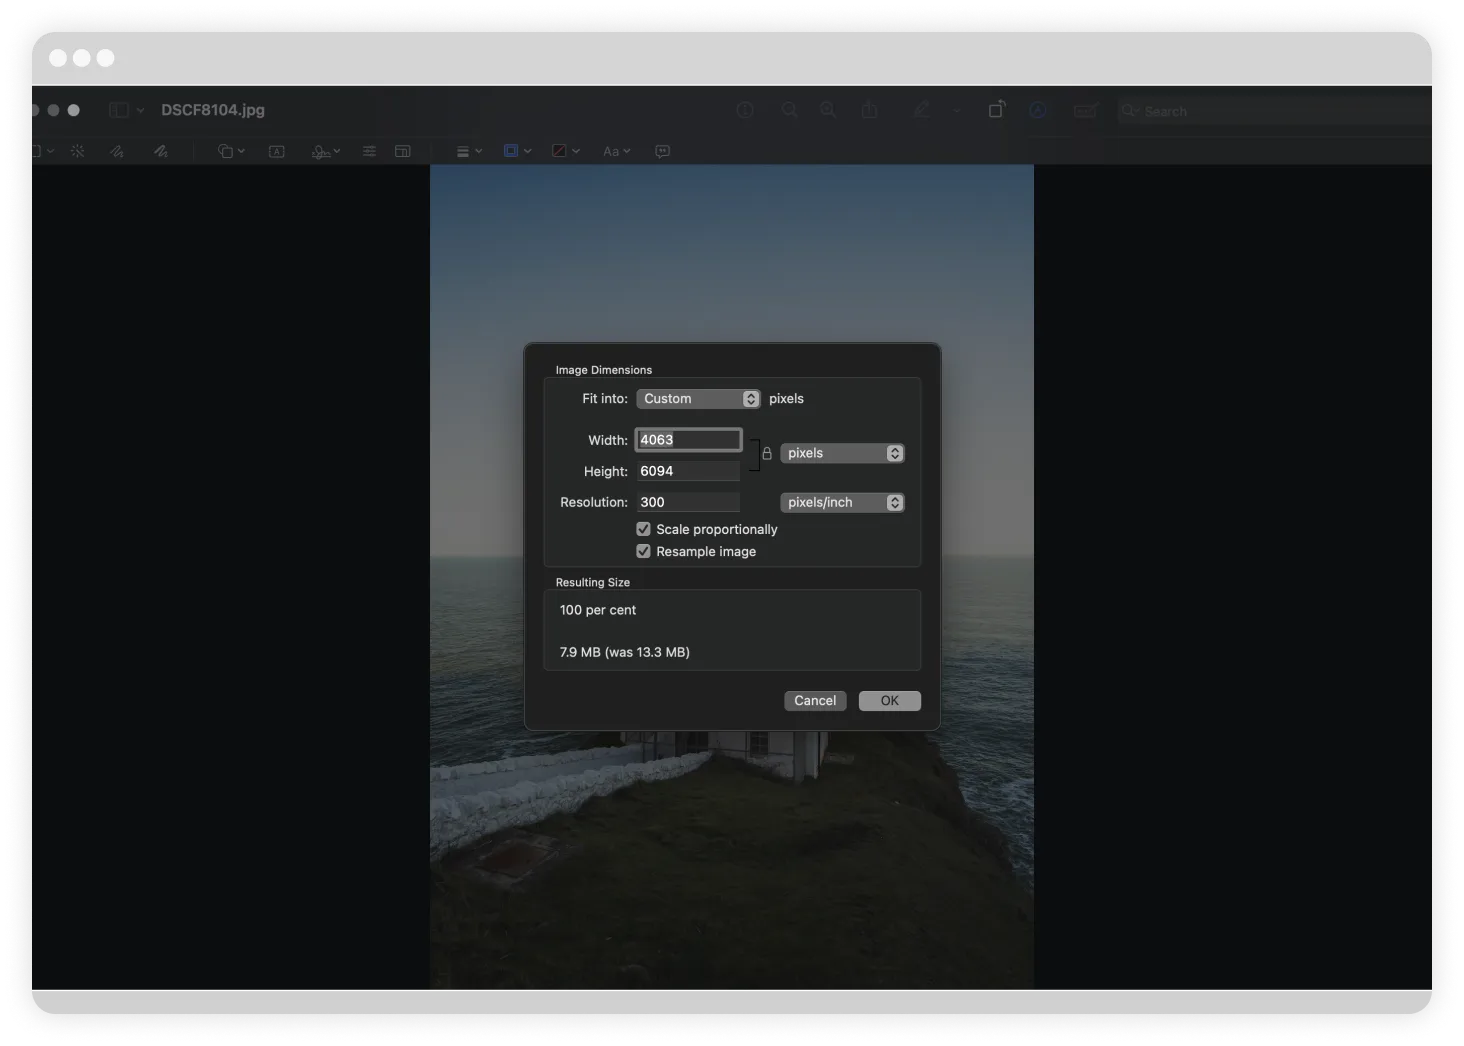
Pixel size: The most important piece of advice when selling photos as prints:
Before we get started with the other tips, a significant challenge faced by photographers (including those with Picfair Stores) looking to sell their prints is often related to the size of the image.
The problem arises when an image lacks the necessary pixel dimensions to support various print sizes. If an image is too small, it will not print well at specific sizes, or not really be possible at all.
The most important advice we can offer regarding all these tips and selling your photos, generally, is to ensure your images have a sufficient pixel size.
In other words, the larger your image in terms of pixel dimensions, the more flexibility you'll have when printing it at different sizes.
What size should by images be (at a minimum) to unlock all print products and sizes in my Picfair Store?
Anything over a pixel size of 5000px longest dimension will unlock all products and sizes available for prints in Picfair Stores.
For more FAQs on prints for Picfair Stores. Visit our Support Centre.
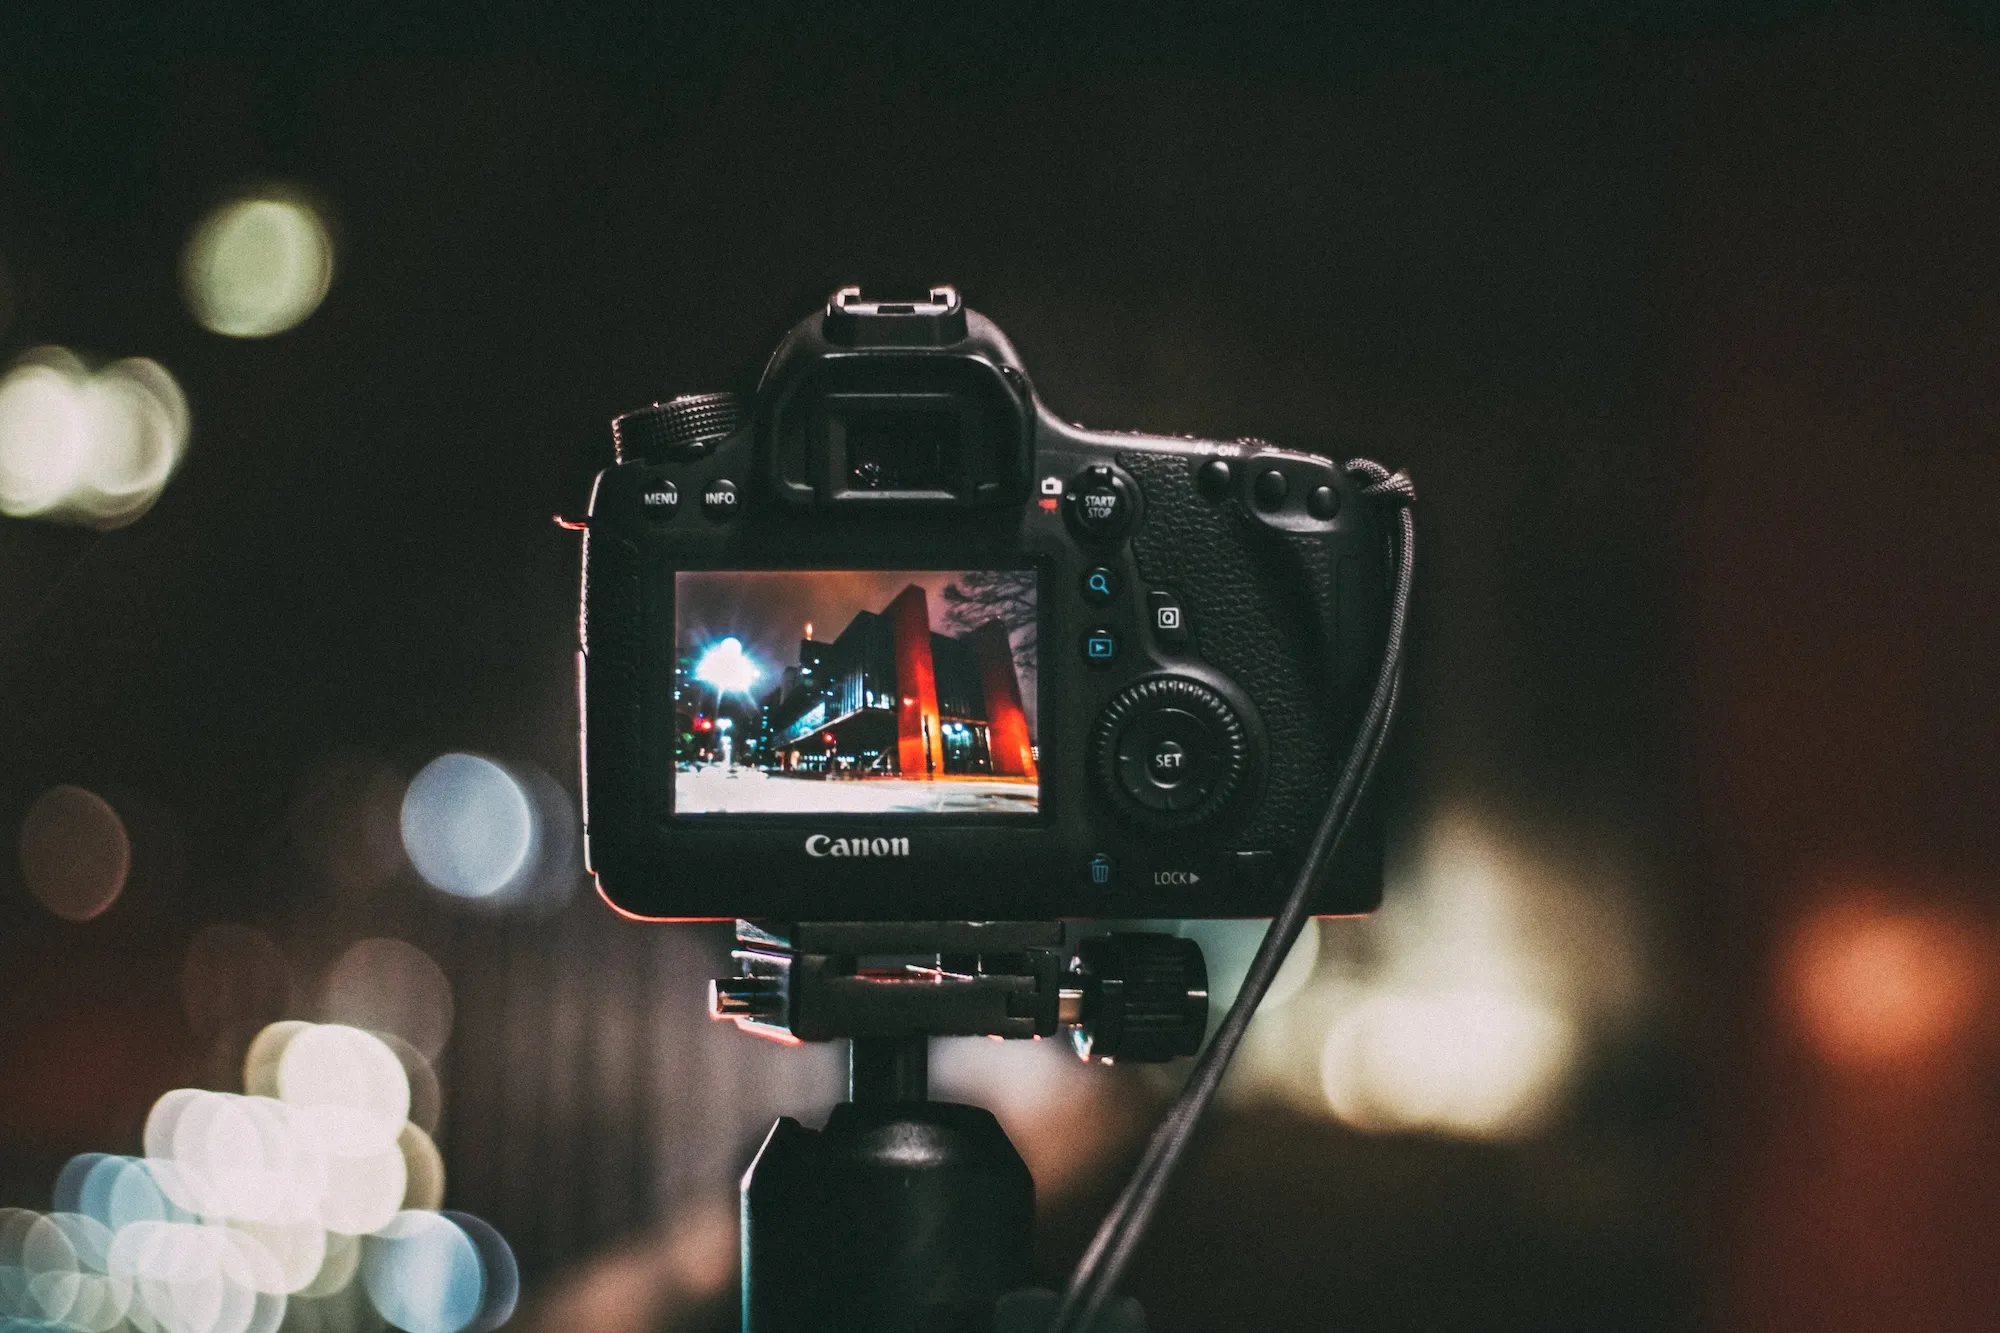
Take your photos at the highest possible quality (and size) your camera allows
Our first tip starts with taking the photos themselves–always take photos at the highest quality settings possible. This will usually mean shooting in the largest file format (for most cameras, this is typically either JPEG Fine or RAW.
The reason for this is you'll have far more flexibility in terms of what you can do with your images––if you shoot images at the highest quality and also the largest file size possible in-camera, you won't have to worry about making the images larger or having fewer options available to you when you go ahead with selling them as prints.
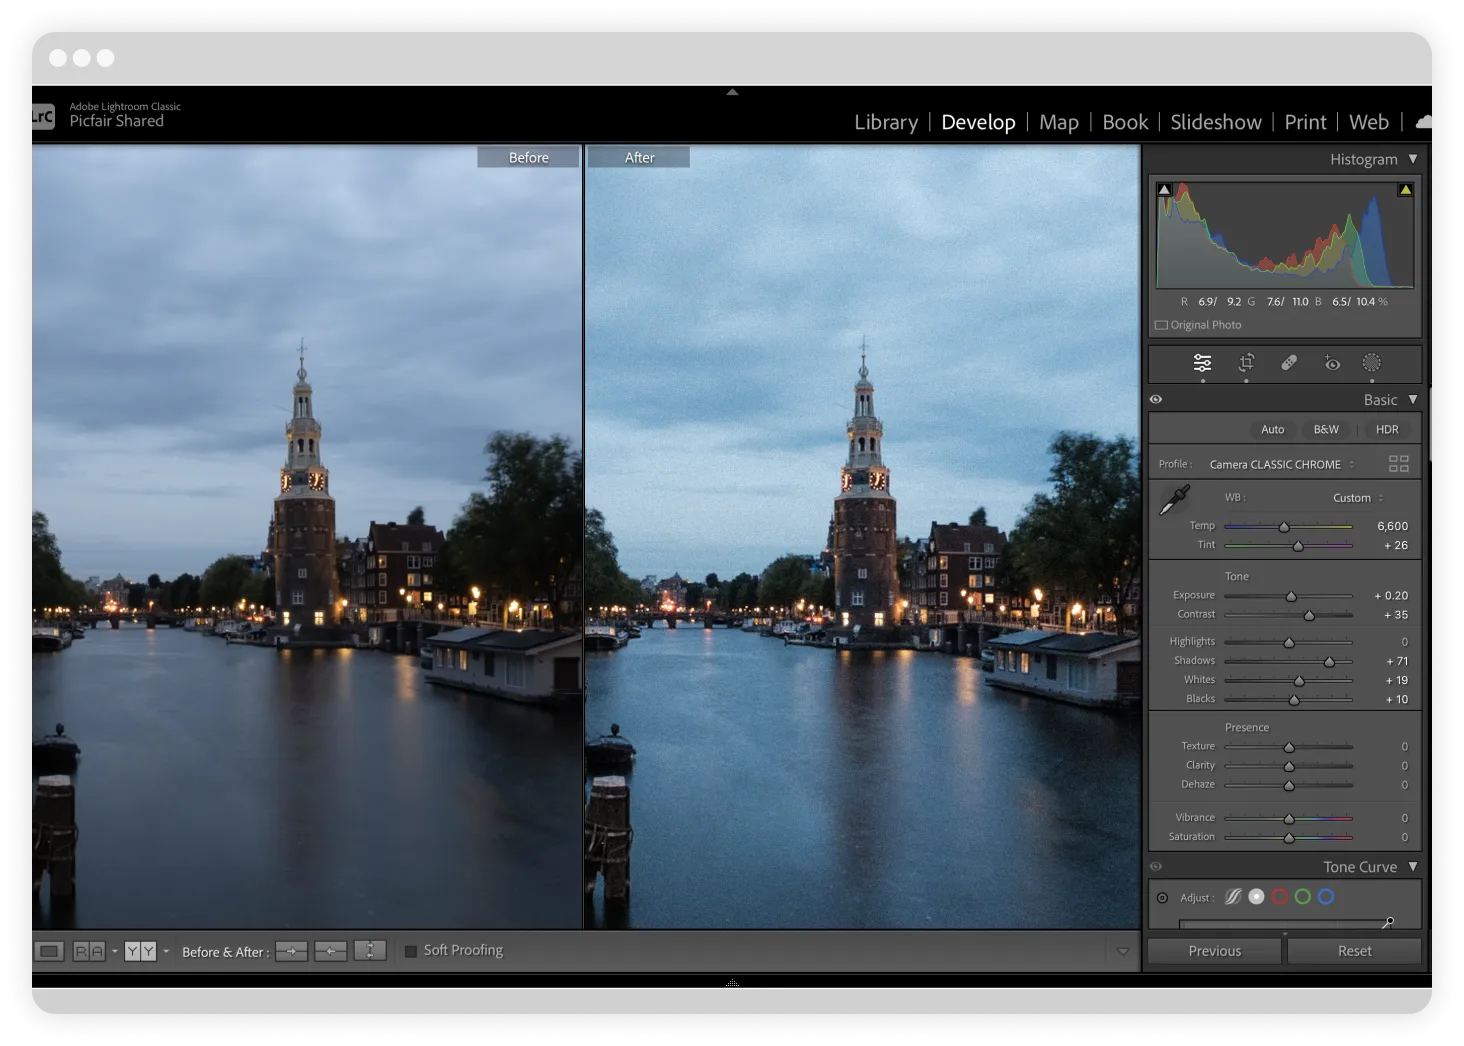
Do some basic checks and edits post-shoot
After you've taken your images, it's worth checking over your images and doing some basic edits to your shots to help them look great as prints. Your images will always look slightly different in print than on-screen, so it’s always worthwhile testing what your images look like as prints, too (see the tip below).
These basic checks and edits are to make sure that the exposure is correct, so the image isn't going to be too light or too dark, make sure that the contrast looks punchy, and also make sure that there aren't any colour casts in your Image so for example if the image has too much magenta, then add a little bit of green.
These are all basic edits that can be done within any image editing application, including Lightroom or Affinity Photo or free editing software such as Canva or Pixlr.
Save your images at the best possible quality once you’ve edited them
Once you’ve finished doing some basic edits. Always ensure you’re saving your images at the best possible quality. Usually, this will be a JPEG file if you’re selling them online (including in your Picfair Store). Always save your image at 100% or the closest possible to that. This will mean there will be minimal loss of quality. Saving your image at a much higher compression can make your image look pixelated, which will be very evident in print.
.webp)
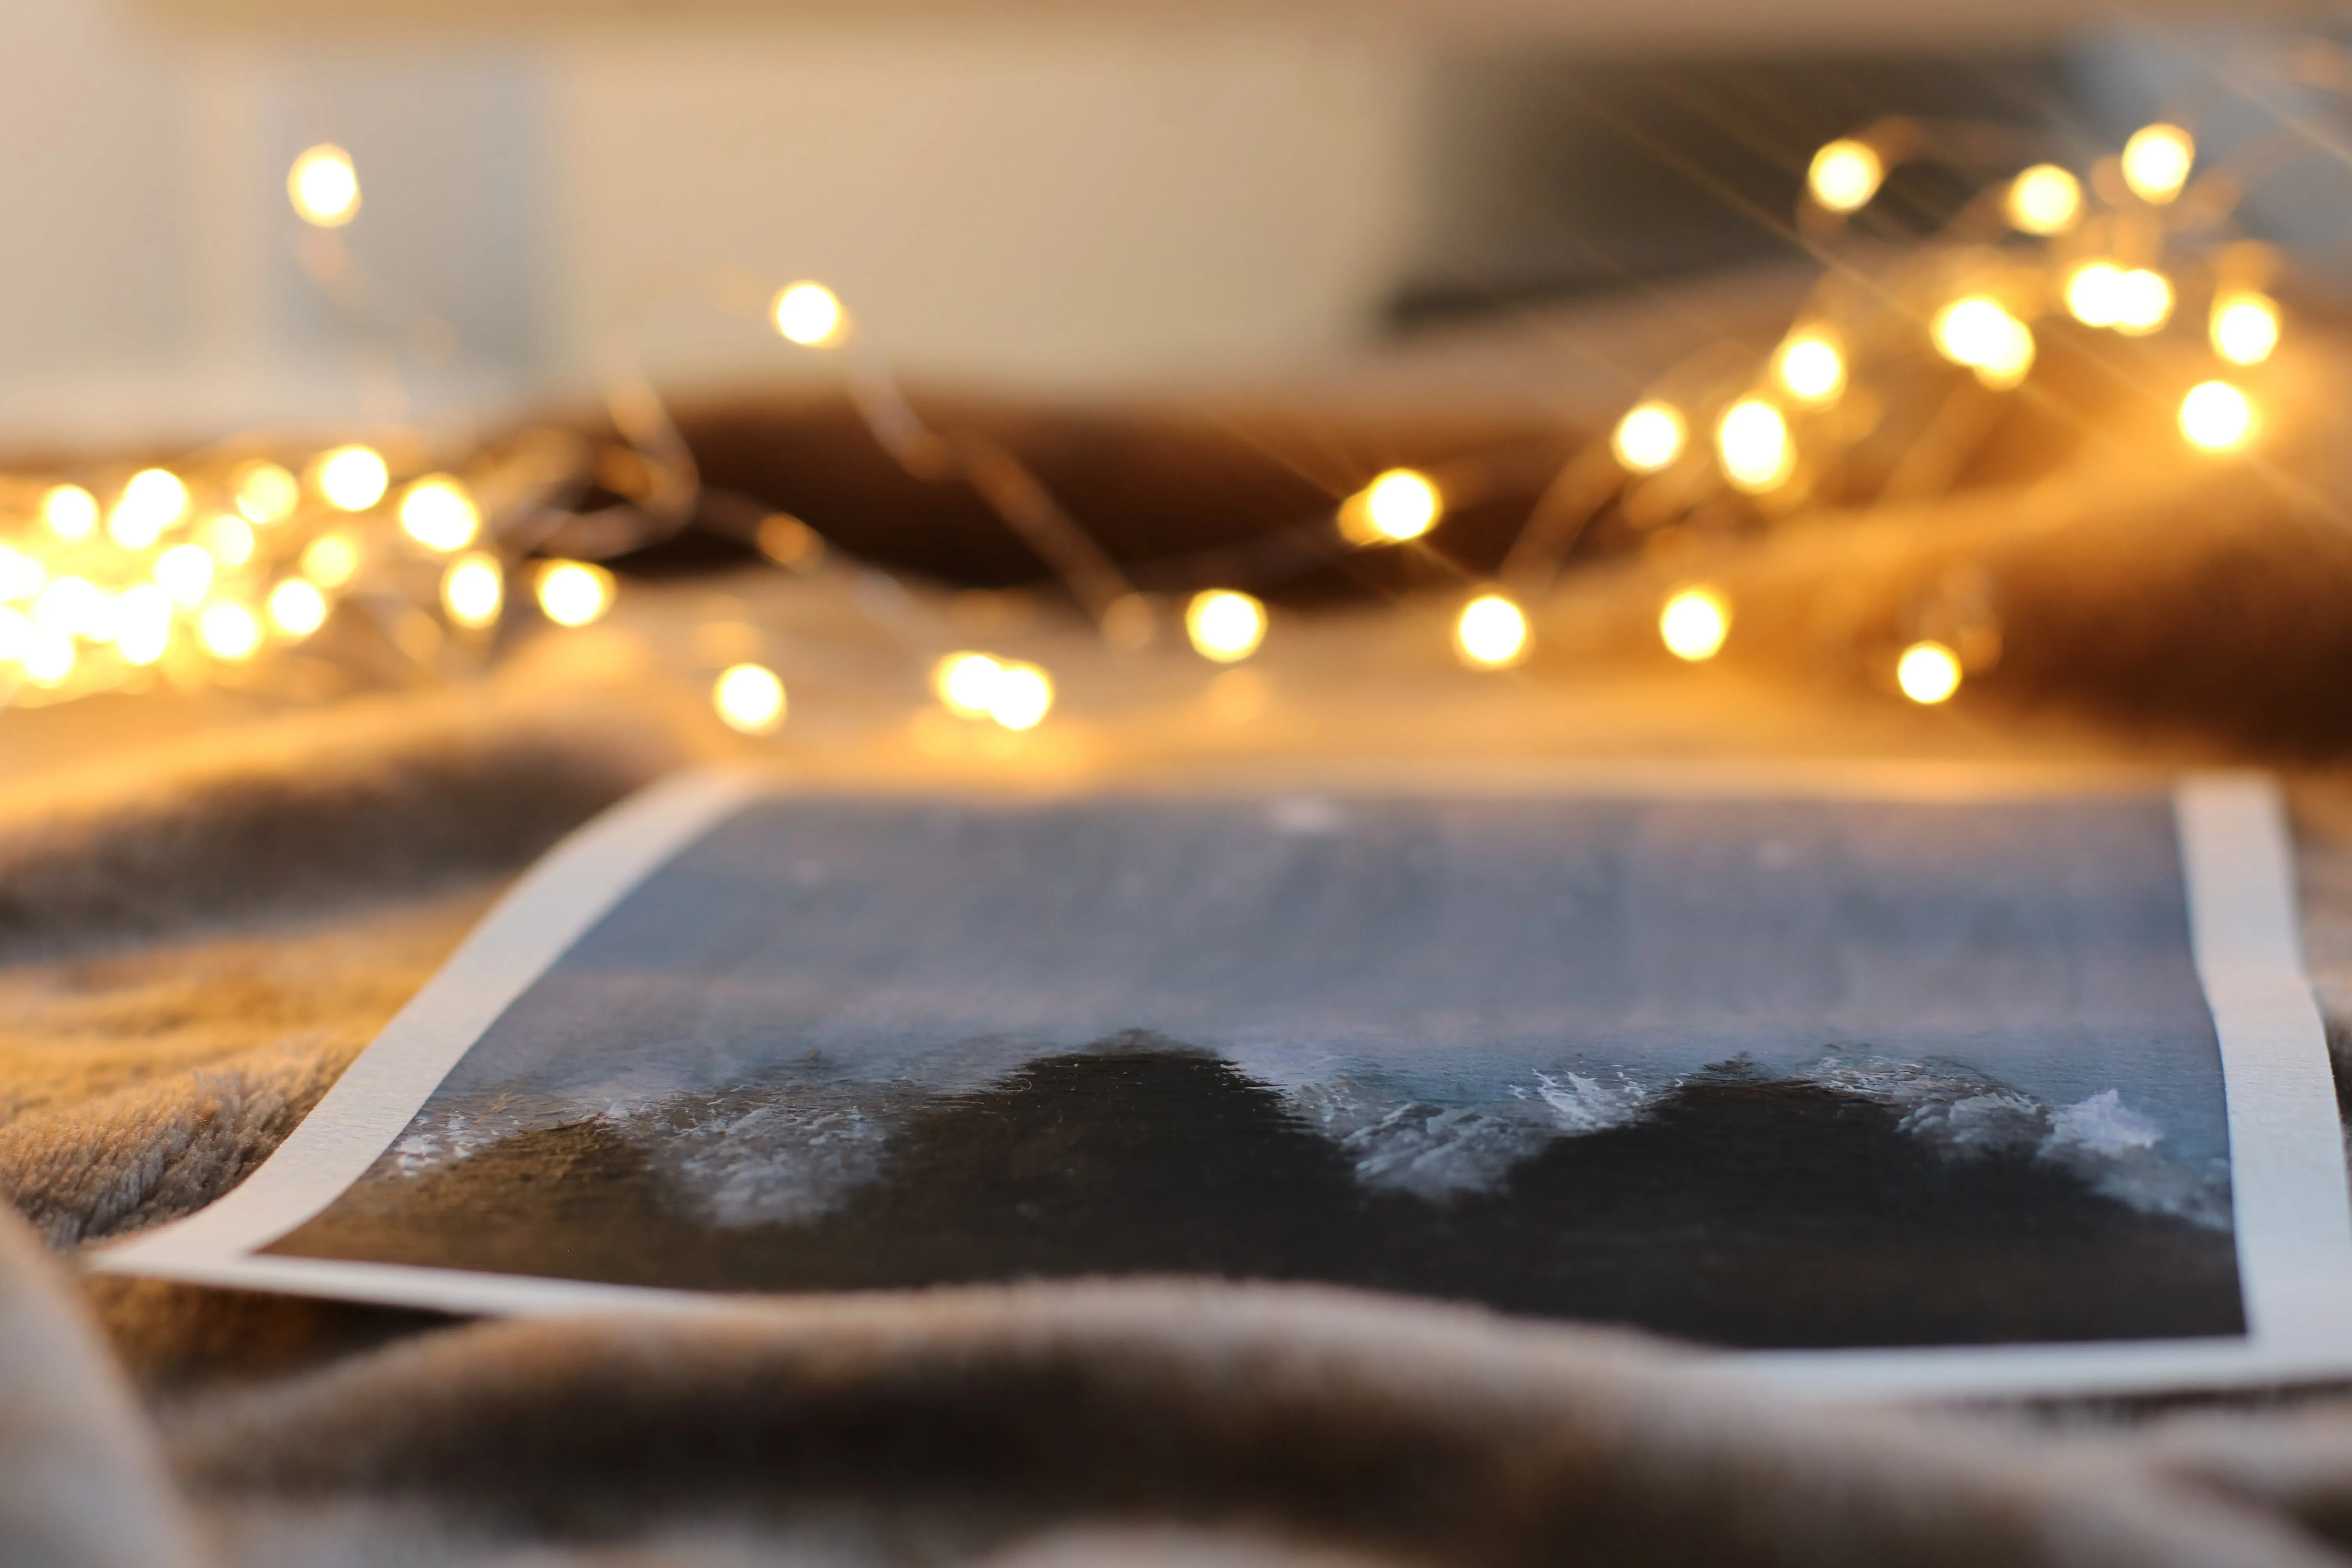
Test your photos as prints before selling them online
A great way to make sure you’re happy with how your images will look as prints is to test out the quality for yourself. This way, you’ll know that when a customer orders your photos as prints, they’ll be happy with the quality of the images.
There’s no need to order professionally finished prints for each of your photos either (if you don’t wish to; however, saying this, many photographers do choose to order prints of their own work in their Picfair Store). You can even do this at home using your home printer, as you’ll quickly see how an image looks in print and whether you need to choose different options or edit your shots.
You’ll also be able to see very clearly if an image is out of focus or blurry due to camera shake (these types of details are far more evident in print format than when viewing on a screen).
In conclusion
To ensure your images are print-ready and maximise their appeal, apply all of these essential tips to your practice.
Start with capturing high-quality images and edit them carefully. Save your images at the best quality and test them as prints before selling online. These steps will help you embark on a successful print photography journey.
Have a question about prints for Picfair Stores?
Visit our Support Centre for more FAQs on how prints work for Picfair Stores.


